
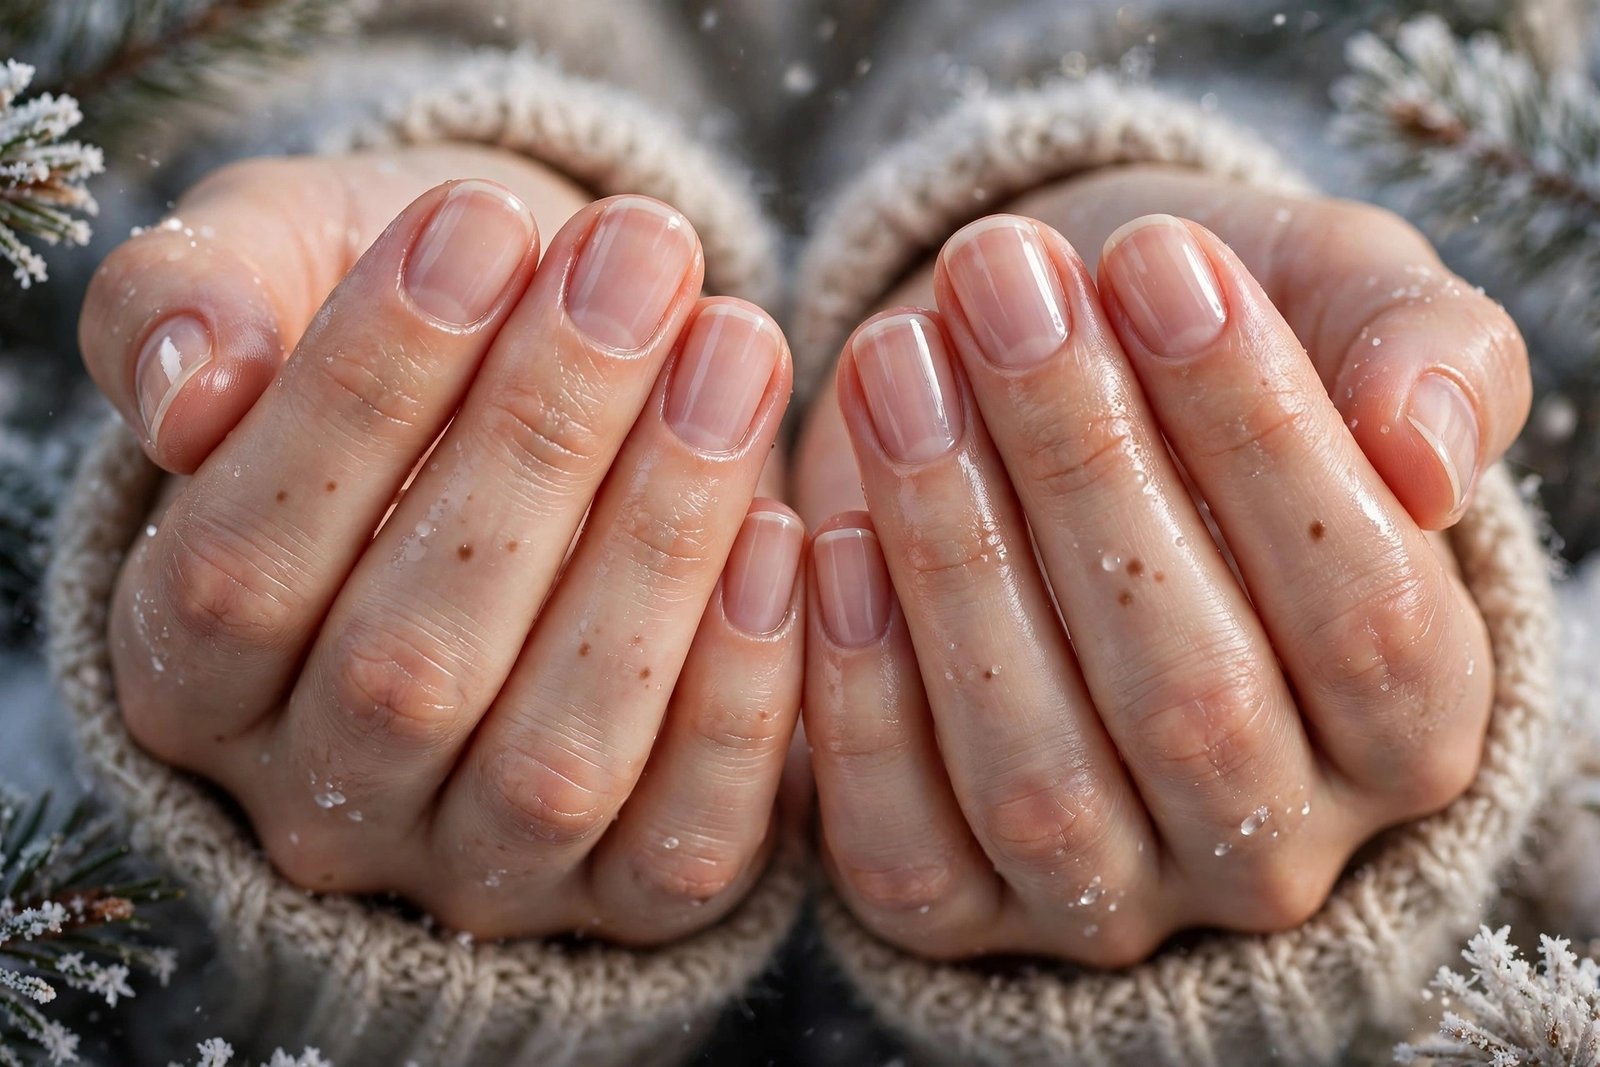
Winter Nail Care 2026: 32 Ways to Keep Nails Strong and Beautiful
Winter nail care becomes essential the moment cold air, indoor heating and constant hand washing start stripping moisture from your hands. Nails that felt strong in summer suddenly peel, split and snap, while cuticles turn ragged and sore. This guide brings together thirty-two practical winter nail care methods that actually work in real life, from a two-minute daily oil ritual to salon treatments worth booking. You do not need expensive products or hours of free time, just a few consistent habits, the right products, and an understanding of what winter really does to keratin, skin and polish.
Whether your nails are naturally brittle, gel-damaged, constantly breaking at the corners, or simply dull and dry by January, there is a fix here for you. Each method below explains what it does, exactly how to do it, and how often to repeat it, so you can build a routine that fits your life rather than copying a complicated ten-step system you will abandon by February. For seasonal colour inspiration alongside these care tips, browse the ideas at short winter nails and then come back to the care steps that keep any manicure looking good for longer.
What Winter Does to Your Nails
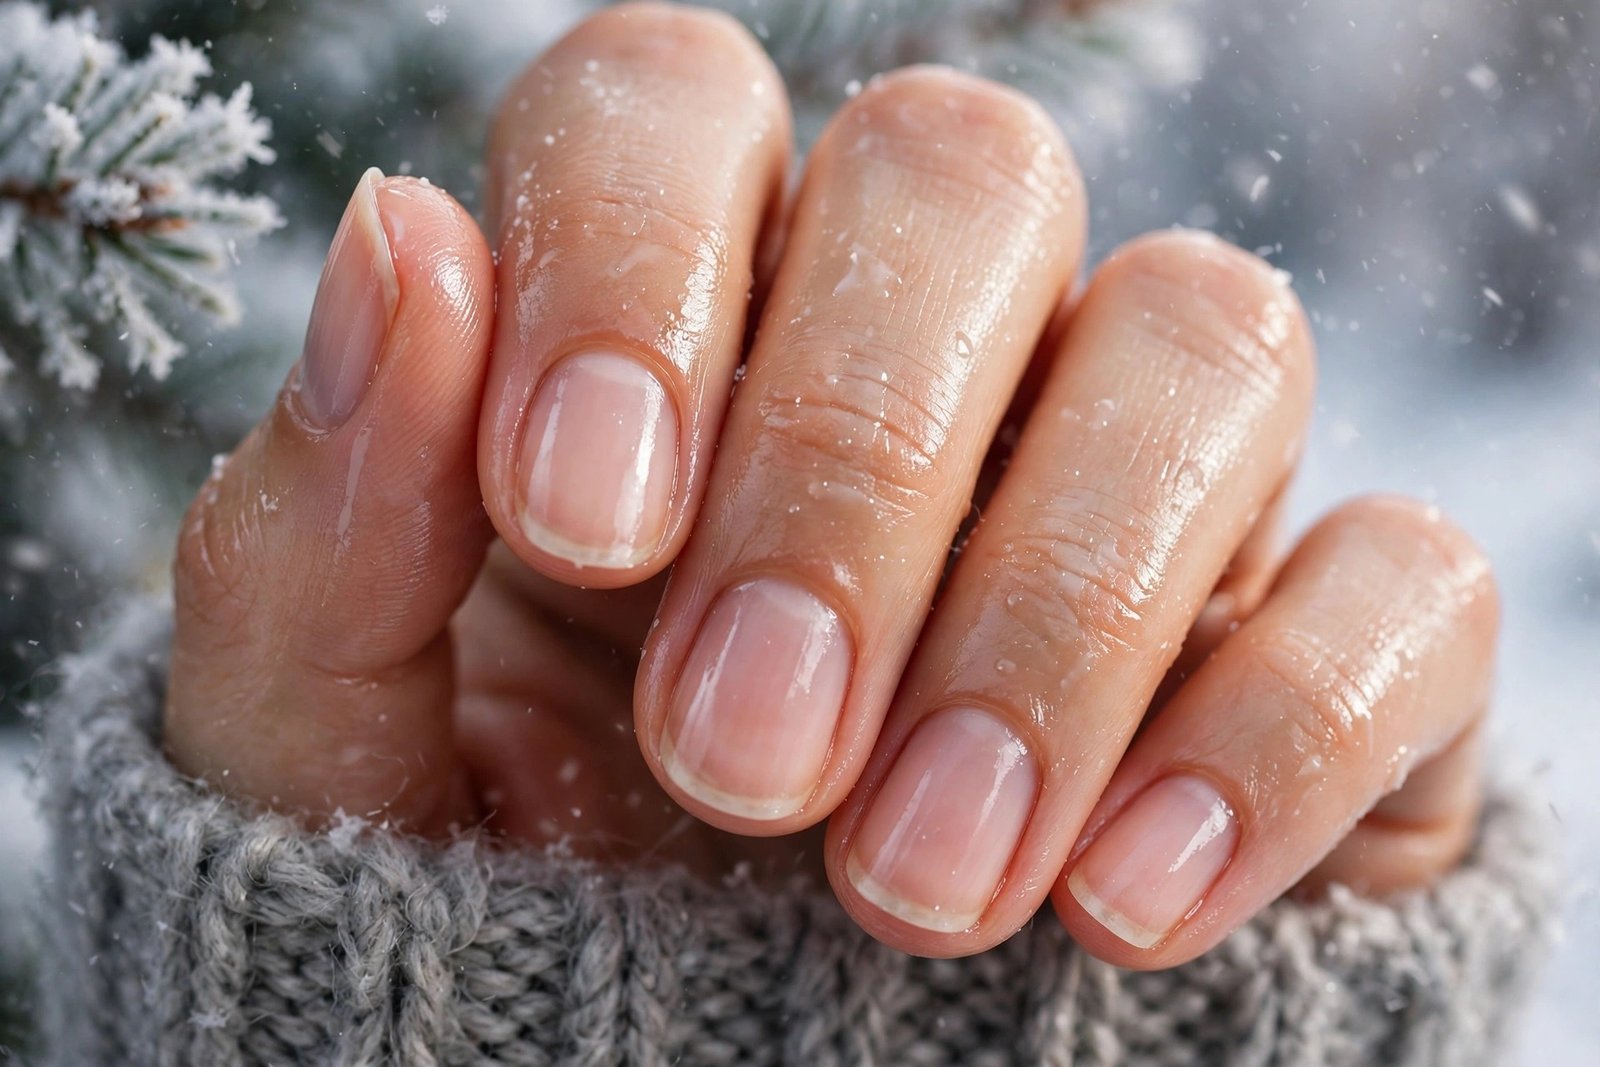
Cold weather attacks nails in three ways at once, and understanding the mechanism makes every fix in this guide easier to follow. First, low humidity pulls water out of the nail plate itself. Nails are made of keratin, a protein that needs a small amount of moisture to stay flexible. When that moisture drops, the layers of the nail plate separate, which is why peeling and flaking appear so suddenly in December. Second, moving between freezing outdoor air and dry heated indoor air forces nails to expand and contract repeatedly, stressing the free edge until it splits or cracks.
Third, winter habits quietly add damage on top of the weather. Hot showers and long soaks in hot water swell the nail plate and then leave it drier than before. Harsh soaps, dishwashing without gloves and frequent sanitiser use strip the natural oils that protect both nails and cuticles. Even picking at a hangnail or peeling off gel polish, which feels harmless in the moment, removes thin layers of keratin and leaves the nail thinner for weeks. Once you see winter damage as a combination of weather plus habits, you can see why small daily changes matter more than one dramatic treatment.
The good news is that winter nail damage is almost always reversible with consistent care. Nails grow slowly, roughly three millimetres a month, so a damaged nail will not heal overnight, but new growth comes through stronger when the nail bed and cuticle are protected and nourished. That is why this guide focuses on routines you can repeat, not one-off fixes. If you love a polished finish even in the coldest months, pair these care steps with a classic look from our French manicure designs for 2026 and you will notice the polish lasts longer because the nail underneath is healthier.
Why Winter Nail Care Matters in 2026
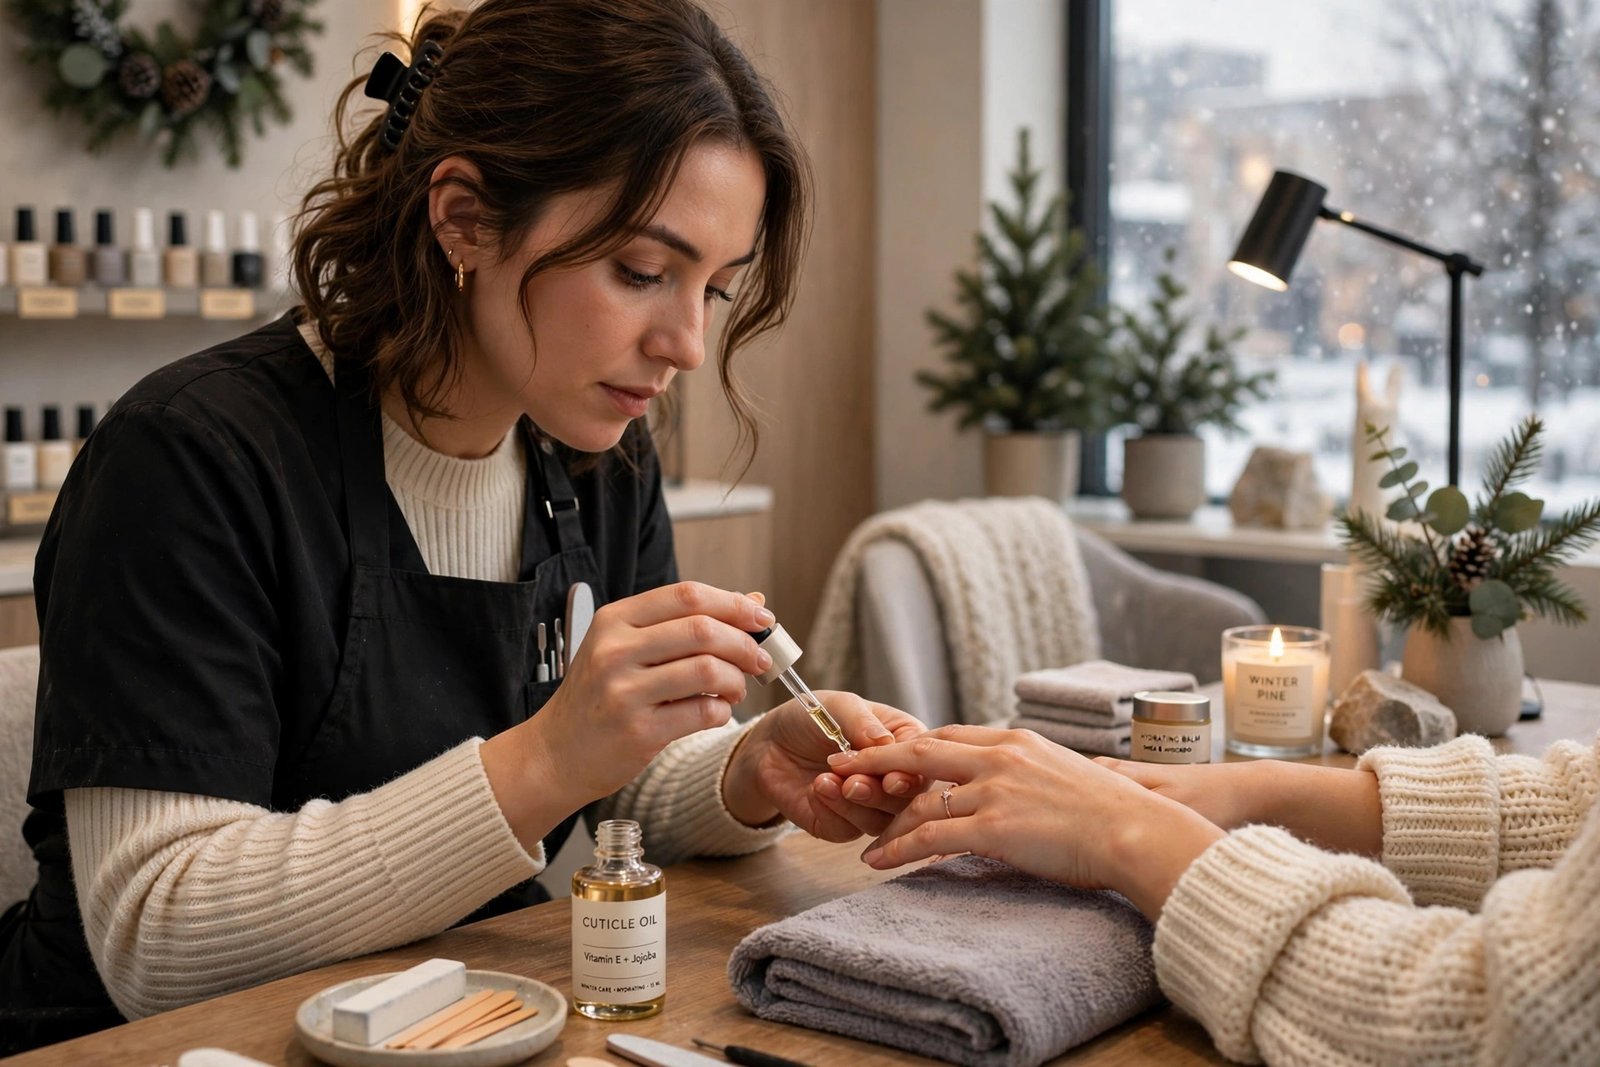
Winter nail care matters more in 2026 because manicures have become bolder, longer-lasting and more demanding on the natural nail. Gel, builder gel, chrome finishes and intricate nail art all look stunning, but they also require removal, filing and curing that stress the nail plate. When that stress meets winter dryness, the result is peeling, thinning and breakage that even the best polish cannot hide. Caring for the nail underneath is no longer optional if you want those 2026 trends to actually last on your hands.
The second reason is that prevention is far cheaper and faster than repair. A bottle of cuticle oil, a pair of gloves and a good hand cream cost less than a single salon repair visit, and they take minutes a day. Waiting until a nail splits down to the nail bed means weeks of growing it out, short nails, and no polish at all while it recovers. For a look at the seasonal styles worth protecting this year, see the winter nail trends for 2026 and notice how every strong look starts with a smooth, healthy nail surface.
Finally, healthy winter nails are a confidence issue as much as a beauty issue. Hands are visible all day, in meetings, in photos, holding a coffee cup, and sore cuticles or ragged nails are uncomfortable as well as unsightly. A simple routine that keeps nails strong, smooth and comfortable changes how your hands feel every single day. That is the real goal of this guide, and it is why each of the thirty-two methods below is written as something you can start today, with products you probably already own. If you want festive colour ideas once your nails are strong again, our holiday nails for 2026 collection pairs beautifully with the care routine in this article.
1. Daily Cuticle Oil Ritual
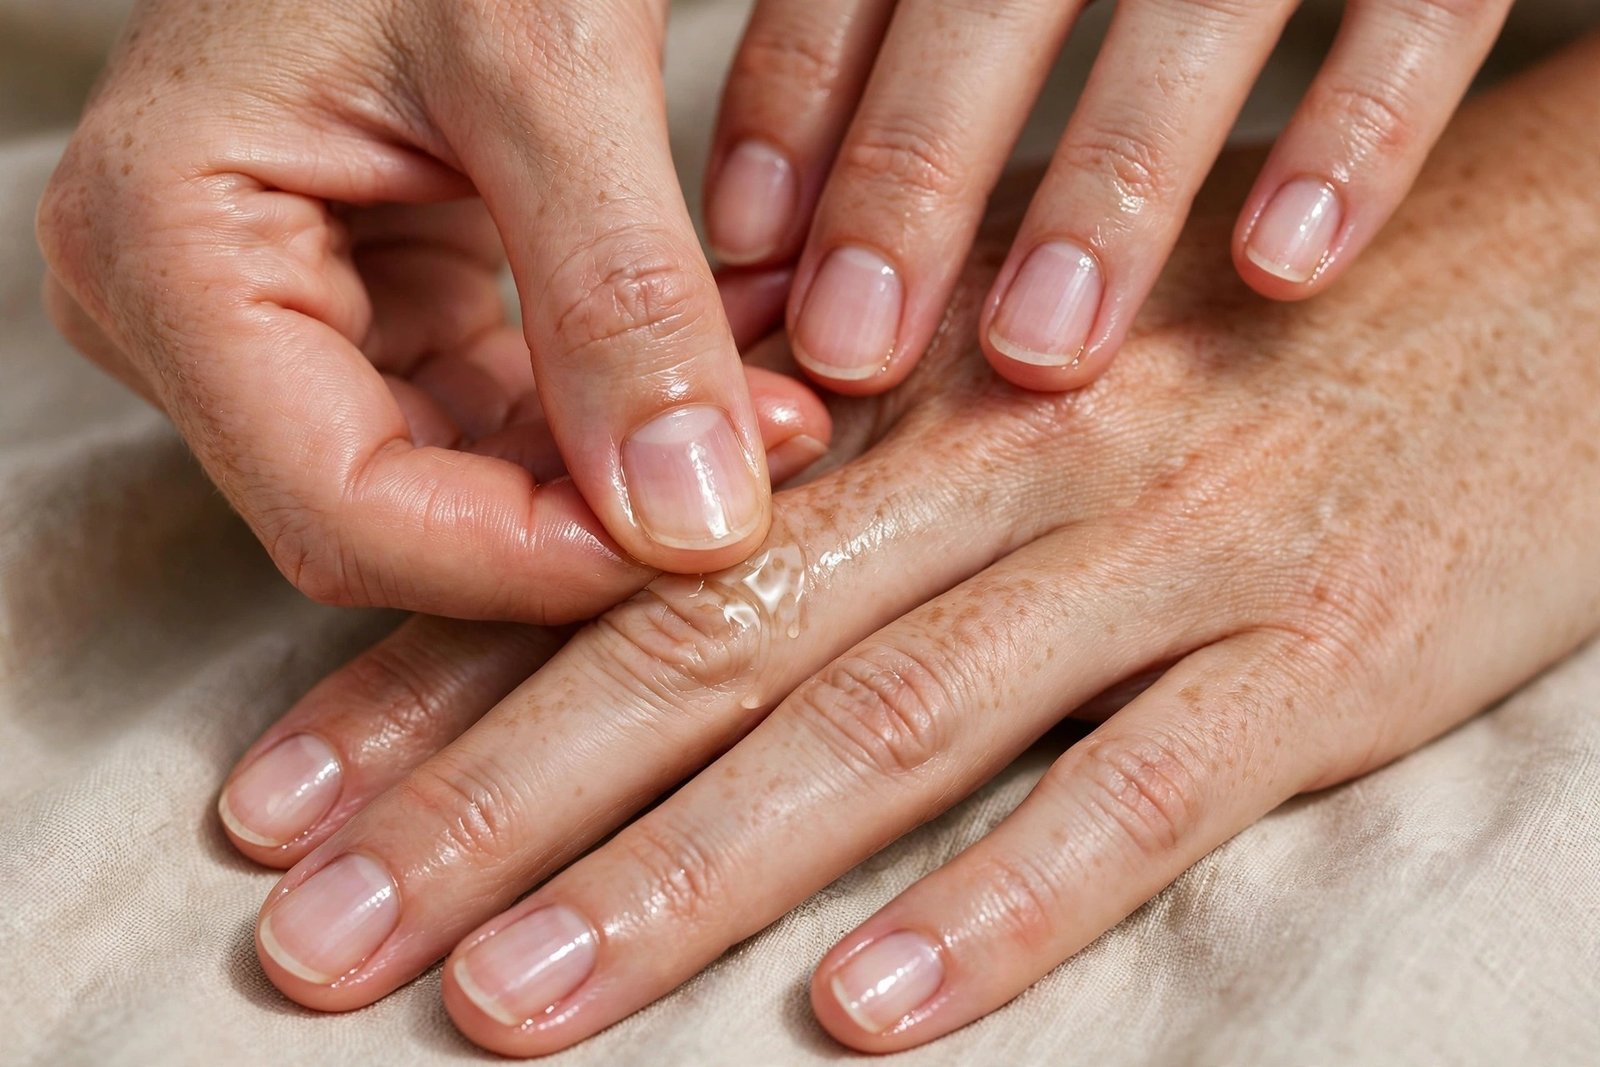
Cuticle oil is the single most effective winter habit because it replaces the natural oils that cold air and hand washing strip away every day. The cuticle is the seal that protects the nail matrix, where new nail is made, so when it dries out and cracks, bacteria can enter and new growth comes through weaker. A good oil, especially one based on jojoba, sweet almond or vitamin E, sinks into that seal and keeps it flexible. Within a week of daily use most people notice fewer hangnails, less peeling around the nails, and polish that stays put longer because the nail surface is no longer dehydrated.
Keep a small bottle by your sink, on your desk and in your bag so you never have an excuse to skip it. Put one drop on each cuticle, then massage it in with small circles for about thirty seconds per hand, pushing gently toward the nail rather than pulling the skin back. Do it after washing your hands, after applying hand cream, and always before bed so the oil can work overnight. A pen-style applicator makes this easy at work or on the bus, and the massage itself boosts blood flow to the nail matrix, which supports steadier growth through winter.
Use cuticle oil at least twice a day in winter, morning and night, and three times a day if your hands are in water often or you work outdoors. The most common mistake is applying oil only over polish and never to the skin around it, which leaves the cuticle itself dry. Another mistake is using a huge amount once a week instead of a little every day; consistency matters far more than quantity. If your cuticles are already cracked, apply oil, wait five minutes, then seal it with a thick hand cream or balm.
2. Overnight Hand Mask
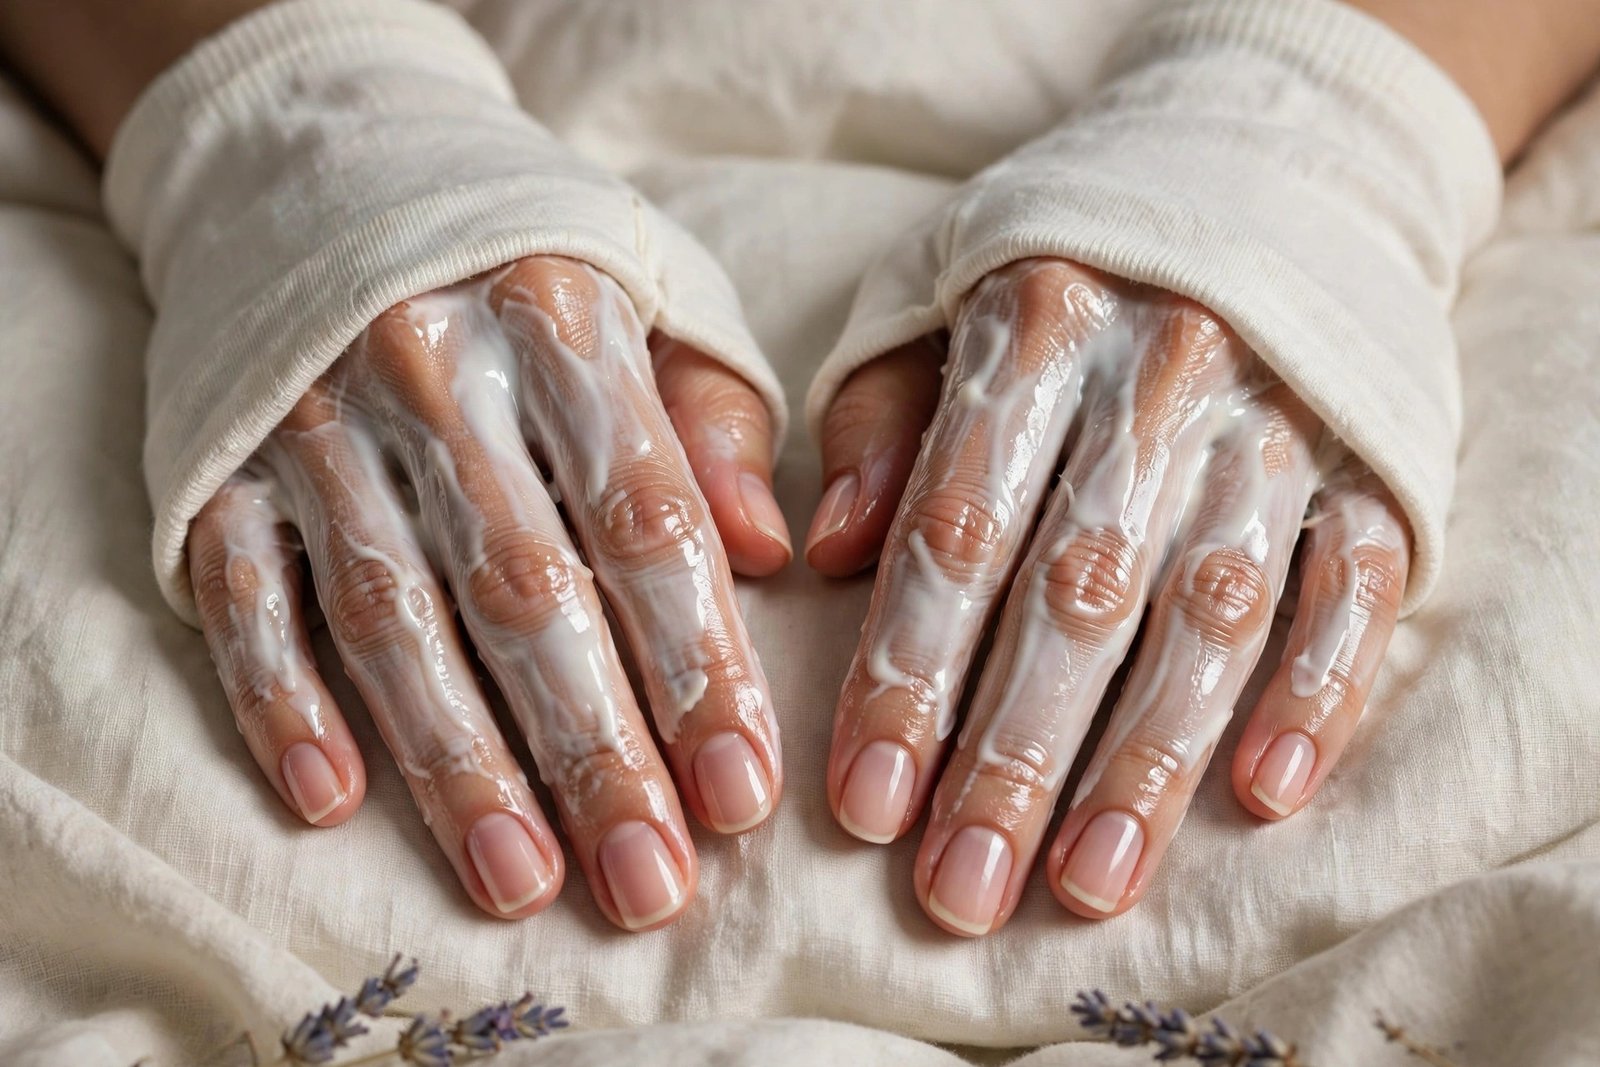
An overnight hand mask works because it gives rich moisturisers eight uninterrupted hours to repair winter damage while you sleep. Daytime creams get washed off within an hour, but a thick mask sealed under cotton gloves cannot evaporate or rub away, so glycerin, shea butter and ceramides have time to sink into the skin and the nail plate. This is especially powerful for hands that feel tight, rough or papery by evening, and for cuticles that have started to split. One night a week can transform hands that feel beyond saving during a cold snap.
After your evening shower, pat your hands dry and massage a generous layer of a rich hand mask or thick cream over your hands, nails and cuticles. Pay extra attention to the skin around each nail and the knuckles, where winter cracking starts first. Slip on clean cotton gloves, the thin kind sold for eczema care, and leave everything on overnight. In the morning remove the gloves and massage in any remaining product instead of washing it off, then apply your normal daytime cream. For an extra boost, add a drop of cuticle oil under the mask.
Do an overnight mask once or twice a week in deep winter, and once a week in milder weather. The mistake to avoid is using a mask that is mostly fragrance and water, which evaporates and leaves hands drier by morning; choose a fragrance-free formula with shea butter, ceramides or urea. Do not wear plastic gloves overnight, which can trap sweat and irritate skin. If your hands are cracked or bleeding, skip scented products entirely and use a plain healing balm under the cotton gloves instead.
3. Weekly Cuticle Push-Back
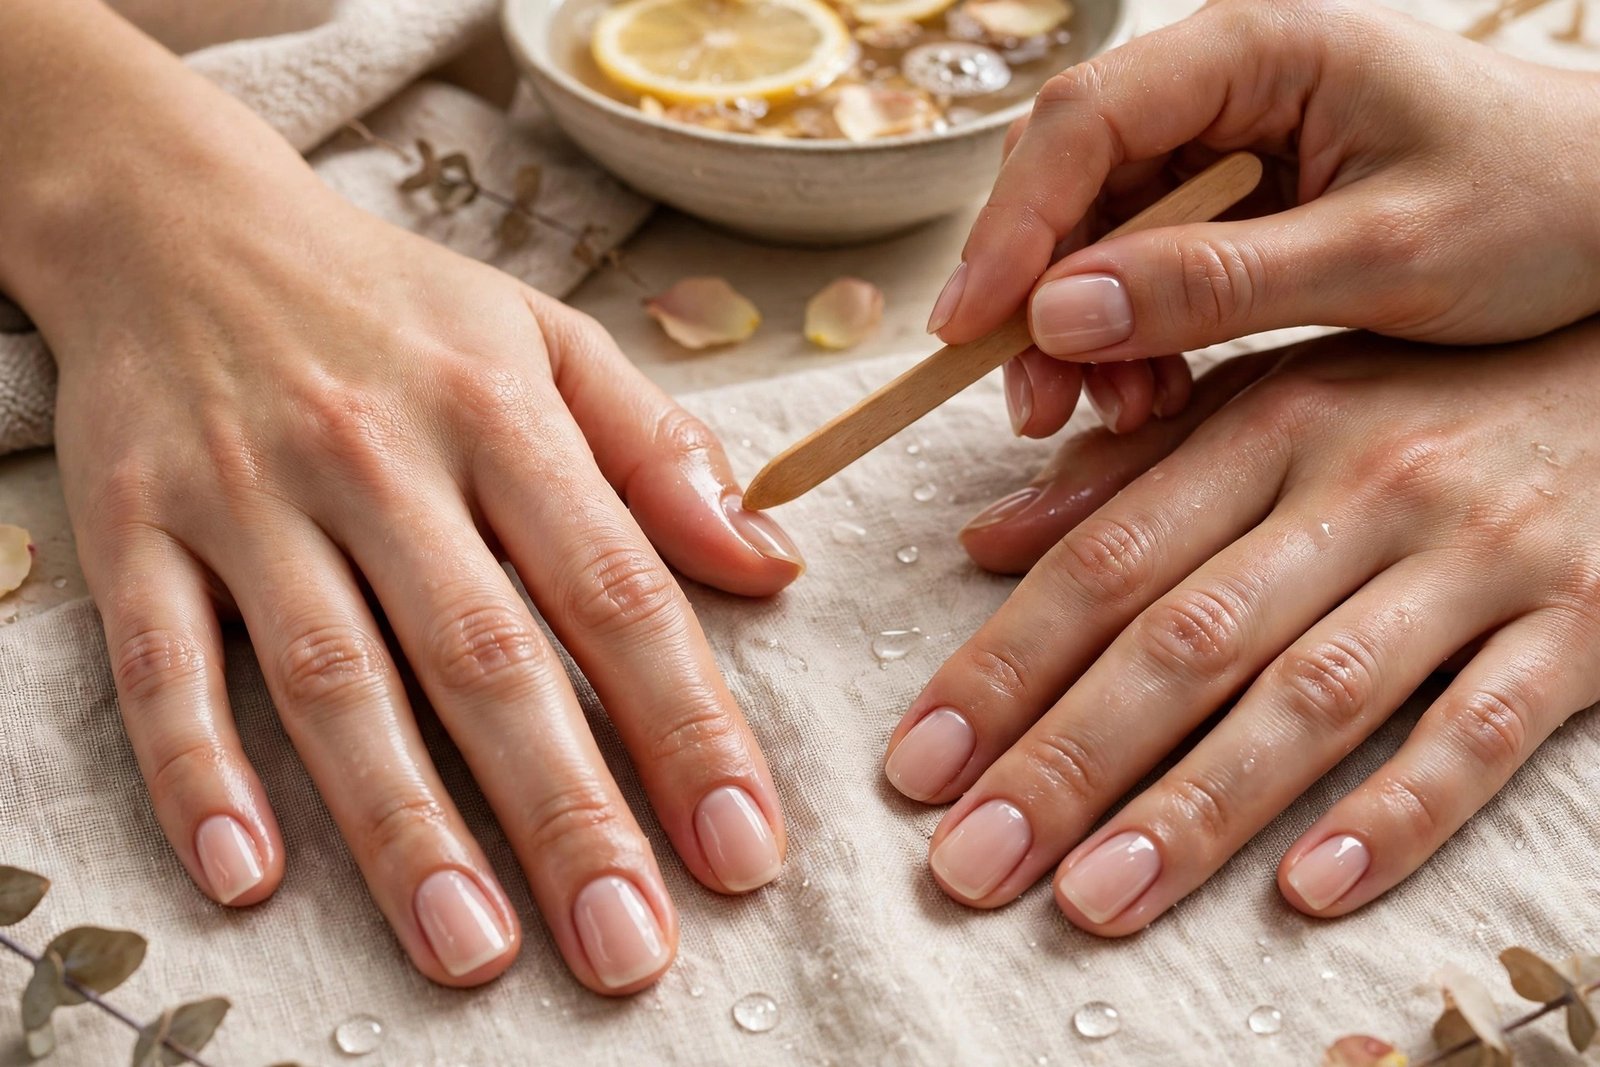
Pushing cuticles back gently once a week keeps the nail bed clean, makes nails look longer, and prevents the cuticle from growing onto the nail plate and tearing. In winter the cuticle often sticks to the nail and then rips when hands dry out, creating painful hangnails. A gentle push-back after softening separates that bond safely and trains the cuticle to sit neatly at the base of the nail. It also creates a smooth surface for polish, so manicures look neater and last longer without lifting at the edges.
Soak your hands in warm water for five minutes, or do this step straight after a shower when cuticles are soft. Apply a drop of cuticle oil or remover, then use a wooden orange stick or a soft rubber pusher to press the cuticle back with light, even pressure, working from one side to the other. Never force it, never scrape the nail plate, and stop if you feel pain. Wipe away the loosened dead skin with a soft cloth, rinse, and finish with oil and hand cream. The whole process takes under ten minutes for both hands.
Repeat once a week, never daily, because overworking the cuticle damages the seal that protects new nail growth. The biggest mistake is cutting cuticles with nippers or scissors, which removes living skin, invites infection, and makes cuticles grow back thicker and ragged. Another mistake is pushing cuticles when they are dry, which tears them. If you have a hangnail, trim only the loose flap with clean clippers and moisturise, rather than pulling it off.
4. Gentle Filing Technique
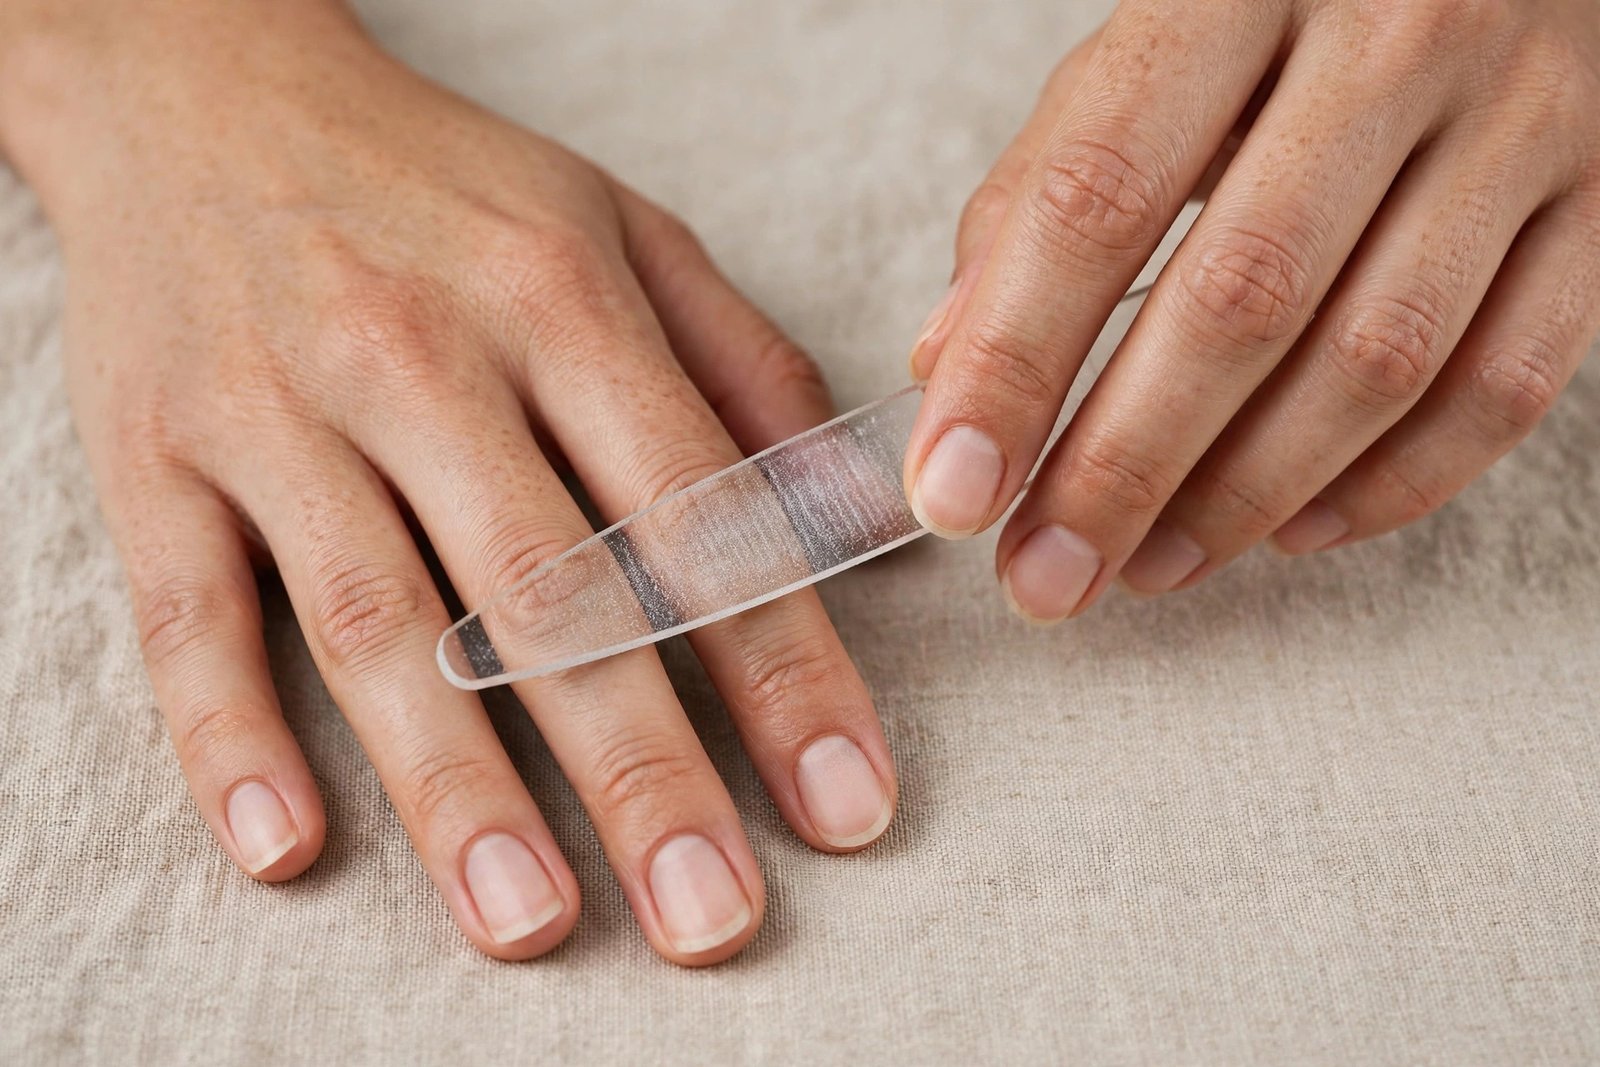
How you file matters more in winter than in any other season because cold nails are already brittle and a rough file can start a split that travels the whole length of the nail. Filing in a sawing motion back and forth frays the free edge, creating tiny tears that catch, peel and eventually break. A gentle one-direction technique seals the edge instead, leaving it smooth and far less likely to split when you catch it on clothing or a bag. Switching to a fine-grit glass or crystal file makes this even easier, because it files smoothly without the harsh scratch of a coarse emery board.
Hold the file at a slight angle under the free edge and move it in one direction only, from the side toward the centre, lifting it away before the next stroke. Work slowly and check the shape often, taking a little off at a time rather than grinding away length in one go. File dry nails only, never wet ones, because wet nails are softer and tear more easily. Finish by running the file lightly across the very tip to seal it, then apply cuticle oil to the edge, which adds a little flexibility back.
File only when you need to reshape or smooth a snag, usually once a week, and never file the top surface of the nail to thin it. The common mistake is using a metal file or a very coarse board on natural nails, which leaves a ragged edge that splits within days. Another mistake is filing the sides too aggressively, which weakens the corners. If a nail keeps splitting in the same place, file it slightly shorter and round the corner, then protect it with a strengthening base coat.
5. Nail-Strengthening Base Coat
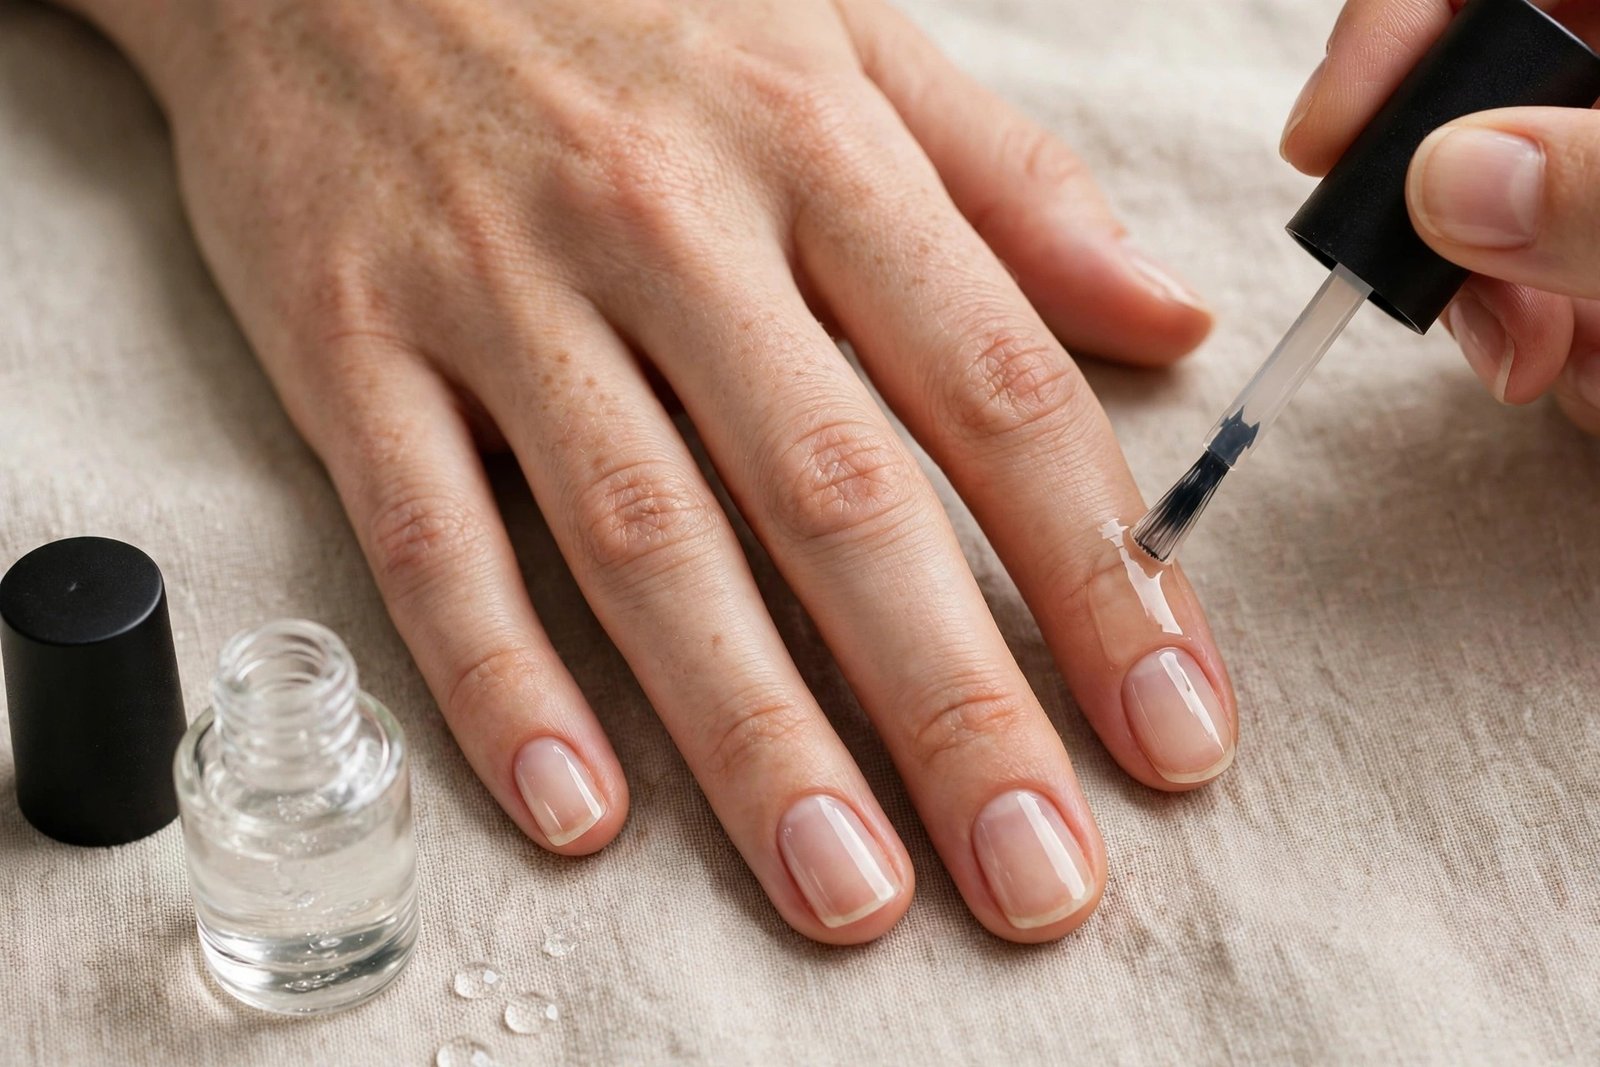
A strengthening base coat acts like a thin shield between your nail and everything winter throws at it, from water and soap to polish remover and cold air. Many formulas contain keratin, calcium or nylon fibres that add a little rigidity to a soft, bendy nail, so it flexes less and breaks less. It also prevents coloured polish from staining the nail plate, which is a real risk with deep winter reds and dark greens. Used consistently, a base coat can carry a weak nail through the season while the new growth underneath comes through stronger.
Start with clean, dry nails and wipe each one with a little polish remover or alcohol to remove oil. Brush on one thin, even coat, capping the free edge by running the brush across the tip, and let it dry completely for two minutes. You can wear it alone for a natural glossy look, or apply two coats of colour over it. Reapply a fresh thin layer over the top every two or three days as a top-up, which refreshes the shield without a full manicure. Always remove it gently at the end of the week rather than peeling it off.
Use a strengthening base coat under every manicure in winter, and alone on bare-nail days. The mistake to avoid is using a hardener every single day without a break, which can make nails too rigid and actually more likely to snap. If your nails feel stiff or start to peel in layers, switch to a flexible, hydrating base coat for a few weeks. Also avoid formulas with high formaldehyde content for daily use, and choose one labelled for brittle or damaged nails.
6. Biotin-Rich Diet for Stronger Nails

Nails are built from the inside out, so what you eat shows up in their strength weeks later. Biotin, a B vitamin, supports keratin production, the protein that forms the nail plate, and studies have linked low biotin intake with brittle, splitting nails. Eggs, salmon, sweet potatoes, almonds, walnuts and seeds are all rich sources, and they also bring in the protein, zinc and iron that nails need to grow steadily. Winter is the perfect time to focus on diet because nail growth is slower in the cold, so the nutrients you eat now shape the nails you will see in spring.
Build one biotin-rich food into each meal rather than overhauling your whole diet at once. Add a boiled egg to breakfast, a handful of almonds as an afternoon snack, and salmon or lentils at dinner a few times a week. Pair these foods with vitamin C from citrus or peppers, which helps your body absorb iron and produce collagen. Keep it simple and repeatable, because a diet you can maintain for three months will do far more for your nails than a one-week superfood binge. Drink water alongside these meals to help nutrients reach the nail matrix.
Think in months, not days, because a nail takes four to six months to grow out fully. The mistake is expecting a supplement to fix nails in a week, or taking very high-dose biotin without advice, which can interfere with some lab tests. Food first is the safest approach for most people, and anyone considering a supplement should check with a doctor first. Avoid crash diets in winter, which often cut the protein and healthy fats that nails depend on.
7. Hydrating Hand Cream After Every Wash
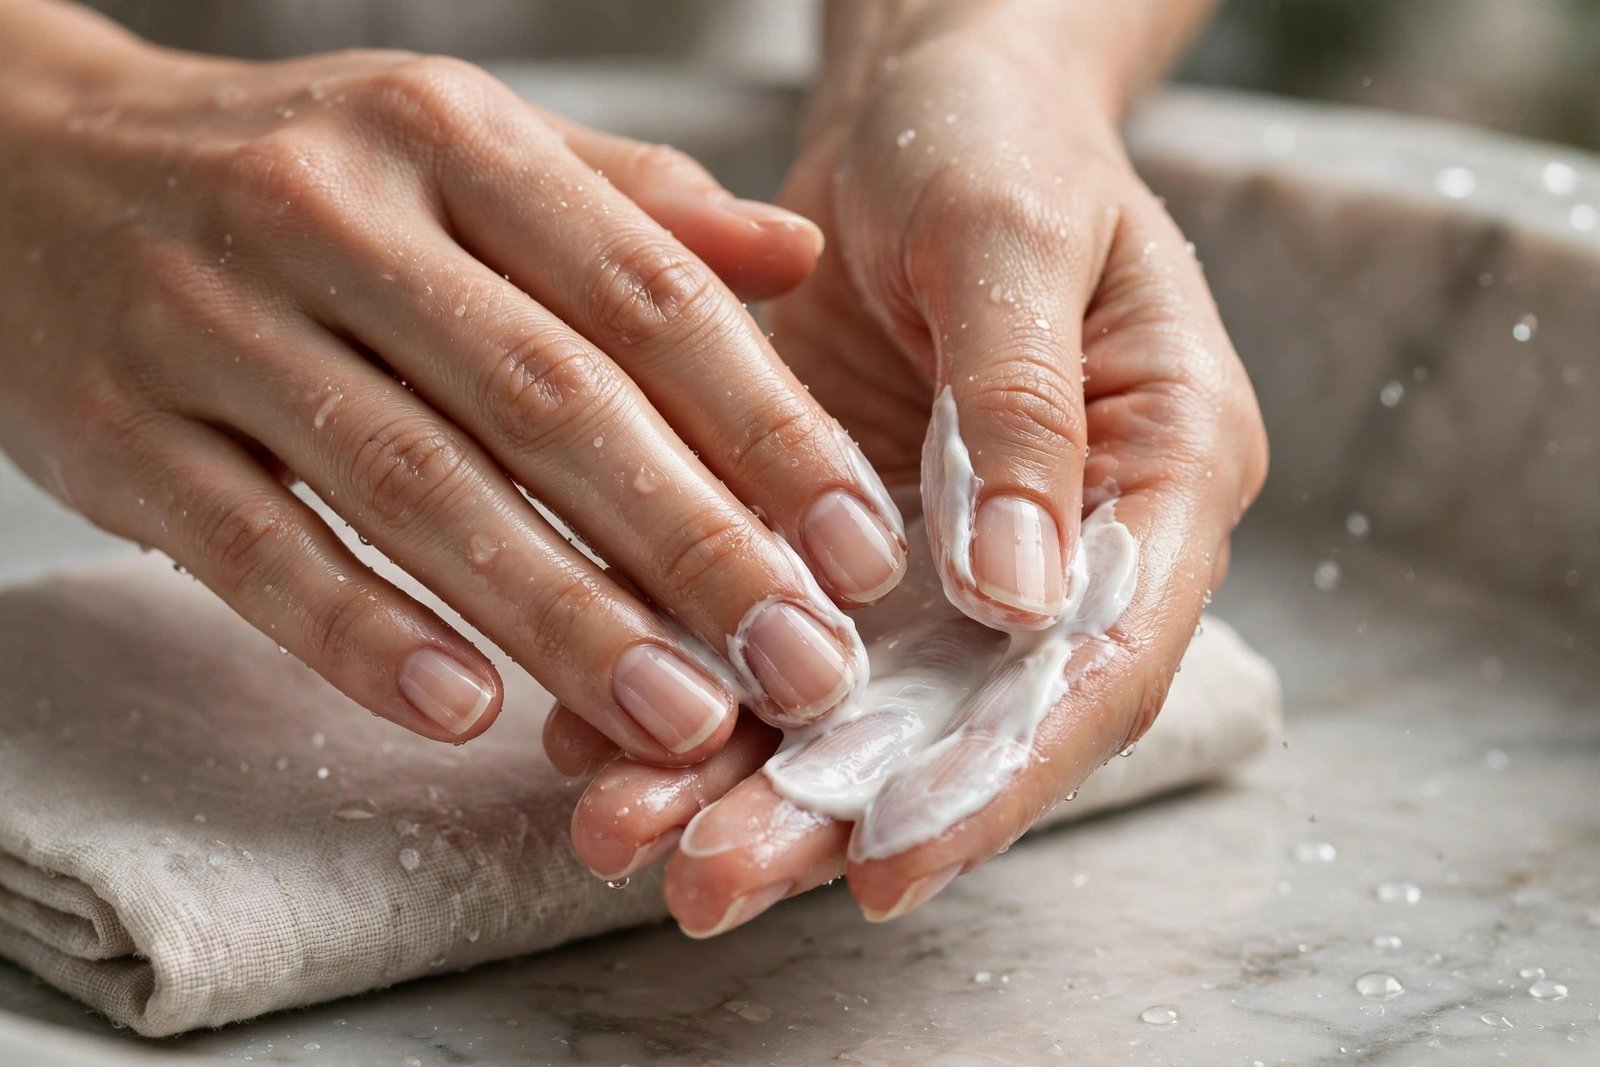
Hand cream after every wash is the simplest winter rule and the one most people skip, yet it makes the biggest difference to both skin and nails. Every wash with soap removes the natural oils that keep the nail plate flexible, and if you do not replace them, the nail dries out a little more each time. A cream rich in glycerin, shea butter or ceramides forms a barrier that locks water into the skin and the nail, preventing the cycle of swelling and drying that causes peeling. Hands that are creamed after every wash stay soft, cuticles stay sealed, and nails stay noticeably stronger.
Keep a tube at every sink in your home, one in your bag, and one on your desk. After washing, pat your hands dry gently instead of rubbing them, then apply a pea-sized amount and massage it over the backs of your hands, between the fingers, and around each nail. Let it sink in for a minute before touching anything. Choose a thick cream rather than a thin lotion in winter, because lotions are mostly water and evaporate quickly. Reapply after sanitiser too, which is even more drying than soap.
Apply cream after every single wash, without exception, and at least five times a day in cold weather. The mistake is using a fragranced lotion on cracked skin, which stings and can irritate, or applying cream only to the palms and forgetting the nails and cuticles. Another mistake is waiting until hands feel painfully dry; by then the damage is already done. If your hands are very dry, layer oil under the cream for extra protection.
8. Wearing Gloves Outdoors
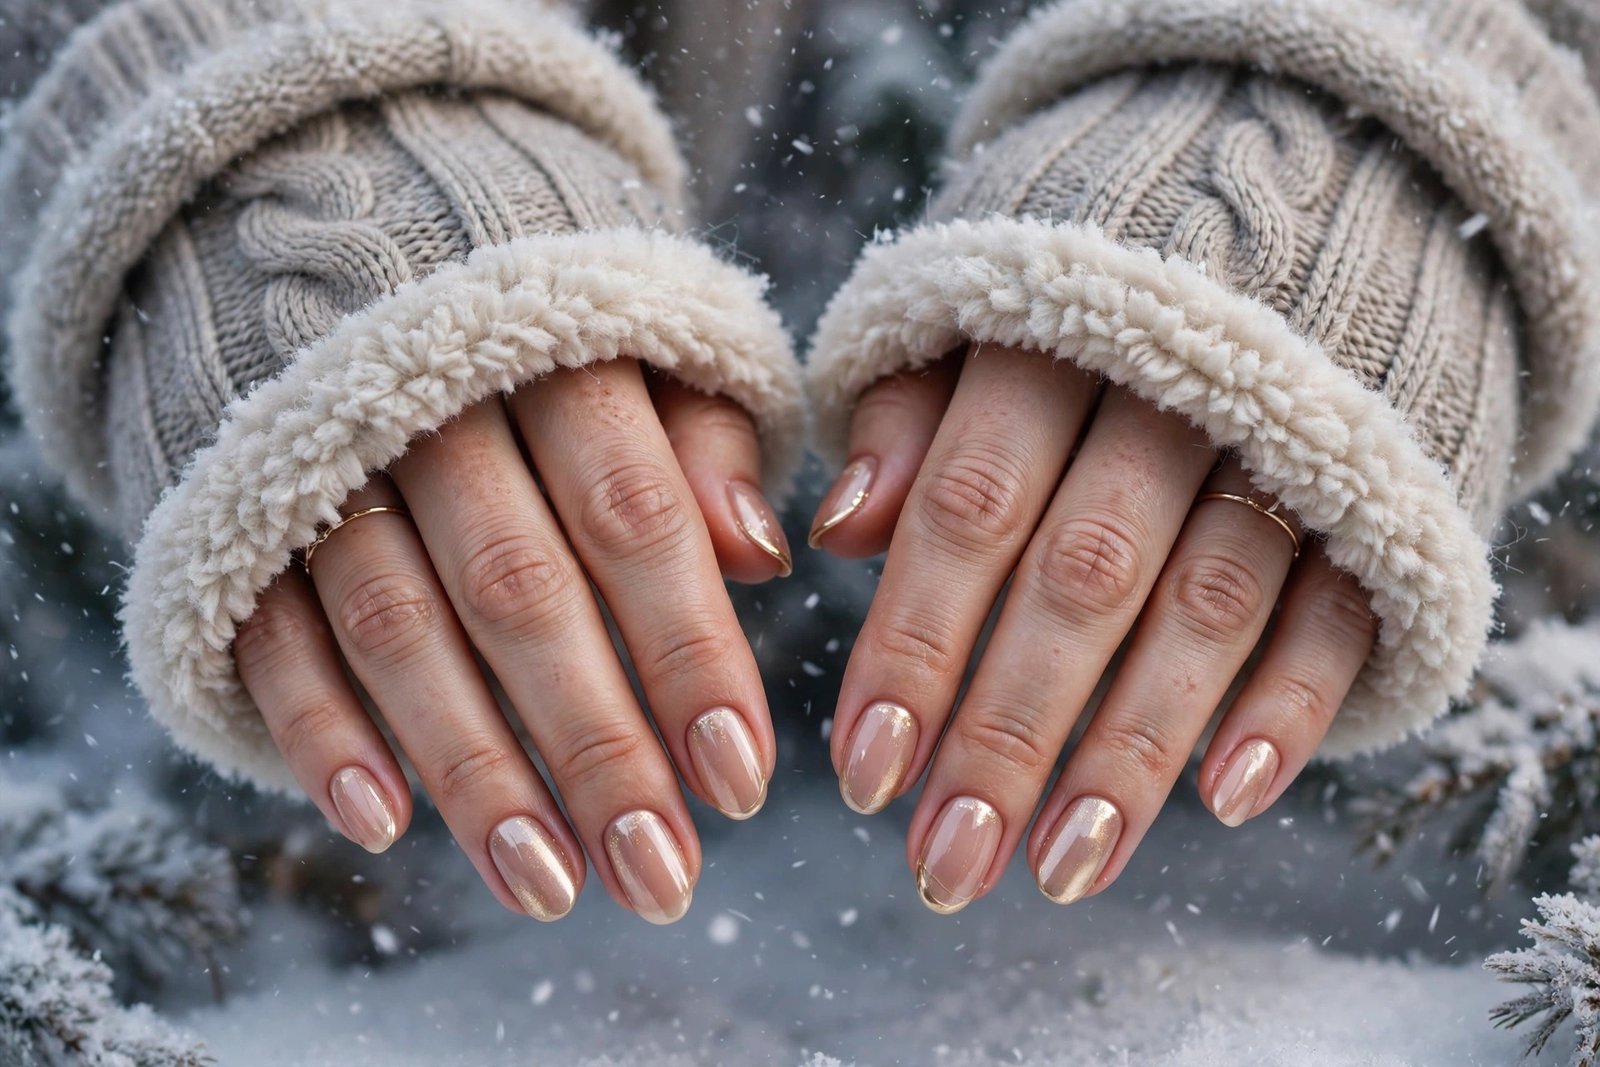
Gloves are the most direct protection against winter air because they stop cold wind from pulling moisture out of your nails and skin in the first place. Unprotected hands in freezing wind lose moisture within minutes, and the nail plate contracts and becomes brittle. Lined leather or wool gloves keep hands warm, which also keeps blood flowing to the fingertips and the nail matrix, supporting healthy growth. For many people, simply wearing gloves every time they step outside is enough to stop winter splitting altogether, which makes it the highest-impact habit for the least effort.
Choose gloves that are warm, windproof and lined, and keep a pair by the door so you never leave without them. Put them on before you step outside, not after your hands are already cold, and keep them on for short trips like taking out the rubbish or scraping a car windscreen. If you use your phone outdoors, touchscreen-compatible gloves save you from taking them off in the cold. For wet snow, waterproof gloves or a thin liner glove underneath will keep your hands dry as well as warm.
Wear gloves every time the temperature drops below about ten degrees, and always in wind or snow. The mistake is choosing fashionable thin gloves that look good but let the cold straight through, or leaving gloves off because you are only going out for a minute. Those one-minute exposures add up across a whole winter. If your hands sweat inside gloves, choose breathable liners and let gloves air out between wears so dampness does not soften the nails.
9. Avoiding Hot Water on Hands
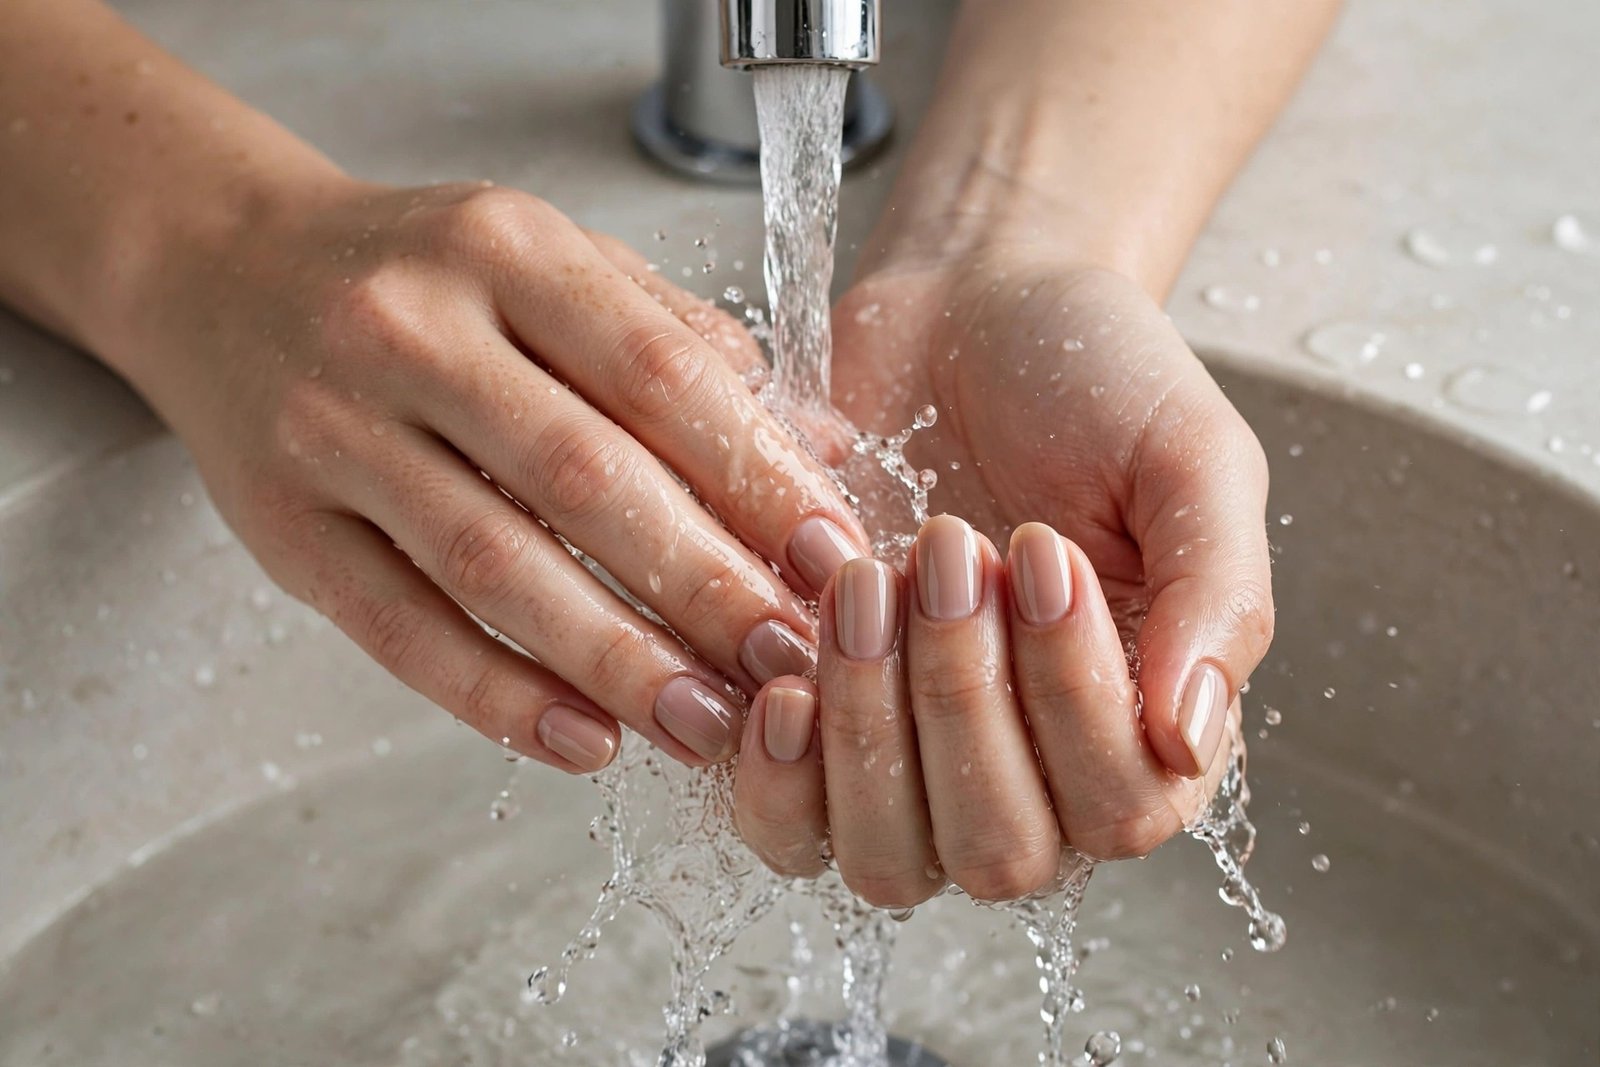
Hot water feels wonderful on cold hands, but it is one of the worst things you can do to winter nails. Very hot water swells the nail plate, forces it to absorb water, and then strips away its natural oils as it dries, leaving the nail drier and more brittle than before. Repeated hot soaks also dissolve the protective lipids in the cuticle, so it cracks and peels. Lukewarm water cleans just as well without this damage, and it is far kinder to the skin barrier that protects your hands all winter long.
Turn the tap down until the water feels comfortably warm, never steaming, for hand washing, showers and washing up. Keep showers shorter in winter, ideally under ten minutes, and avoid soaking your hands in hot bath water for long periods. When you wash dishes, wear rubber gloves and use warm rather than scalding water. After any contact with water, pat your hands dry and apply cream within a minute, while the skin is still slightly damp, to trap the moisture in.
Make lukewarm water a habit every day, not just an occasional choice. The mistake is thinking that hotter water cleans better; it does not, and it damages both skin and nails while drying them out. Another mistake is long hot baths with hands submerged the whole time, which softens nails so much that they bend and peel. If your hands are freezing when you come inside, warm them with gloves or a towel first, then wash in lukewarm water.
10. Switching to Acetone-Free Remover
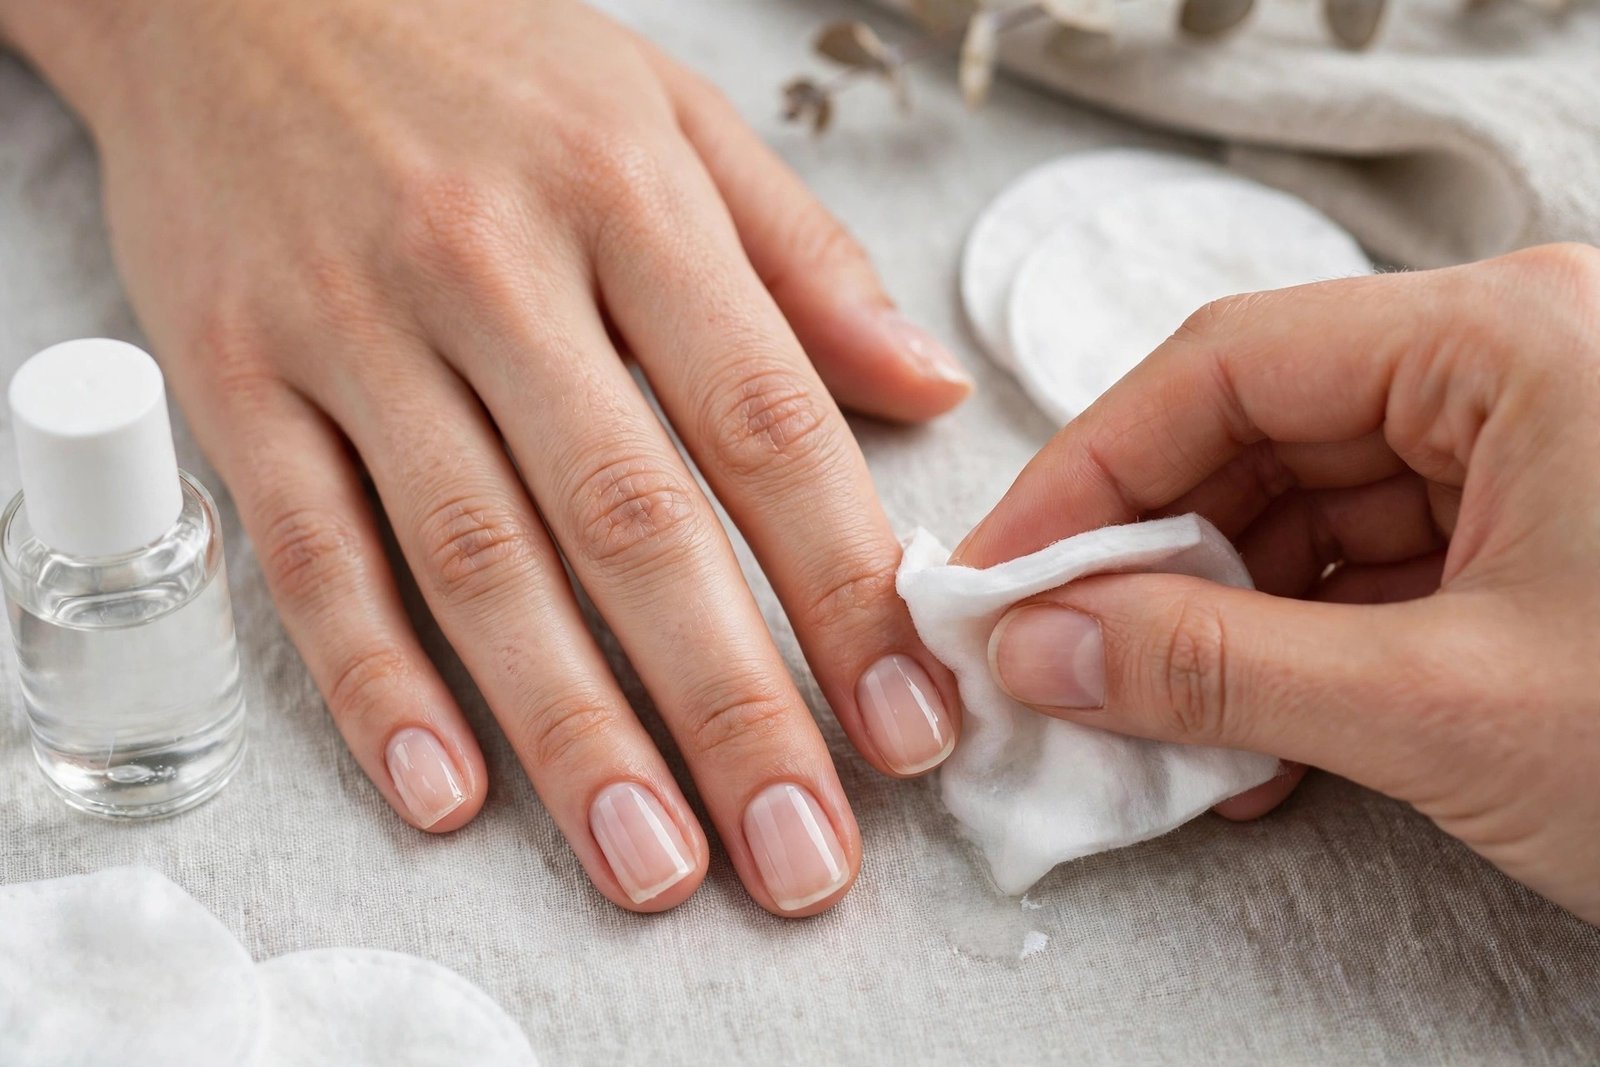
Acetone is an extremely effective polish remover, but it is also extremely drying, dissolving the natural oils in the nail plate and leaving it white, chalky and brittle after just one use. In summer a healthy nail can recover quickly, but in winter that dryness stacks on top of cold-air damage and often triggers peeling that lasts for weeks. An acetone-free remover works more slowly, yet it leaves the nail far more moisturised, and many formulas now include glycerin or oils that condition while they remove polish. For anyone who changes polish weekly, this single switch can transform winter nail health.
Soak a cotton pad with acetone-free remover, press it onto the nail and hold it for ten to fifteen seconds so the polish softens, then wipe gently toward the tip. Repeat with a fresh pad if needed rather than scrubbing hard, which can scratch the nail surface. For glitter or dark polish, hold the pad a little longer and use a second pad. After removal, wash your hands with lukewarm water and mild soap, then apply cuticle oil and hand cream immediately to replace any moisture lost during the process.
Use acetone-free remover for every regular polish change in winter, saving acetone only for stubborn gel or glitter that will not budge. The mistake is rubbing aggressively to speed things up, which damages the nail surface, or leaving acetone-soaked cotton on the nail for many minutes. Another mistake is removing polish every day; give nails at least a day or two of rest between manicures. If your nails feel dry after removal, add an extra layer of oil that evening.
11. Weekly Warm Olive Oil Soak
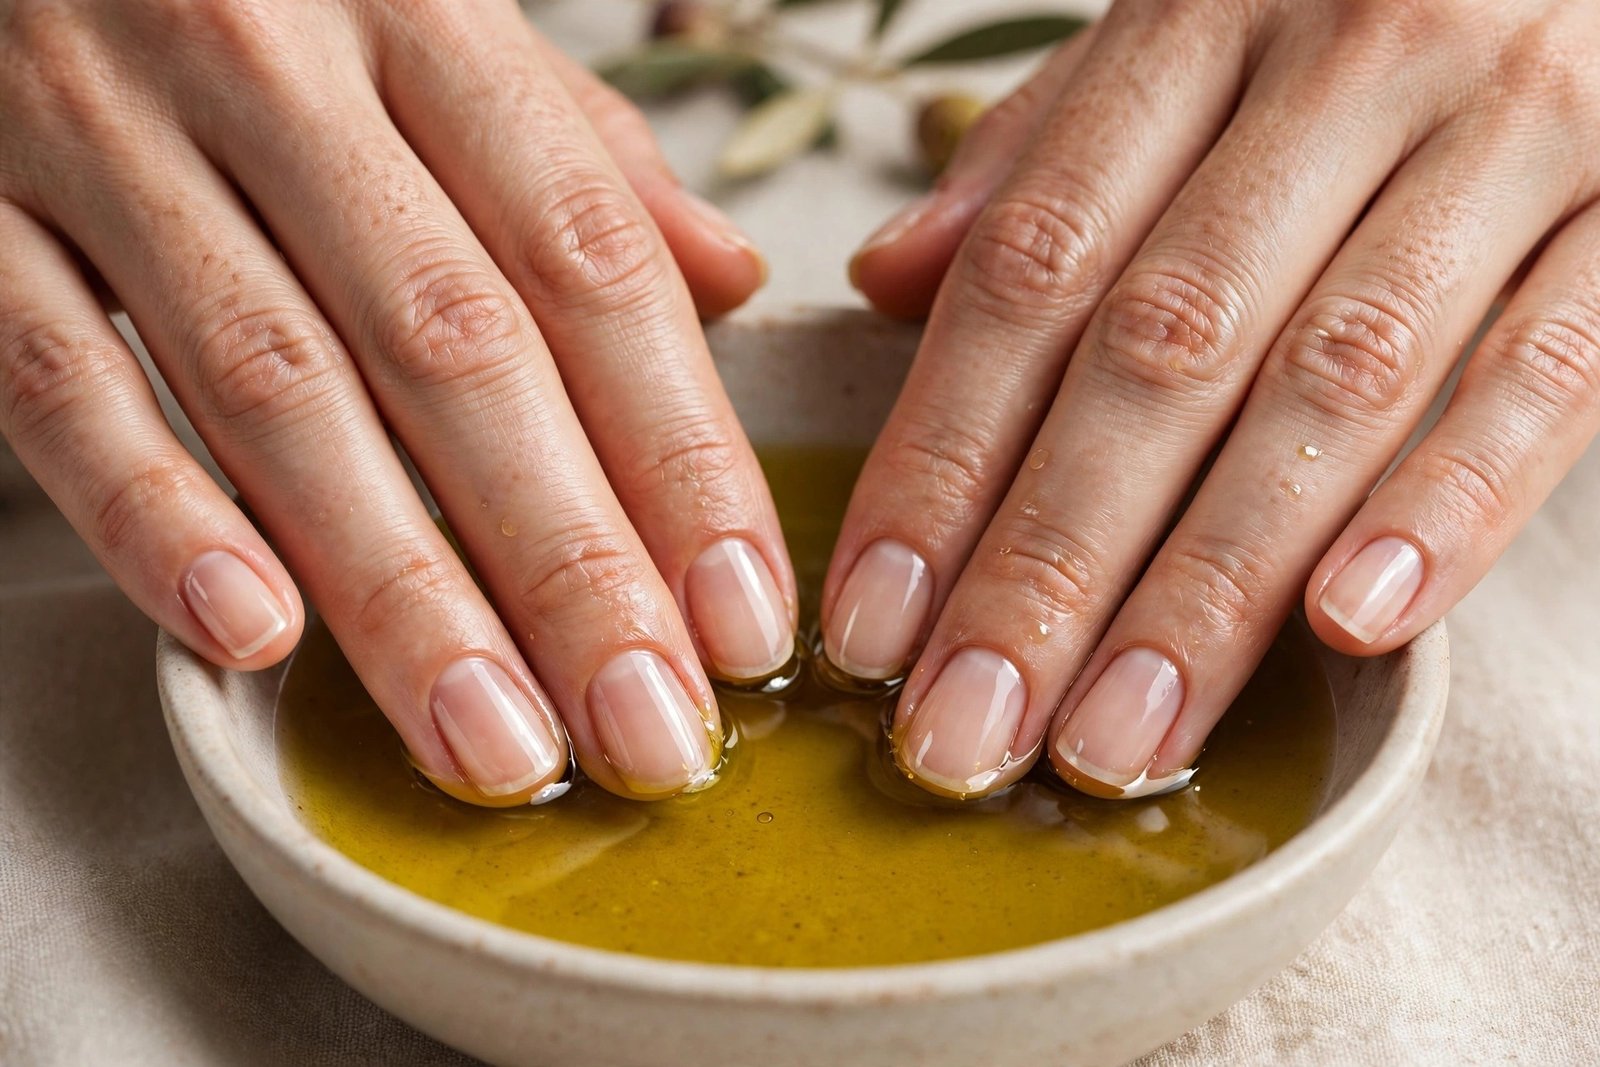
Warm olive oil is a classic nail treatment because it is rich in vitamin E and healthy fats that penetrate the nail plate and the cuticle far better than water-based products. Soaking nails in warm oil softens dry cuticles, adds flexibility to a brittle nail, and leaves a subtle shine even without polish. The warmth itself helps too, opening the skin slightly so the oil absorbs more deeply, and the ritual feels calming on a cold evening. This is one of the oldest and cheapest treatments in this guide, and it still works because the science is simple: oil replaces what winter removes.
Warm a small bowl of extra virgin olive oil in the microwave for ten seconds, or stand the bowl in hot water until it feels comfortably warm, never hot. Soak your fingertips for ten to fifteen minutes, gently massaging the oil into each cuticle halfway through. Remove your hands, wipe off the excess with a soft cloth, and massage the remaining oil into your nails and hands instead of washing it off. Do this in the evening so the oil can keep working overnight, and wear cotton gloves if you want the treatment to last even longer.
Repeat once a week through winter, or twice a week if your nails are very dry or peeling. The mistake is using oil that is too hot, which can burn or irritate skin, or soaking for thirty minutes, which can over-soften nails and make them bendy. Another mistake is washing the oil off with soap straight after, which removes the benefit. Store the oil in a clean jar and reuse it for two or three soaks before replacing it.
12. Jojoba Oil Soak for Deep Hydration
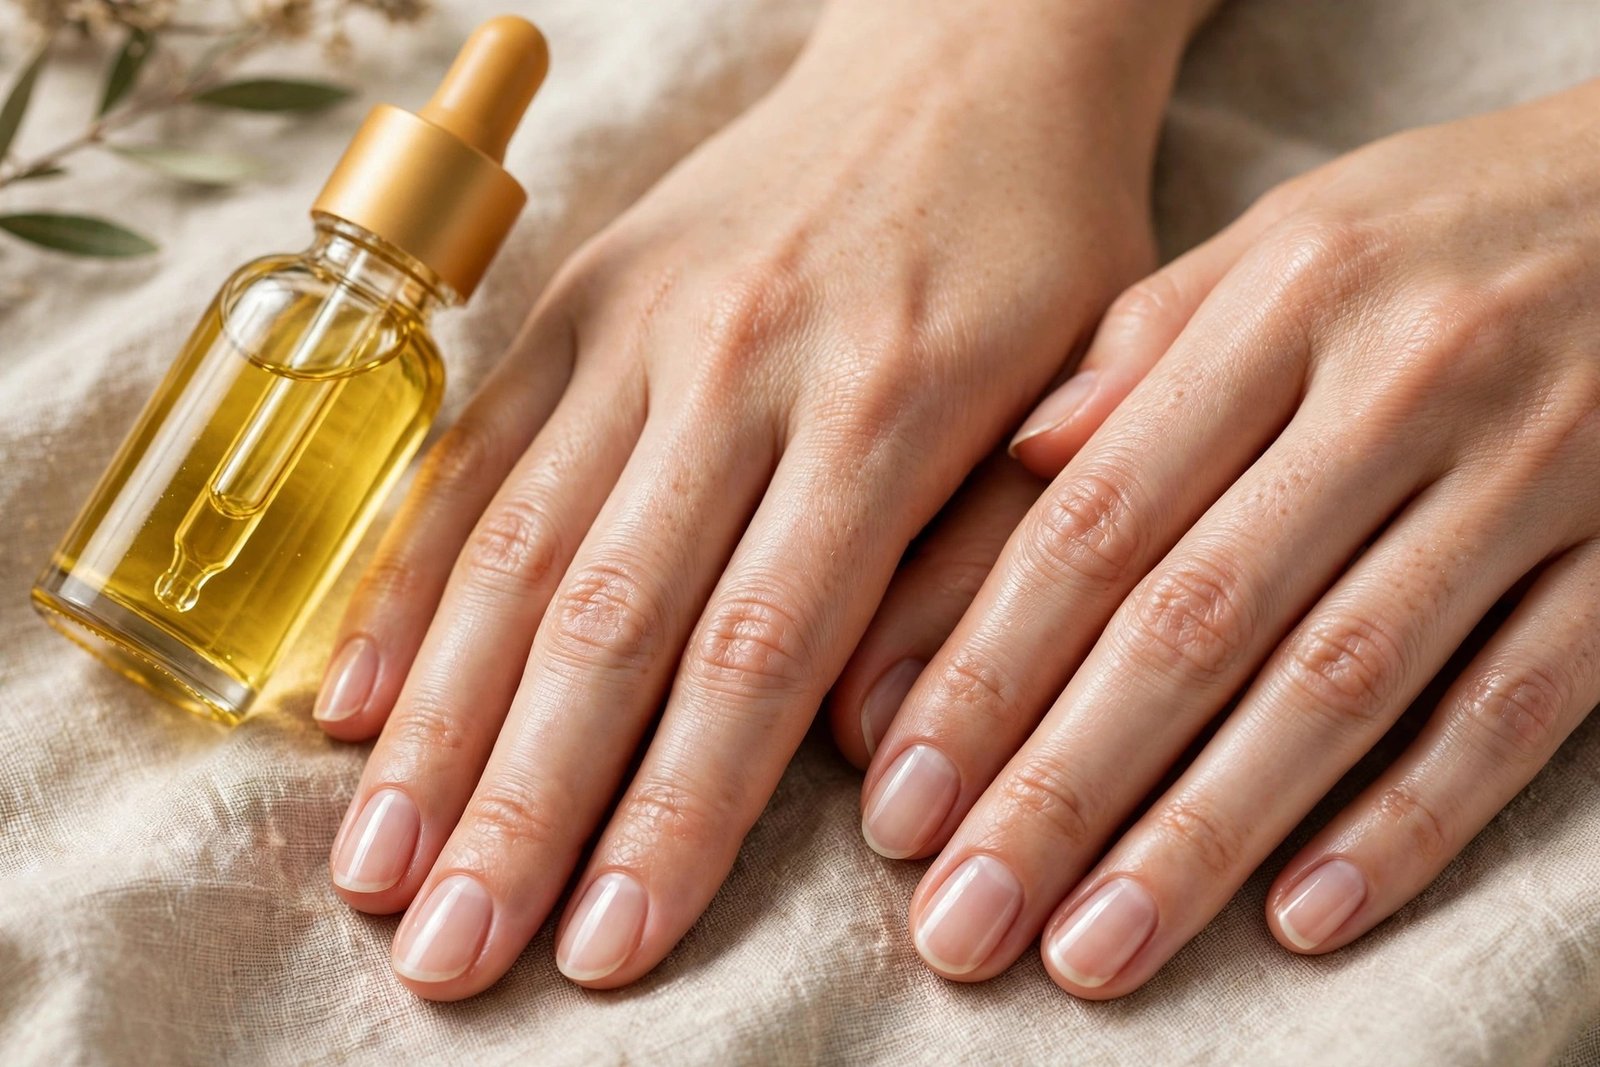
Jojoba oil is special because its structure is almost identical to the skin’s own natural oil, sebum, so it absorbs more easily and deeply than most other oils. It does not sit on the surface; it sinks into the nail plate and cuticle, delivering moisture where it is actually needed. For winter nails that feel rough, look dull or peel in thin layers, jojoba is often the fastest way to restore flexibility and shine. It is also light and non-greasy, so it works well during the day as well as at night, and it rarely irritates sensitive skin.
Pour a small amount of pure jojoba oil into a bowl and warm it gently between your palms or in warm water. Soak your fingertips for ten minutes, or simply massage a few drops into each nail and cuticle twice a day if you prefer a quicker routine. For a deeper treatment, apply a generous layer before bed, cover with cotton gloves, and let it work overnight. You can also add a drop of jojoba to your hand cream to boost its moisturising power without buying a new product.
Use jojoba oil daily as a cuticle treatment and weekly as a soak for best results. The mistake is buying a blend that is mostly mineral oil with only a little jojoba, which will not absorb the same way; check the label for pure jojoba oil. Another mistake is applying it over dirty or oily nails and expecting it to sink in; start with clean hands. If you have a nut allergy, jojoba is generally well tolerated, but patch test first.
13. DIY Sugar Hand Scrub
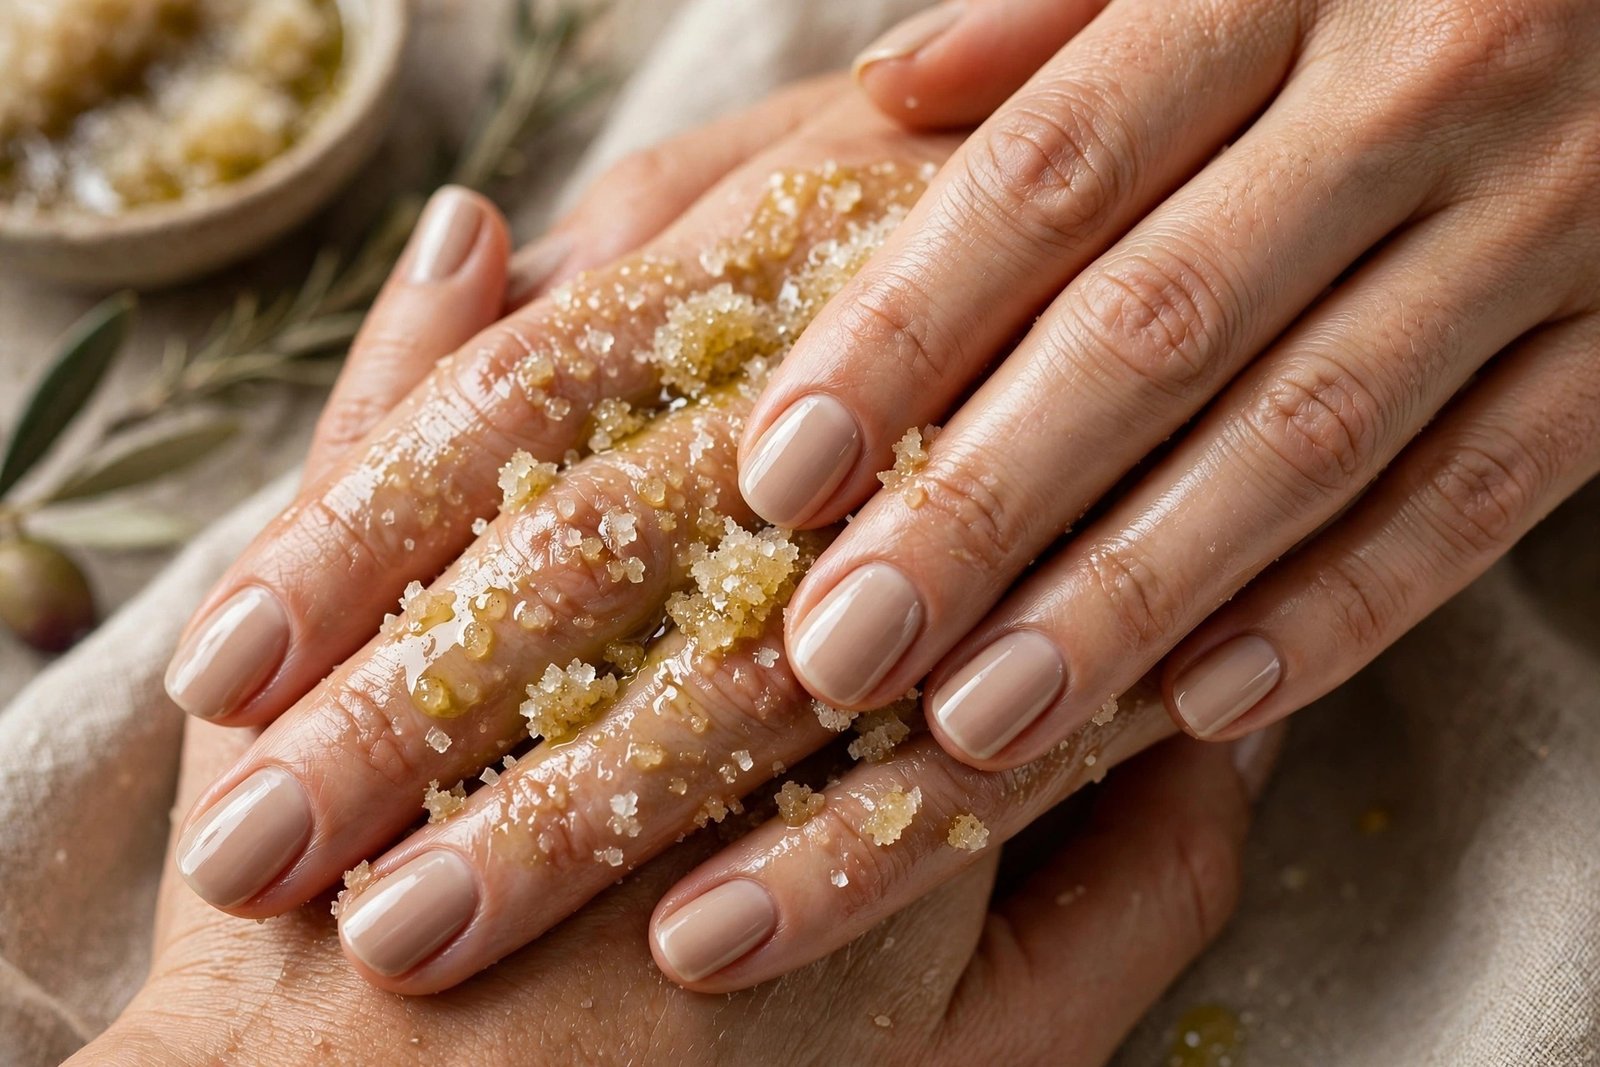
A gentle sugar scrub removes the rough, flaky skin that builds up on hands in winter, allowing moisturisers and oils to actually reach the skin and nails instead of sitting on dead cells. When hands are covered in dry patches, even the best cream cannot absorb properly, so nails and cuticles stay dry underneath. Sugar is a natural exfoliant that dissolves as you massage, so it is far gentler than harsh salt scrubs, and mixed with olive oil it moisturises while it exfoliates. The result is smoother hands, softer cuticles and a cleaner nail edge, all from ingredients already in your kitchen.
Mix two tablespoons of fine sugar with one tablespoon of olive oil and a teaspoon of honey in a small bowl. Massage the mixture over damp hands in gentle circles for two minutes, paying attention to the knuckles and the skin around the nails, but avoiding any cracked or broken skin. Rinse with lukewarm water, pat dry, and immediately apply a thick hand cream and cuticle oil. Your hands should feel smooth and soft straight away, without any tightness or redness. Make a fresh batch each time rather than storing it.
Use a sugar scrub once a week, never more often, because over-exfoliating strips the skin barrier and makes winter dryness worse. The mistake is scrubbing hard or using coarse sugar on sensitive skin, which can cause tiny tears and soreness. Another mistake is exfoliating cracked or bleeding hands, which will sting and slow healing. Always moisturise immediately afterwards, because freshly exfoliated skin loses moisture very quickly.
14. Paraffin Hand Treatment
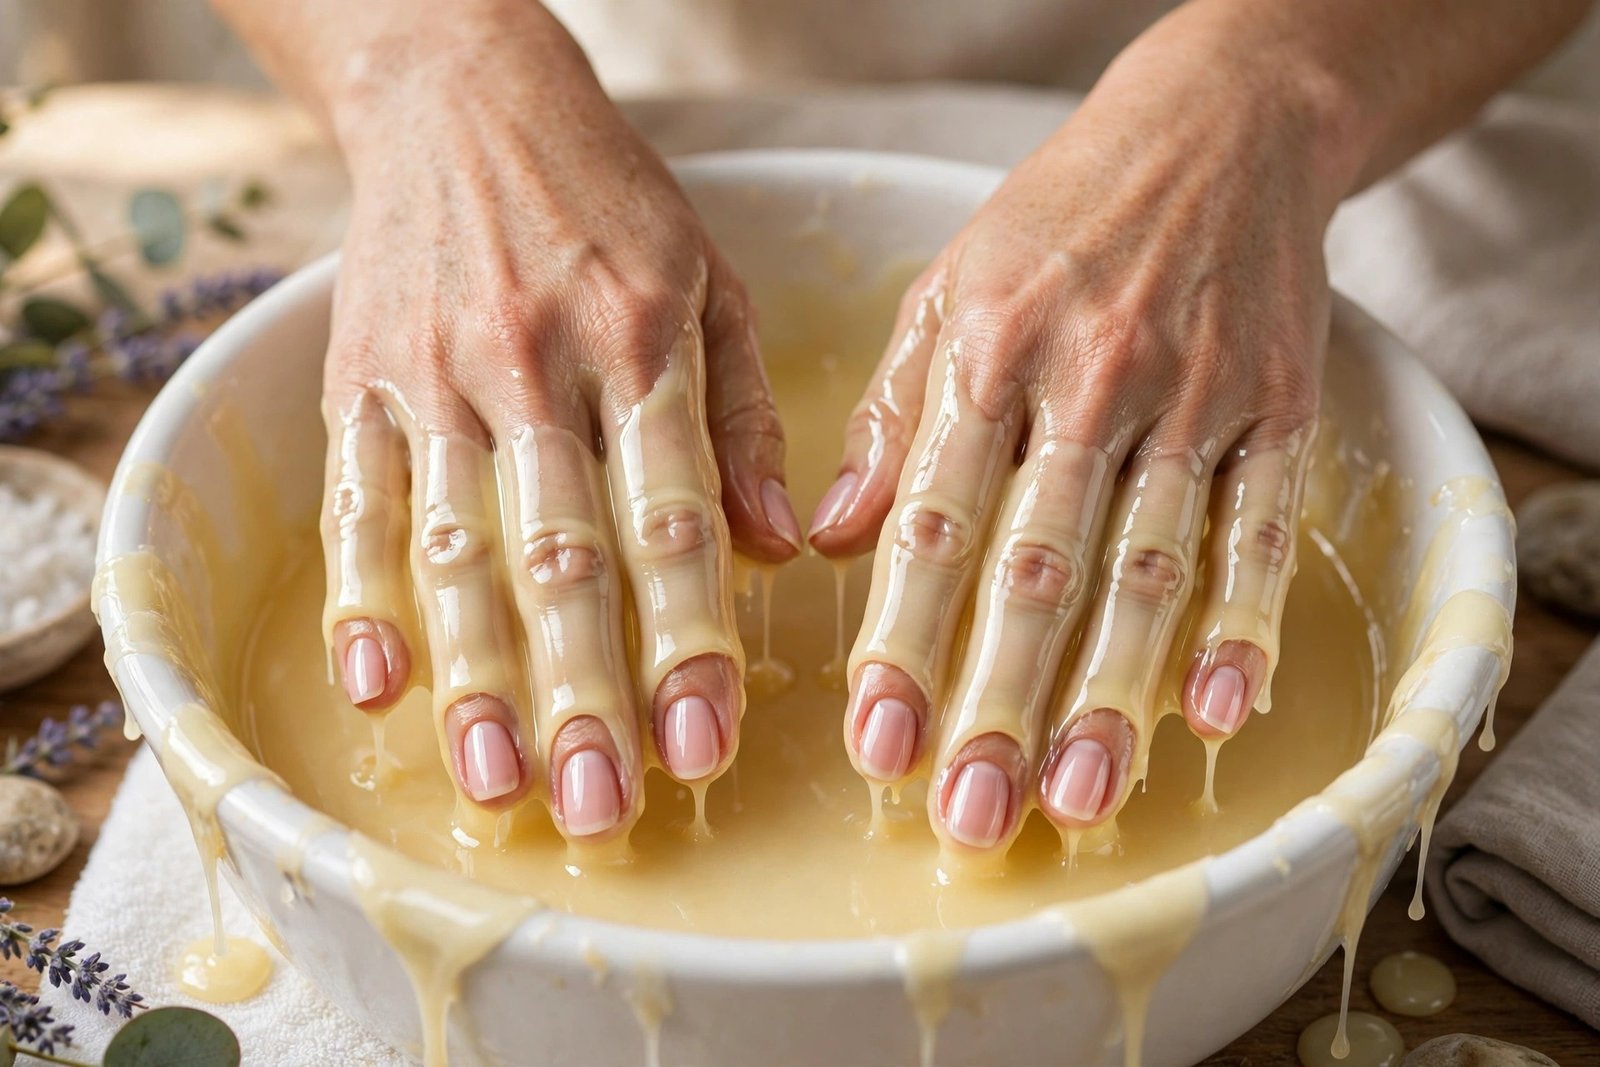
Paraffin wax is a salon favourite because it traps heat and moisture against the skin, opening pores and allowing deep hydration to reach the hands, cuticles and nails. The warm wax forms a seal that prevents moisture from escaping, so the skin underneath becomes dramatically softer after just one session. For hands that are cracked, rough or painfully dry, paraffin can provide relief that ordinary cream cannot match. It also eases stiffness in cold fingers and leaves nails looking healthier because the cuticles are fully softened and nourished.
At a salon, your hands are coated in moisturiser, dipped several times into warm melted paraffin, wrapped in plastic and towels, and left for fifteen to twenty minutes before the wax is peeled away. At home, you can use a paraffin bath kit, following the instructions carefully and testing the temperature on your wrist first. After removing the wax, massage in the remaining moisturiser and apply cuticle oil. Your hands will feel soft and warm for hours, and the effect lasts several days if you keep moisturising.
Book a paraffin treatment once or twice a month in winter, or use a home kit every two weeks. The mistake is using wax that is too hot, which can burn, or doing paraffin on broken, infected or very cracked skin, where heat can make things worse. Never reuse wax that has been in contact with skin without proper hygiene. If you have diabetes or poor circulation, ask a doctor before trying a hot paraffin treatment.
15. Silk Nail Wraps for Splits
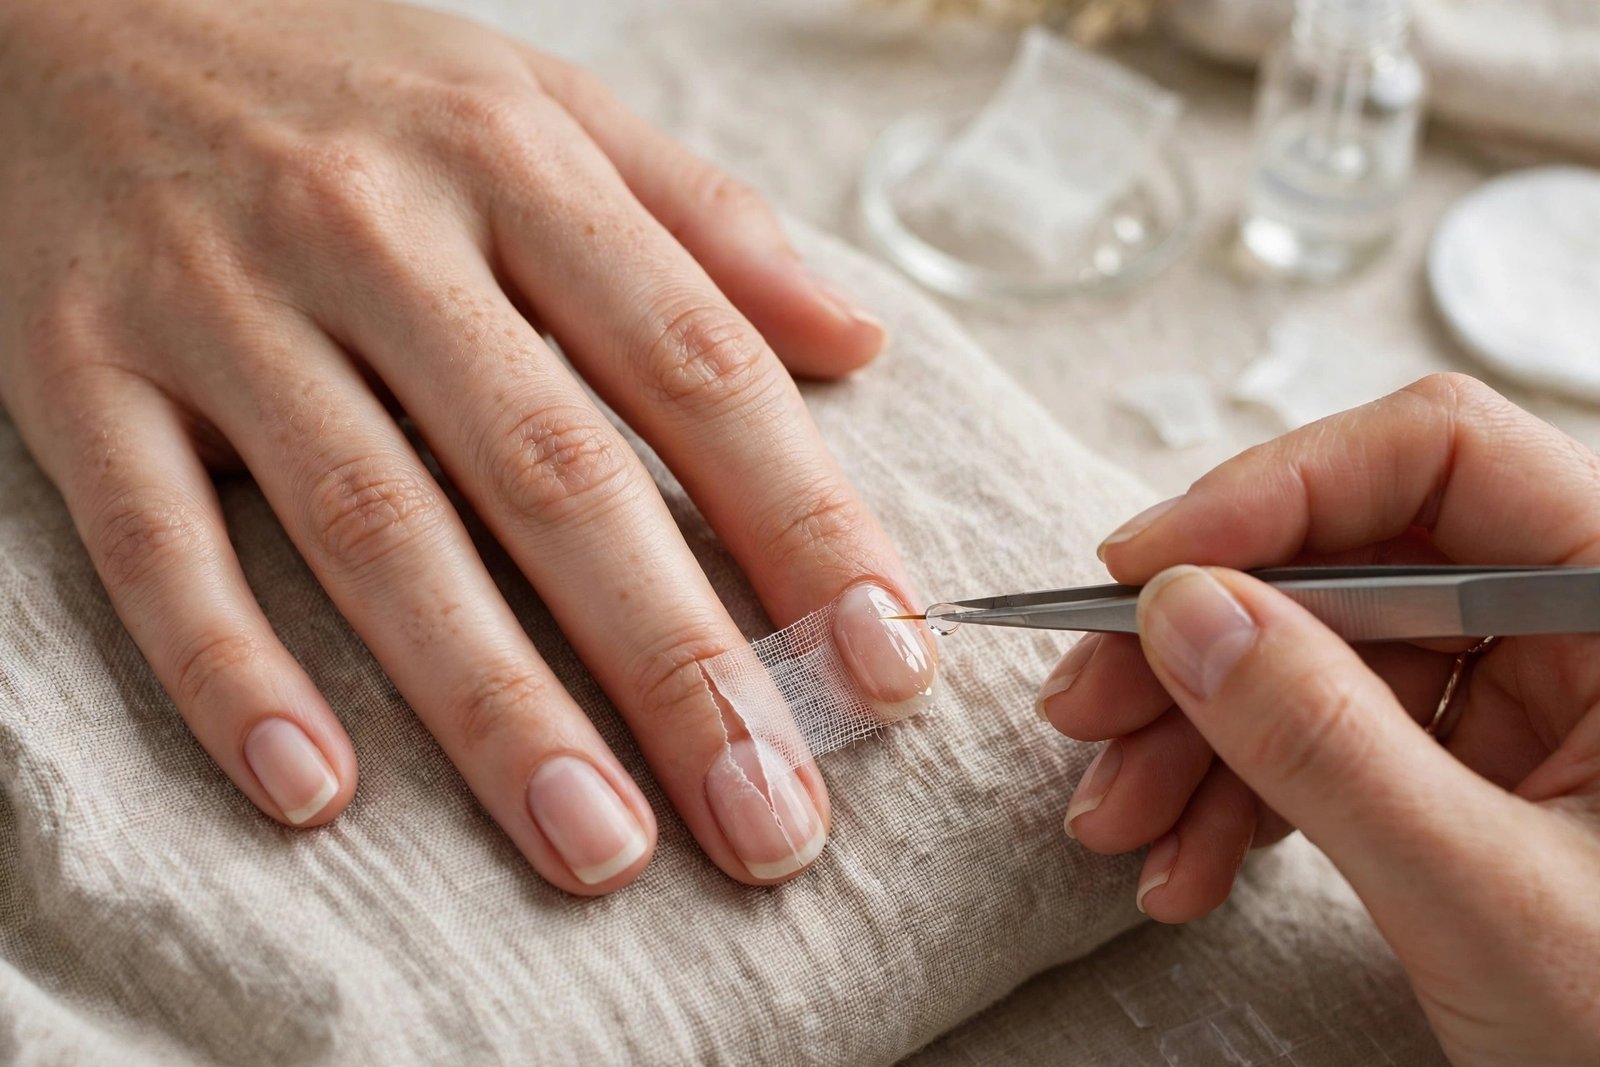
A silk wrap is a thin piece of fabric glued over a split or torn nail, holding the two sides together so the nail can keep growing without the split travelling further. This is a lifesaver in winter, when a single split can force you to cut all your nails short or stop wearing polish for weeks. The wrap is nearly invisible under polish, it adds strength without the damage of acrylic, and it lets you keep your length while the damaged area grows out. For anyone who has ever lost a good nail to one small crack, this technique is worth learning.
Clean the nail and gently buff the surface, then cut a piece of silk wrap to cover the split and a little beyond it. Apply a drop of nail glue or resin, press the silk into place with an orange stick, and let it dry. Add a second thin layer of glue over the top, let it dry completely, then gently file the edges smooth and apply a base coat. The repair should feel smooth, with no rough edge to catch. Replace the wrap every week or when it starts to lift, and keep the nail shortish while it heals.
Use silk wraps only for splits and tears, not as a routine strengthening method. The mistake is wrapping the whole nail thickly, which looks bulky and can trap moisture underneath. Another mistake is using too much glue, which can damage the nail surface when removed. Always remove a wrap by soaking it off gently, never by peeling it away, and give the nail a day of oil and rest before reapplying.
16. Gel Removal Without Peeling
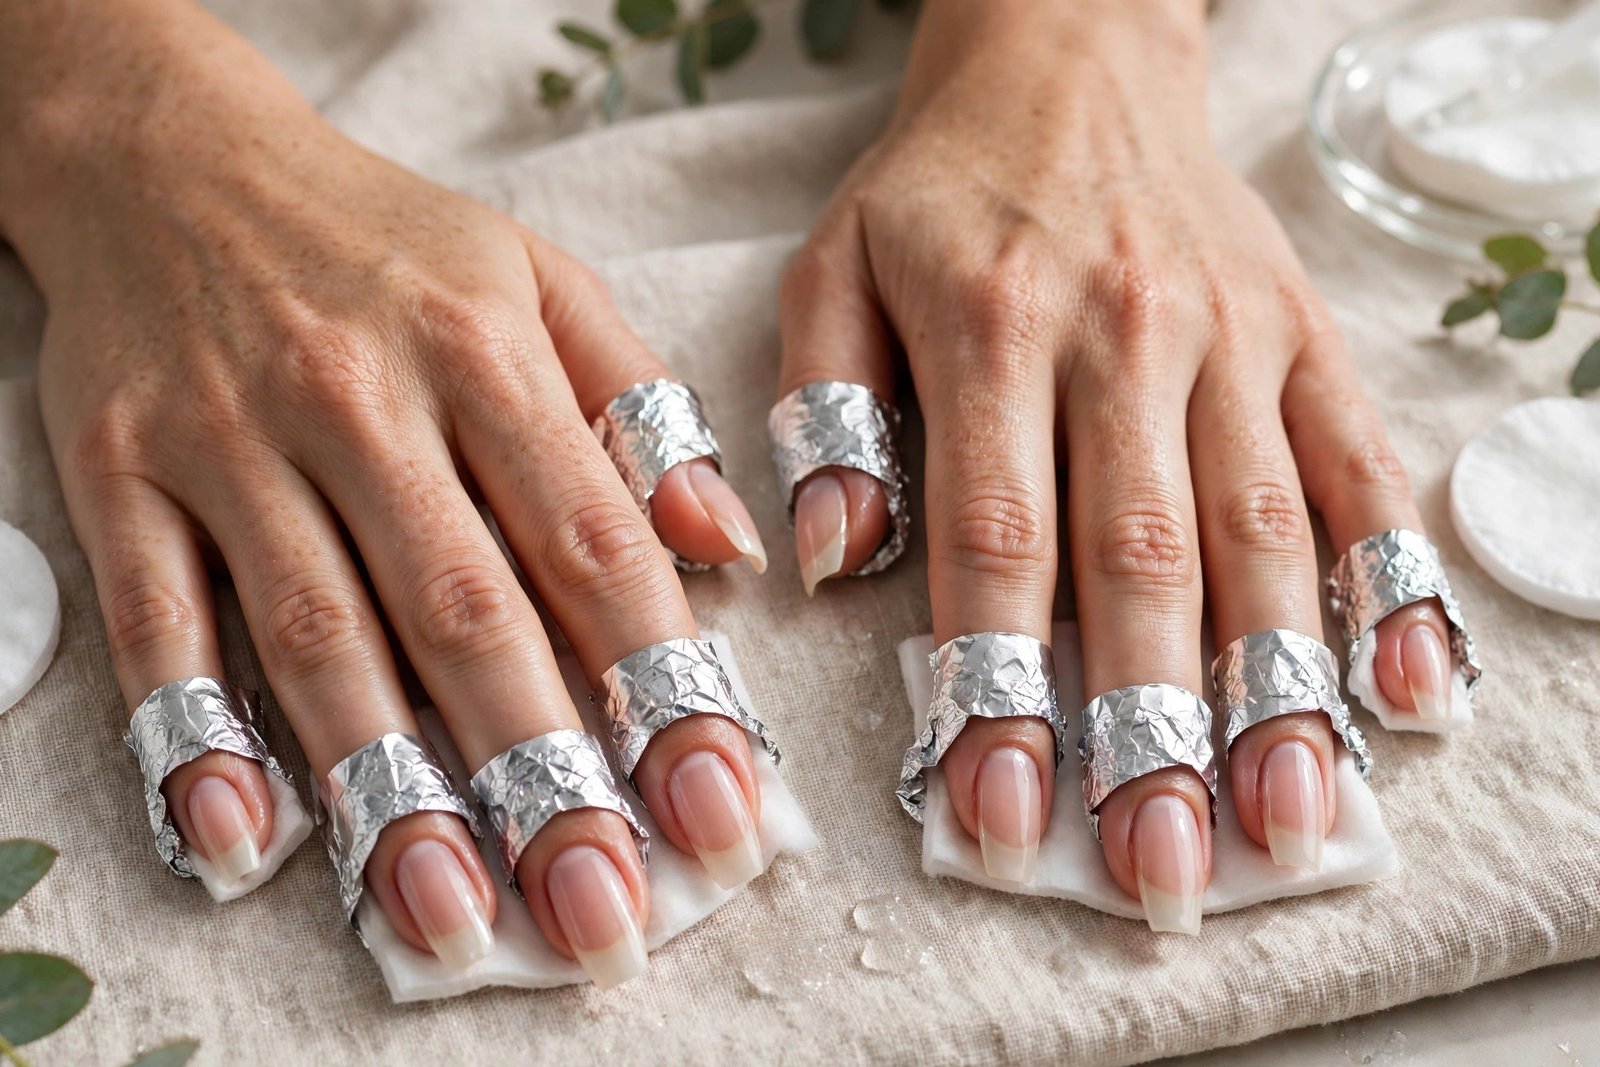
Peeling gel polish off is the fastest way to ruin winter nails because it strips away thin layers of the nail plate along with the gel, leaving nails paper-thin, bendy and painful. Proper removal by soaking takes a little longer, but it preserves the nail underneath, so your next manicure starts on a healthy surface rather than a damaged one. In winter, when nails are already fragile, this difference matters even more, and a gentle removal can be the line between strong nails and months of breakage. Patience here saves you weeks of growing out damage.
File the shiny top coat lightly to break the seal, then soak cotton pads in acetone, place one on each nail, and wrap each fingertip in foil for fifteen minutes. Check one nail; the gel should lift easily with an orange stick. If it resists, rewrap for another five minutes rather than forcing it. Gently push the softened gel away, buff the surface very lightly, wash your hands, and apply cuticle oil generously. Give nails at least a day of rest before applying new polish, and use a strengthening base coat next time.
Remove gel only by soaking, every single time, with no exceptions. The mistake is peeling gel when it starts to lift at the edges, which feels satisfying but causes the most damage. Another mistake is leaving acetone wraps on for thirty minutes, which over-dries the nail and skin. If you wear gel constantly through winter, schedule a one-week break every month to let nails recover with oil and a breathable base coat.
17. Letting Nails Breathe Between Manicures
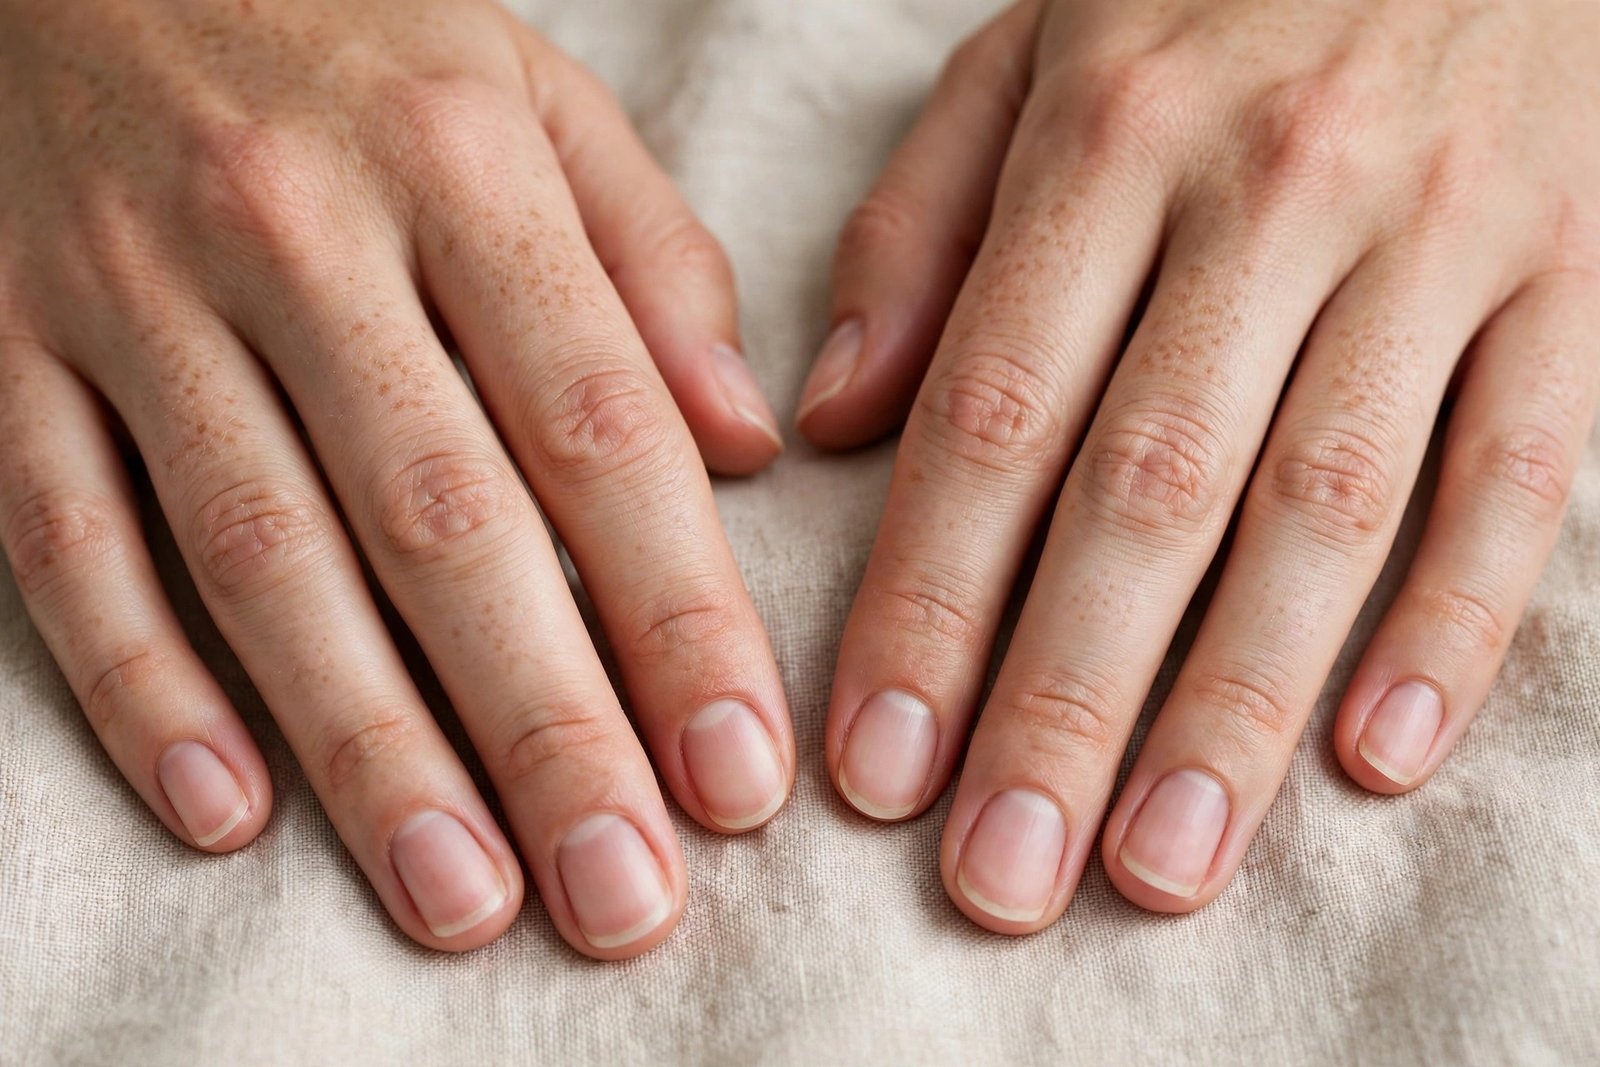
Nails do not literally breathe, since they are dead keratin, but a break from polish gives the nail plate time to rehydrate and recover from the chemicals in polish and remover. Constant polish, especially dark colours and gel, can leave nails stained, dry and dehydrated, with a rough surface that peels more easily. A few bare days let cuticle oil and moisture sink directly into the nail without a barrier in the way, and it also gives you a chance to see the true colour and condition of your nails, so problems like discolouration or splitting are spotted early.
After removing polish, wash your hands and apply a generous layer of cuticle oil, then a strengthening base coat or a clear hydrating treatment if you want a polished look without colour. Keep nails short and smooth during the break, file any snags immediately, and moisturise several times a day. Use the time to do an oil soak or an overnight mask, which work best on bare nails. After three to seven days, your nails should look brighter, feel smoother, and be ready for a fresh manicure that will last longer.
Take a break of at least three days between manicures in winter, and a full week once a month if your nails are weak. The mistake is going straight from one gel manicure to the next for months without a gap, which leaves nails thinner every cycle. Another mistake is using the break to pick at the nail surface or peel off leftover polish, which causes more damage than the polish did. If you cannot bear bare nails, a clear breathable base coat is a good compromise.
18. Nail Hardener Treatment

A nail hardener is a treatment polish that adds a firm, protective layer over a soft or bendy nail, reducing the flexing that leads to breakage. Winter nails often become too flexible because they are dehydrated, so they bend and then snap at the free edge. A hardener makes the nail more rigid for a few days at a time, giving it a chance to grow past the danger zone without breaking. It is especially useful for people who have just removed gel or acrylics and whose nails feel paper-thin, or for anyone whose nails always break at the same length.
Apply one thin coat of hardener to clean, dry nails, let it dry, and add a second coat if the instructions allow. Wear it alone or under colour, and reapply a fresh coat every two or three days, removing it completely at the end of the week and starting again. Always follow the product instructions, because some hardeners are designed for short courses only. Pair the hardener with daily cuticle oil, which keeps the nail flexible underneath the rigid top layer, so the nail does not become brittle.
Use a hardener in short courses of two to three weeks, then take a break and switch to a hydrating base coat. The mistake is using a hardener continuously for months, which can make nails so rigid that they snap instead of bending, and can cause peeling in layers. Another mistake is applying it over polish, where it cannot reach the nail at all. If your nails become painful, yellow or start to split more, stop the hardener and return to oil and moisturiser only.
19. Preventing Winter Splitting
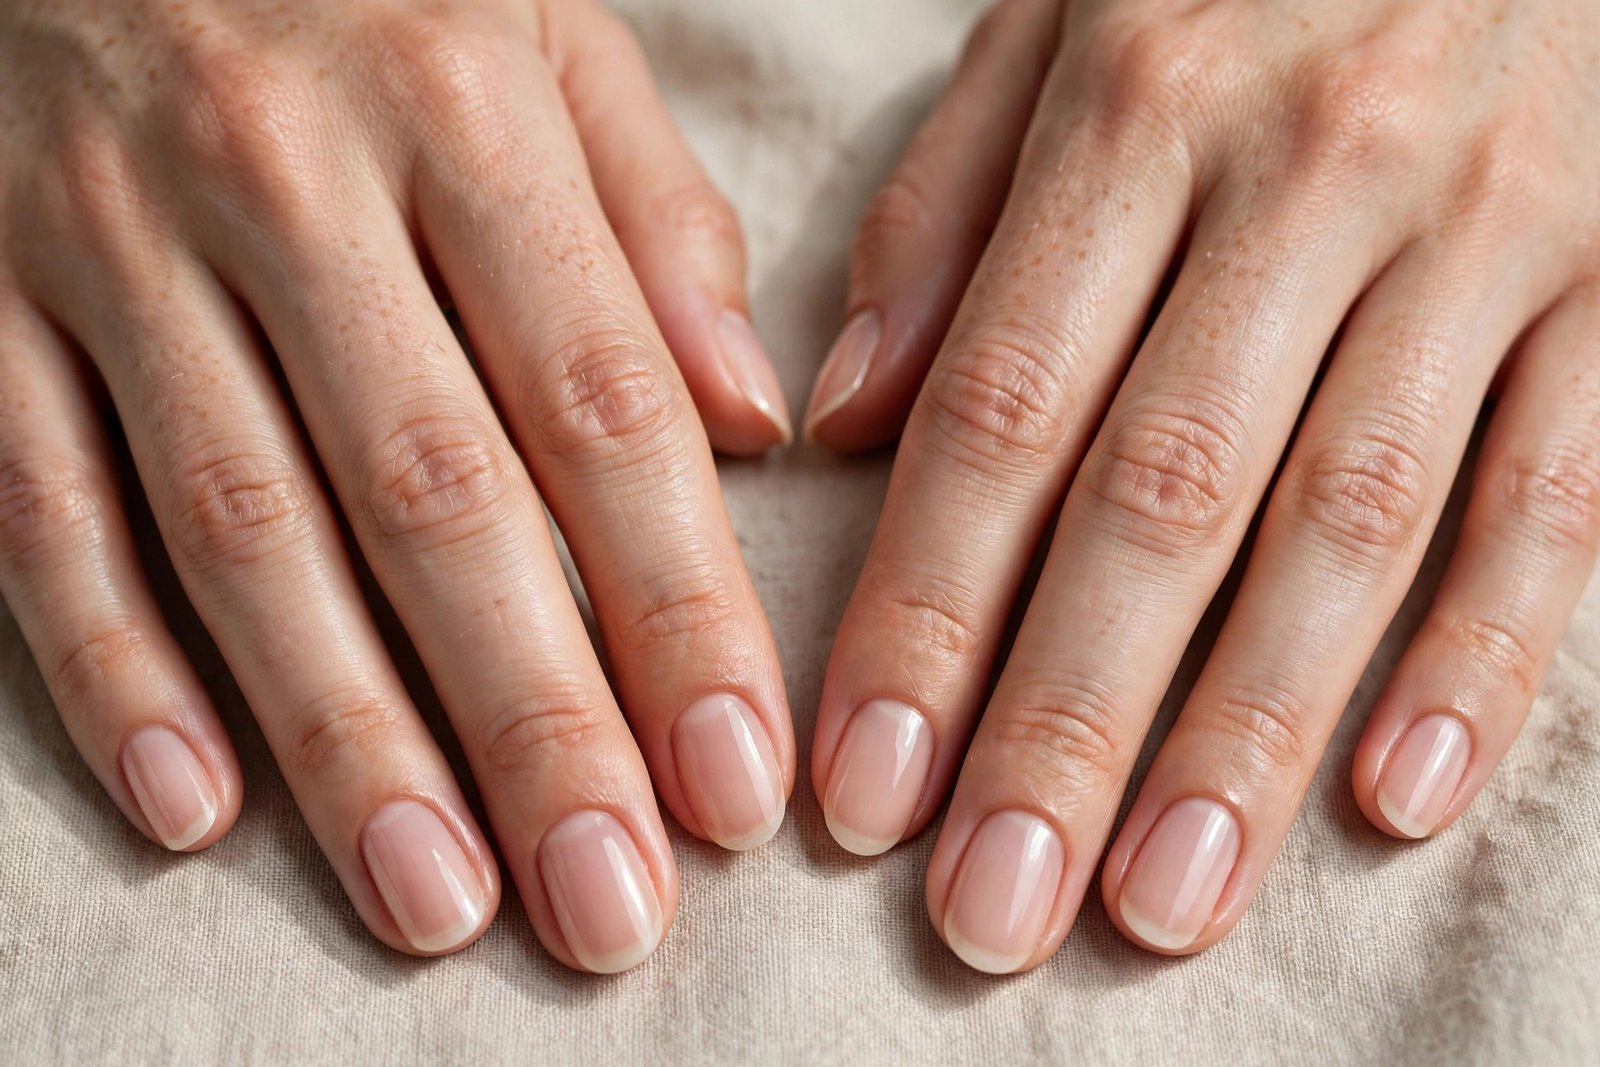
Winter splitting happens when the nail plate dries out and its layers separate, usually starting at the free edge and working backwards. Once a split starts, everyday actions like opening a tin, typing or pulling on a jumper make it worse, and the nail often breaks unevenly, leaving a jagged edge that catches on everything. Prevention works because it tackles the dryness before the split appears, keeping the nail flexible enough to bend slightly instead of cracking. A nail that is moisturised, filed smoothly and protected from water and chemicals is far less likely to split at all.
Keep your nails at a practical length and file the free edge smooth every week, sealing the tip with a base coat. Apply cuticle oil twice a day, wear gloves for washing up and cleaning, and avoid using your nails as tools to open cans or scrape labels. If you notice the edge starting to peel, file it smooth immediately and apply oil, rather than picking at the loose layer. A silk wrap can save a nail that has just started to split, so keep a small repair kit at home.
Check your nails for early signs of splitting every week, especially if you have had problems before. The mistake is ignoring a tiny peel and letting it travel halfway down the nail, or filing the split aggressively, which weakens the area further. Another mistake is growing nails very long in winter, when they are most vulnerable; a slightly shorter length is stronger. If splitting keeps happening despite good care, consider a biotin-rich diet and a break from gel polish.
20. Fixing a Broken Nail at Home
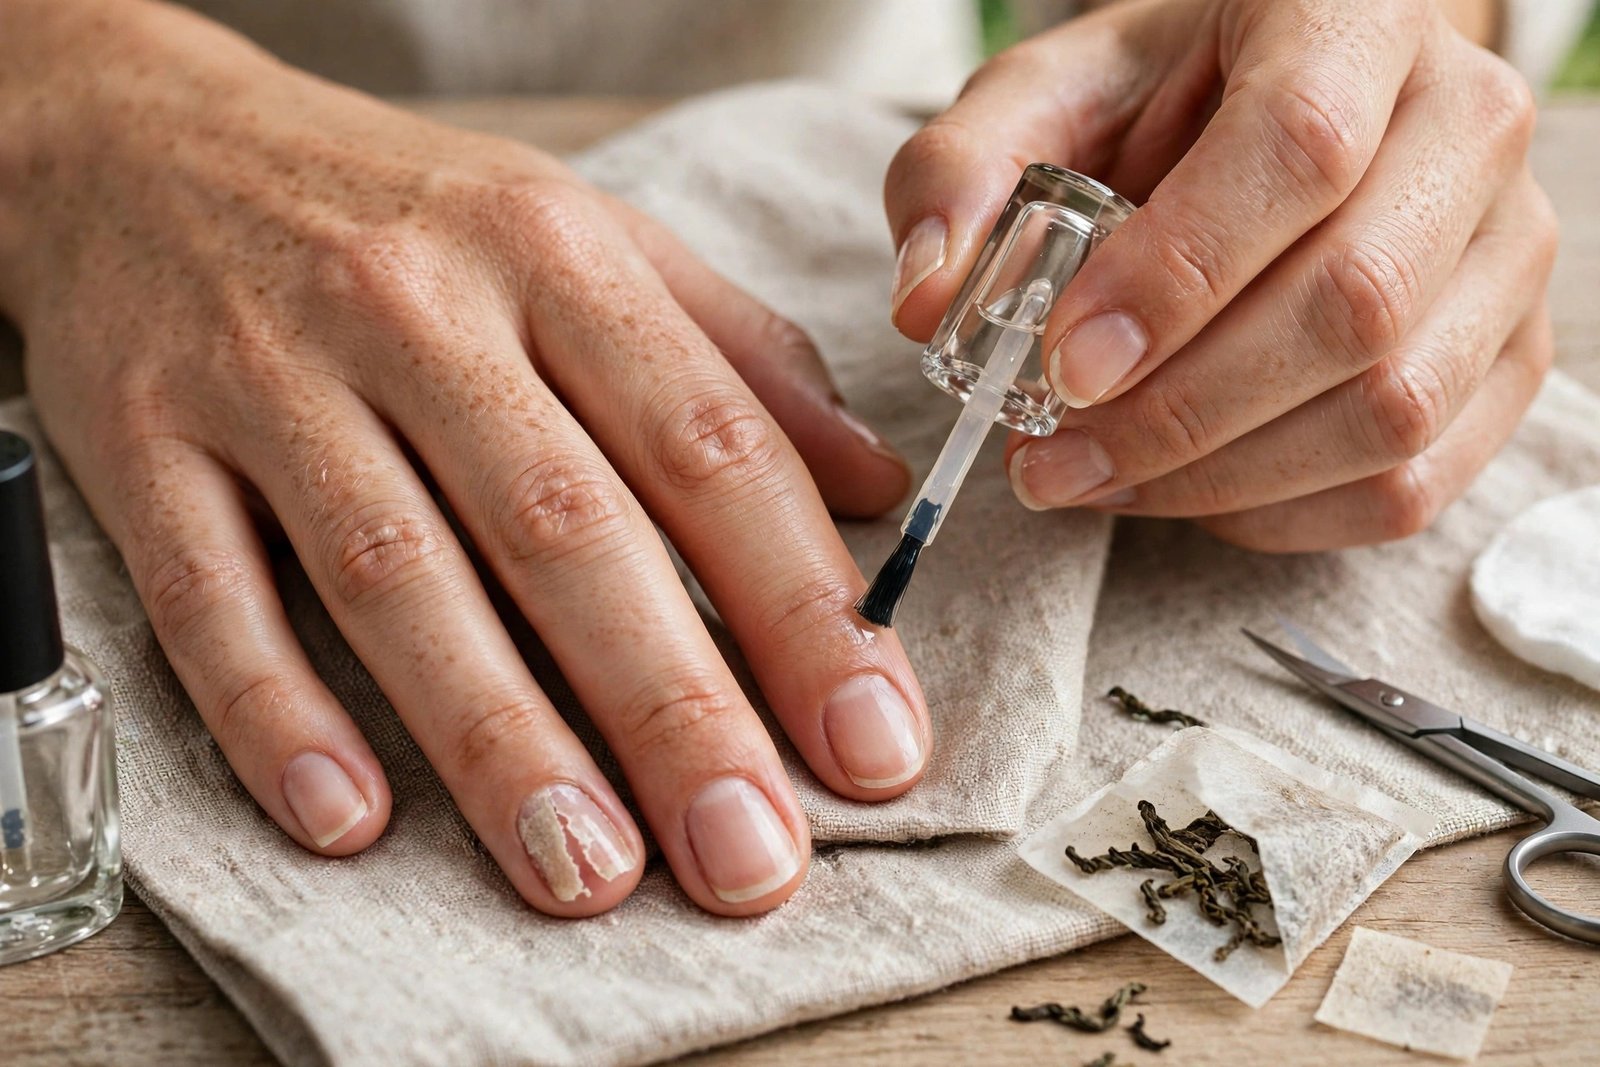
A broken nail in winter feels like a disaster, especially if it tears below the free edge and hurts, but a quick home repair can save both the nail and your manicure. The goal is to stabilise the tear so it does not catch and rip further, while keeping the area clean and protected. A tea bag patch or silk wrap does this brilliantly, acting like a tiny plaster that holds the nail together while it grows out. With a careful repair you can keep your length, wear polish over it, and avoid the pain of a nail catching on fabric every few minutes.
Clean the nail and trim any loose flap with clean clippers. Cut a small piece from an empty tea bag or silk wrap, just large enough to cover the tear. Apply a drop of nail glue, press the patch into place, let it dry, then add another thin layer of glue over the top. Once dry, gently file the edges smooth, apply a base coat and polish as normal. Keep the nail slightly shorter while it heals, and replace the patch if it starts to lift or feel rough.
Repair a break as soon as it happens, because a loose tear will catch and worsen within hours. The mistake is pulling the torn piece off completely, which can be painful and leaves the nail bed exposed. Another mistake is using superglue from a hardware tube instead of nail glue, which can irritate skin and damage the nail. If the nail bed is bleeding or very painful, keep it clean, cover it, and let it heal before applying any products.
21. Ridge-Filling Base Coat
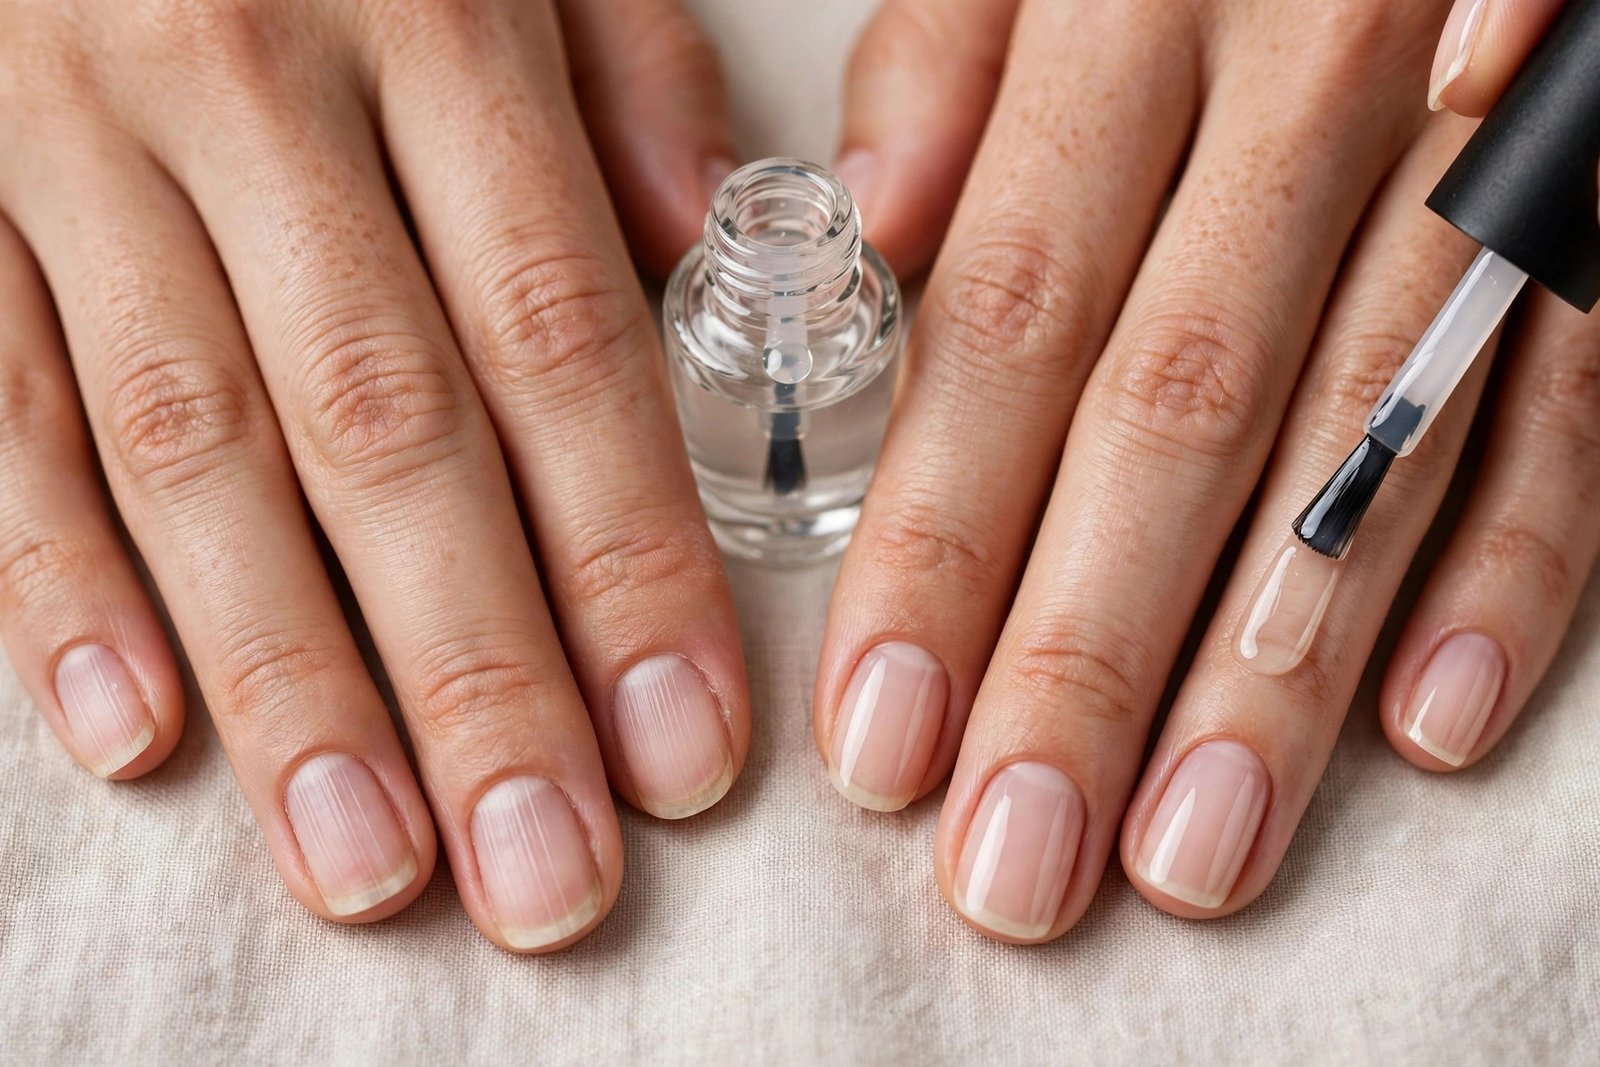
Ridges on the nail surface become more visible in winter as nails dry out, and they make polish look uneven, streaky and dull. A ridge-filling base coat is a thicker formula that fills in those tiny grooves, creating a smooth canvas so colour applies evenly and lasts longer. It also adds a layer of protection to a thin or damaged nail, and it can make bare nails look healthier and glossier on their own. For anyone whose nails have vertical ridges that seem worse in cold weather, this product is a simple, instant improvement.
Apply one coat of ridge filler to clean, dry nails and let it dry completely before adding colour. If ridges are deep, a second thin coat can be applied, but avoid building it up too thickly, which can look lumpy and peel. Wear it under polish for a smooth finish, or alone for a natural, healthy shine. Remove it gently with acetone-free remover at the end of the week, then moisturise well, because the filler itself does not hydrate the nail underneath.
Use ridge filler whenever you wear polish in winter, especially with sheer or light colours that show every imperfection. The mistake is using it to hide a serious nail problem, such as deep horizontal ridges or discolouration, which should be checked by a doctor if they appear suddenly. Another mistake is buffing ridges away aggressively to smooth them, which thins the nail. If ridges are new and severe, focus on diet, hydration and gentle care rather than covering them up.
22. Moisturising Under Polish
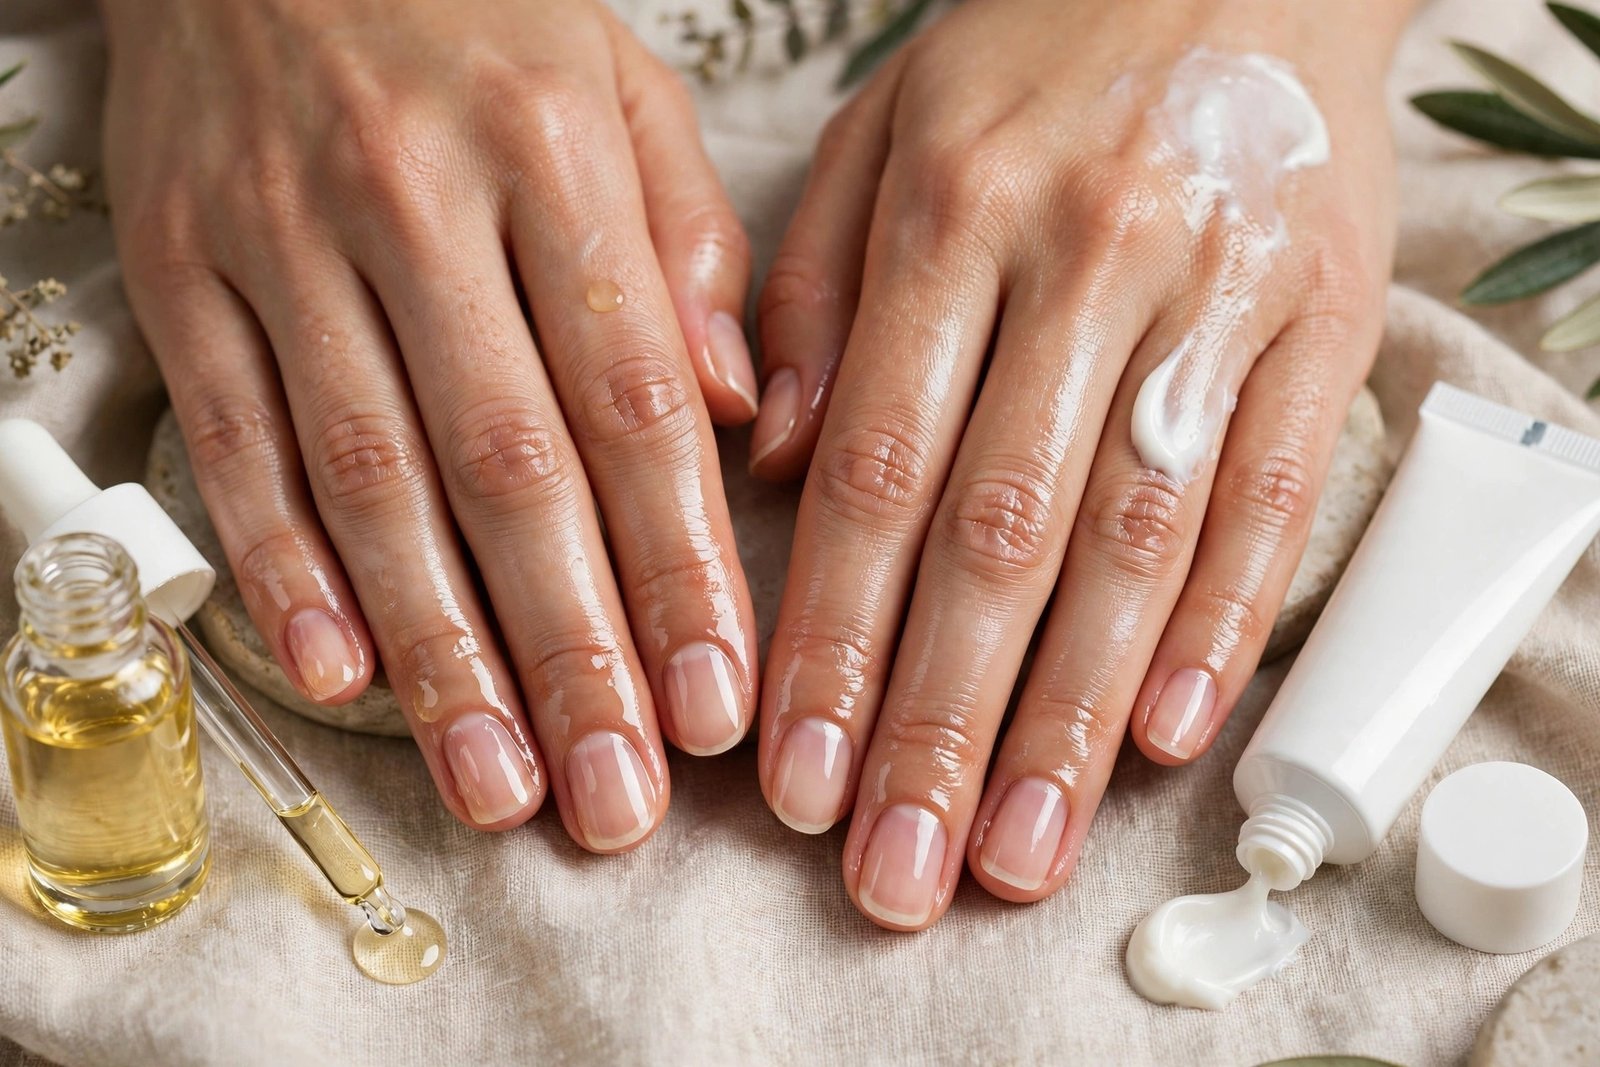
Most people moisturise after a manicure, but moisturising before polish is just as important in winter, because polish itself can dry the nail out over several days. A well-hydrated nail holds polish better, flexes without cracking, and does not peel underneath the colour. The trick is to moisturise thoroughly, then remove the surface oil just before applying polish, so the nail is hydrated underneath but the polish can still grip. This balance is what makes a winter manicure last a full week instead of chipping in two days.
The night before your manicure, do an oil soak or an overnight mask so the nail is deeply hydrated. On the day, wash your hands, apply cuticle oil, and let it sink in for ten minutes. Just before polishing, wipe each nail with a little polish remover or alcohol on a lint-free pad to remove surface oil, then apply your base coat immediately. After the polish is dry, apply oil around the cuticles again, avoiding the nail surface itself, and keep moisturising daily while the polish is on.
Moisturise the night before every manicure, and daily while polish is worn. The mistake is applying oil right before polish without wiping the nail, which causes polish to peel off in sheets. Another mistake is skipping moisturiser altogether on manicure day, leaving the nail dry under a week of polish. If your polish keeps lifting, try a dehydrator or a base coat designed for oily nails, but never skip the overnight hydration step.
23. Choosing Breathable Polish
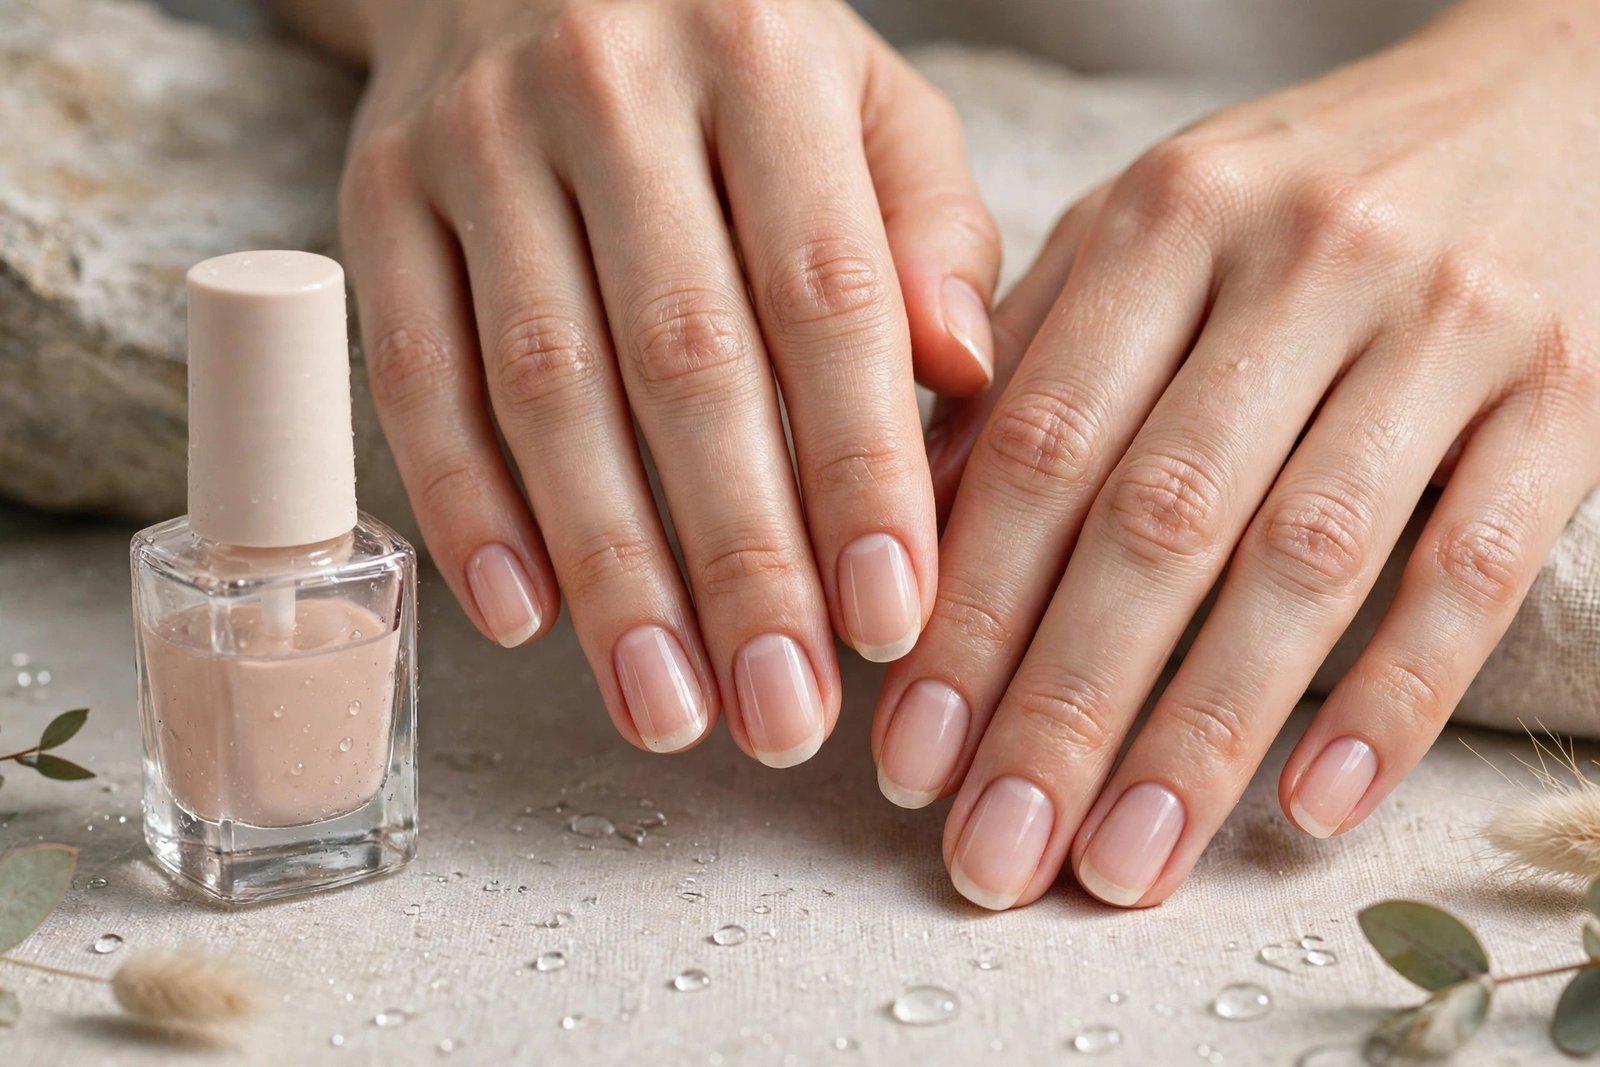
Breathable polish is designed to let tiny amounts of water and oxygen pass through to the nail, unlike traditional polish which forms a complete seal. In winter, when nails are already struggling to stay hydrated, that difference matters, because a sealed nail can become dehydrated underneath the polish while looking perfect on top. Breathable formulas are also often free from some of the harsher chemicals in conventional polish, making them gentler on sensitive nails and cuticles. They are a smart choice for anyone who wears polish constantly through the cold months.
Look for polishes labelled breathable, water-permeable or halal-friendly, and check reviews for wear time, because some formulas chip faster than traditional polish. Apply a breathable base coat underneath, two thin coats of colour, and a breathable top coat, capping the free edge each time. Remove with acetone-free remover and give nails a day of oil between manicures. You may need to touch up the tips after three or four days, which is a small trade-off for healthier nails.
Choose breathable polish for everyday winter wear, especially if your nails are weak or damaged. The mistake is expecting it to last as long as gel, which it will not; it is a healthier alternative, not a direct replacement for gel wear time. Another mistake is using a regular top coat over breathable polish, which blocks the breathability you paid for. If you love gel, alternate gel manicures with breathable polish weeks to give nails regular recovery time.
24. Nail Vitamins That Actually Help
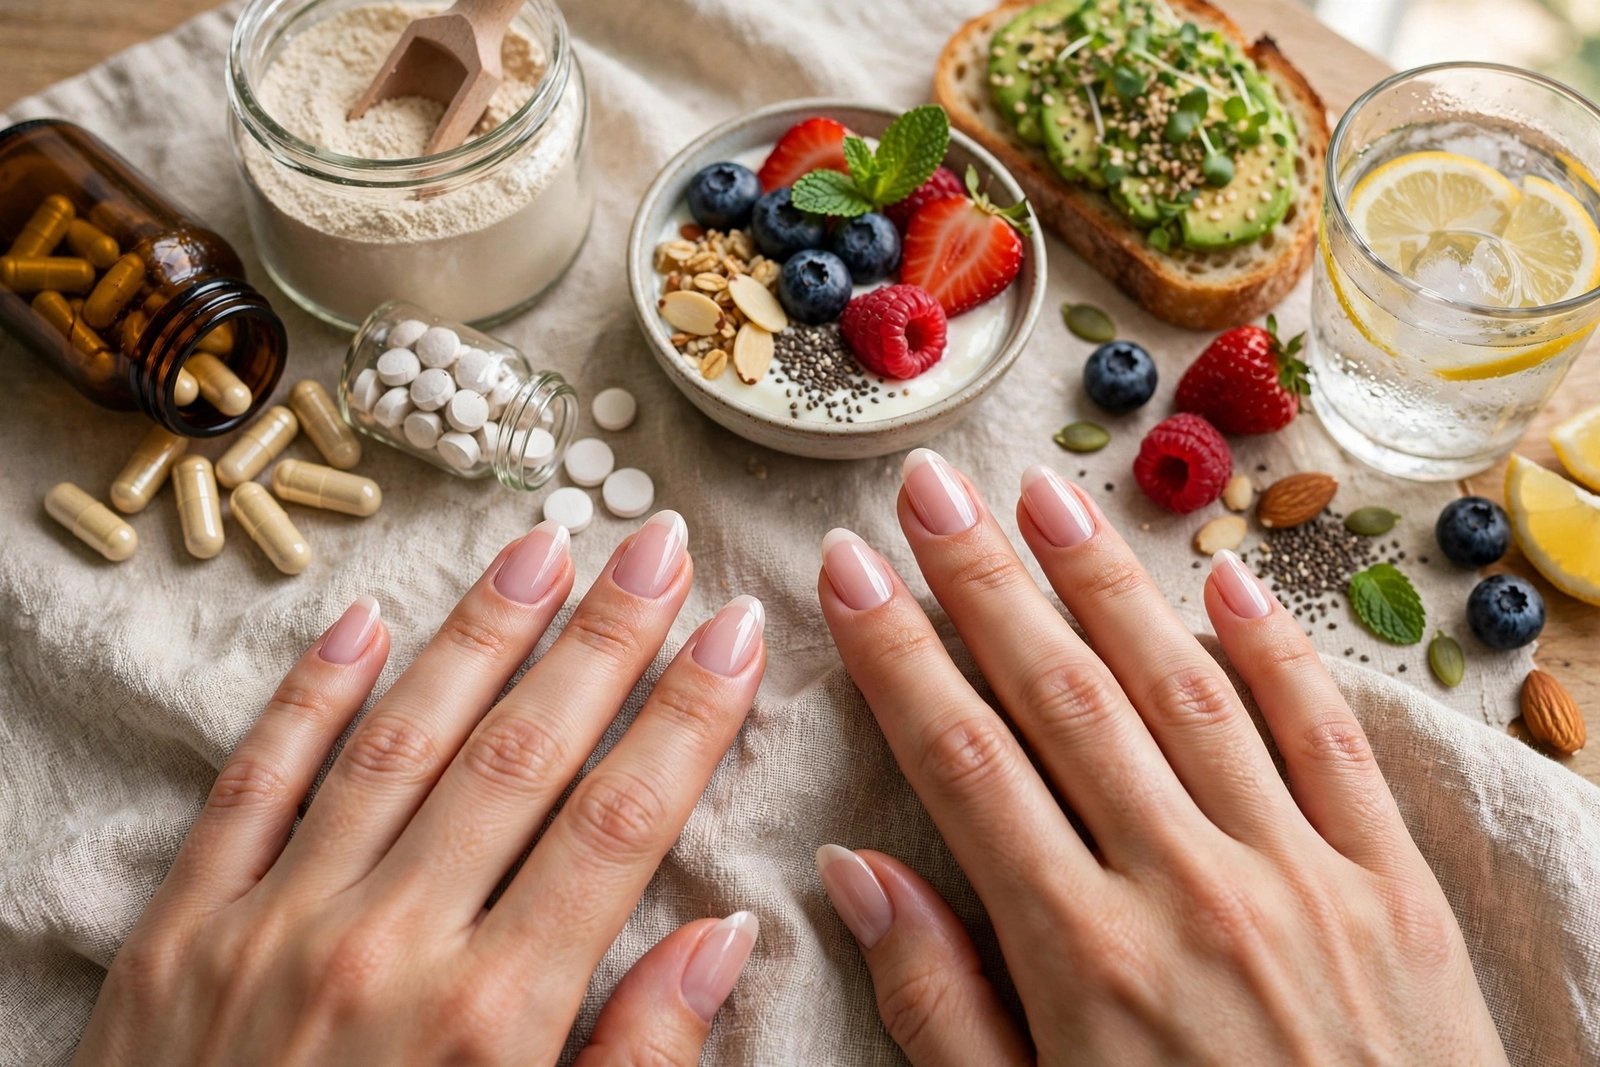
Nail vitamins can help when a specific deficiency is holding your nails back, but they are not a magic fix for winter damage caused by cold air and harsh habits. The nutrients with the best evidence are biotin, zinc, iron and collagen-supporting vitamin C, all of which play a role in keratin production and nail strength. A good multivitamin or a targeted hair, skin and nails formula can fill gaps in a busy winter diet, especially if you eat little fish, eggs or fresh vegetables. The key is to see supplements as a support for good care, not a replacement for it.
Start with food, adding eggs, nuts, lentils and leafy greens to your meals, and consider a supplement only if your diet is limited or your nails have been weak for months. Choose a reputable brand, follow the dose on the label, and take the supplement with food to improve absorption. Keep a simple diary for three months, noting nail strength and breakage, because that is how long it takes to see a real change. If you take other medication, check with a doctor or pharmacist first, because some supplements interact with medicines.
Give any supplement at least three months before judging it, because nails grow so slowly. The mistake is taking very high doses hoping for faster results, which can cause side effects and, in the case of biotin, interfere with blood test results. Another mistake is buying a supplement and ignoring the basics like oil, gloves and gentle filing, which will always matter more. If your nails suddenly become very weak, ridged or discoloured, see a doctor rather than self-treating with vitamins.
25. Drinking Water for Nail Health
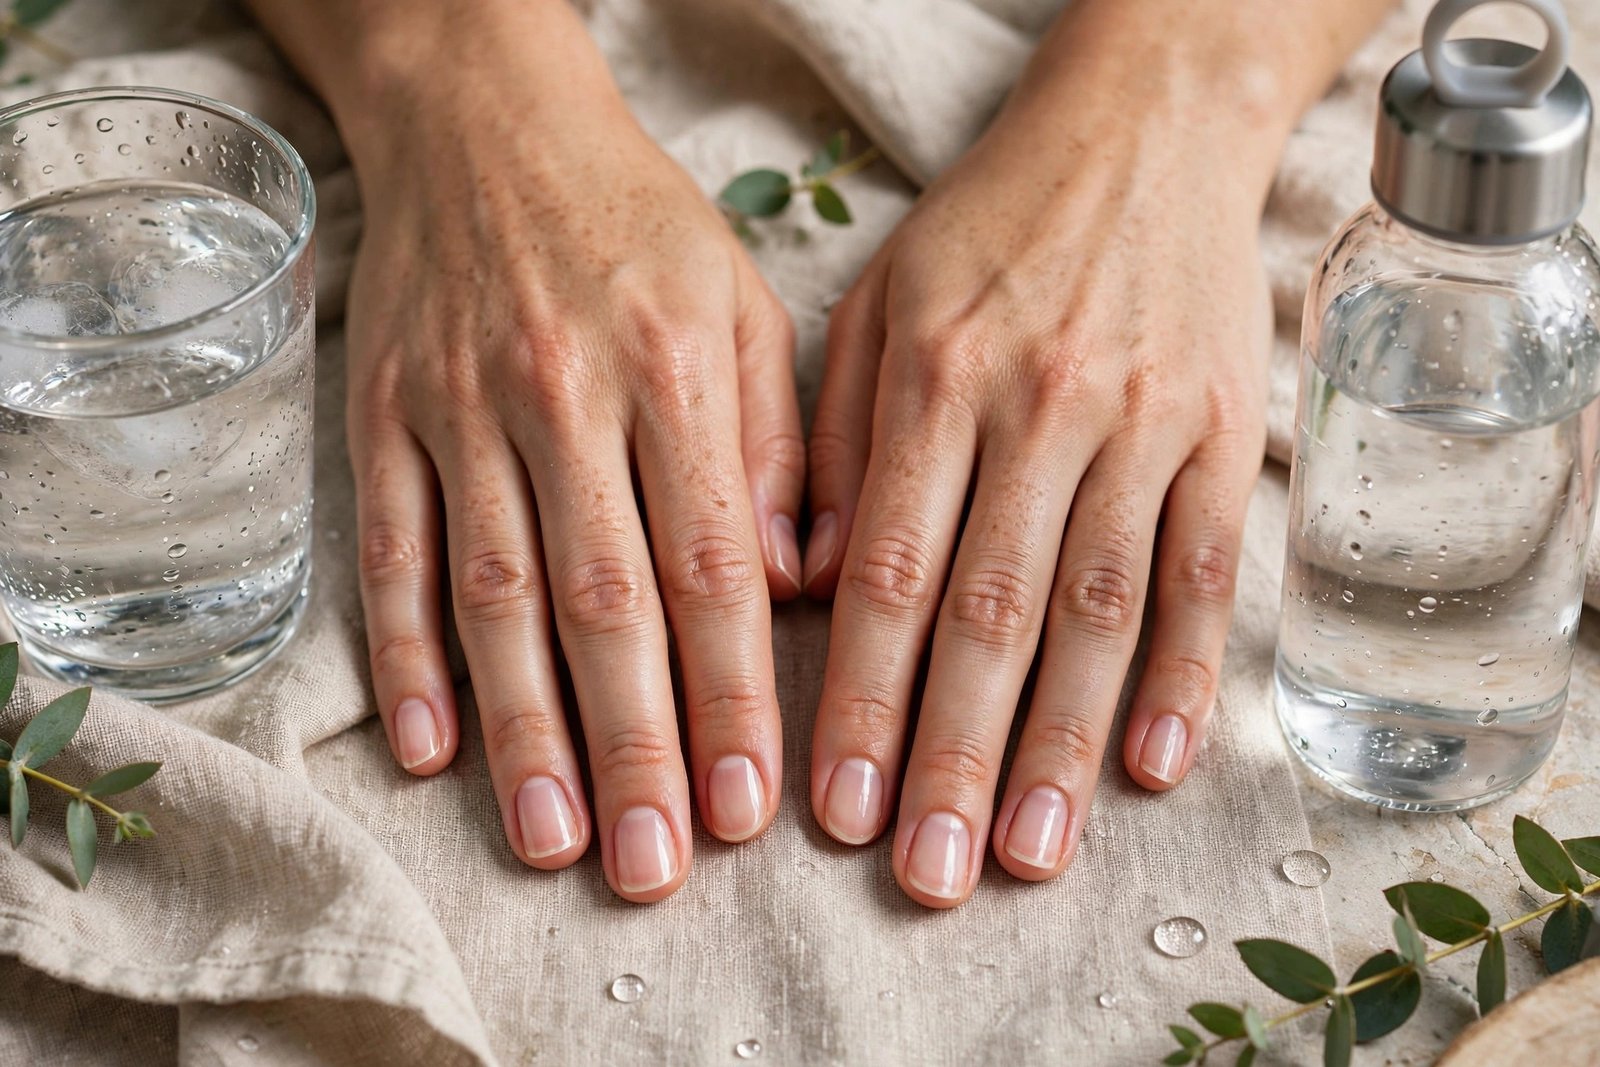
Nails are about eighteen percent water when healthy, and when your whole body is dehydrated, the nail plate is one of the first places to show it. Dry, brittle nails that peel and split are often a sign that you are not drinking enough, especially in winter when you feel less thirsty and drink less water than in summer. Heating systems dry the air indoors, and hot drinks like tea and coffee do not hydrate as well as water. Drinking enough water helps keep the nail plate flexible from the inside, supporting every external treatment you use.
Aim for six to eight glasses of water a day, and keep a bottle on your desk or in your bag so you sip regularly rather than drinking a lot at once. Start the day with a glass of water, have one with each meal, and keep water nearby when you are working or travelling. Eat water-rich foods like soups, oranges and cucumbers in winter, which add hydration without you noticing. If plain water feels boring, add a slice of lemon or cucumber, but avoid sugary drinks, which do not hydrate as effectively.
Make water a daily habit all winter, not just on days when your nails feel dry. The mistake is thinking that a single big glass will fix dehydration, when steady intake through the day matters far more. Another mistake is relying on coffee and tea alone, which can increase urination and leave you more dehydrated. If your lips and skin are also dry, that is a clear sign your water intake needs attention, and your nails will benefit from the change too.
26. Using a Humidifier for Dry Air

Indoor heating is one of the biggest hidden causes of winter nail damage, because it drops indoor humidity to desert levels, sometimes below twenty percent. At that level, moisture is pulled out of your skin, your nails and even your hair all night long, so you wake up with dry hands and brittle nails no matter how much cream you applied. A humidifier adds moisture back into the air, protecting your nails while you sleep and making every cream and oil you use work better. It is one of the few fixes that helps your whole body, not just your hands.
Place a cool-mist humidifier in your bedroom and run it overnight, aiming for indoor humidity between forty and sixty percent. A small hygrometer, which costs very little, will tell you your actual level and help you adjust the setting. Clean the humidifier every few days according to the instructions, because a dirty humidifier can spread bacteria. During the day, you can run a humidifier in your living room or office if the air feels very dry, and keep a glass of water nearby as a simple extra measure.
Use a humidifier every night through the heating season, from the first cold week until spring. The mistake is running it too high, which can cause condensation on windows and encourage mould; forty to sixty percent is the target, not eighty. Another mistake is never cleaning the tank, which can make the air worse rather than better. If you cannot buy a humidifier, place bowls of water near radiators and keep bathroom doors open after showers to add moisture to the air.
27. Protecting Nails While Cleaning
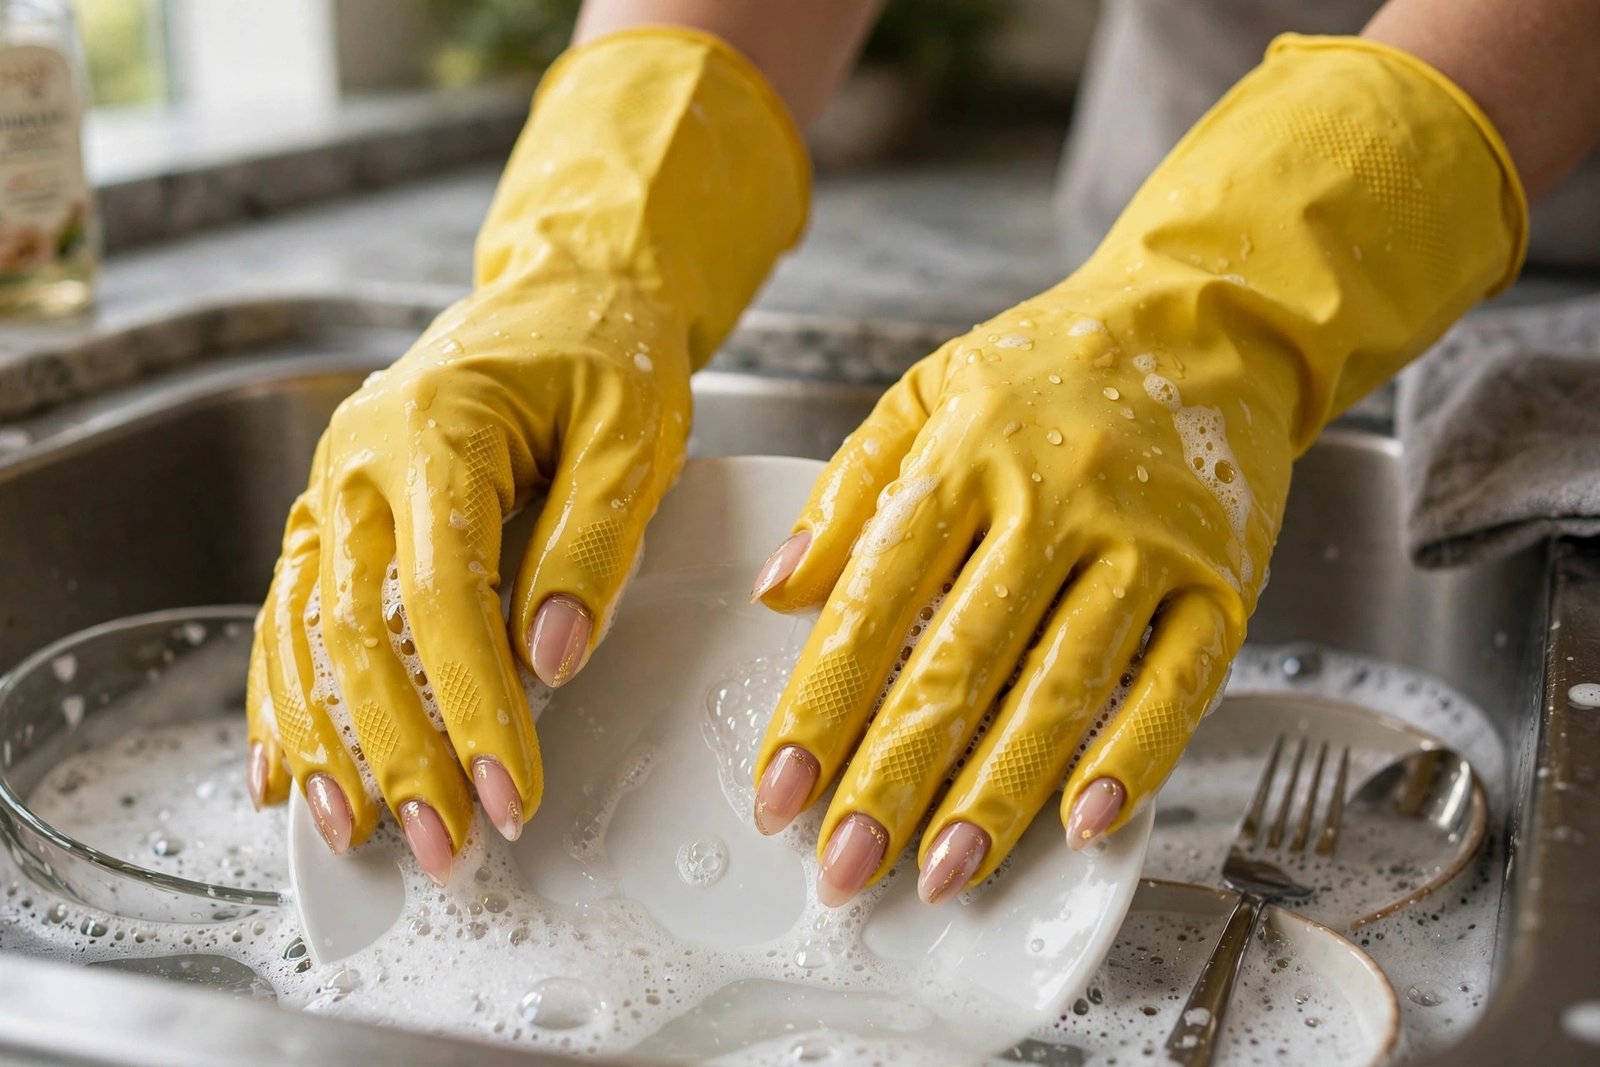
Cleaning is brutal on winter nails because it combines the three worst things at once: prolonged water exposure, hot water, and harsh detergents that strip oils from the nail plate. Even ten minutes of washing dishes without gloves can leave nails soft, swollen and then painfully dry as they contract again. Bleach, surface sprays and washing-up liquid also attack the cuticle, causing it to crack and peel. Wearing gloves for every cleaning task is a simple habit that can prevent more winter damage than almost any product, and it costs almost nothing.
Keep a pair of rubber gloves under the kitchen sink and another pair with your cleaning supplies, so they are always within reach. Put them on before you start washing up, cleaning the bathroom, mopping or using any spray, and take them off as soon as you finish. Choose gloves that fit well, because loose gloves fill with water and make things worse, and replace them when they develop holes. After cleaning, wash your hands with lukewarm water and mild soap, then apply hand cream and cuticle oil immediately.
Wear gloves for every wet cleaning task, without exception, all winter long. The mistake is thinking a quick wash-up does not count, when even a few minutes in hot soapy water can soften and damage nails. Another mistake is wearing cotton gloves for wet work, which soak through and keep hands damp for longer. If your hands sweat inside rubber gloves, wear thin cotton liners underneath and change them when they become damp.
28. Trimming to a Practical Winter Length

Long nails look beautiful, but in winter they are far more likely to break because cold, dry nails are brittle and a long free edge acts like a lever that snaps under pressure. A practical winter length, just past the fingertip, is strong enough to look polished and elegant, yet short enough to survive everyday tasks like typing, opening doors and putting on gloves. Shorter nails also need less maintenance, are easier to keep moisturised, and show less damage if a small split does appear. Many people find that a shorter winter length actually makes their nails look healthier and neater overall.
Trim your nails with sharp, clean clippers, cutting straight across in small steps rather than one big cut, which can crack the nail. Leave a tiny bit of length past the fingertip, then shape the corners gently with a fine file. Do this every one to two weeks, depending on how fast your nails grow, and always file after clipping to smooth any rough edges. Apply cuticle oil after trimming, because the fresh edge is vulnerable to drying out and splitting if it is left unprotected.
Keep nails at a practical length all winter, and let them grow longer again in spring when humidity rises. The mistake is cutting nails too short, right down to the fingertip, which can be painful and exposes the nail bed to infection. Another mistake is biting nails to shorten them, which tears the nail and damages the cuticle. If you love long nails, try a strengthening base coat and silk wraps, but accept that a slightly shorter length will save you from constant breakage.
29. Rounding Sharp Corners
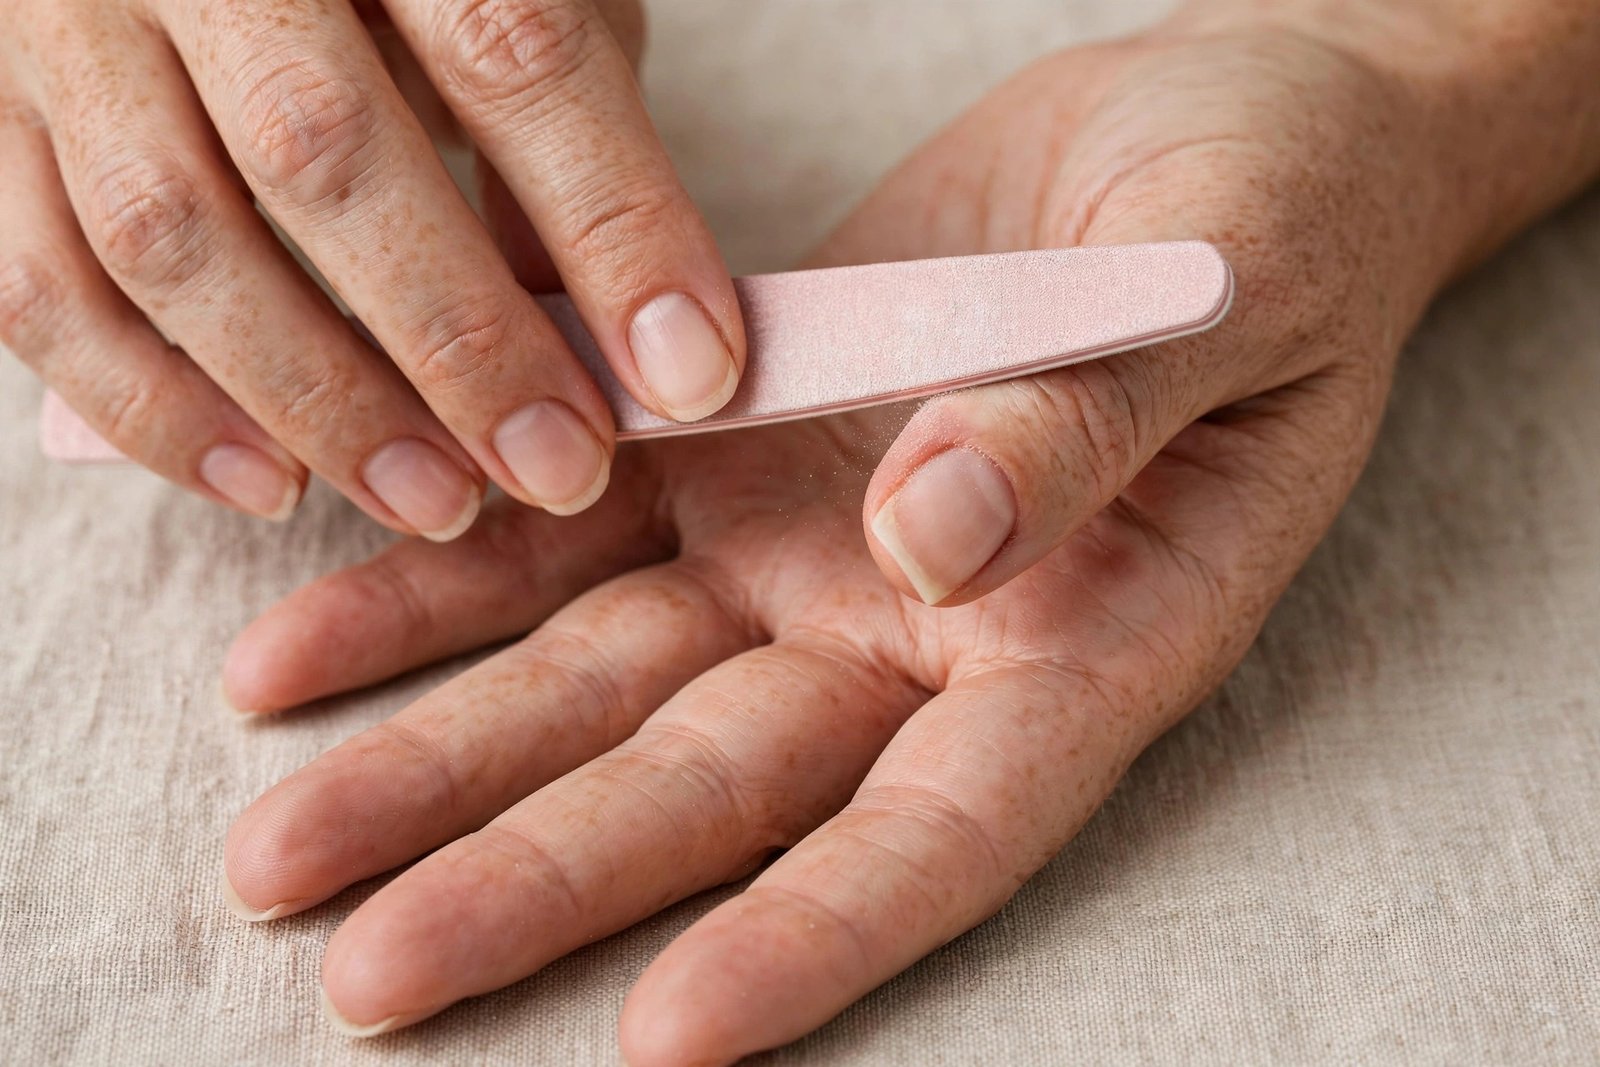
Sharp square corners look striking, but in winter they are the first place a nail catches on fabric, gloves and hair, and that catch is often what starts a split. Rounding the corners slightly, even on a square shape, removes the weak point while keeping the overall look you love. A softly rounded corner distributes pressure more evenly when the nail bumps into something, so it bends slightly instead of cracking. This small shaping change can be the difference between a manicure that lasts a week and one that breaks on day two.
After trimming or filing your nails into shape, use a fine file to soften each corner with a few gentle strokes, curving it slightly toward the centre. Check both corners by running your finger along the edge; it should feel smooth, with no sharp point to catch. Keep the overall shape, whether square, oval or almond, but make sure the corners are not pointed or jagged. Finish by sealing the free edge with a base coat and applying cuticle oil, which adds flexibility to the newly shaped corner.
Round the corners every time you file, and check them weekly for new snags. The mistake is filing the corners down too far, which weakens the sides of the nail and can cause ingrown nails on the toes if the same technique is used there. Another mistake is leaving one corner sharp because it looks more dramatic; that corner will be the one that breaks first. If a corner keeps splitting, file it a little shorter and rounder until the nail grows out stronger.
30. Buffing Without Over-Thinning
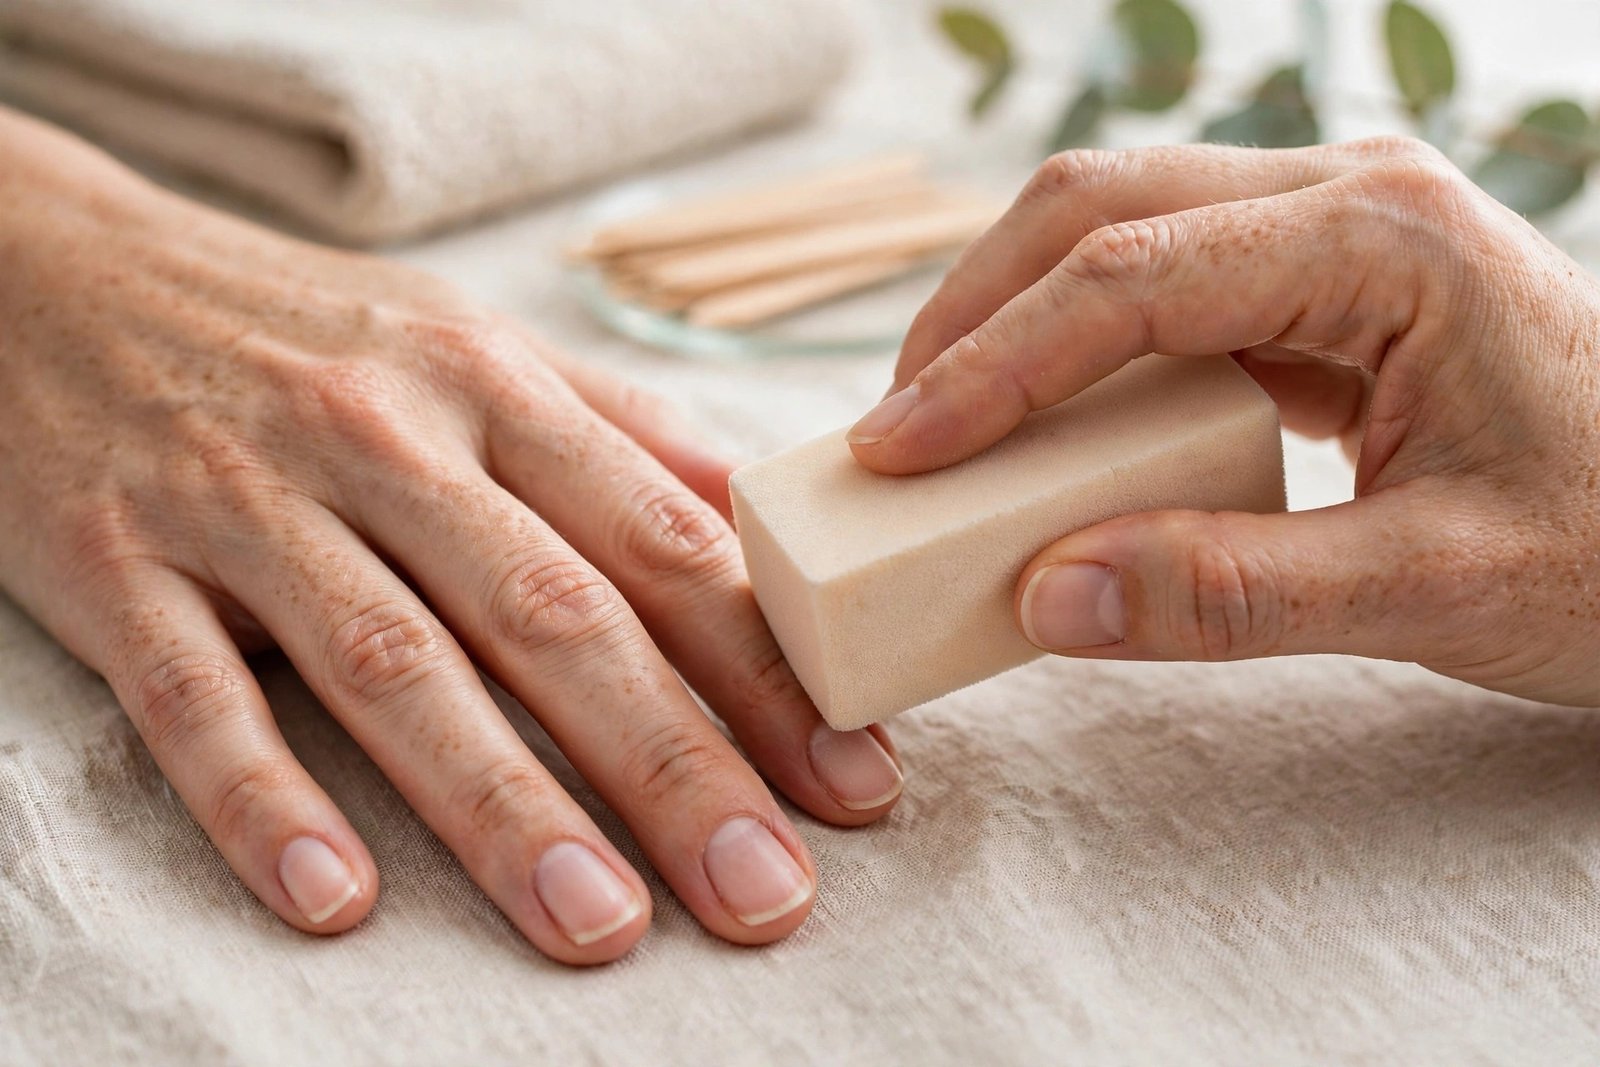
Buffing can make nails look smooth and shiny, but over-buffing is one of the most common causes of winter thinning, because each pass removes a thin layer of keratin. In summer a healthy nail can handle it, but in winter, when nails are already fragile, aggressive buffing leaves them paper-thin, bendy and prone to peeling. Gentle buffing, done rarely and with a fine buffer, removes only the rough surface and leaves the nail strong underneath. The goal is a smooth surface for polish, not a mirror shine achieved by grinding the nail down.
Use a fine-grit buffer block, not a coarse one, and buff each nail with only three or four light strokes, always in one direction. Stop as soon as the surface feels smooth; if it already looks shiny, you have buffed enough. Do this only when you can feel roughness or see ridges that will show through polish, and never buff the same nail twice in one session. After buffing, wash your hands, apply cuticle oil, and let the nail rest before applying polish, because the freshly buffed surface is more vulnerable to drying out.
Buff at most once a month in winter, and skip it entirely if your nails are already thin or peeling. The mistake is buffing weekly as part of a routine, which thins nails steadily over the season until they break. Another mistake is pressing hard or using a coarse buffer to chase a high shine, which removes far more keratin than you realise. If your nails feel warm or sore after buffing, you have gone too far, and you should focus on oil and rest for the next few weeks.
31. Salon Deep-Conditioning Treatment
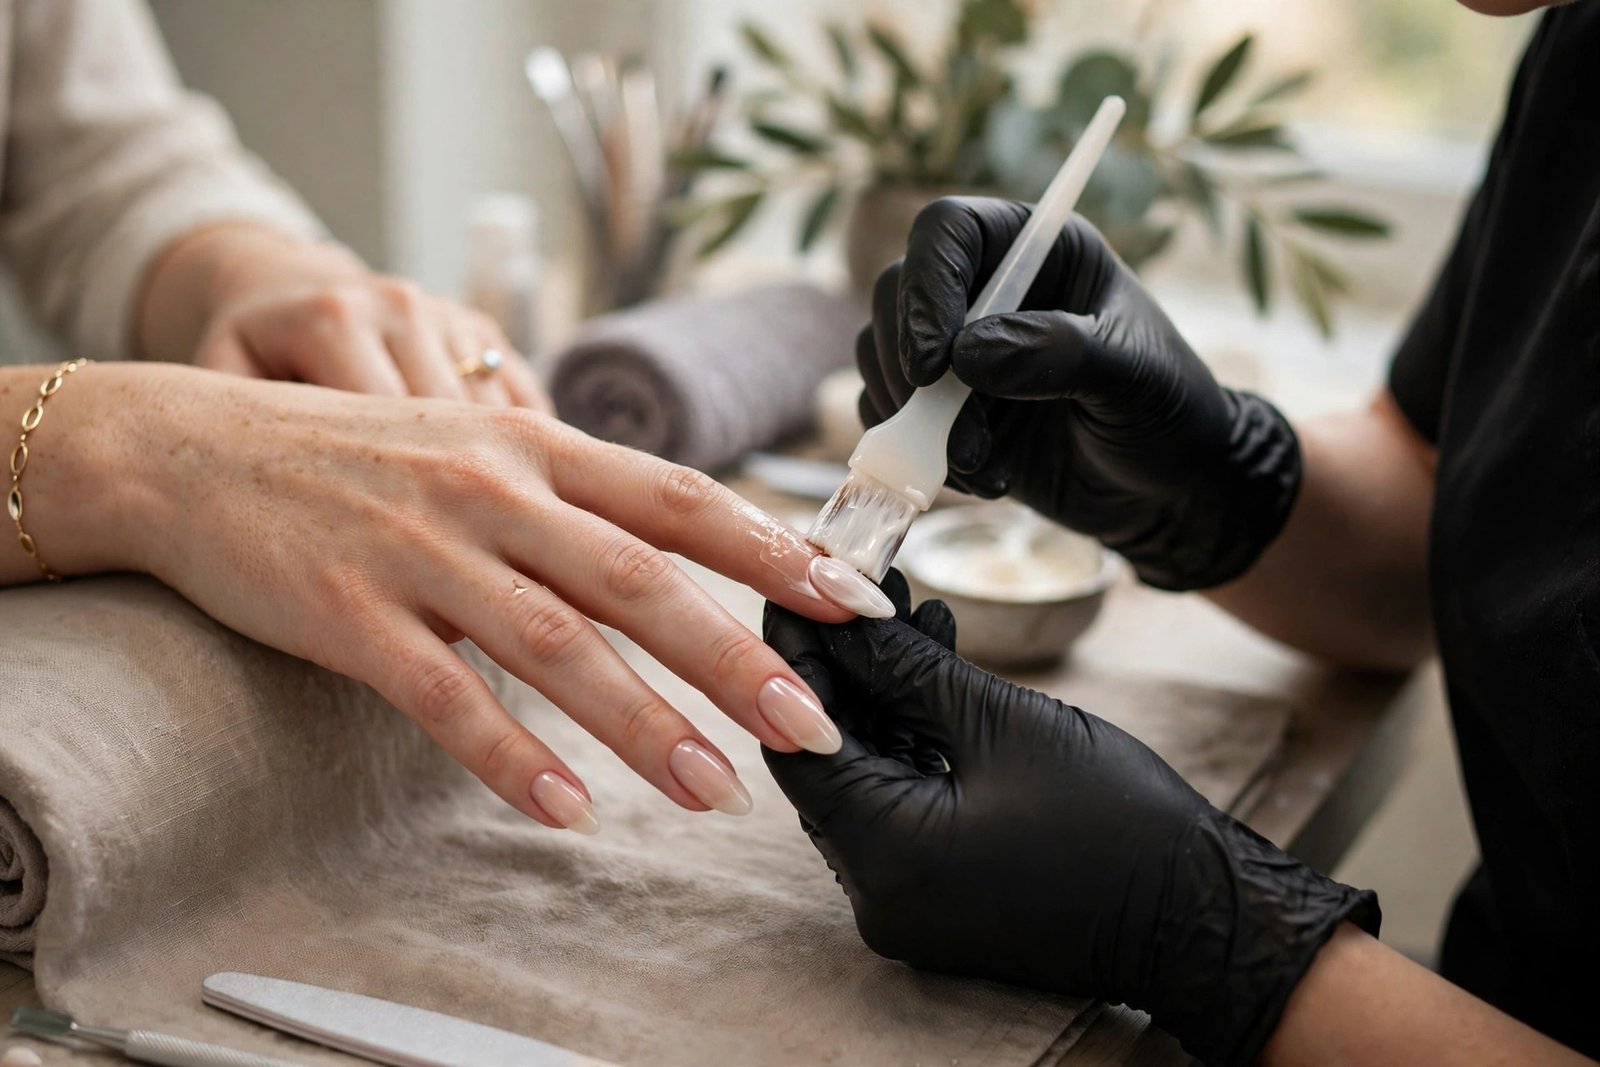
A salon deep-conditioning treatment is worth booking when home care is not enough, because a professional can assess your nails, remove damage safely, and apply intensive treatments that are hard to replicate at home. These treatments often include a warm oil soak, a paraffin wrap, a professional cuticle treatment and a strengthening mask, all in one appointment. The result is nails that feel stronger, look healthier, and are properly shaped and smoothed by someone who does this every day. For nails that have been damaged by gel, acrylics or a harsh winter, a professional reset can save months of growing out.
Book a treatment with a reputable salon and explain that your nails are dry, brittle or damaged, so the technician can choose the right products. Expect the appointment to last forty-five minutes to an hour, including a soak, gentle cuticle work, a mask and a finishing oil. Ask the technician to avoid aggressive filing or cutting, and to show you how to maintain the results at home. Book a follow-up in three to four weeks if your nails need ongoing support, or return to home care once they have recovered.
Book a deep-conditioning treatment once a month in winter if your nails are weak, or once a season for maintenance. The mistake is choosing a salon based on price alone and ending up with aggressive filing that damages nails further. Another mistake is booking a treatment and then going straight back to peeling gel and skipping oil at home, which undoes the benefit within a week. A good salon treatment should be the start of a better routine, not a one-off rescue that you repeat only when things get desperate.
32. Weekly Nail Health Check
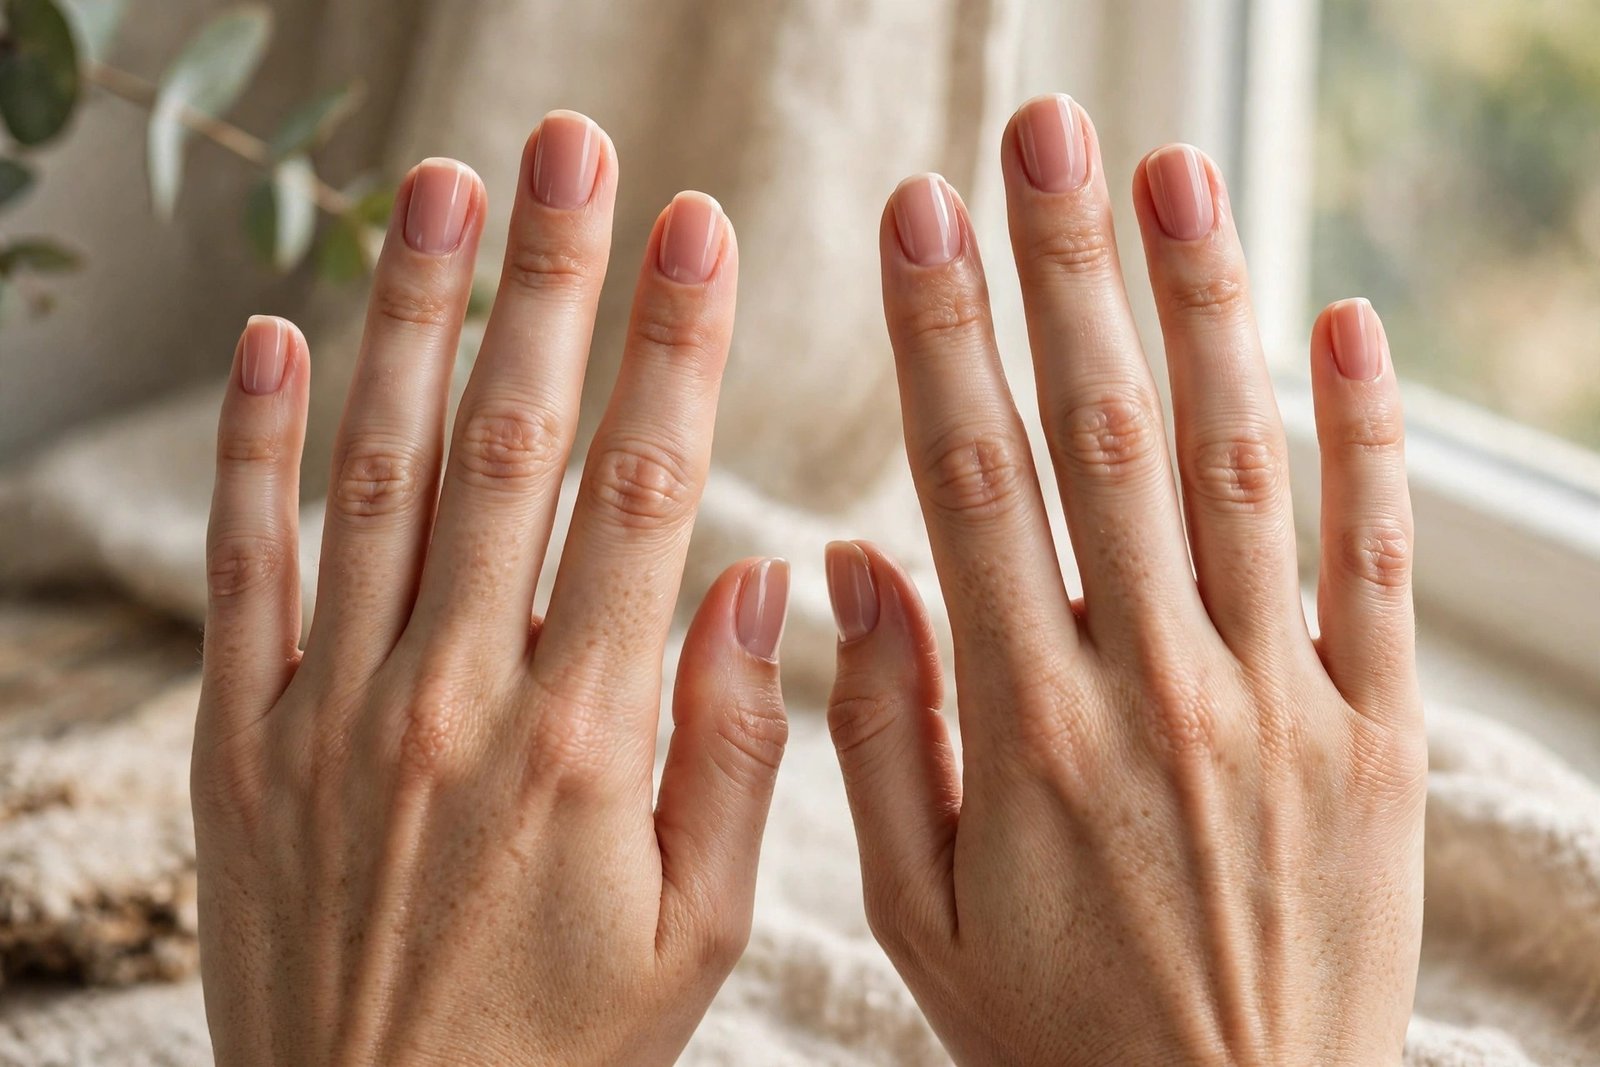
A weekly nail health check takes two minutes and catches problems early, when they are still easy to fix. Winter damage often starts small, a tiny peel at the edge, a white spot, a cuticle starting to crack, and if you spot it in week one, you can file it smooth, add oil, and prevent a break. If you only notice it when the nail snaps, you have lost weeks of growth. A regular check also helps you see which treatments are working, so you can keep doing what helps and drop what does not, instead of guessing.
Once a week, in natural daylight, look at each nail without polish and check the colour, the surface, the free edge and the cuticle. Healthy nails are pink, smooth and flexible, with a neat cuticle and no pain. Note any peeling, splitting, discolouration, ridges or soreness, and take a quick photo if you want to track changes over time. Then act on what you see: file a snag, oil a dry cuticle, trim a nail that is too long, or book a salon visit if something looks unusual. Keep a small note of what you did, so you can see patterns over the winter.
Do this check every Sunday, or any day you remove polish, and act on it the same day. The mistake is checking nails only when they break, or ignoring changes like dark spots, severe ridging or nails lifting from the bed, which should be seen by a doctor. Another mistake is checking in dim bathroom light, where problems are easy to miss. A weekly check is a habit that turns nail care from a reaction into a routine, and it is the simplest way to keep the other thirty-one methods in this guide working together.
How to Build a Simple Winter Nail Care Routine at Home

Start your winter nail care routine the evening you finish reading this guide, because the best routine is the one you actually begin. First, gather the basics: a bottle of cuticle oil, a rich hand cream, a fine glass file, a gentle acetone-free remover, and a pair of rubber gloves for cleaning. You do not need to buy everything at once; start with oil and cream, which are the two products that make the biggest difference, and add the rest over the next few weeks. Put the oil and cream where you will see them, by the sink and on your bedside table, because products hidden in a drawer are products you will forget.
Build the routine around three daily habits that take less than five minutes in total. In the morning, apply hand cream and cuticle oil after your shower, and put on gloves before you leave the house. During the day, apply cream after every wash and oil at least once more, ideally after lunch. In the evening, wash with lukewarm water, apply a generous layer of oil, and finish with a thick cream before bed. These three moments, morning, midday and night, are the backbone of the whole routine, and if you do nothing else, doing these consistently will keep your nails noticeably stronger all winter.
Add the weekly steps on a day that suits you, such as Sunday evening, when you have ten extra minutes. Once a week, soak your nails in warm olive oil or jojoba oil for ten minutes, push your cuticles back gently, file any snags, and do a sugar scrub if your hands feel rough. This weekly session is also the right time to remove old polish gently, check your nails for early signs of damage, and decide whether you need a break from polish or a strengthening base coat. If you prefer short, practical winter nails, our winter short nails for 2026 guide shows styles that pair perfectly with this weekly care routine.
Protect your nails from the two things that undo all your good work: water and chemicals. Wear rubber gloves for washing up and cleaning, wear warm gloves outdoors, and avoid hot water on your hands whenever you can. Keep your nails at a practical length, round the corners, and never use them as tools to open things. If you wear gel, remove it only by soaking, never by peeling, and give your nails a break of a few days between manicures. These protective habits are boring, but they are what separate nails that survive winter from nails that spend the whole season breaking.
Finally, support your nails from the inside and from the air around you. Drink water through the day, eat biotin-rich foods like eggs, nuts and salmon, and consider a humidifier in your bedroom if your home is very dry. Track your progress with a weekly nail check, and adjust the routine if something is not working; if your nails are still splitting after a month of consistent care, try a silk wrap for the weak nail, a ridge-filling base coat, or a salon deep-conditioning treatment. Winter nail care is not about perfection, it is about consistency, and a simple routine you follow every day will always beat a complicated one you abandon by February.
Frequently Asked Questions
Why do my nails peel and split more in winter?
Nails peel and split in winter because cold, dry air pulls moisture out of the nail plate, leaving the keratin layers dry and separated. Moving between freezing outdoor air and heated indoor air makes nails expand and contract, which stresses the free edge. Frequent hand washing, hot water and harsh soaps strip away natural oils, making the problem worse. Daily cuticle oil, hand cream after every wash, gloves outdoors and lukewarm water all help to keep nails flexible and prevent peeling.
How often should I apply cuticle oil in winter?
Apply cuticle oil at least twice a day in winter, once in the morning and once before bed, and three times a day if your hands are often in water or outdoors. A small amount massaged into each cuticle takes less than a minute and keeps the seal around the nail flexible, which prevents hangnails and supports healthy new growth. Consistency matters more than quantity, so a little oil every day works far better than a large amount once a week. Keep a bottle by your sink and in your bag.
Is it safe to wear gel polish all winter?
You can wear gel polish in winter, but your nails need breaks and gentle removal to stay healthy. Gel itself is not the main problem; peeling it off and wearing it continuously without a gap causes thinning and breakage. Remove gel only by soaking, never by peeling, and take a break of at least three to seven days between sets. During the break, use cuticle oil and a strengthening base coat, and consider alternating gel weeks with breathable polish to give nails recovery time.
What is the best hand cream for winter nails?
The best hand cream for winter is a thick, fragrance-free formula rich in glycerin, shea butter or ceramides, which lock moisture into the skin and nails. Thin lotions are mostly water and evaporate quickly, so they do not protect hands for long in cold weather. Apply cream after every wash, and layer cuticle oil underneath for extra protection. If your hands are cracked, choose a healing balm without fragrance and use it under cotton gloves overnight for the fastest repair.
Can diet really make my nails stronger?
Diet can make a real difference to nail strength, but it works slowly because nails grow only a few millimetres a month. Biotin, protein, zinc, iron and vitamin C all support keratin production, so foods like eggs, salmon, nuts, seeds, lentils and sweet potatoes help over time. You should expect to wait three to six months to see a full change in new growth. Food is the safest first step, and anyone considering a supplement should speak to a doctor before starting it.
Should I cut my cuticles in winter?
You should not cut your cuticles, especially in winter when they are already dry and vulnerable. Cutting removes living skin that seals and protects the nail matrix, which can lead to infection and makes cuticles grow back thicker and ragged. Instead, soften cuticles after a shower or a warm soak and push them back gently once a week with a wooden stick. Trim only a loose hangnail with clean clippers, then moisturise well, and use cuticle oil daily to keep the area soft.
How do I fix a nail that keeps splitting?
First, file the split smooth immediately so it cannot catch and travel further, then apply cuticle oil and a strengthening base coat. For a split that keeps reopening, apply a silk wrap or tea bag patch over the tear to hold it together while it grows out. Keep the nail slightly shorter and round the corners to reduce pressure. If splitting affects many nails despite good care, take a break from gel, review your diet and hydration, and consider a salon deep-conditioning treatment for extra support.
Are nail hardeners good or bad for winter nails?
Nail hardeners can help weak, bendy nails in winter by adding a firm protective layer that stops them flexing and breaking. They work best in short courses of two to three weeks, paired with daily cuticle oil to keep the nail flexible underneath. Used continuously for months, however, they can make nails too rigid and more likely to snap or peel in layers. If your nails feel stiff or start peeling, stop the hardener and switch to a hydrating base coat and oil until they recover.
Why are my nails so dry even though I use hand cream?
Your nails may still feel dry because hand cream alone often does not reach the nail plate, especially if you apply it only to the palms or use a thin lotion. Nails need oil, which penetrates the keratin, as well as cream, which seals moisture in from the outside. Hot water, frequent washing, gel removal and low indoor humidity can also undo the benefit of cream within hours. Try layering cuticle oil under your cream, using lukewarm water, and running a humidifier at night.
When should I see a doctor about my nails?
See a doctor if your nails change suddenly or do not improve with good care, because some nail problems can signal a health issue. Warning signs include nails lifting from the bed, dark streaks or spots, severe ridging, persistent pain, swelling around the nail, or nails that become very thick, yellow or misshapen. A doctor can check for fungal infection, nutritional deficiency or other causes and advise on treatment. Do not try to cover a worrying change with polish or ignore it for months.
Conclusion
Winter does not have to mean months of peeling, splitting and sore cuticles. The thirty-two methods in this guide work because they tackle the real causes of winter damage: dry air, hot water, harsh chemicals, rough filing and peeling off polish. You do not need to do all of them at once. Start with cuticle oil twice a day, hand cream after every wash, gloves outdoors and gentle filing, then add a weekly oil soak and a monthly salon treatment if your nails need extra help. Small, consistent habits will carry your nails through the coldest months and into spring stronger than they were in autumn.
Choose three methods to start this week, and build from there as they become habits. Keep your routine simple, keep your products where you can see them, and check your nails every week so you can catch problems early. If you want a festive finish once your nails are healthy again, our Christmas nails for 2026 collection is the perfect reward for a season of good care. Your nails will thank you for the attention, and by spring you will see the difference in every new millimetre of growth.
