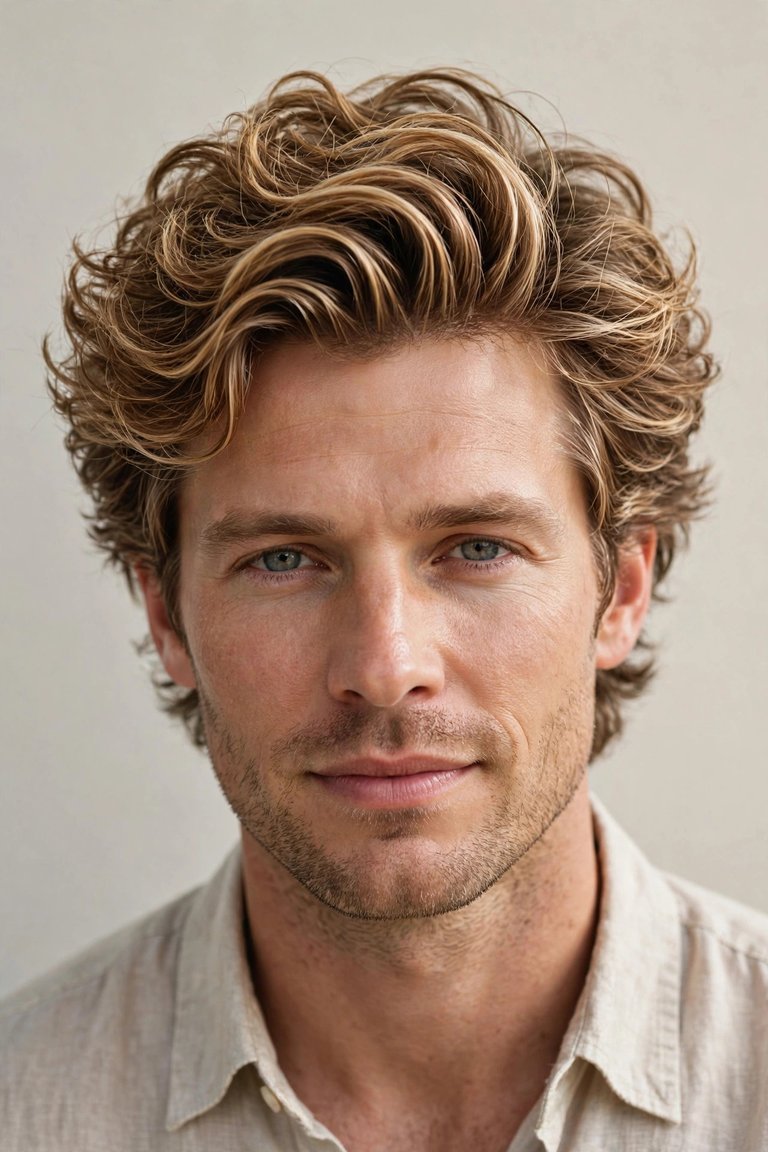
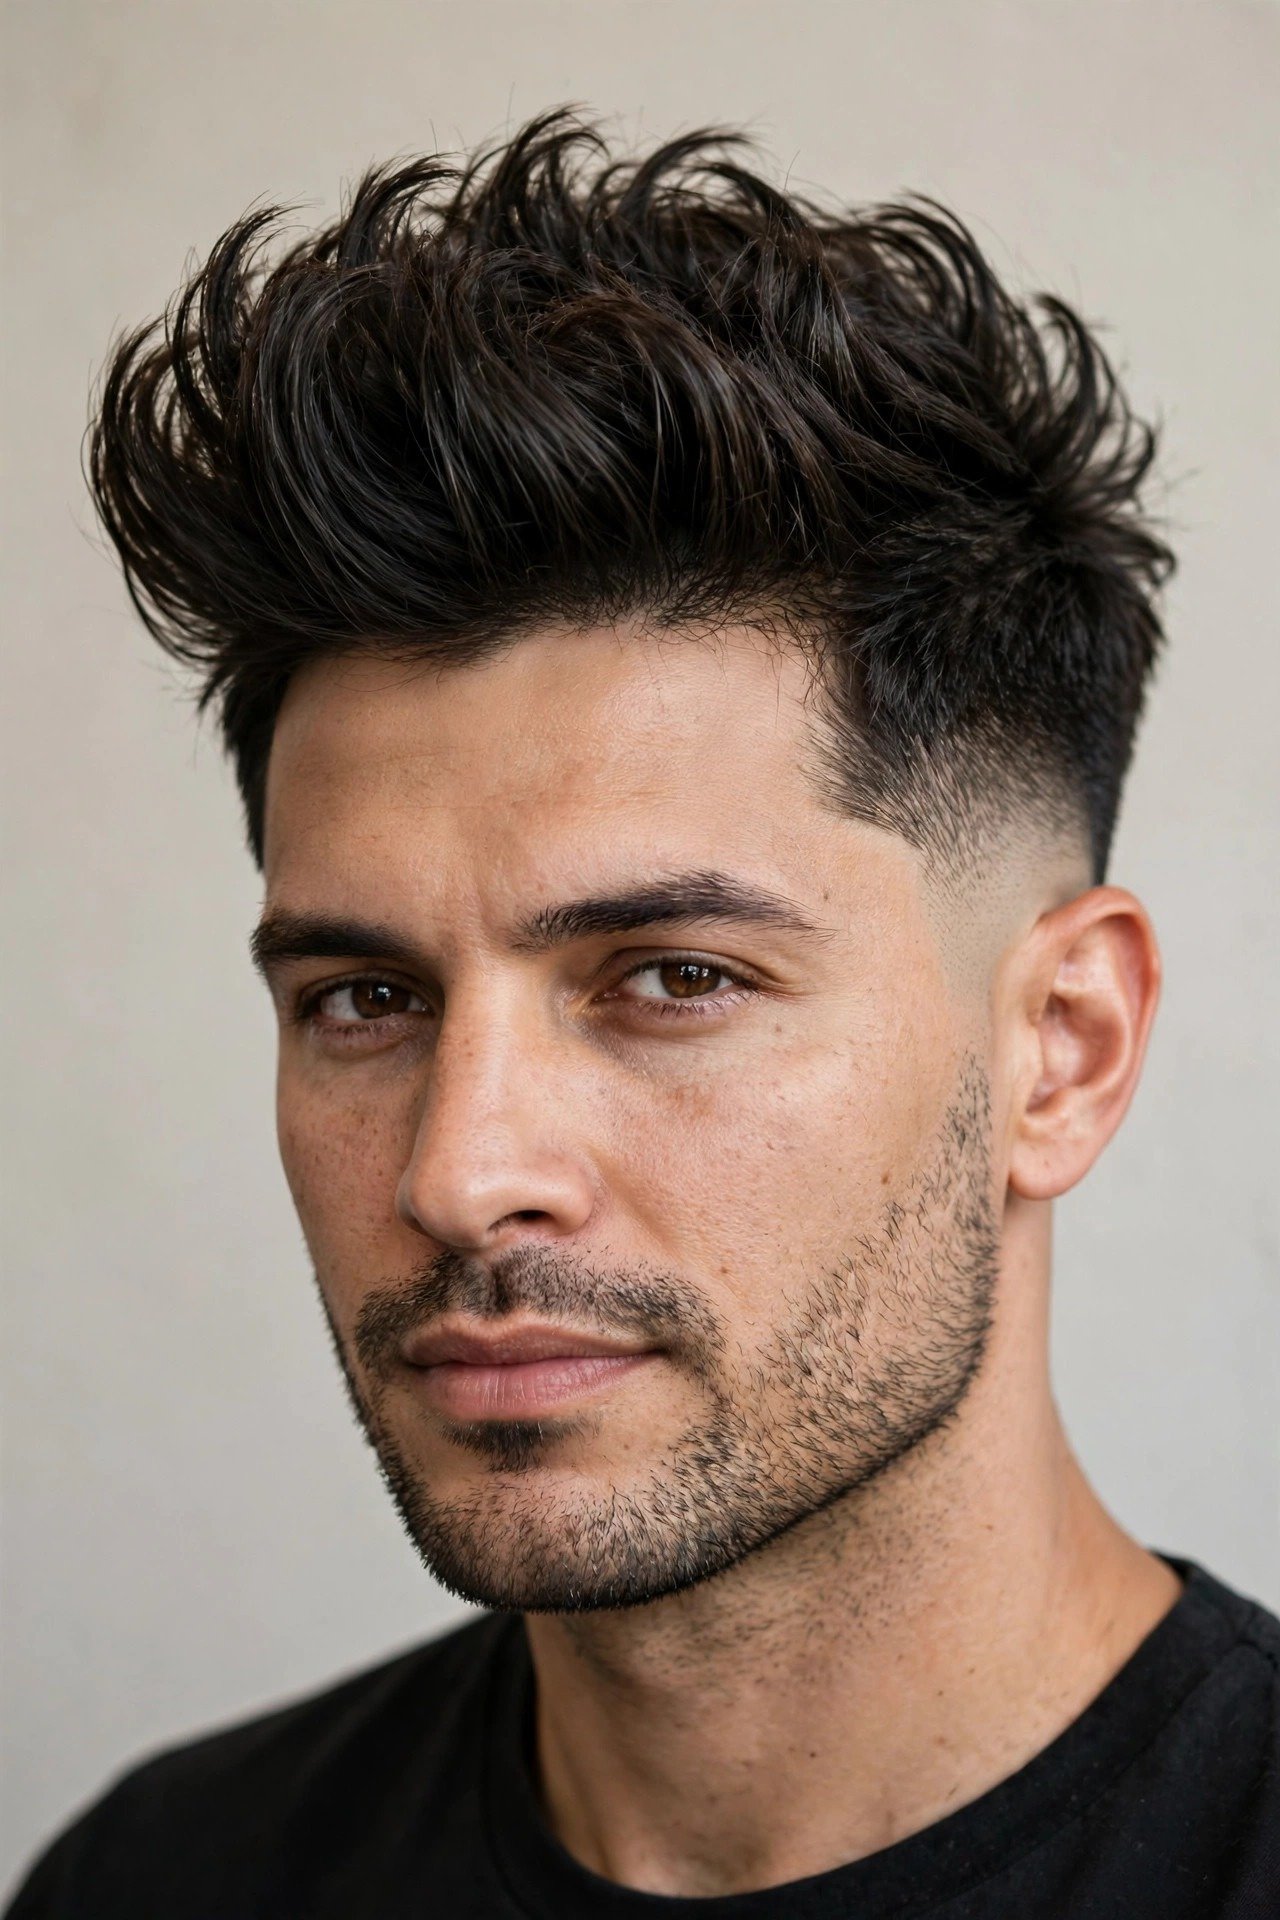
Blowout Taper Men 2026: 20 Bold Volume Styles
Blowout Taper Men 2026: 20 Bold Volume Styles
Walk into any good barbershop in 2026 and you’ll hear the same request at least five times a day: the blowout taper. It’s the haircut that looks like you woke up with great hair, even though there’s a whole routine behind it. The sides stay clean and tight, the top carries all the height and movement, and the whole thing photographs like a dream. If you’ve been scrolling past these cuts wondering whether you could pull one off, this guide is your answer.
Here’s the honest truth most style guides won’t tell you: the blowout taper is less about the cut itself and more about the styling. A mediocre barber can give you the right shape, but if you don’t know how to dry it, you’ll walk out looking like you got a regular taper fade and paid extra for nothing. That’s why this guide spends as much time on the dryer technique and the products as it does on the styles. The cut opens the door; the blow-dry walks you through it.
What makes the 2026 version different from the blowout your older cousin had in 2015? Two things. First, the taper is softer now — less of that harsh disconnect, more of a smooth gradient that grows out gracefully. Second, the top is more textured. Nobody wants that stiff, helmet-like wall of hair anymore. The modern blowout taper has piecey separation, natural movement, and a finish that looks touchable instead of shellacked. It’s the difference between a haircut that owns the room and one that looks like it’s trying too hard.
This guide covers twenty distinct blowout taper styles, organized so you can find the one that fits your hair type, your face shape, and how much effort you’re actually willing to put in each morning. We’ll start with what the cut really is and how to ask for it without fumbling your words at the chair. Then we’ll break down the blow-drying technique step by step — the part that actually creates the volume. After that, all twenty styles, the products worth your money, and a maintenance plan that keeps the cut looking sharp between appointments.
One more thing before we start: be honest with yourself about your hair. The blowout taper works on straight, wavy, curly, and coily hair, but each type needs a different approach, and the styling time ranges from three minutes to fifteen depending on what you’re working with. Every section below tells you straight up what each style demands. No hype, no “this works for everyone” nonsense. Just the real deal from someone who’s watched a thousand of these walk out of the chair.
What Is a Blowout Taper, Really?
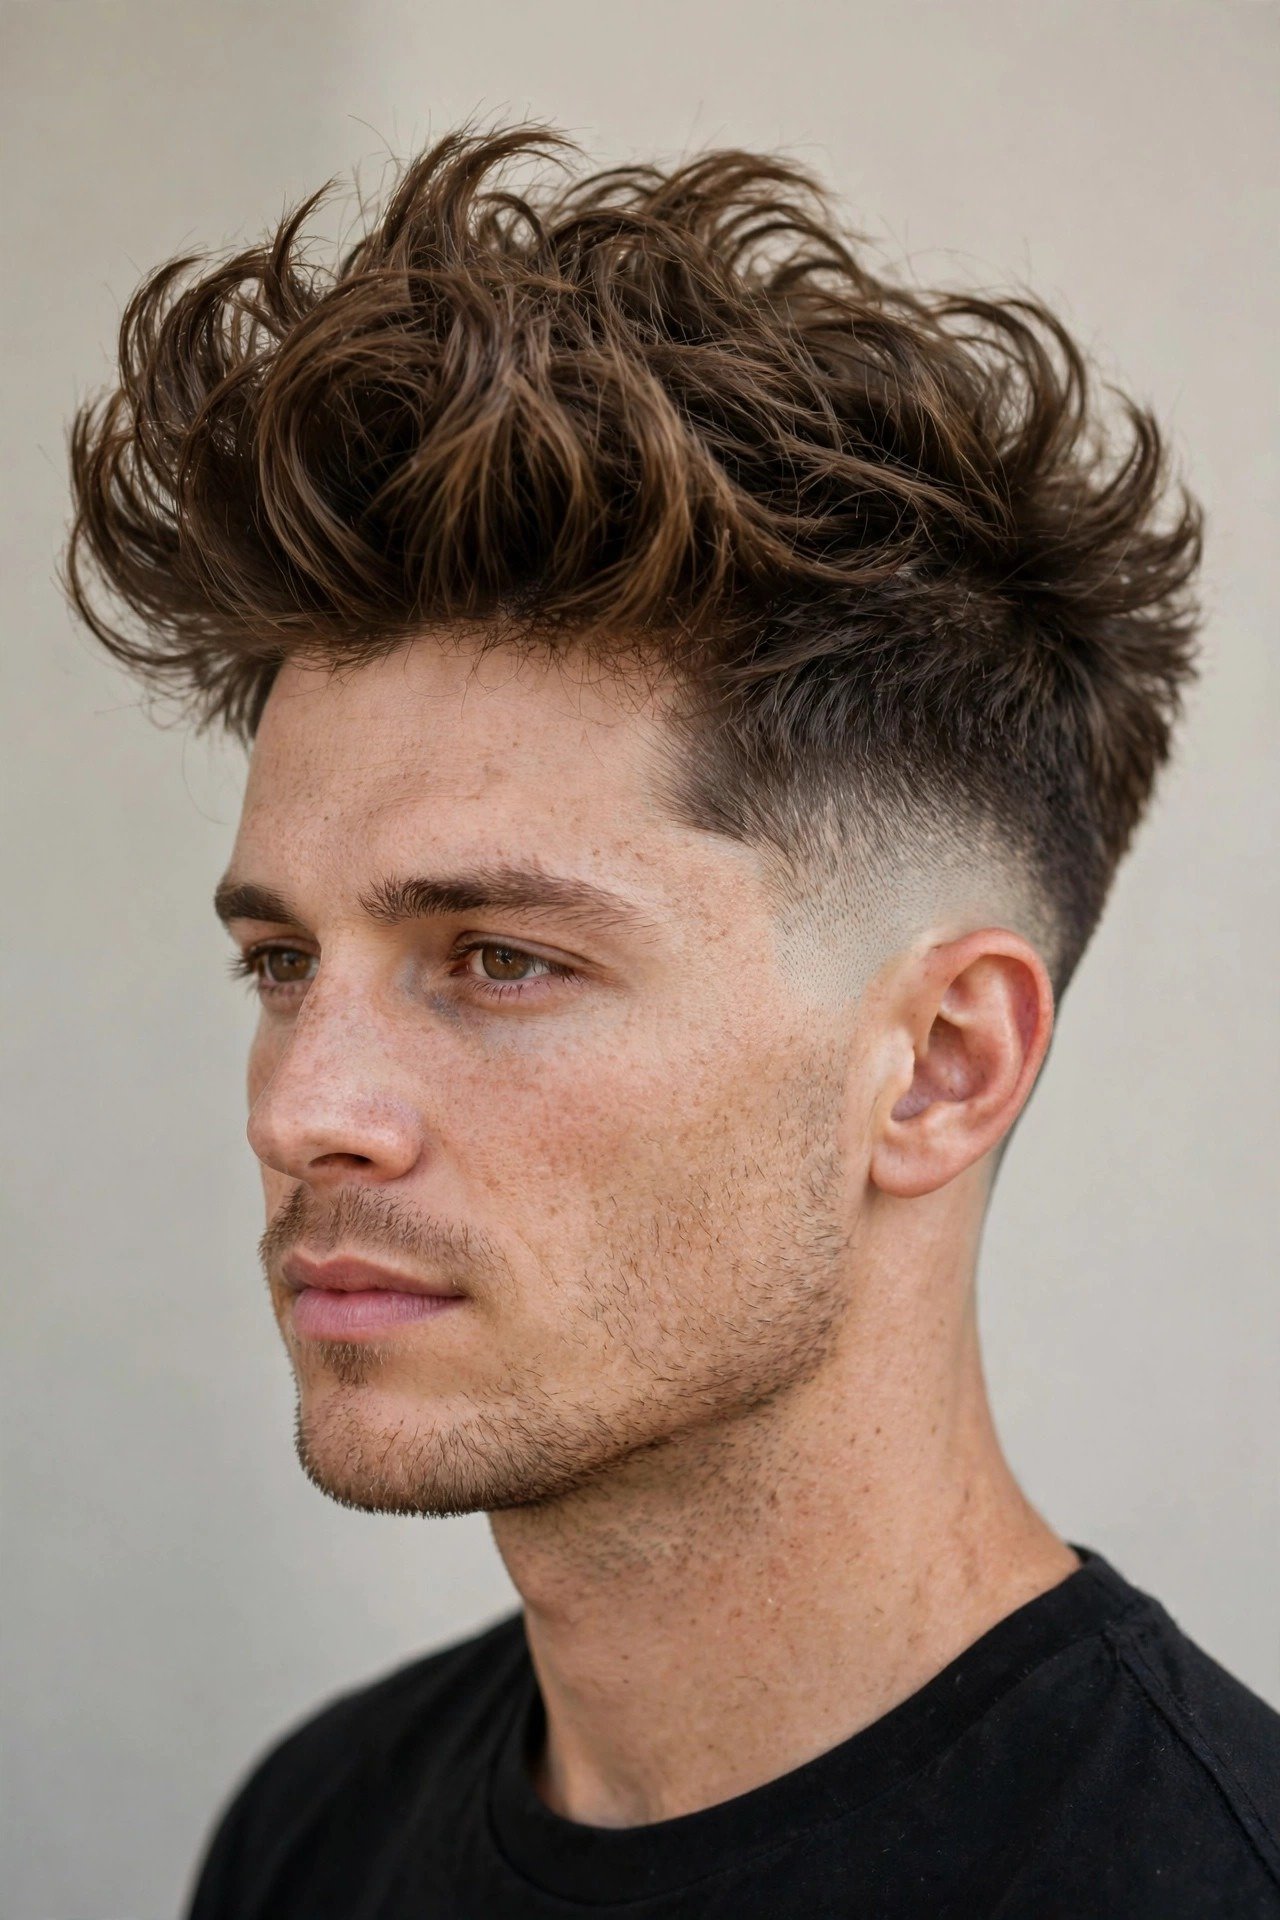
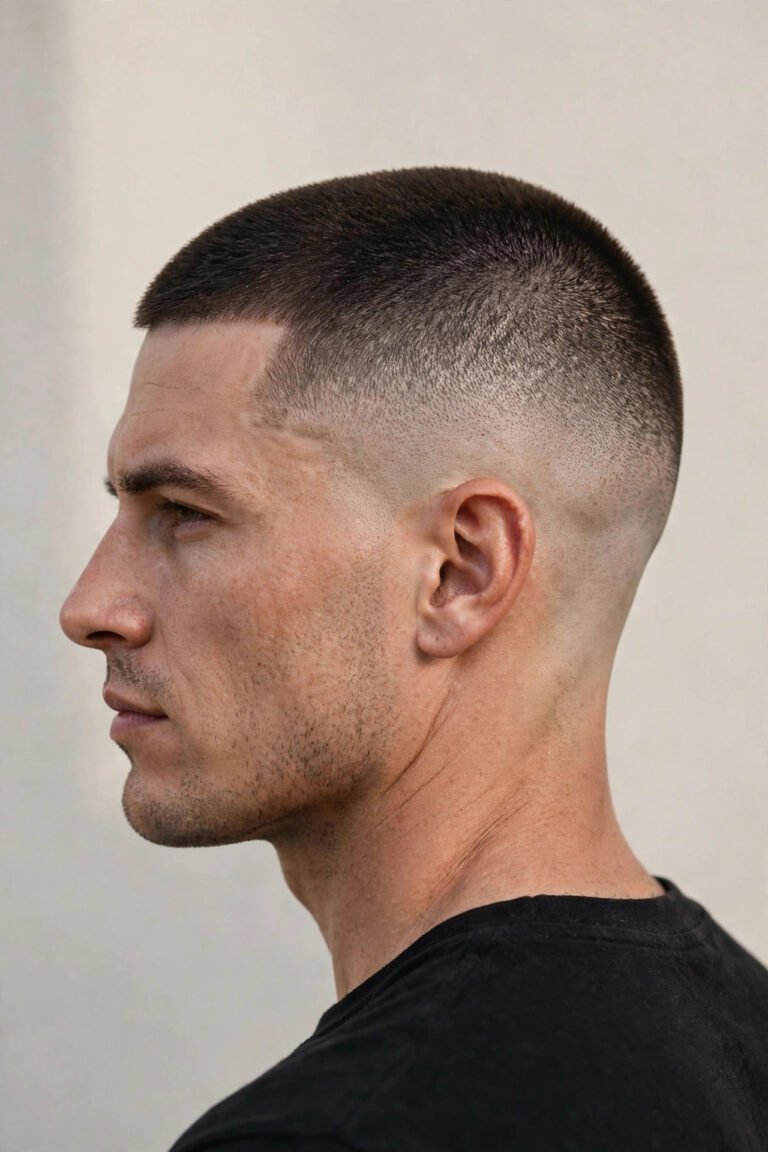
A blowout taper is a men’s haircut with two defining features: sides and back that taper gradually from longer at the top to shorter at the neckline and around the ears, and a top section that’s left long enough to be blow-dried upward and outward for serious volume. The word “blowout” refers to the styling — the hair is dried with heat and tension so it stands up and away from the head. The word “taper” refers to the sides — hair that gets progressively shorter going down, usually ending in a clean, natural neckline rather than a harsh skin fade line.
People confuse the blowout taper with a regular taper fade, and the difference matters when you’re in the chair. A standard taper fade is all about the gradient on the sides; the top can be styled however you want. The blowout taper is a complete silhouette: the tapered sides exist specifically to make the voluminous top look bigger by contrast. Take away the height on top and you’ve just got a taper. Take away the taper and you’ve got a blowout with messy sides. The cut only works when both halves are doing their job.
The style has real history. The blowout first blew up in the late 2000s and early 2010s — think of the big, wind-swept hair that was everywhere in that era. It faded out when tighter, shorter cuts took over, then came roaring back around 2023 as part of the volume revival in men’s hair. The 2026 version keeps the DNA but refines it: softer tapers, more texture, less product stiffness. Barbers who lived through the first wave will tell you today’s version is better in every way. It photographs better, grows out better, and suits more face shapes.
Here’s what nobody tells you: the blowout taper is one of the most forgiving haircuts for guys with thinning hair on top, as long as the thinning is mild. The upward drying technique creates the illusion of density because the hair is standing away from the scalp instead of lying flat against it. That said, if your crown is seriously thinning, no amount of blow-drying will hide it, and a good barber will steer you toward something shorter. The cut is honest that way — it works with what you have, it just needs enough to work with. About two to three inches on top is the minimum for a real result.
Face shape matters more than most guides admit. The blowout taper adds height, which is fantastic for round and square faces because it lengthens the silhouette. If your face is already long and narrow, all that extra height can make you look like a character from a cartoon — in that case, ask your barber to keep the volume wider rather than taller, pushing the hair out to the sides a bit. Oval faces can wear any version. The taper on the sides also slims the lower face, which is why the cut photographs so well from the front.
How to Ask Your Barber for a Blowout Taper (Without Sounding Clueless)
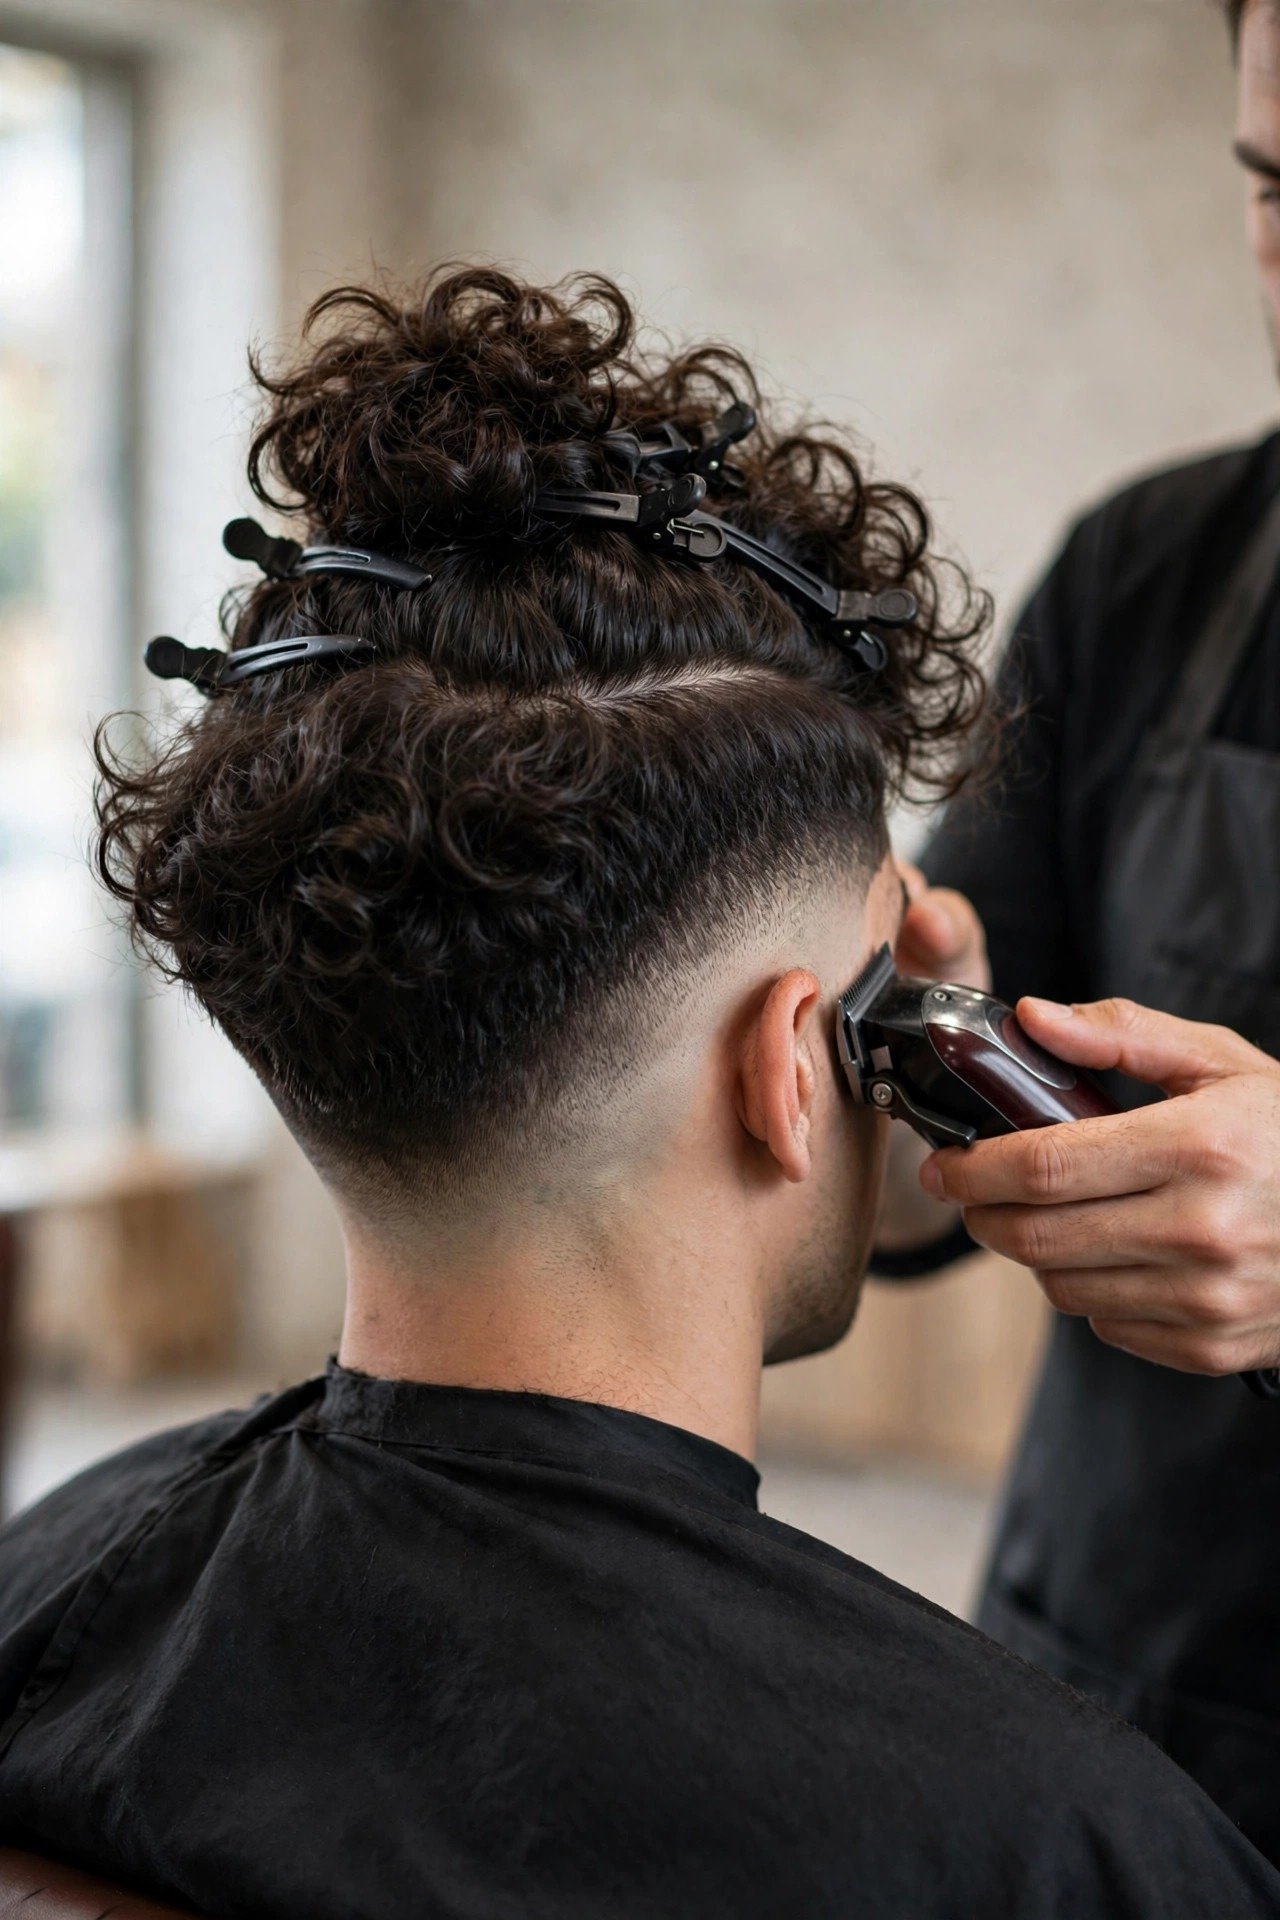
The single most important thing you can do before your appointment is save three reference photos on your phone. Not one — three. One photo tells your barber what you want; three photos tell him what you consistently like, which helps him read between the lines when your hair type differs from the guy in the picture. Pick photos of people with roughly your hair texture. Showing your barber a curly blowout taper when your hair is pin-straight is setting both of you up for disappointment.
Now the words. Say “blowout taper” first, then get specific. The magic sentence sounds like this: “I want a blowout taper — tapered sides, not a skin fade, with about three to four inches on top so I can blow-dry it up.” That one sentence tells your barber the family of cut, the sides you want, and the length you need. If you want the sides tighter, say “take the taper down to a one on the sides.” If you want it softer, say “keep it a two on the sides, I don’t want to see skin.” Barbers love specific guard numbers because it removes the guesswork.
Talk about the top in inches, not vibes. “Leave it long on top” means nothing — your barber’s “long” and your “long” might differ by two inches. Say the actual number: “leave four inches on top” or “take an inch off the top but keep the length.” For the fringe area, mention whether you want it to sit forward, sweep back, or stand up, because that changes how your barber layers it. And mention your part, or lack of one. A blowout taper with a hard side part is a different haircut than one with no part at all.
Here’s a pro tip most clients never think about: tell your barber how you actually style your hair at home. Say “I blow-dry it every morning” or “I’m not going to blow-dry it, I just want the shape.” This changes the cut. A barber who knows you’ll style it with heat can leave more weight and texture; one who knows you won’t will cut it to fall into place on its own. There’s no shame in the second option — a good barber would rather give you a cut that works with your real life than an Instagram cut you’ll hate by Wednesday.
Watch for red flags while you’re in the chair. If your barber reaches for the thinning shears on top without asking, speak up — over-thinning kills the volume this cut depends on. If he starts fading the sides up high without discussing it, stop him and confirm the taper height. And if he asks “skin fade on the sides?” make sure you actually want that before saying yes, because a skin fade changes the whole character of the cut. The best barbershop experiences are collaborations, not silent ordeals. Talk. Ask questions. It’s your head.
The Blowout Technique: How the Volume Actually Happens
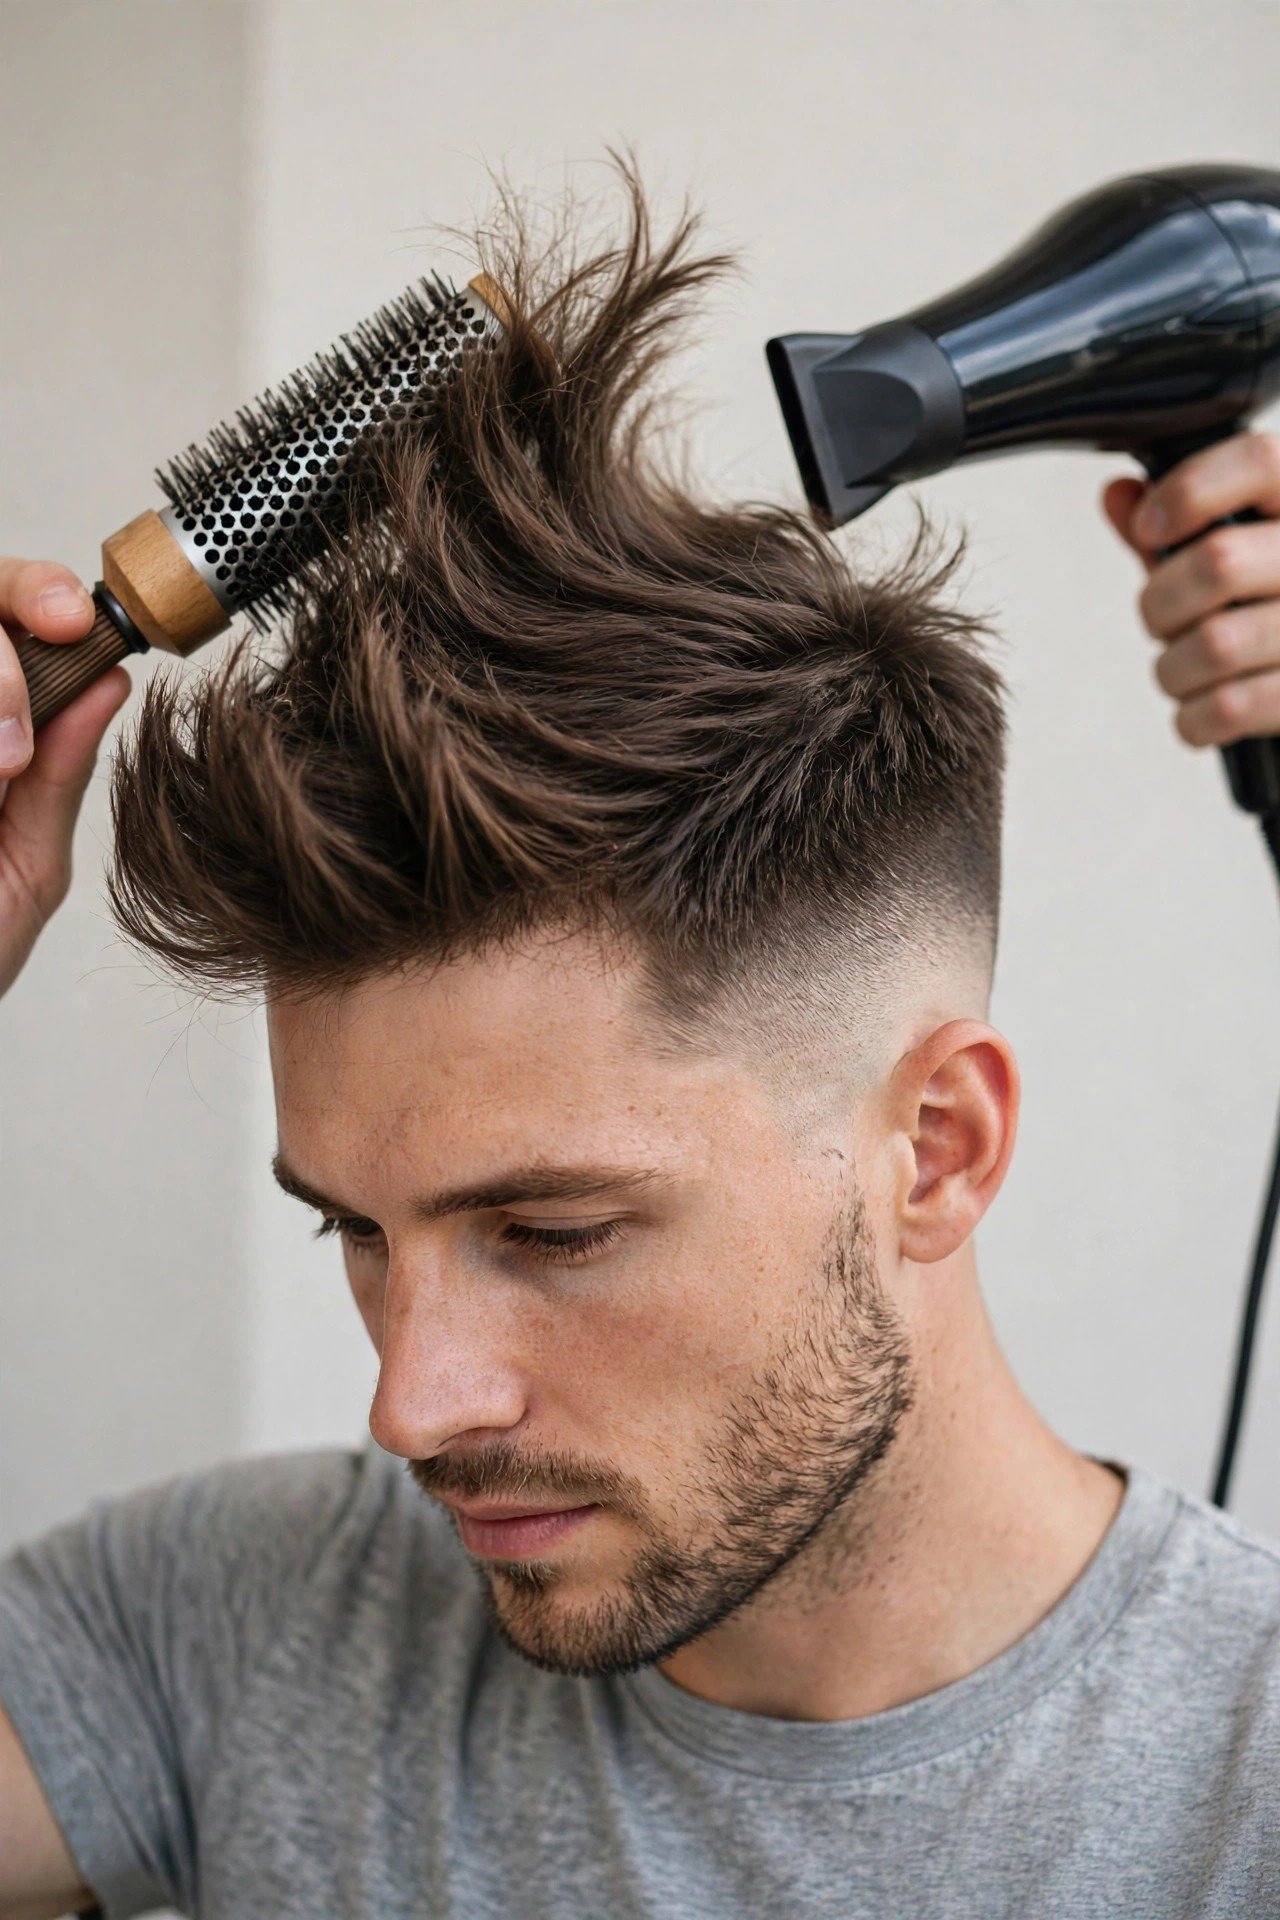
The blowout is the engine of this entire haircut, so let’s break it down properly. Start with freshly washed hair, towel-dried until it’s damp but not dripping — about 70 percent dry. If it’s too wet, you’ll be standing there for ten minutes and the heat will do more damage than good. If it’s too dry, you’ve missed the window where the hair is moldable. Damp is the sweet spot. Run a heat protectant through the top first, then your pre-styler — a sea salt spray or a volumizing mousse works best here.
Now the dryer. Use a nozzle attachment — this is non-negotiable. Without the nozzle, the airflow scatters everywhere and you get frizz instead of direction. Set the heat to medium-high and the speed to high. Work in sections: start at the front hairline and move backward, pointing the dryer upward at the roots. The key move is lifting the hair away from the scalp with your fingers or a vent brush while the heat hits the roots. Roots determine volume; ends determine texture. Most guys make the mistake of blasting the ends and wondering why it falls flat by noon.
Direction matters more than you’d think. For maximum height, dry everything straight up first, then push it back. For a more natural look, dry it up and slightly to the side you’ll wear it. Use tension — pull the hair taut with your brush or fingers as you dry. Tension plus heat is what smooths the hair shaft and locks in the shape. When each section is dry, hit it with the cool shot button for five seconds. The cool air sets the hair in place the way cold water sets a crease in pants. Skip the cool shot and your volume has a shorter lifespan.
Here’s what nobody tells you: the whole routine takes four to six minutes once you’ve done it a dozen times. The first week feels clumsy — the dryer in one hand, the brush in the other, hair going everywhere. By week two it’s muscle memory. Guys who quit usually quit on day three, which is a shame because day ten is when it clicks. If you’re struggling, simplify: ditch the brush and just use your fingers to lift. Fingers give you a more textured, natural result anyway, and there’s one less thing to coordinate.
The biggest mistakes are all avoidable. Mistake one: drying soaking-wet hair on max heat — that’s how you get damage and frizz. Mistake two: pointing the dryer down at the roots, which flattens everything you’re trying to lift. Mistake three: skipping product, because product gives the hair grip and memory. And mistake four: touching it too much after it’s done. Once the cool shot sets it, leave it alone. Every time you run your hands through it, you’re pulling out volume. Style it, set it, and walk away.
Blowout Taper Styles 1–3: The Classics
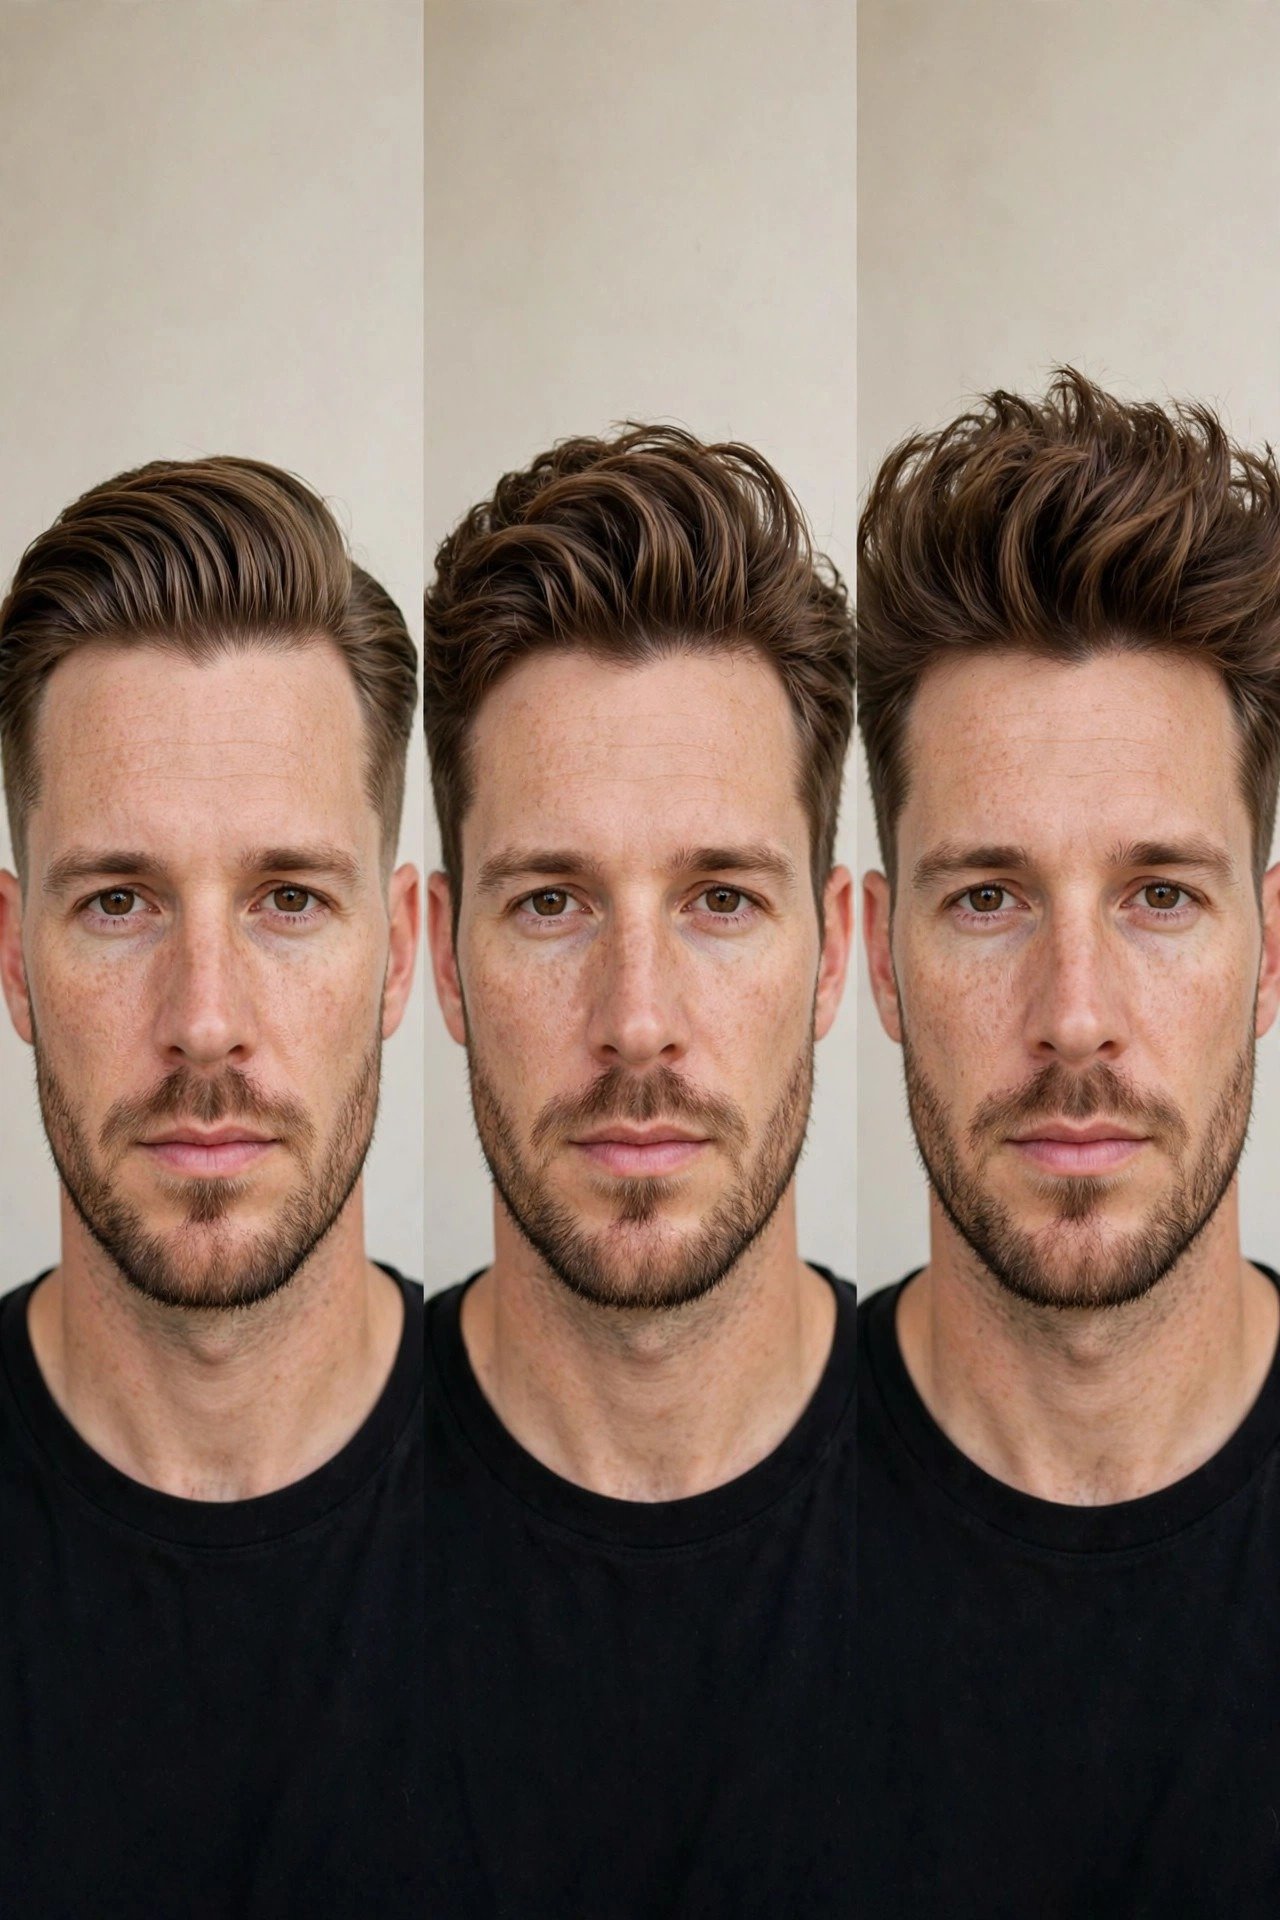
Style 1: The Classic Blowout Taper. This is the blueprint everything else is built on. Tapered sides that graduate cleanly from a two guard down to the skin around the ears and neckline, with three to four inches on top dried straight up and back. The silhouette is unmistakable: tight at the bottom, big at the top, with a smooth transition between the two. It suits just about every face shape and every hair type with enough length, which is why it’s still the most requested version in 2026. Ask for it exactly like this: “classic blowout taper, two on the sides tapered down, four inches on top.” Your barber will know precisely what to do.
What makes the classic work is its balance. The sides are short enough to look sharp but not so short that the cut screams for attention. The top has enough length to show real volume without crossing into costume territory. It’s the version you wear to a wedding, a job interview, and a night out without changing a thing. Styling takes about five minutes with a dryer and a dab of matte clay. If you’re getting a blowout taper for the first time, start here. You can always go bolder on the next visit once you know how your hair responds.
Style 2: The Textured Blowout Taper. Same foundation as the classic, but the top is point-cut to create piecey separation instead of a smooth wall of hair. Your barber cuts into the ends at an angle rather than straight across, which breaks up the bulk and lets individual pieces move independently. The result looks more relaxed and modern — less “I spent twenty minutes on this” and more “my hair just does this.” In 2026, this is arguably the default version; when guys ask for a blowout taper without specifying, most good barbers now cut the texture in automatically.
The textured version is more forgiving than the classic in two ways. First, it hides cowlicks better, because the piecey ends don’t fight the natural growth direction as hard. Second, it looks better on day two and three, when the cut has settled and the product has worn off. The tradeoff is that it needs the texture cut properly — a barber who just razors the ends randomly will give you frizz, not texture. Ask specifically for point cutting on the top, and make sure he doesn’t overdo it. You want separation, not wisps.
Style 3: The Low Blowout Taper. Here the taper stays low — the graduation happens close to the ears and neckline, leaving more length through the sides. The overall effect is softer and more conservative, with less contrast between the top and sides. This is the blowout taper for guys who work in offices with unspoken hair rules, or for anyone whose head shape doesn’t suit very short sides. It also grows out beautifully, because there’s no harsh line anywhere for the regrowth to expose.
Don’t mistake “low” for “boring.” The low blowout taper still has all the volume on top — it just frames it differently. The extra length on the sides gives the cut a fuller, more rounded silhouette that works especially well on guys with longer faces, since it adds width where they need it. Styling is identical to the classic: dry up, product, done. The maintenance is easier too, because the taper doesn’t show regrowth as fast. You can stretch appointments to four weeks instead of two or three without looking unkempt.
Blowout Taper Styles 4–6: Mid, High, and Temple
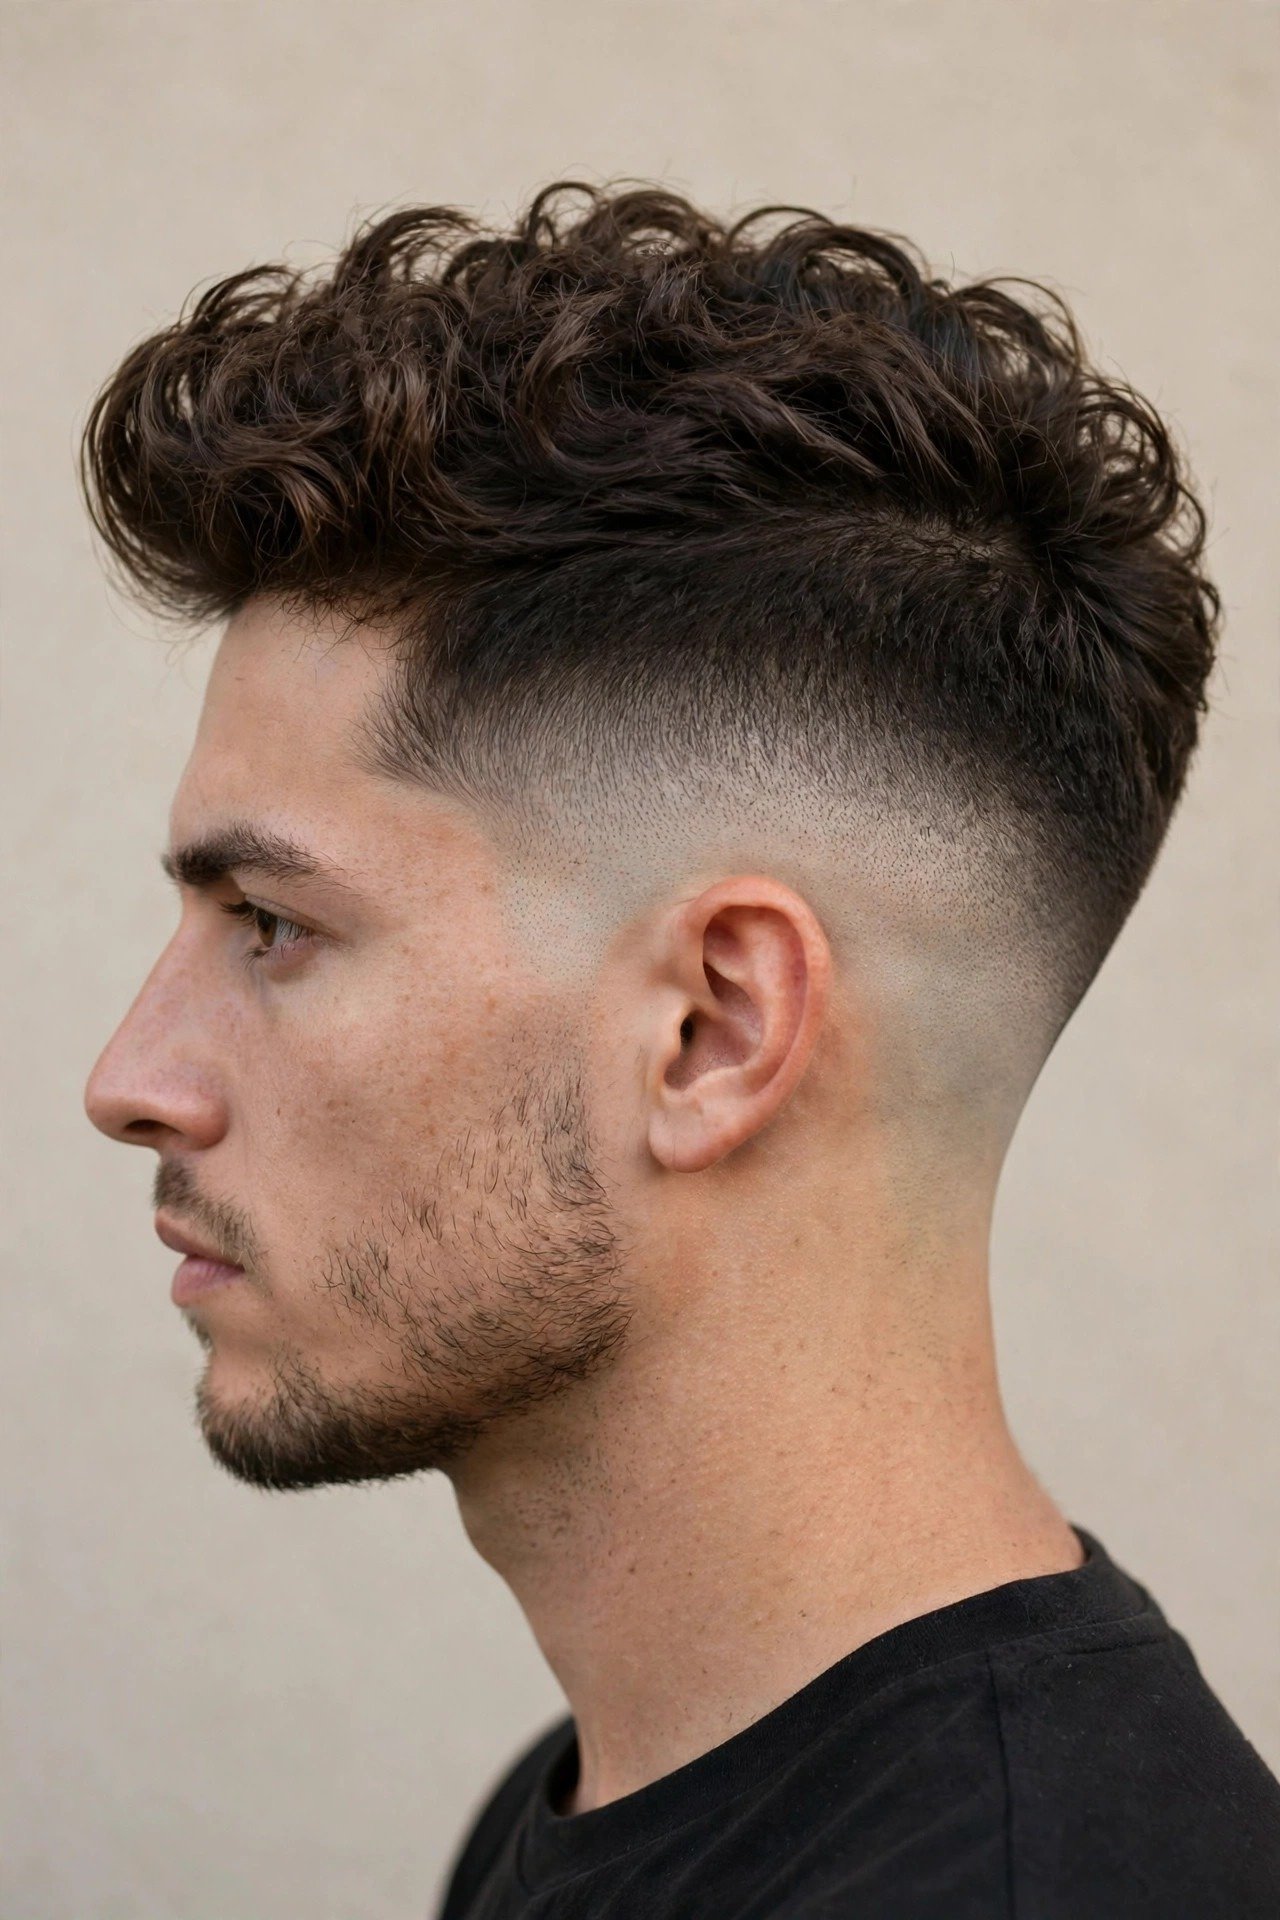
Style 4: The Mid Blowout Taper. The taper’s transition zone sits around the middle of the sides — higher than the low version, lower than the high. This is the sweet spot for most guys, and it’s what I’d recommend if you can’t decide. The mid taper gives you visible contrast between the sides and the top, which makes the volume pop, without the aggressive look of a high fade. It works with every top length from two inches to six, and it suits round, square, and oval faces equally well.
The mid version is also the most versatile for styling. Because the sides have a clean gradient through the middle, you can push the top in any direction — up, back, to the side — and it all looks intentional. This is the cut that survives a windy day, a workout, and a nap better than the others, because the balanced proportions don’t depend on everything sitting perfectly. If you want one haircut that handles your whole life without fuss, the mid blowout taper is it.
Style 5: The High Blowout Taper. Now we’re getting bold. The taper climbs high up the sides, sometimes nearly to the parietal ridge, leaving only the top section long. The contrast is dramatic — tight sides, explosive top — and that’s exactly the point. This version has attitude. It draws the eye upward, adds serious height to the silhouette, and looks incredible in photos. It’s the choice for guys who want their haircut noticed.
A word of honesty about the high version: it’s the highest-maintenance of the taper heights. The contrast that makes it striking also makes regrowth obvious fast — you’ll see the blend soften within ten days. Plan on a cleanup every two weeks if you want it crisp, or learn to tidy the edges yourself with a trimmer. It also demands commitment on the top; a high taper with a flat, lifeless top looks unbalanced and odd. If you’re not going to blow-dry it, don’t get the high version. The cut and the styling are a package deal here.
Style 6: The Temple Blowout Taper. Also called the Brooklyn fade in some shops, this version keeps the taper tight and focused around the temples and sideburns, with a subtle taper at the neckline. The sides above the temples stay relatively fuller, which creates a distinctive shape — almost like the volume wraps around the head. It’s a less common choice, which means you’ll stand out, and it has a certain old-school cool that the other versions don’t.
The temple taper works best on guys with strong hairlines and good density at the temples, because the cut draws attention to that area. If your temples are thinning, this version will highlight what you’re trying to hide — go with a mid or low taper instead. For the right candidate, though, it’s sharp. The styling is the same blow-dry routine, but pay extra attention to the front: the temple area frames your face, so the hairline needs to look intentional. A quick pass with the dryer, pushing the front up and back, does the job.
Blowout Taper Styles 7–9: Curly, Wavy, and Coily
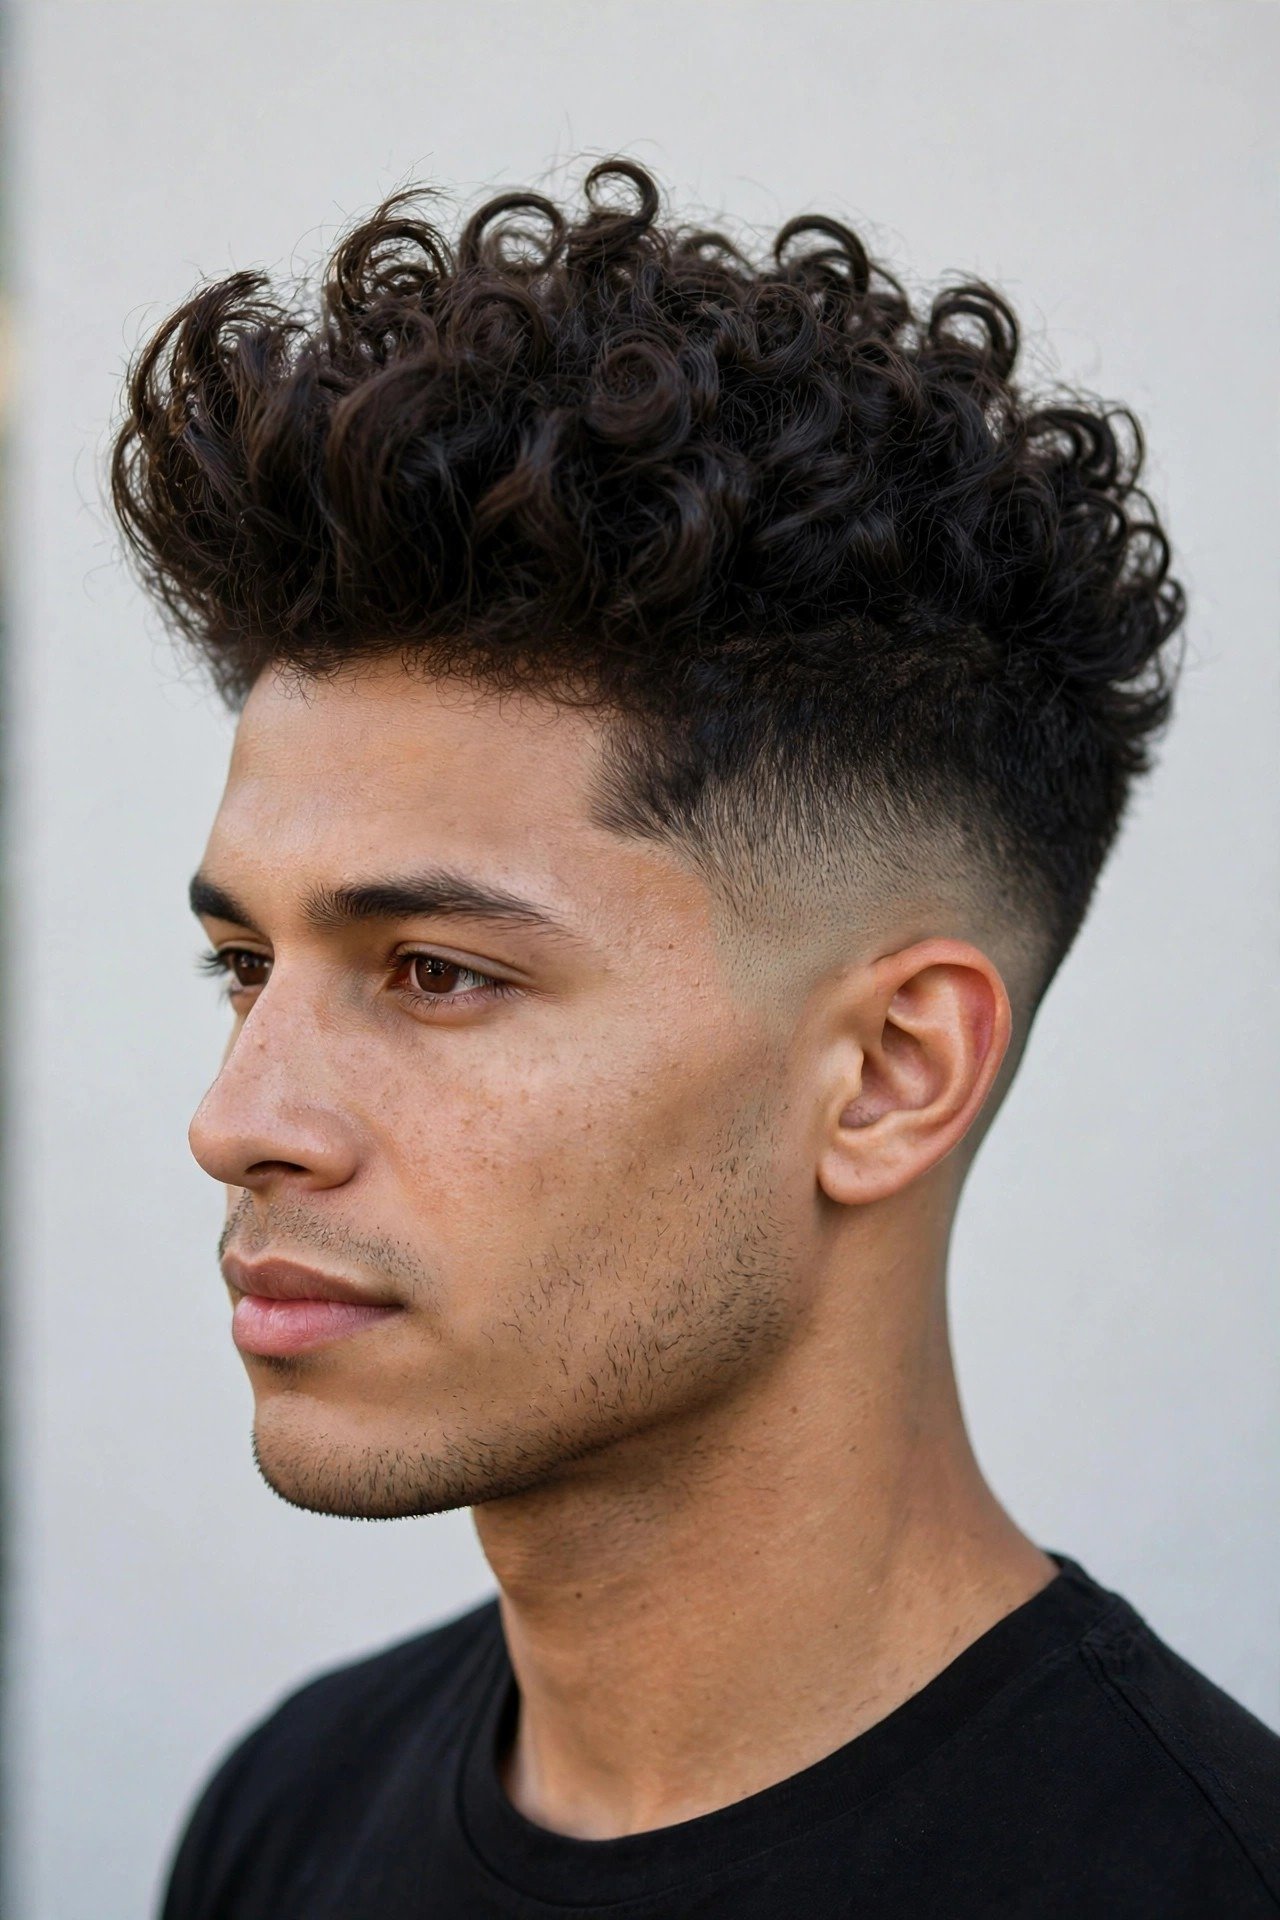
Style 7: The Curly Blowout Taper. This is where the cut gets really interesting. Curly hair and volume are natural partners — curls want to expand, and the blowout technique just gives them direction. The approach is different from straight hair: instead of drying the curls straight up into submission, you dry with a diffuser attachment on low heat, lifting at the roots and letting the curls keep their pattern. The result is a rounded, full silhouette with defined curls on top and clean tapered sides. It’s one of the best-looking versions of this cut, full stop.
The key detail for curly blowout tapers is length. You need more length than you think — curls shrink when dry, so four inches of curly hair might sit at two and a half inches of height. Tell your barber to cut it dry or to account for shrinkage, because a curly top cut to the same length as a straight top will end up much shorter once it dries. Product-wise, swap the matte clay for a curl cream: apply it to damp hair before diffusing, and you’ll get definition without crunch. This version takes a little longer to style — about eight to ten minutes — but the result is worth every second.
Style 8: The Wavy Blowout Taper. Wavy hair is the sleeper hit for this cut. It has enough natural bend to create texture without any effort, and the blow-dry just amplifies what’s already there. Dry it up and back with your fingers — no brush needed — and the waves separate into that effortless, touchable texture that straight-haired guys spend a fortune in product trying to fake. If you have wavy hair and you’ve never tried a blowout taper, you’re sitting on a goldmine.
The wavy version is the lowest-effort blowout taper you can get. On good hair days, you can skip the dryer entirely: towel-dry, work in some sea salt spray, scrunch upward, and let it air-dry. You won’t get the same sky-high volume as a full blow-dry, but you’ll get a perfectly respectable textured taper that looks intentional. On days when you want the full effect, the dryer routine takes five minutes. This versatility is why so many wavy-haired guys end up keeping this cut for years.
Style 9: The Coily Blowout Taper. For coily and tight-curled hair types, the blowout taper is a statement. The top is picked or dried upward into a full, rounded shape — think of the silhouette as a sculpted cloud above clean tapered sides. Barbers experienced with coily hair will shape the top with clippers-over-comb or careful scissor work, keeping the density even so the shape holds. The taper on the sides is usually done with careful fading to avoid harsh lines against the skin.
Honest talk: this version needs a barber who truly knows coily hair. The cutting technique, the tapering, and the shaping are all specialized, and a barber who mostly cuts straight hair can easily take off too much or create an uneven shape. Ask to see photos of their work on coily hair specifically — not just fades, but shaped tops. Maintenance-wise, the shape holds well between cuts because coily hair doesn’t fall flat, but the taper needs cleanup every two to three weeks to stay crisp. Moisture is everything: a leave-in conditioner under your styling product keeps the top healthy and defined.
Blowout Taper Styles 10–12: Long Top, Short Crop, and Fringe
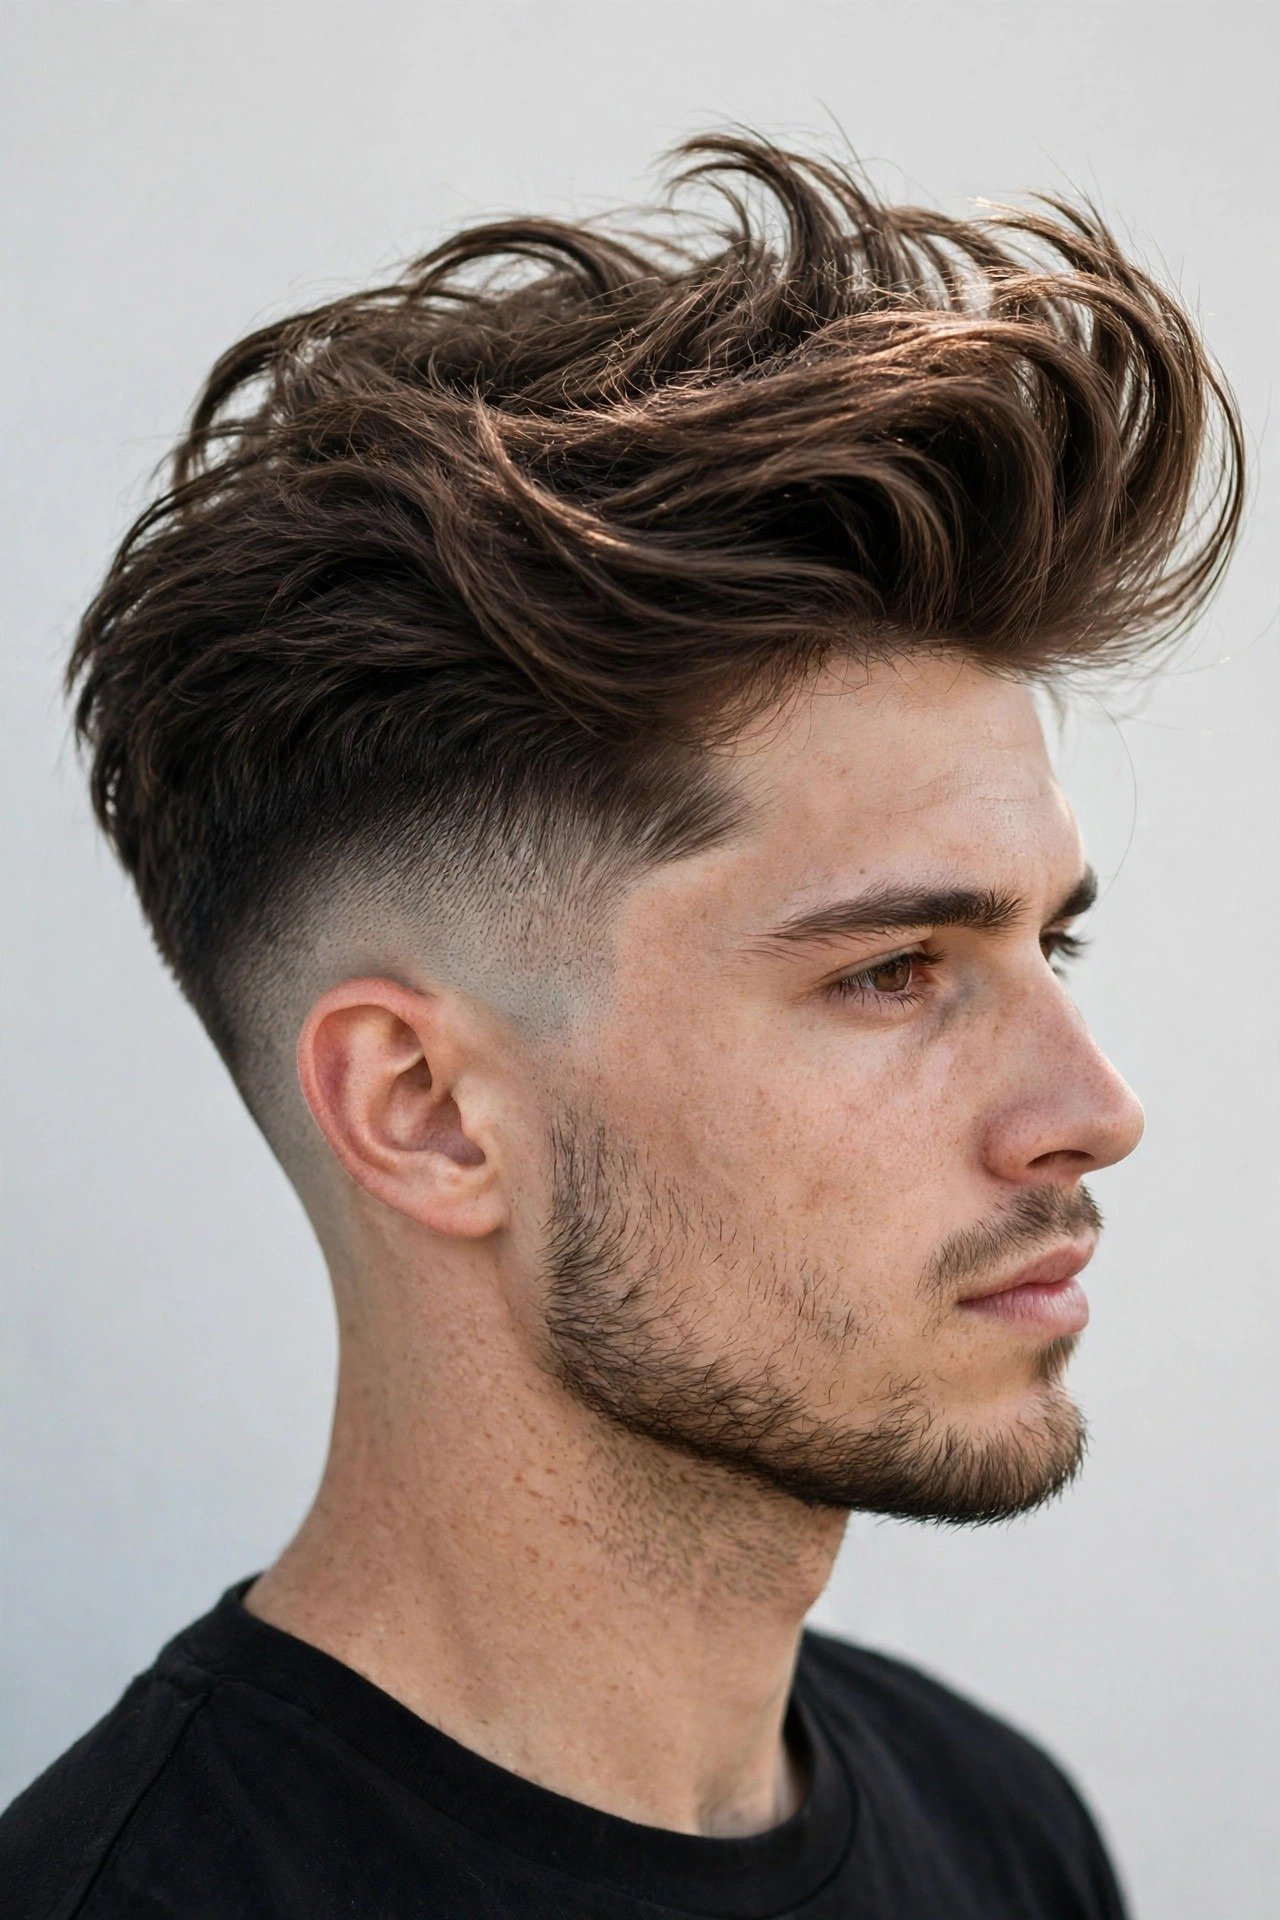
Style 10: The Long Top Blowout Taper. Five to seven inches on top, dried up and back into serious height. This is the maximum-volume version — the one that turns heads across the street. The long top gives you options: wear it up for drama, push it back for a sleeker look, or let it fall forward into a textured fringe when you’re feeling casual. It’s the most versatile top length, but it’s also the most work. Long hair takes longer to dry, needs more product, and catches wind like a sail.
Here’s what nobody tells you about the long top: it has a weight limit. If your hair is very thick and heavy, gravity will fight your volume all day, and you’ll need stronger products and more drying time to win. If your hair is fine, the long top can look stringy without enough texture cut into it. The sweet spot is medium-density hair with some natural wave. Also, sleep is the enemy of the long top — you’ll need to refresh it every morning, no exceptions. A silk pillowcase helps, but it’s damage control, not a solution.
Style 11: The Short Crop Blowout Taper. Two inches on top, dried up for a compact, punchy silhouette. This is the blowout taper for guys who want the vibe without the morning routine. At this length, the “blowout” is more of a quick lift than a full production — two minutes with the dryer, a pinch of product, and you’re out the door. The result is clean, modern, and masculine, with just enough height to distinguish it from a regular crop.
The short crop version is criminally underrated. It suits professional settings, it works in hot weather, it survives hats and helmets better than any other version, and it grows out gracefully. The styling is so fast that there’s no excuse to skip it. The only real limitation is that you can’t do much variation — it’s up and slightly back, every day. If you’re someone who likes to change up your look, this might feel restrictive. But if you want one great look with zero fuss, this is your cut.
Style 12: The Fringe Blowout Taper. The top is dried up for volume but the front is allowed to fall forward into a textured fringe. It’s a hybrid — blowout in the back, fringe in the front — and it shouldn’t work, but it absolutely does. The fringe softens the forehead, which makes this the best version for guys with larger foreheads or longer faces. It also reads younger and more fashion-forward than the swept-back versions.
The trick to the fringe version is in the drying: dry the back and crown up for volume, but dry the front section forward and down, using your fingers to create piecey separation. You’re essentially doing two different blowouts on one head, which sounds complicated but takes about six minutes total once you get the hang of it. Product goes on the fringe last — a tiny amount of matte paste, worked through the ends only. Too much product on the fringe and it clumps into a solid curtain. You want pieces, not a sheet.
Blowout Taper Styles 13–15: Lineup, Skin Fade, and Drop Taper
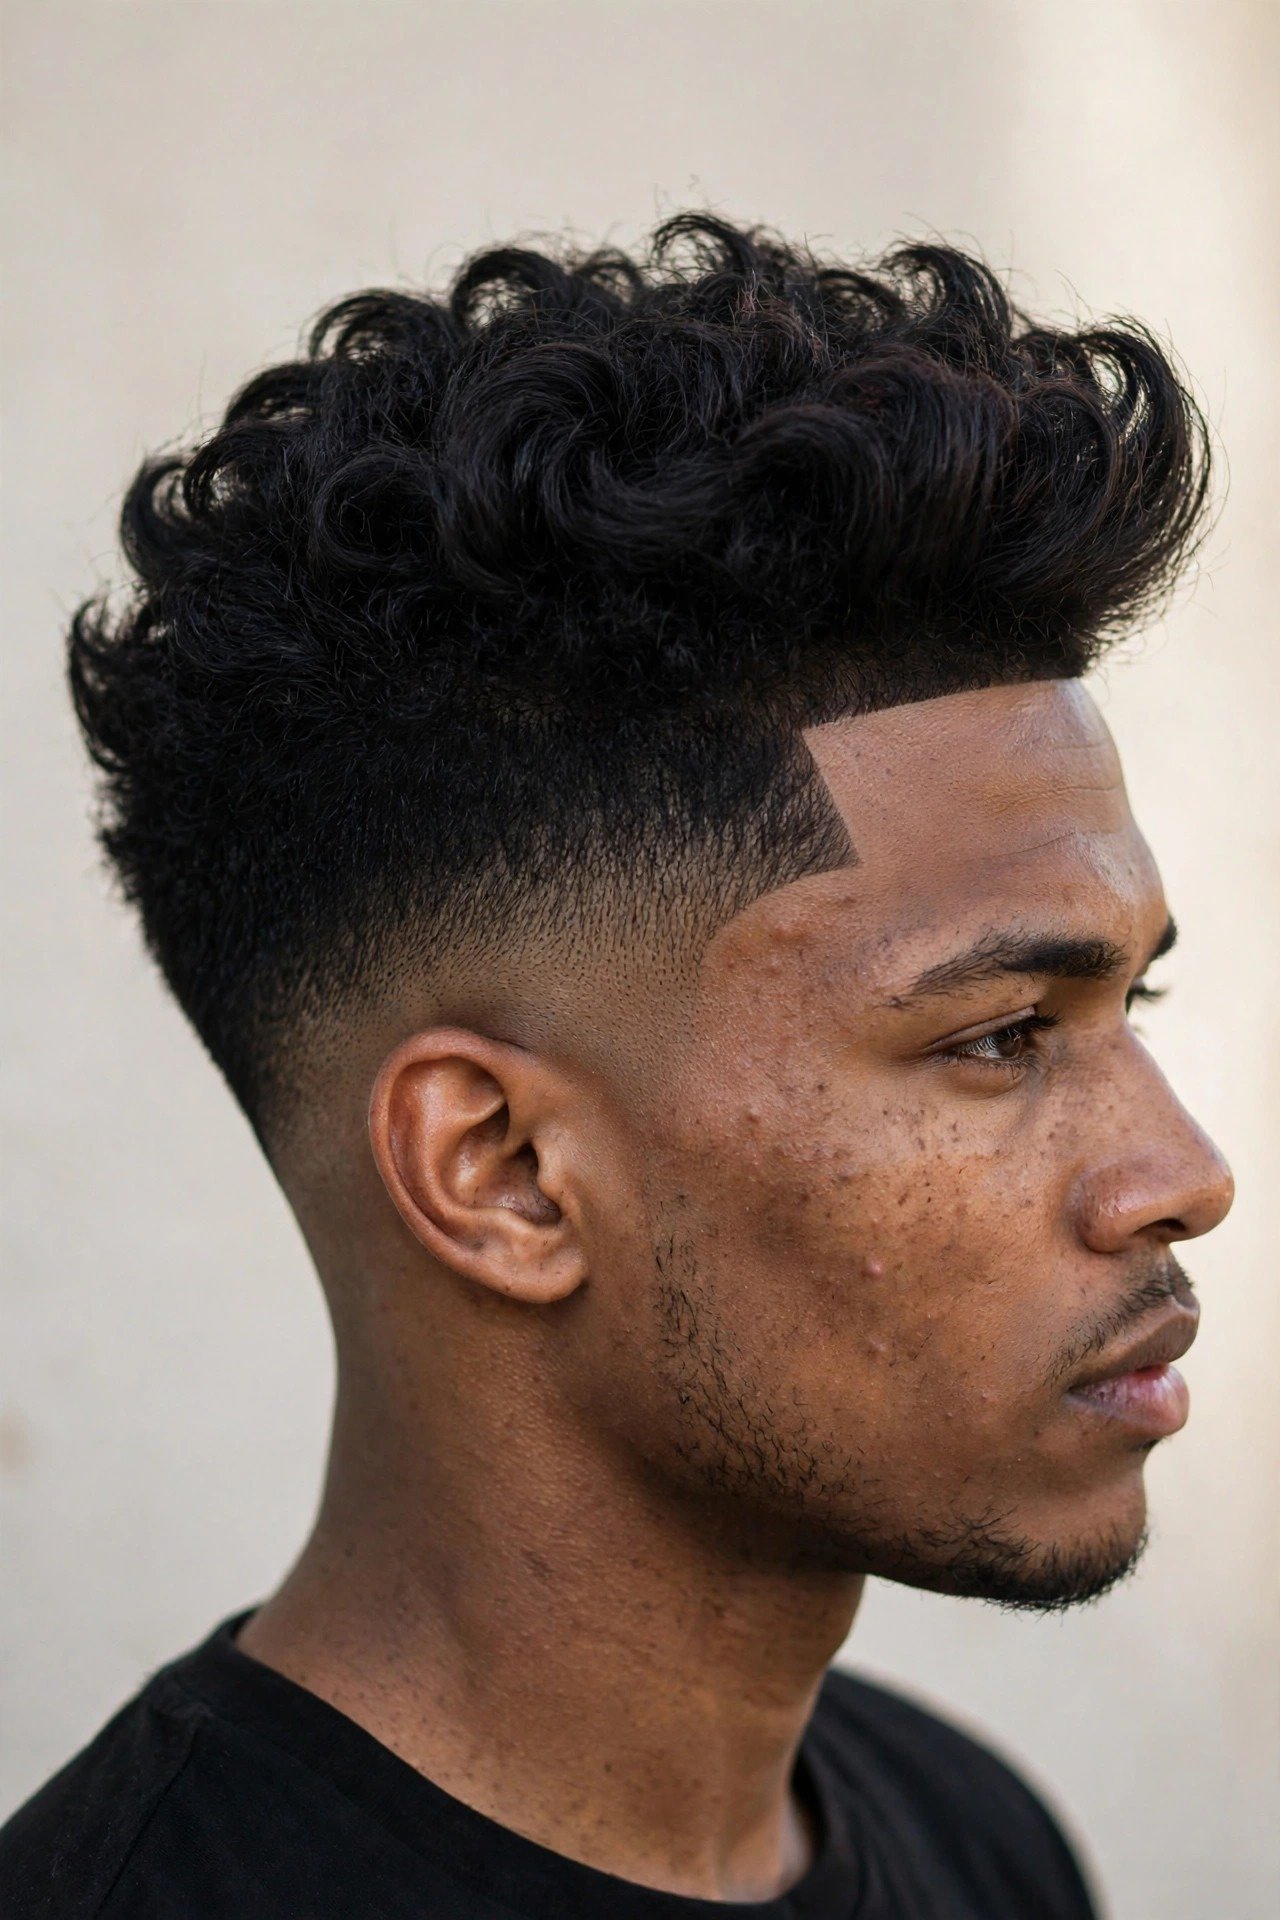
Style 13: The Blowout Taper with Lineup. Add a crisp, sharp hairline to the blowout taper and the whole cut gets an edge of precision. The lineup — those clean, straight lines carved along the forehead and temples — contrasts beautifully with the soft volume on top. It’s the combination of sharp and soft that makes this version so striking. This is a popular choice for guys who want their cut to look fresh for as long as possible, because a fresh lineup reads as “just cut” even when the rest has grown a week.
The lineup needs a barber with a steady hand and a good trimmer. Not every barber does great lineups — it’s a specific skill, and a wobbly line is worse than no line at all. When you’re booking, it’s worth asking if the shop is known for lineups. Maintenance is the real consideration: the crisp line softens within a week as hair grows, so you’ll either need weekly touch-ups or you’ll learn to clean it up yourself with a T-blade trimmer. Plenty of guys do their own lineup maintenance between cuts, and it’s a skill worth learning if you wear this version.
Style 14: The Skin-Fade Blowout Taper. Technically this pushes past “taper” into “fade” territory — the sides go all the way down to the skin. But it belongs in this guide because so many guys ask for it by the blowout-taper name, and the top styling is identical. The skin fade creates maximum contrast: bare skin melting into dense, voluminous hair on top. It’s bold, it’s clean, and it’s unapologetic. In 2026, the skin-fade version is the choice for nights out, events, and anyone who likes their haircut to make a statement.
Let’s be real about the downsides. A skin fade shows regrowth faster than any other version — within a week, the skin section has a shadow that dulls the contrast. You’ll need a cut every two weeks to keep it sharp, which doubles your barber budget compared to a softer taper. It also exposes everything: scalp imperfections, uneven hairlines, tan lines. If your scalp isn’t something you want on display, stick with a regular taper. But if you’ve got the density and the maintenance budget, nothing looks cleaner than a fresh skin fade under a full blowout top.
Style 15: The Drop Taper Blowout. The drop taper follows the natural curve of the head, dipping lower behind the ear instead of running straight around. This creates an arc shape that’s incredibly flattering — it follows your head’s anatomy rather than fighting it. Paired with a blowout top, the drop taper gives the cut a custom, tailored feel. It’s the version that makes people ask “who’s your barber?” because it looks like it was designed specifically for your head. Which, in a way, it was.
The drop taper is technically demanding, so this is not the cut to get from a rushed chain barbershop. The barber has to visualize the arc and blend it smoothly with no visible steps, which takes skill and patience. When it’s done right, though, it’s the best-looking taper variation for most head shapes. It also grows out more gracefully than a straight taper, because the curved line doesn’t create an obvious regrowth shelf. Ask for it by name — “drop taper” — and make sure your barber nods with recognition, not confusion. If he looks confused, pick a different variation.
Blowout Taper Styles 16–18: Messy, Slicked, and Side Part
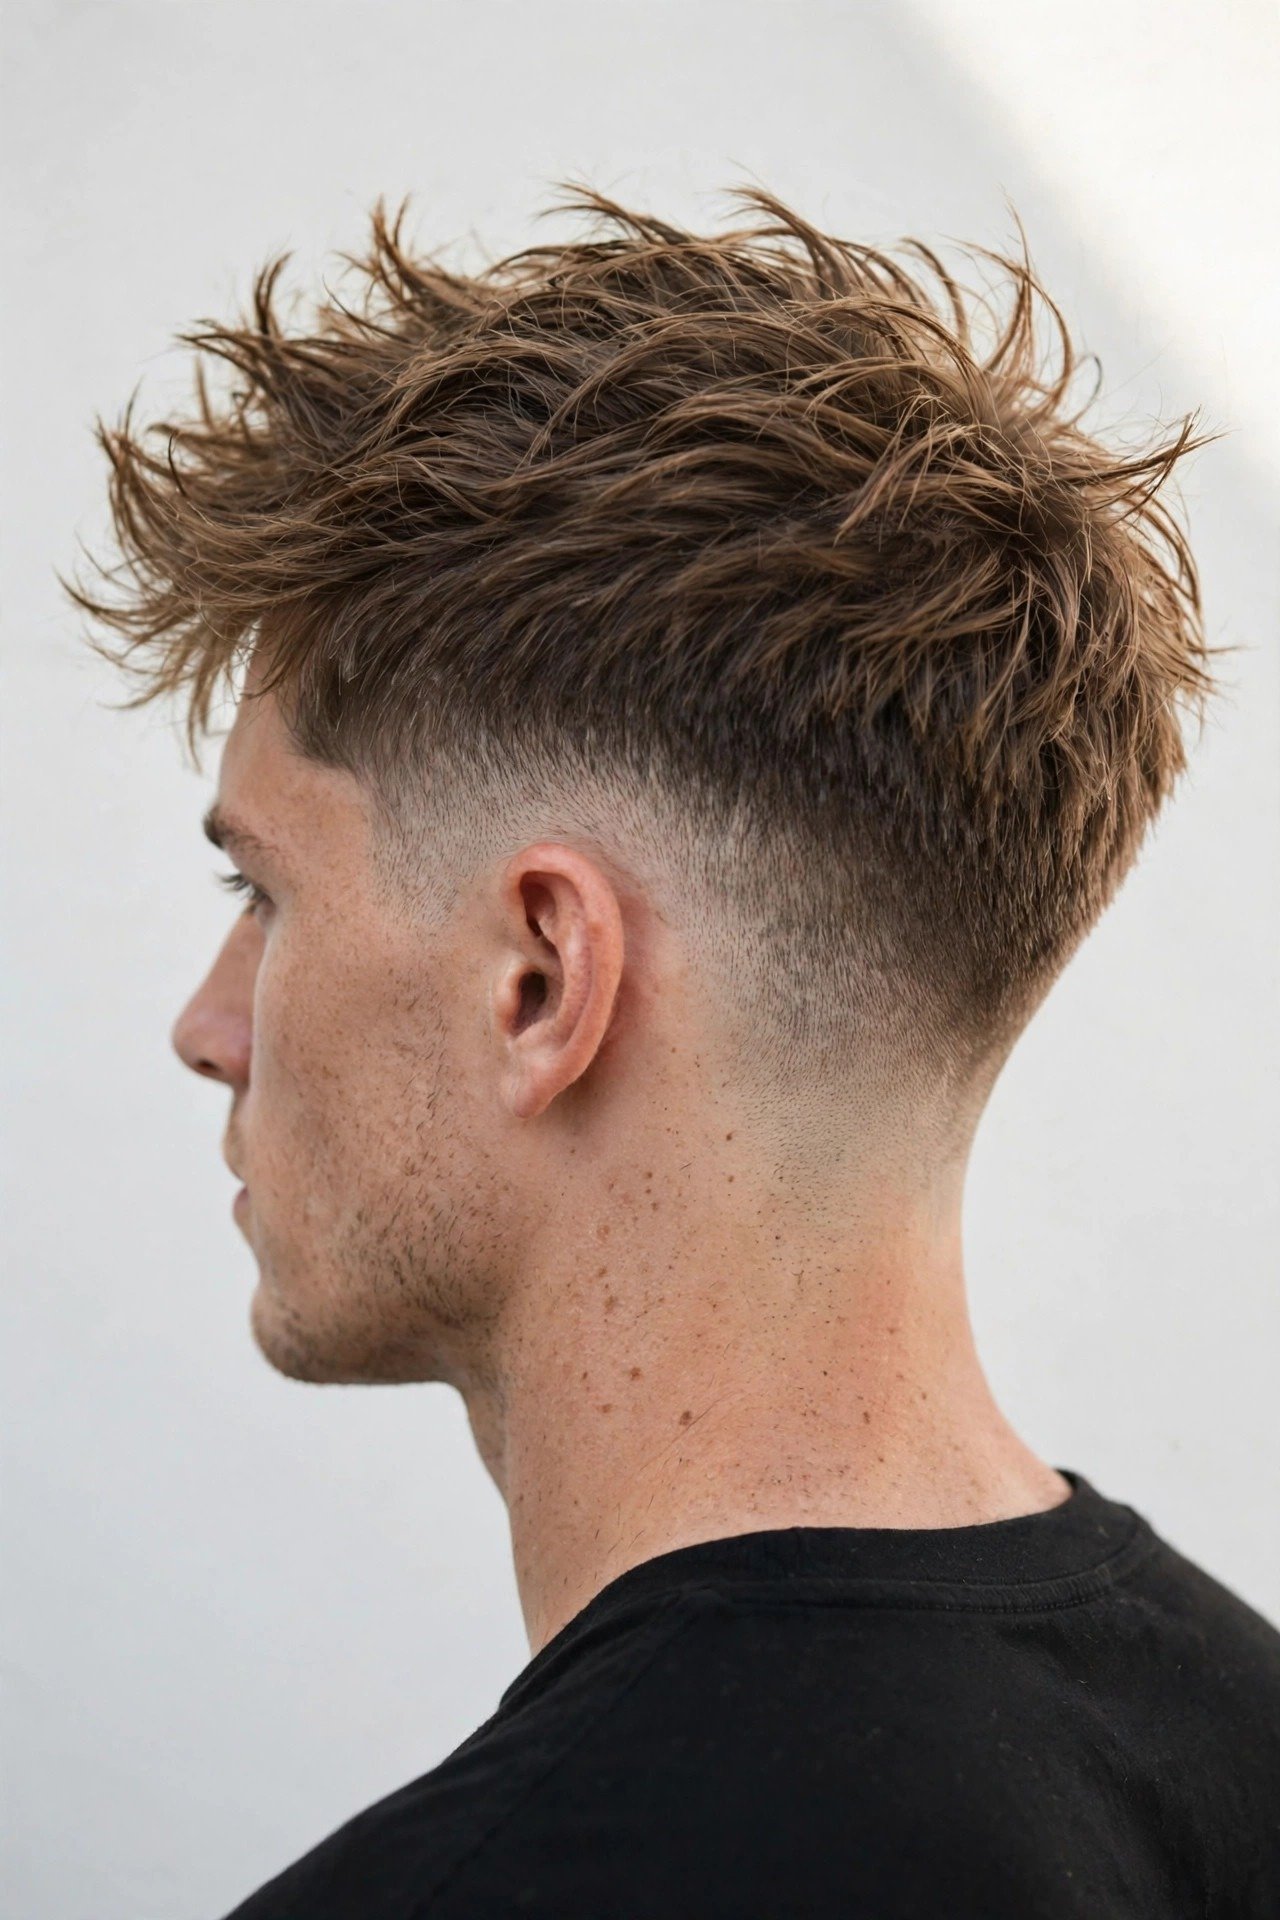
Style 16: The Messy Blowout Taper. All the volume, none of the polish. The messy version is dried up like a normal blowout, but then deliberately roughed up — fingers through the hair, a little extra product at the ends, and no attempt at a clean direction. The result is controlled chaos: height and texture that looks like you just came from somewhere interesting. This is the 2026 sweet spot for guys under thirty, and it’s having a serious moment.
The secret to the messy version is that it’s not actually random. There’s a method: dry for volume first, then add texture. Work a matte paste through the mid-lengths and ends — not the roots — and pinch small sections to create separation. The pieces should go in slightly different directions, but they should all generally point up and back. True randomness looks like bedhead; styled mess looks like intention. The difference is in the roots: if the roots have volume and direction, the mess on top reads as style. If the roots are flat, it just reads as messy.
Style 17: The Slicked Blowout Taper. Here’s the polished older brother. The top is blow-dried up and back, then smoothed with a brush and finished with a product that has some shine — a cream or a light pomade instead of matte clay. The volume is still there, but it’s controlled and sleek rather than textured. This is the blowout taper you wear to a wedding, a big presentation, or anywhere you need to look like the most put-together guy in the room.
The slicked version is actually easier to maintain through the day than the textured versions, because the smoother surface is less affected by wind and humidity. The tradeoff is that it shows grease faster — shiny product plus natural scalp oil can cross the line from “sleek” to “oily” by evening. Use less product than you think you need, and keep a pack of blotting tissues or a dry shampoo for touch-ups. Also, this version demands a good cut underneath; without texture to hide behind, any unevenness in the top length will show.
Style 18: The Side-Part Blowout Taper. Combine the volume of a blowout with the structure of a side part and you get a cut that feels both modern and timeless. The part — worn soft, not carved — gives the top a direction and a shape, while the blow-dry gives it lift. It’s the thinking man’s blowout taper: all the presence, with an extra layer of intention. This version photographs beautifully and works exceptionally well for guys with strong features, because the part creates a frame that draws attention to the eyes.
Finding your part is half the battle. It’s usually where your hair naturally wants to separate — look for the spot where the growth direction changes, often a few inches off-center. Don’t fight your natural part; work with it. Dry the hair up and over to the side, following the part, and use a brush for smoothness along the part line. The part should look soft and natural, not like a trench. A hard, razor-carved part with a blowout top can look costume-y unless that’s deliberately the vibe you’re going for.
Blowout Taper Styles 19–20: Edgar-Style and the Beard Combo
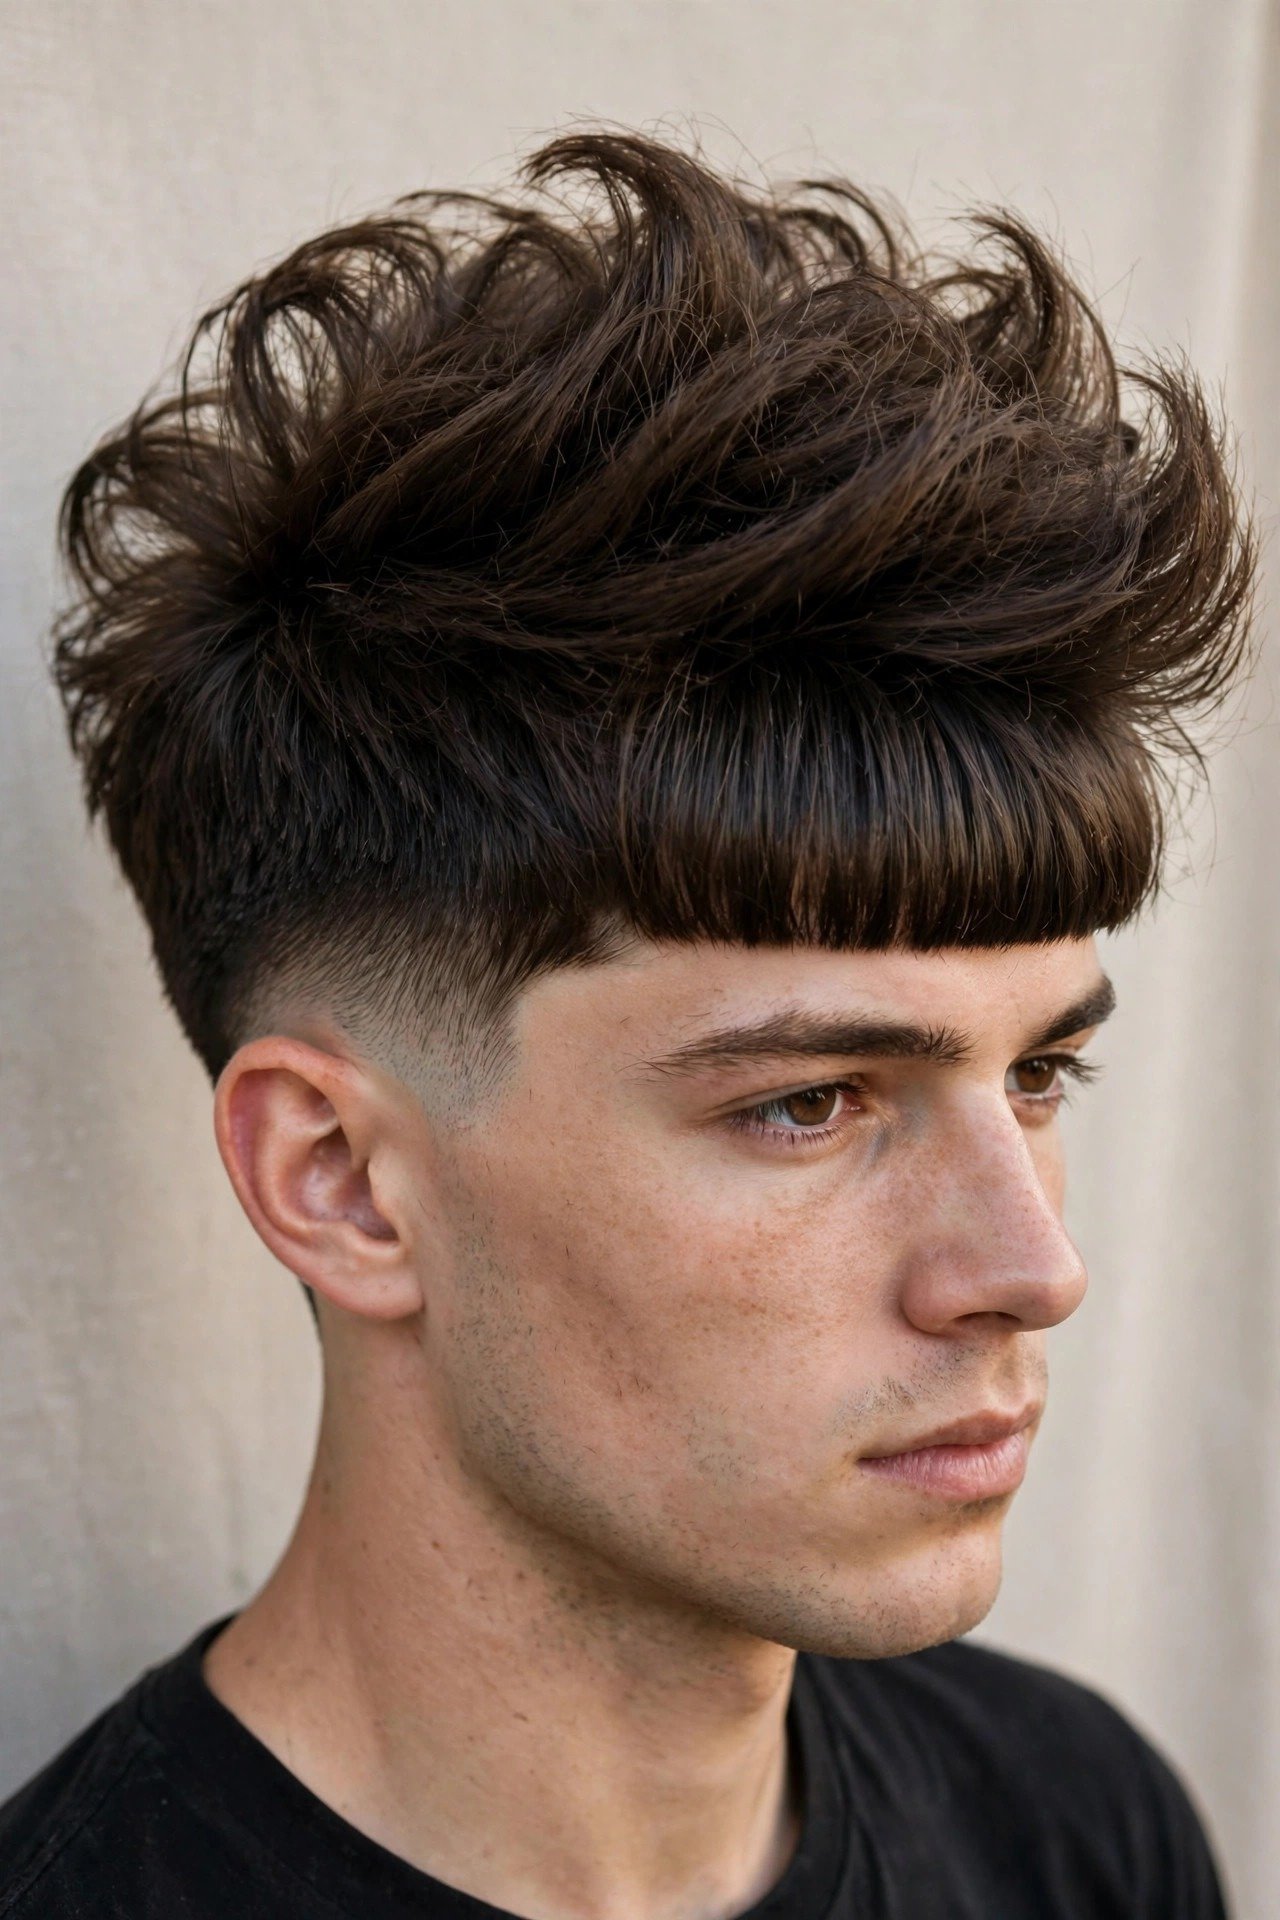
Style 19: The Edgar-Style Blowout Taper. Borrow the blunt, straight-across fringe from the Edgar cut and fuse it with blowout volume on the crown, and you get one of the boldest hybrids of 2026. The front sits heavy and straight — almost a curtain of hair across the forehead — while the top behind it is dried up for height. The tapered sides keep the whole thing from looking bulky. It’s a lot of look, and it’s not for everyone, but on the right guy it’s unforgettable.
Let’s be honest about who this suits. The heavy fringe shortens the face visually, so it works best on guys with longer or oval faces. It also demands confidence, because people will notice this haircut. The styling is a two-zone job: dry the fringe forward and down with a brush for smoothness, then dry the crown up for volume. A straightening pass with a flat brush on the fringe helps if your hair has any wave. This is a high-effort style — ten minutes minimum — but the payoff is a cut that nobody else in the room is wearing.
Style 20: The Blowout Taper with Beard Combo. The top-and-sides get the full blowout taper treatment, and the beard is shaped to connect seamlessly with the tapered sideburns. This is about the total package — hair and beard designed as one unit instead of two separate decisions. The key is the transition: the taper should fade into the beard’s cheek line with no harsh disconnect, creating one continuous flow from the temple down through the jaw.
This combination needs a barber who does both hair and beards well, because the blend point is where most go wrong. The cheek line of the beard should be carved to meet the bottom of the taper at a natural point — usually the sideburn area. Too high and there’s a gap; too low and it looks muddy. At home, keep a trimmer handy for the cheek line and neckline between appointments. The hair gets the standard blow-dry routine; the beard gets oil or balm. Together, they’re the highest-impact version of this cut. Just be prepared: this is the most maintenance-intensive style on this entire list.
Products That Actually Make a Blowout Taper Work
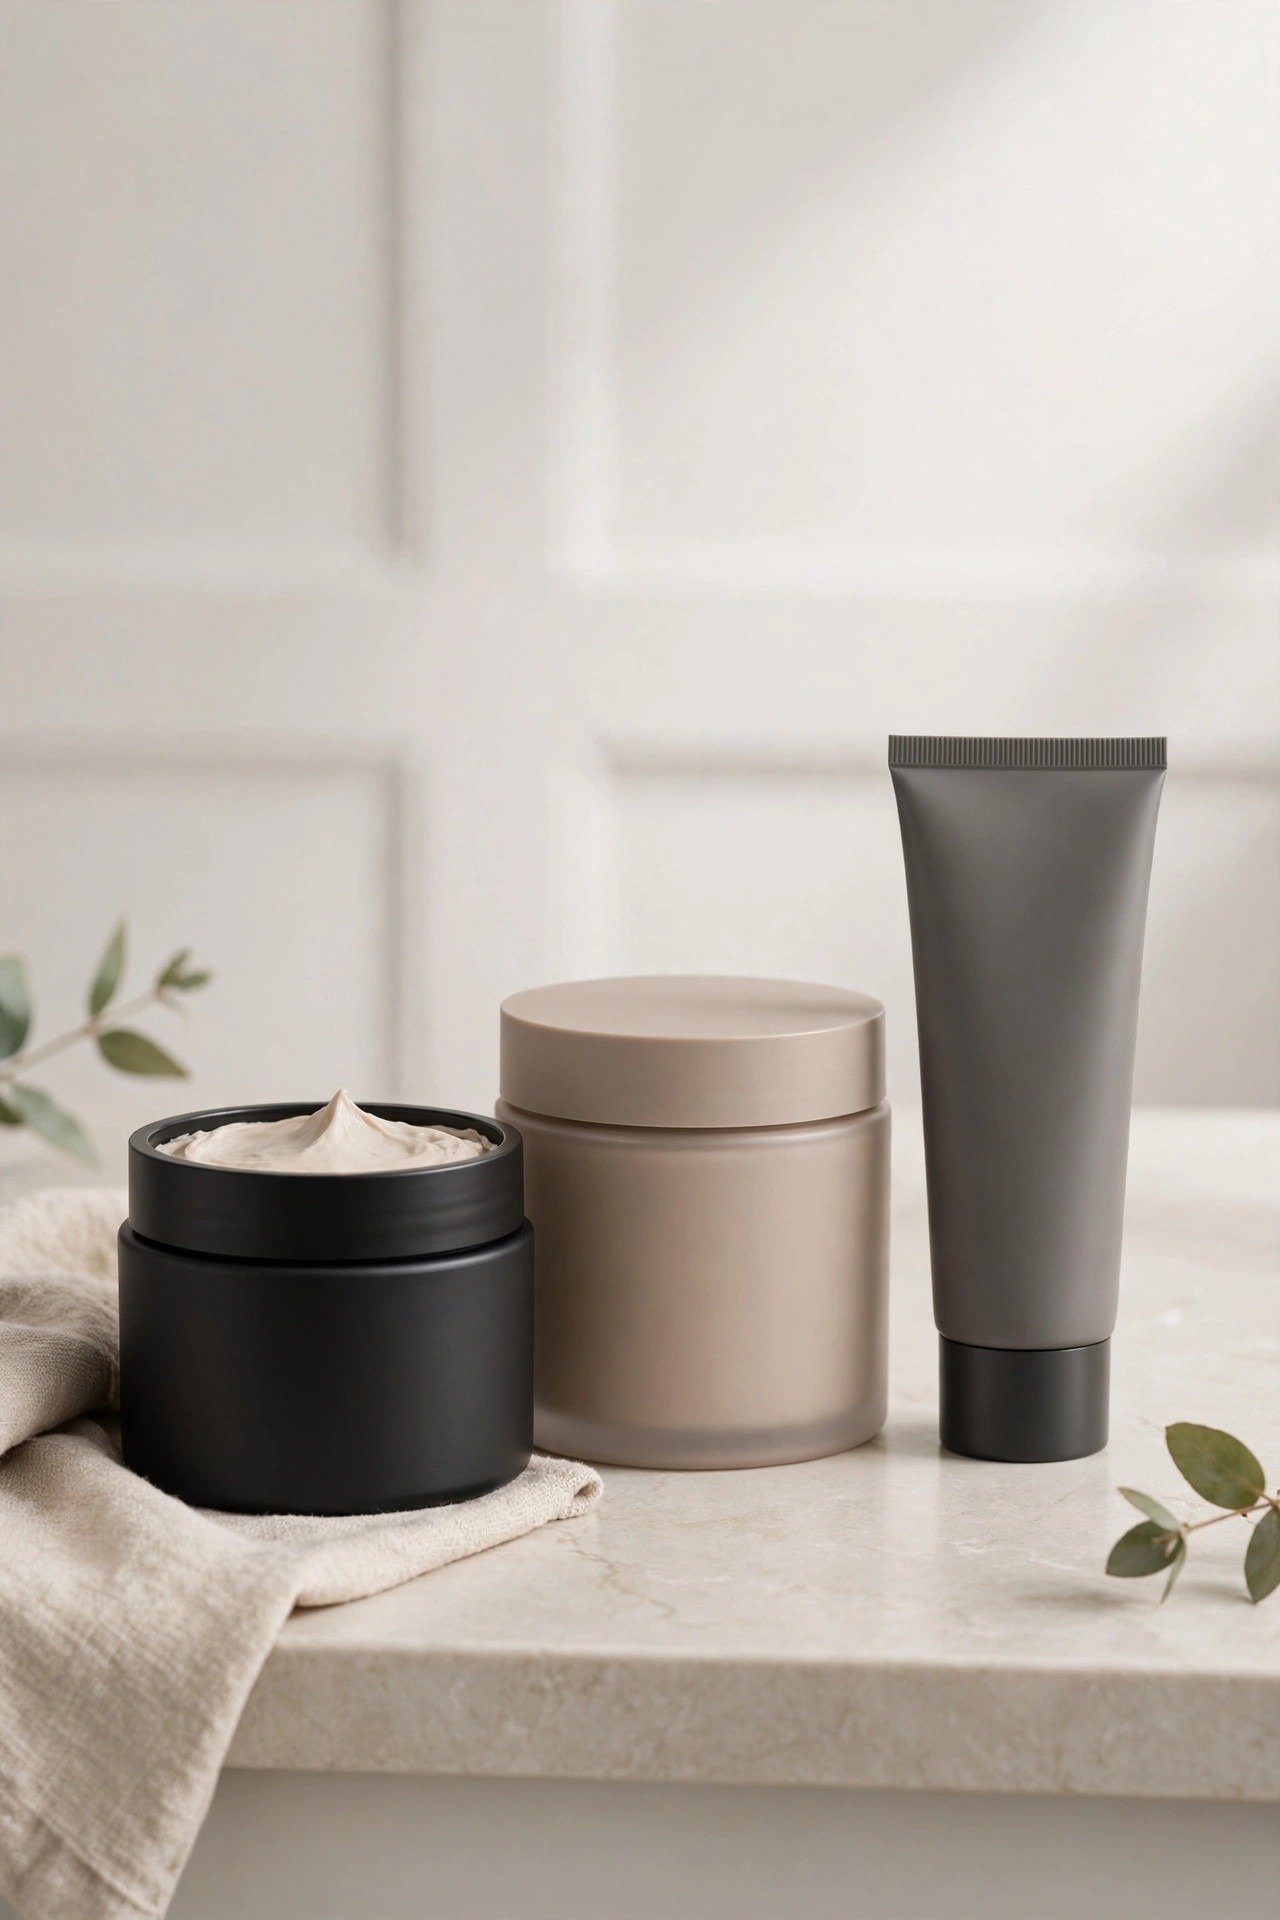
Let’s cut through the product confusion, because the men’s hair industry wants you to buy seven things when you need three. The essential kit for a blowout taper is: a heat protectant, a pre-styler, and a finisher. That’s it. The heat protectant goes on damp hair before the dryer — it prevents damage and most of them add a little grip. The pre-styler (sea salt spray or volumizing mousse) also goes on damp hair before drying — it’s what gives the hair memory so the volume lasts. The finisher (matte clay, paste, or cream) goes on dry hair after styling — it adds texture and hold.
For the pre-styler, sea salt spray is the people’s champion for a reason: it’s cheap, it adds grit and texture, and it works on every hair type. Spray it into damp hair, focusing on the roots and mid-lengths, then blow-dry as normal. If your hair is very fine and refuses to hold volume, upgrade to a volumizing mousse — it gives more lift but can feel slightly stiff. For thick hair that already has plenty of body, you can sometimes skip the pre-styler entirely and just use heat protectant. Know your hair and adjust.
The finisher is where personal preference matters most. Matte clay is the default recommendation for blowout tapers: it gives strong hold with zero shine, which keeps the volume looking natural. Use a pea-sized amount, warm it between your palms until it disappears, then work it through the mid-lengths and ends — never the roots, or you’ll kill the lift you just created. If you want a softer, more touchable finish, use a cream instead. If you want shine and control, use a light pomade. Avoid heavy waxes and gels; they weigh the hair down and make the blowout collapse by midday.
What about hairspray? It’s optional but useful. A light mist after styling — holding the can at arm’s length — adds insurance on humid days or long nights. Don’t use it as your main hold; it’s a topcoat, not a foundation. And here’s a product most guys overlook: dry shampoo. A quick spray at the roots on day two absorbs oil and actually adds volume, giving your blowout a second life without a full wash and re-dry. It’s the best five dollars you’ll spend on your hair routine.
What should you skip? Skip the “volumizing powders” that promise miracles — they’re just starch that makes your hair feel gritty and looks dusty in photos. Skip any product with “extra strong hold” in the name unless you have very thick, stubborn hair; strong hold usually means stiffness and crunch. And skip the temptation to layer three finishers. One finisher, applied properly, beats a cocktail of products every time. Your hair can only absorb so much before it gives up and goes flat.
Maintenance: How Often to Cut It and How to Sleep on It
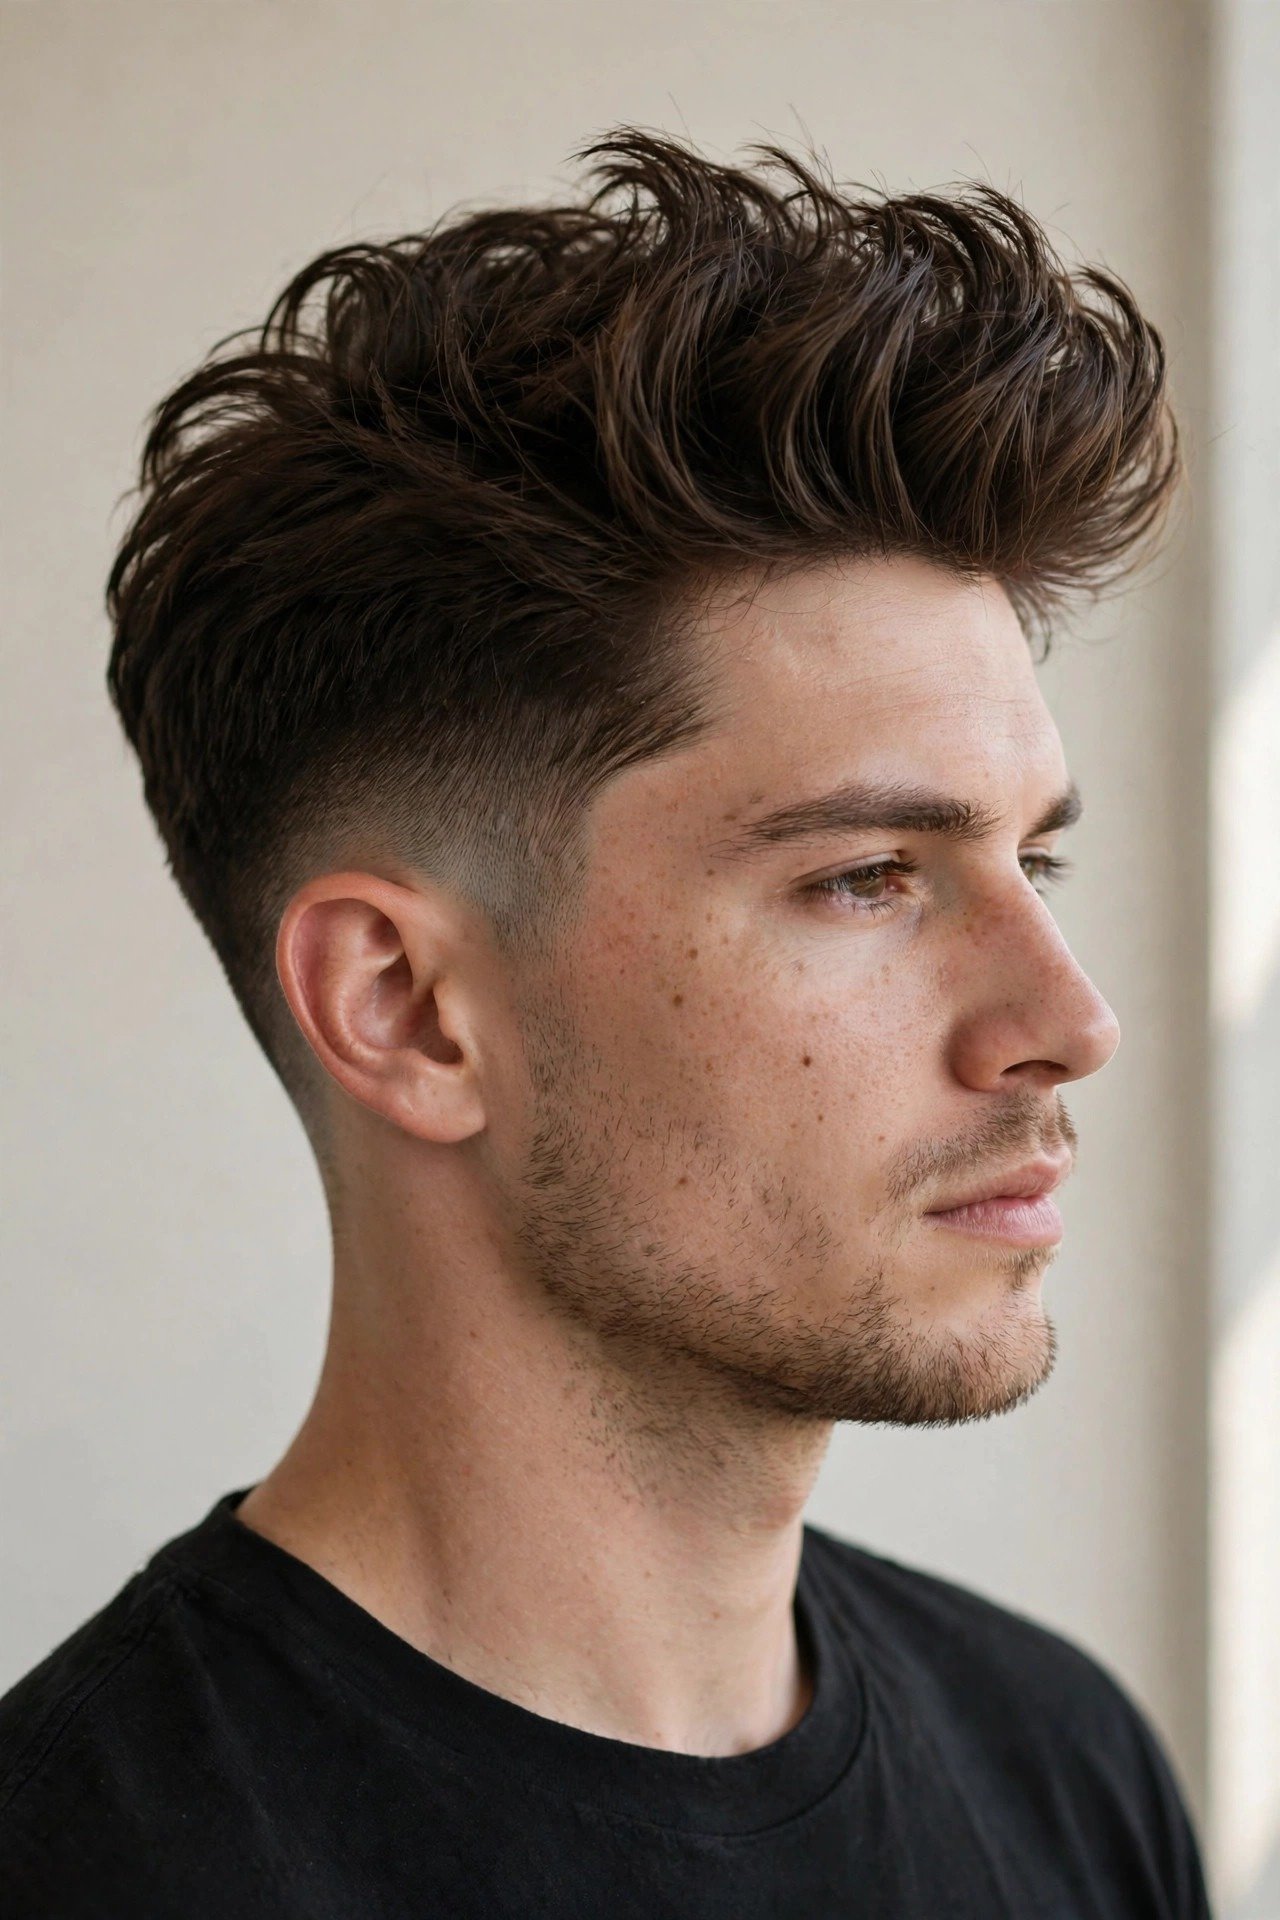
The blowout taper runs on a two-track maintenance schedule: the sides need frequent attention, the top needs patience. The taper — especially mid and high versions — starts losing its crispness after two weeks. Book a cleanup every two to three weeks if you want it sharp, or stretch to four if you’re wearing a low taper and don’t mind a softer look. Many barbershops offer a discounted “taper cleanup” service that’s just the sides and neckline — ask about it, because paying full price every two weeks adds up fast.
The top is a different story. Leave it alone for six to eight weeks between trims, and when you do trim it, take off less than you think — half an inch to an inch, just enough to remove split ends and refresh the shape. Tell your barber “just clean up the ends, keep all the length.” The biggest maintenance mistake guys make is letting the barber take too much off the top during a sides cleanup. The top is the investment; the sides are the upkeep. Protect the investment.
Now, sleep — the nightly enemy of volume. Here’s the routine that actually works: before bed, loosely gather the top into a high, loose pineapple-style puff with a silk scrunchie, or just sleep on a silk or satin pillowcase. Cotton pillowcases create friction that flattens and frizzes; silk lets the hair slide. In the morning, take it down, hit the roots with a blast of the dryer for sixty seconds — you don’t need a full routine — and add a tiny touch of product. That’s your refresh. It won’t be as good as day one, but it’ll be presentable.
Second-day and third-day hair is a skill. On day two, dry shampoo at the roots is your best friend — it absorbs the oil that’s weighing things down and adds grip back. A quick re-dry of just the front section, where volume loss shows most, takes two minutes and makes a visible difference. By day three, most guys need a wash. Don’t push it further; the product buildup and oil will make the hair look dull no matter what you do. Washing every two to three days is the sweet spot for most hair types with this cut.
One last maintenance truth: find a barber and stick with him. The blowout taper is a cut that improves over multiple visits, because your barber learns how your hair grows, where your cowlicks are, and how much texture your specific hair needs. Barber-hopping means starting from scratch every time. A good barber who knows your head is worth more than any product. Tip well, book ahead, and show up on time — the relationship pays for itself in better haircuts.
Blowout Taper FAQ
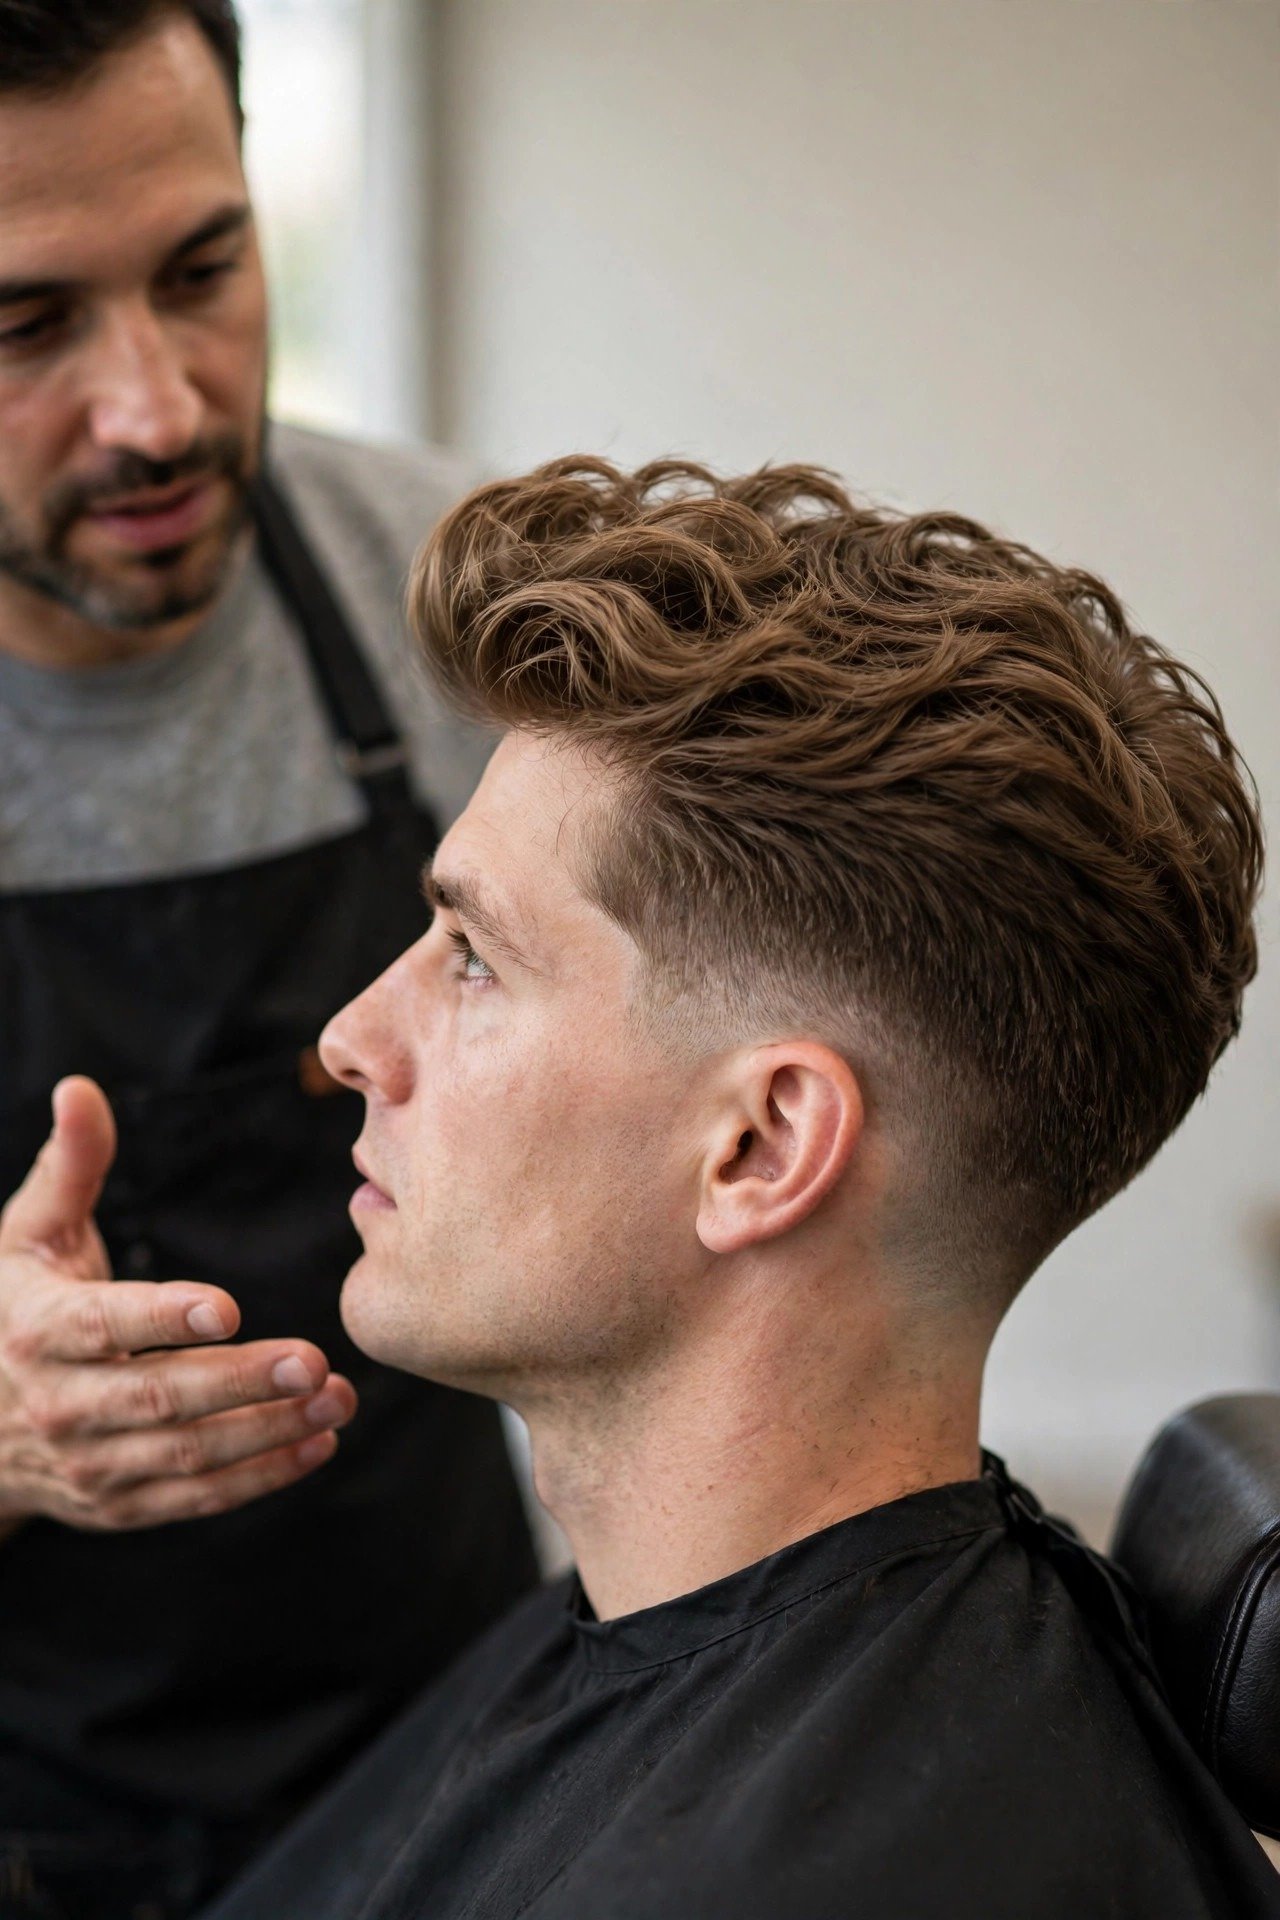
Will a blowout taper work on thin or fine hair? It can, with the right approach. Fine hair actually blow-dries into volume quite well because it’s lightweight — the challenge is making it last. Use a volumizing mousse as your pre-styler, keep the top at three inches or less so gravity doesn’t win, and ask your barber for texture that creates the illusion of density. What won’t work is a long, heavy top on fine hair — it’ll separate and show scalp. Be realistic: the cut maximizes what you have, it doesn’t create hair you don’t.
How long does the styling actually take each morning? Four to six minutes once you know the routine. The first week is slower — maybe ten minutes of fumbling — but it becomes muscle memory fast. The short crop version takes two minutes. The long top version takes eight. If someone tells you it takes thirty seconds, they’re either blessed with perfect hair or they’re exaggerating. Budget five minutes and you’ll be fine.
Can I get the look without a blow dryer? You can get a version of it, but not the full effect. Air-drying with sea salt spray gives you a textured taper with moderate volume — perfectly respectable, especially on wavy hair. But the real height, the real lift at the roots, needs heat and tension. A dryer is a thirty-dollar investment that transforms this cut. If you’re committed enough to get the haircut, get the dryer too.
Does the blowout taper work on curly hair? Absolutely — it’s one of the best versions. The trick is using a diffuser instead of a concentrator nozzle, drying on low heat, and using curl cream instead of matte clay. You’re enhancing the curl pattern while lifting the roots, not fighting the texture. The result is a full, rounded silhouette that straight-haired guys can’t replicate. Just make sure your barber accounts for shrinkage when cutting the top.
How do I keep it from going flat by afternoon? Three things: product at the roots is a mistake (it weighs them down — product goes on mid-lengths and ends), the cool shot after drying is mandatory (it locks the shape), and don’t touch it. Every hand through the hair pulls out volume. If it still falls flat, your pre-styler might be too weak for your hair type — try switching from sea salt spray to mousse. And check your cut: if the top is too long and heavy for your density, no product will save it.
Is the blowout taper high maintenance overall? It’s medium. The daily styling is five minutes, which is more than a buzz cut and less than anything involving a straightener. The barber schedule is the real commitment: every two to three weeks for the sides. If you’re someone who gets a haircut every two months and calls it good, this cut will frustrate you. But if you already visit the barber monthly, the step up to every three weeks is manageable — especially with those discounted cleanup appointments.
Conclusion

After twenty styles, one technique breakdown, and more honest caveats than most guides dare to print, here’s the bottom line: the blowout taper earns its popularity. It’s not a fad haircut coasting on social media hype — it’s a genuinely great silhouette that flatters most faces, works with most hair types, and photographs like nothing else in the current men’s hair landscape. The volume gives you presence. The taper gives you sharpness. Together, they’re hard to beat.
The real question isn’t whether the cut is good — it’s whether it fits your life. If you’ll blow-dry for five minutes and see your barber every three weeks, you’ll love it. If you want to wake up and walk out the door, you’ll resent it by week two. There’s no wrong answer, only a mismatch between the cut and the commitment. Be honest with yourself, pick the version that matches your effort level — the short crop if you’re low-effort, the long top if you’re all-in — and you’ll be happy.
My advice for the first appointment: start with the classic or the textured version at a mid taper height. It’s the most forgiving entry point, it suits everyone, and it gives you a baseline to adjust from. Bring your three photos. Tell your barber your real styling routine. And give the cut two full weeks before you judge it — the first few days are an adjustment period for both you and your hair. By week two, you’ll know whether this is your cut or just a haircut.
One thing’s for sure: when it’s done right, the blowout taper doesn’t just change how you look — it changes how you carry yourself. There’s something about walking around with great volume on top that puts a little extra confidence in your step. Maybe that’s shallow. Or maybe that’s just what a great haircut does. Either way, the chair’s waiting.