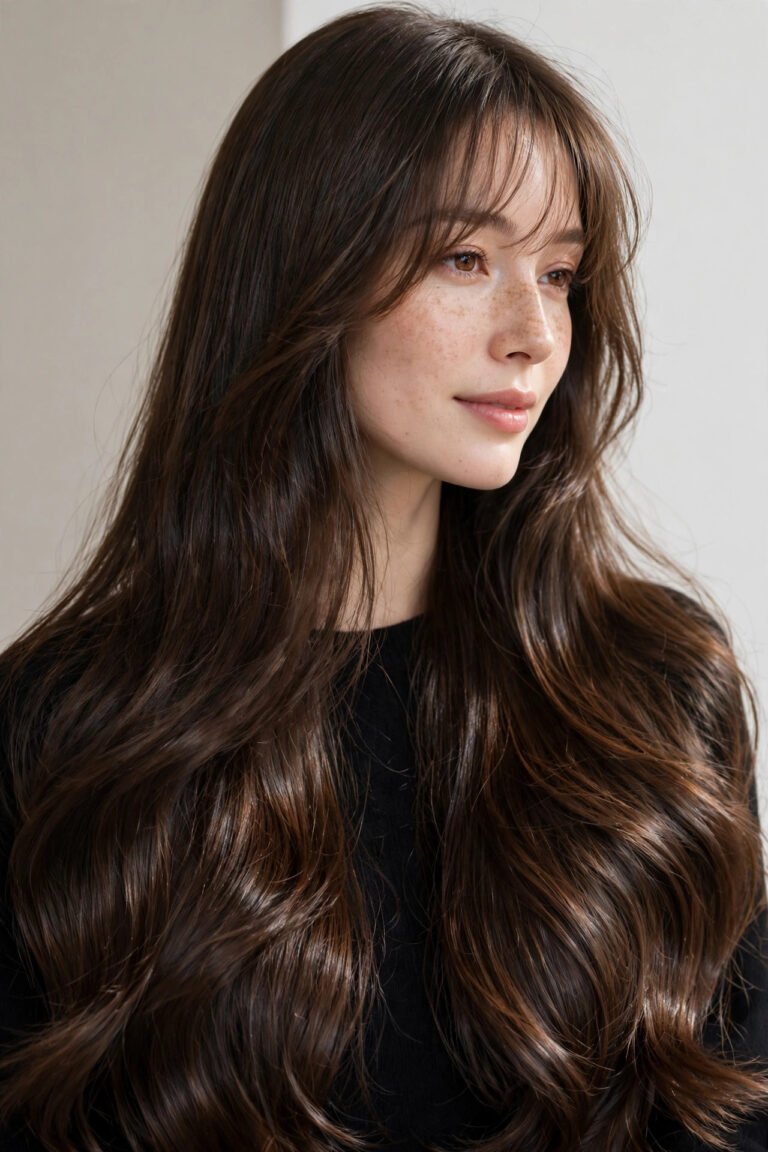
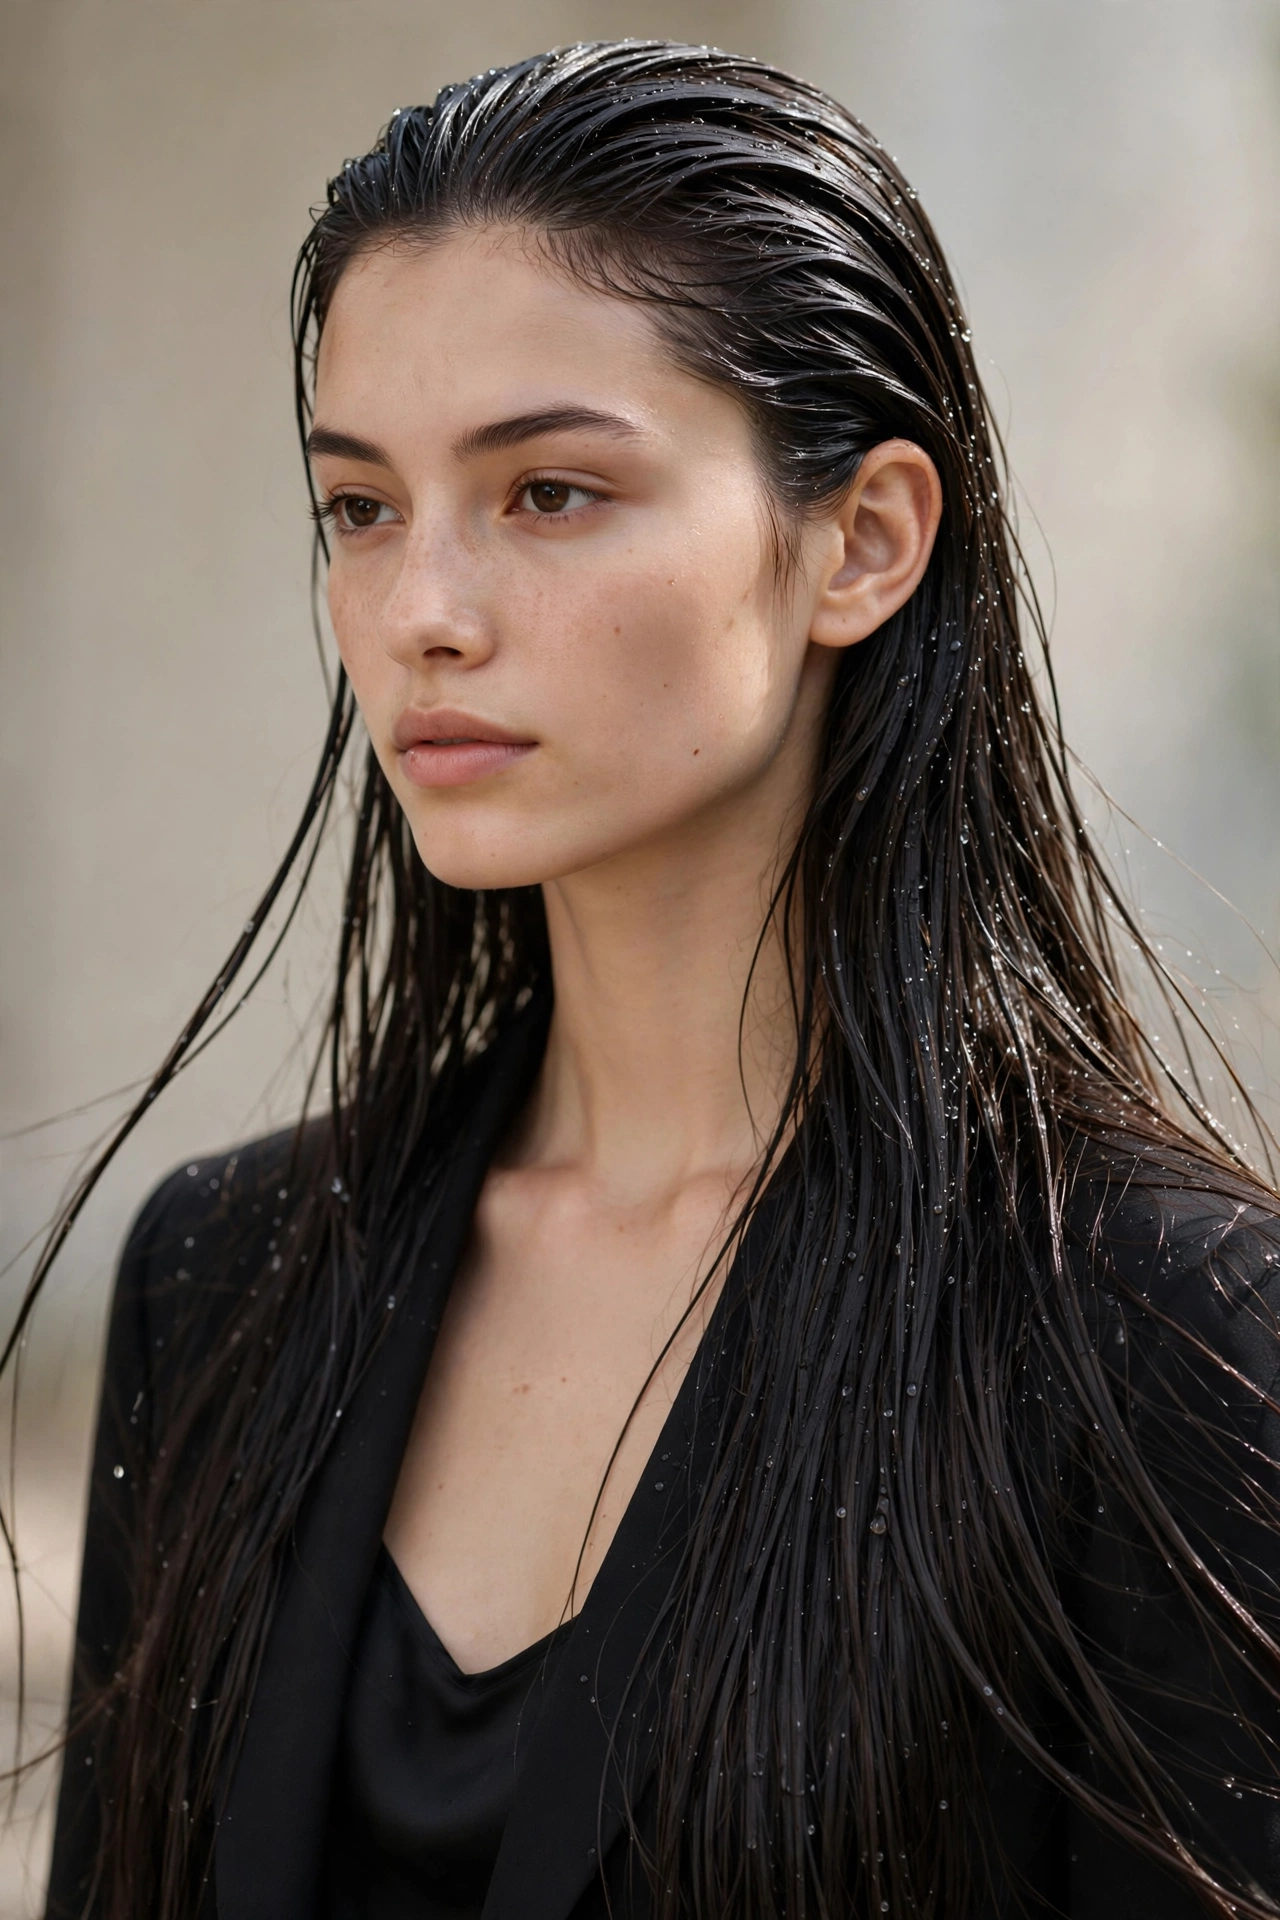
Wet Look Hairstyle for Women 2026: 15 Sleek Wet Hair Ideas
Wet Look Hairstyle for Women 2026: 15 Sleek Wet Hair Ideas
There’s a special kind of confidence that comes from walking into a room with hair that looks like you just stepped out of the ocean — except better, because every strand is exactly where you meant it to go. The wet look hairstyle for women is back with a vengeance in 2026, and honestly, it’s one of the most flattering things you can do with your hair right now. It strips away the fuss, puts the shine front and center, and gives you that high-fashion edge without a single trip to the salon — well, maybe one trip, but we’ll get to that.
What makes the wet look so different this time around is how wearable it’s become. A few years ago, it read as pure red-carpet costume: something you wore once for a wedding and then washed out with relief. In 2026, it’s shifted into everyday territory. Girls are wearing sleek wet hair to work, to brunch, to date night. The trick is the finish — less “drenched,” more “glossy.” Think liquid shine that catches light, roots that look polished rather than greasy, and ends that move instead of clumping. Get those three things right and the whole look falls into place.
In this guide, I’m walking you through everything: what the wet look actually is (and isn’t), why stylists and runways are obsessed with it again this year, 15 specific wet look ideas you can take to your stylist or recreate in your bathroom, the exact products and amounts that work, how to do it step by step at home, and how to keep it looking fresh for hours. No gatekeeping, no “just apply some gel” vagueness — you’ll know exactly what goes on your hair and why.
What Is the Wet Look Hairstyle?
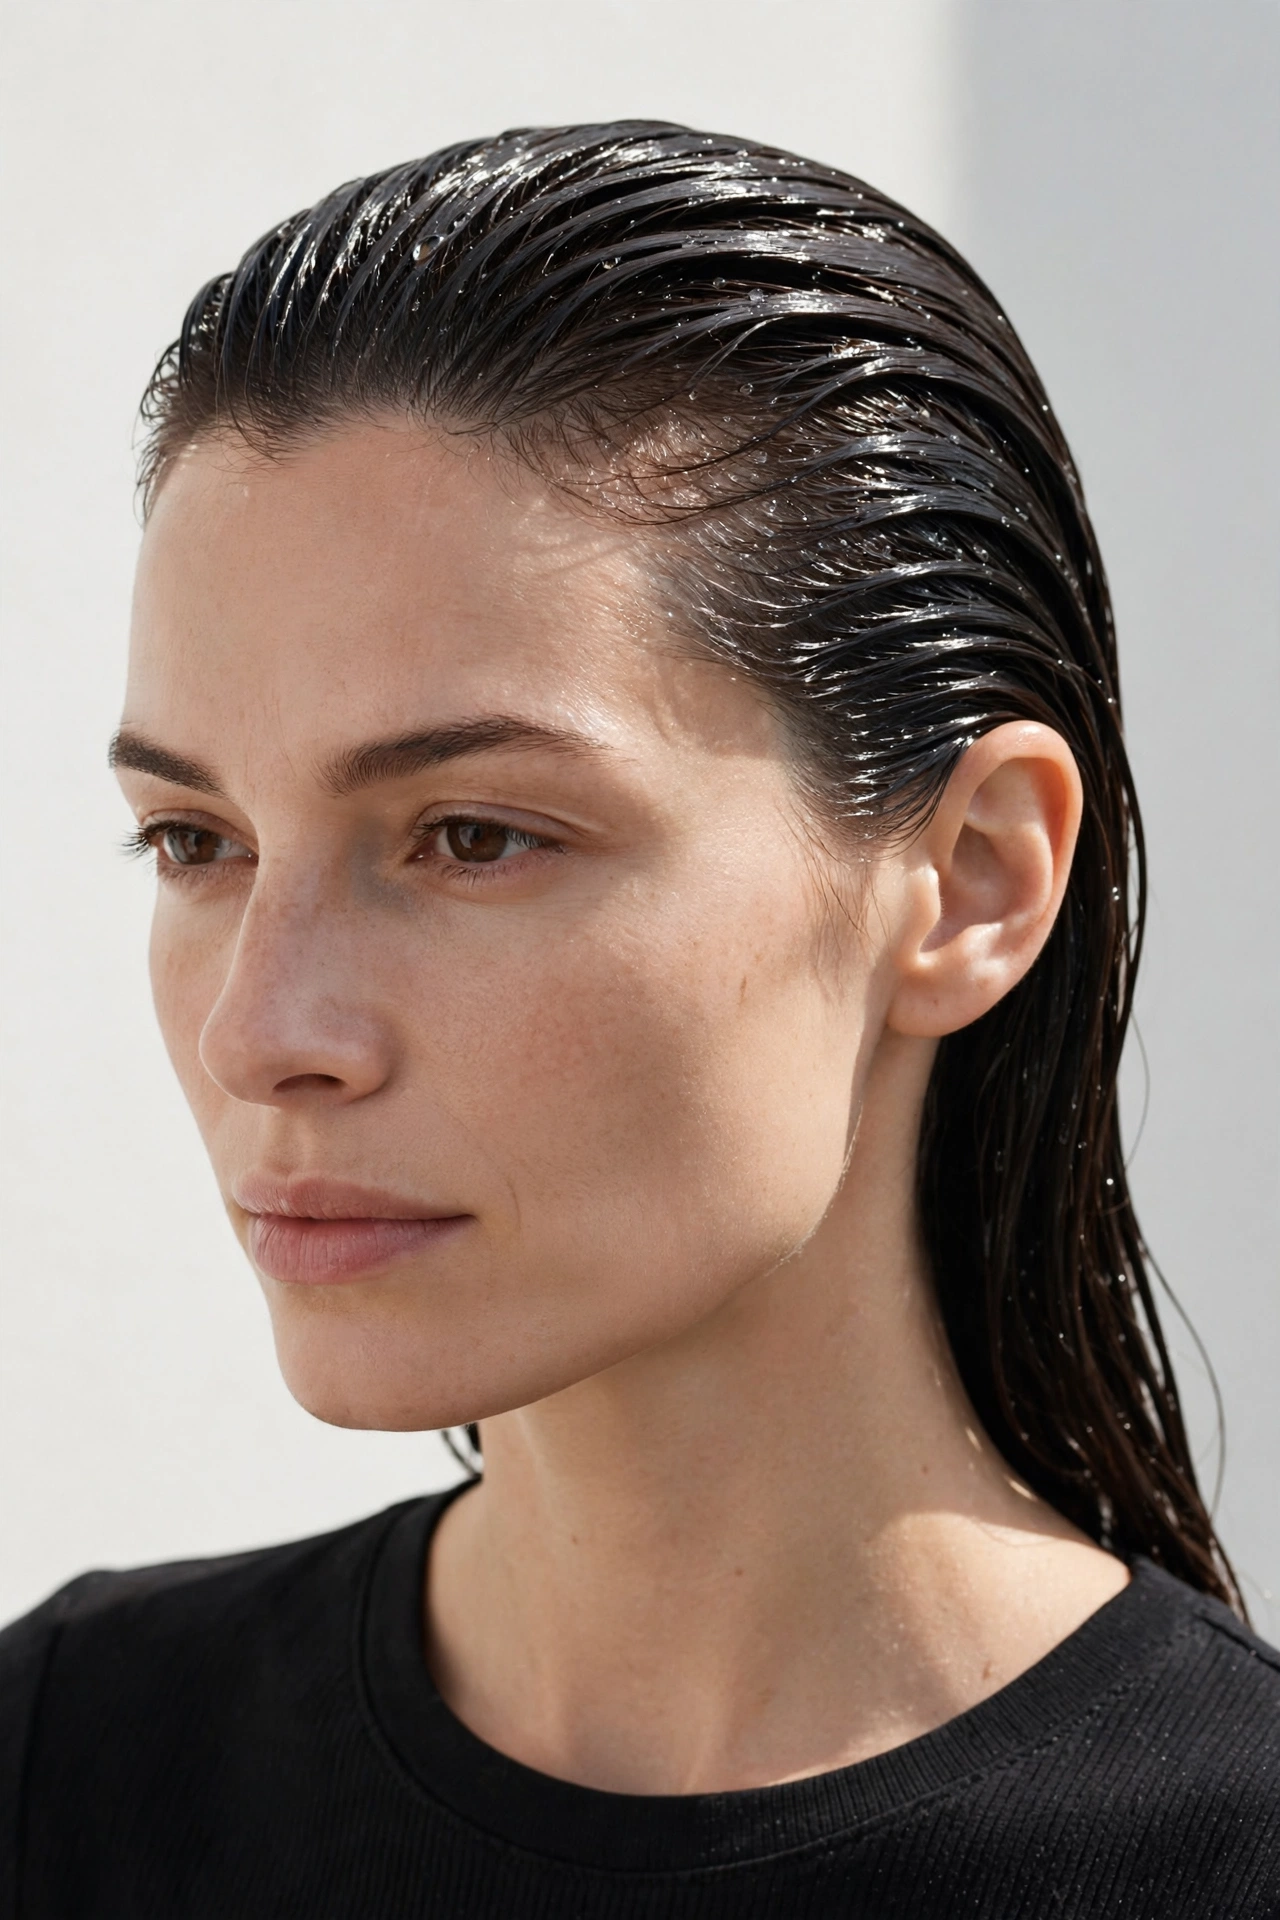
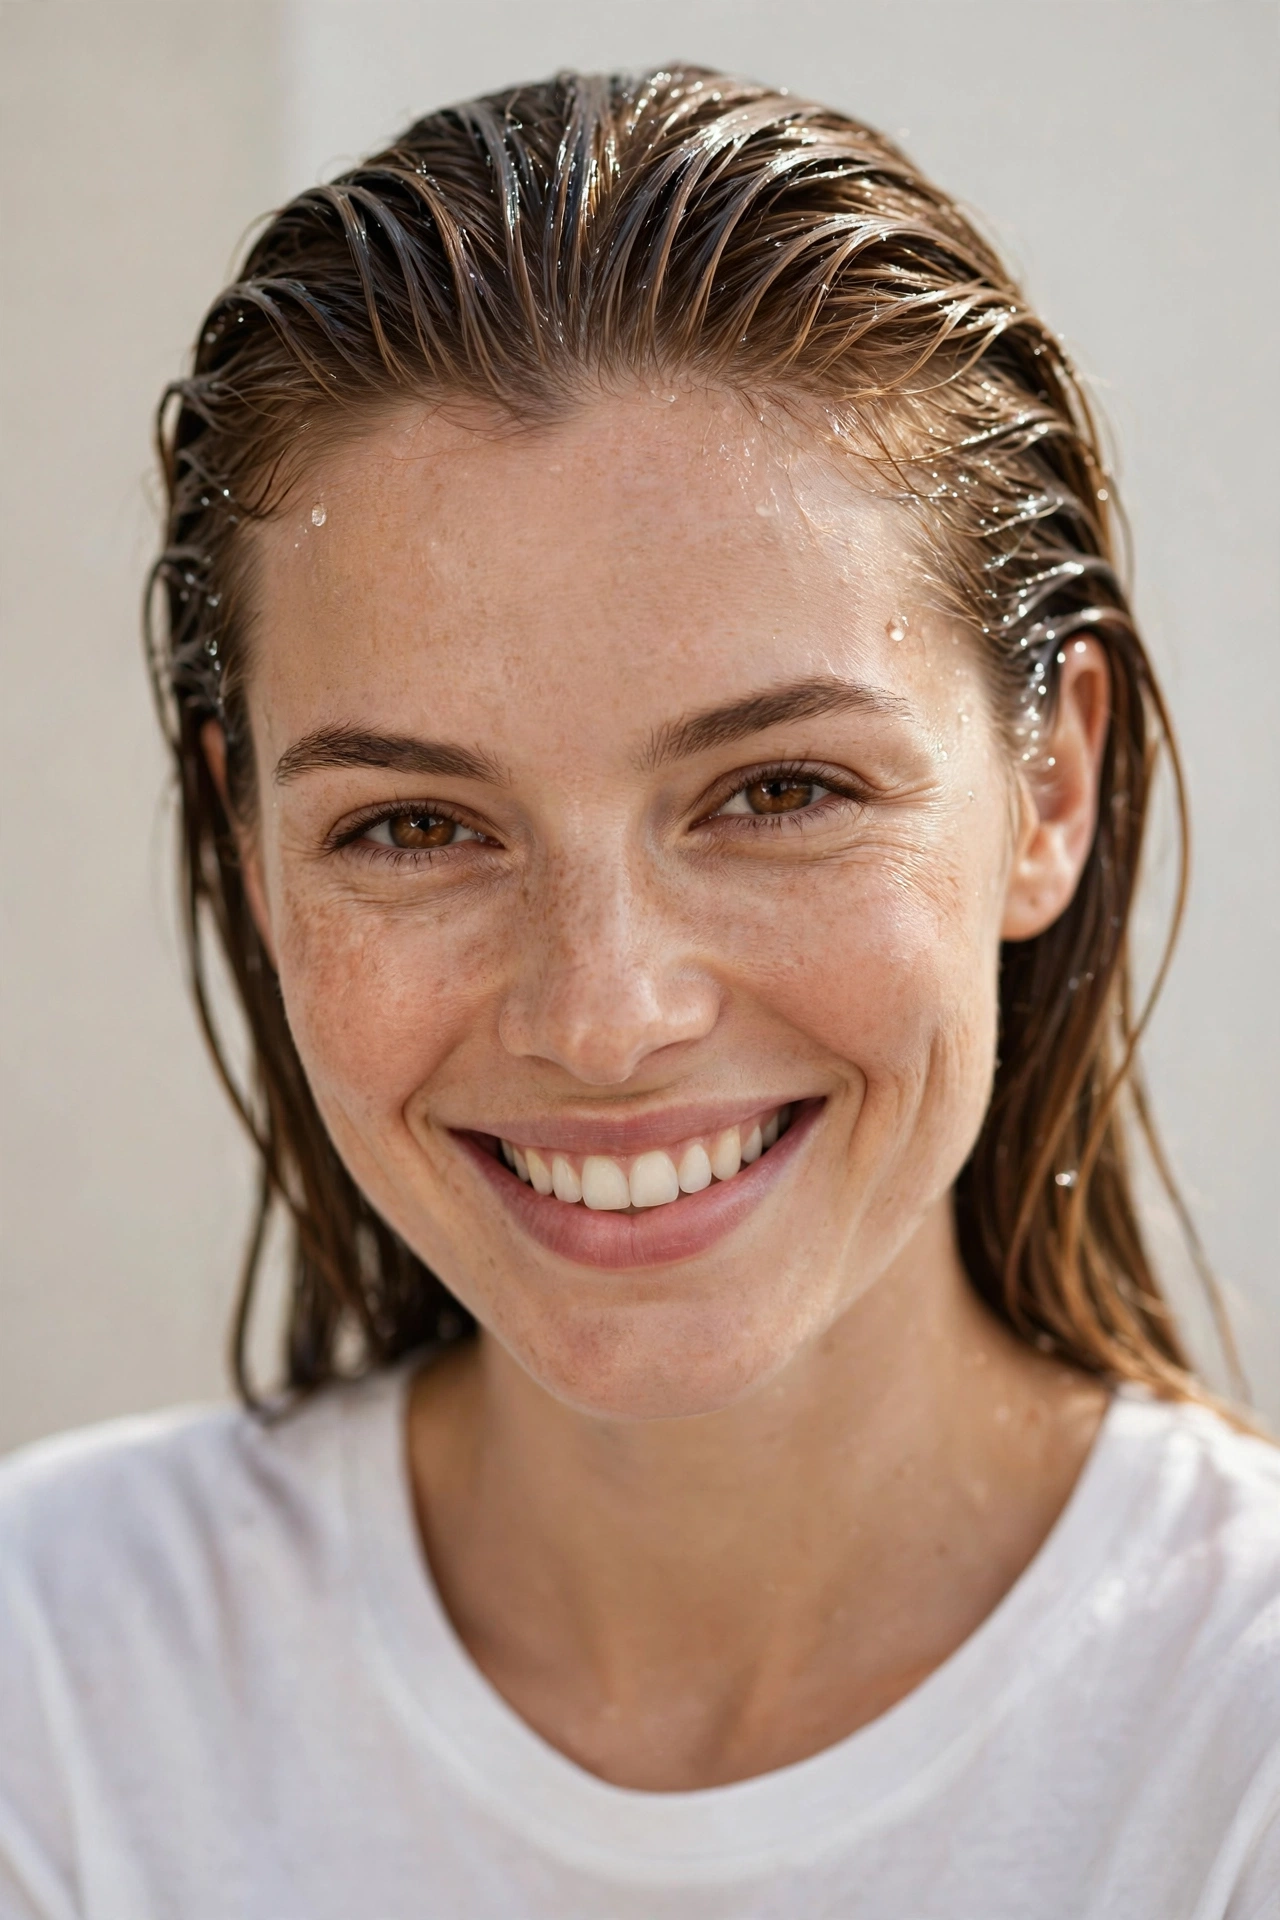
The wet look hairstyle is exactly what it sounds like — hair styled to look wet, glossy, and saturated with shine — but there’s a lot more going on beneath that simple description. At its core, it’s a styling technique where damp or dry hair is coated with shine-boosting products like gel, pomade, oil, or mousse, then shaped with a comb or fingers to create a sleek, high-gloss finish. The hair reflects light the way it does when it’s fresh out of the water, which is what gives it that dramatic, almost glass-like quality. But unlike actually wet hair, it holds its shape for hours and never drips.
Here’s where a lot of people go wrong: they hear “wet look” and think it means soaking wet hair with half a jar of gel. That version exists, sure — the super-drenched editorial runway version — but the modern wet look is far more nuanced. Most of the wearable versions use a cocktail of products on hair that’s about 70–80% dry. You get the shine without the heaviness, and your hair doesn’t feel like it’s glued to your head. The result reads as intentional and expensive, not like you forgot your umbrella. That’s the whole game: control. The product gives you hold, the combing gives you direction, and the gloss gives you the wow factor.
The beauty of the wet look is its range. It works on hair from a pixie to waist-length. It can be slicked straight back for a bold editorial moment, shaped into defined wet curls, pulled into a sleek wet ponytail, or kept soft with loose wet waves. It works on dark hair — where the gloss looks especially rich — and on blondes and redheads too, where it adds a kind of liquid depth you can’t get any other way. Straight, wavy, curly, coily: there’s a wet look version for every texture, because the products involved actually love texture. If you’ve never tried it, the learning curve is short and the payoff is instant.
Why the Wet Look Is Trending in 2026
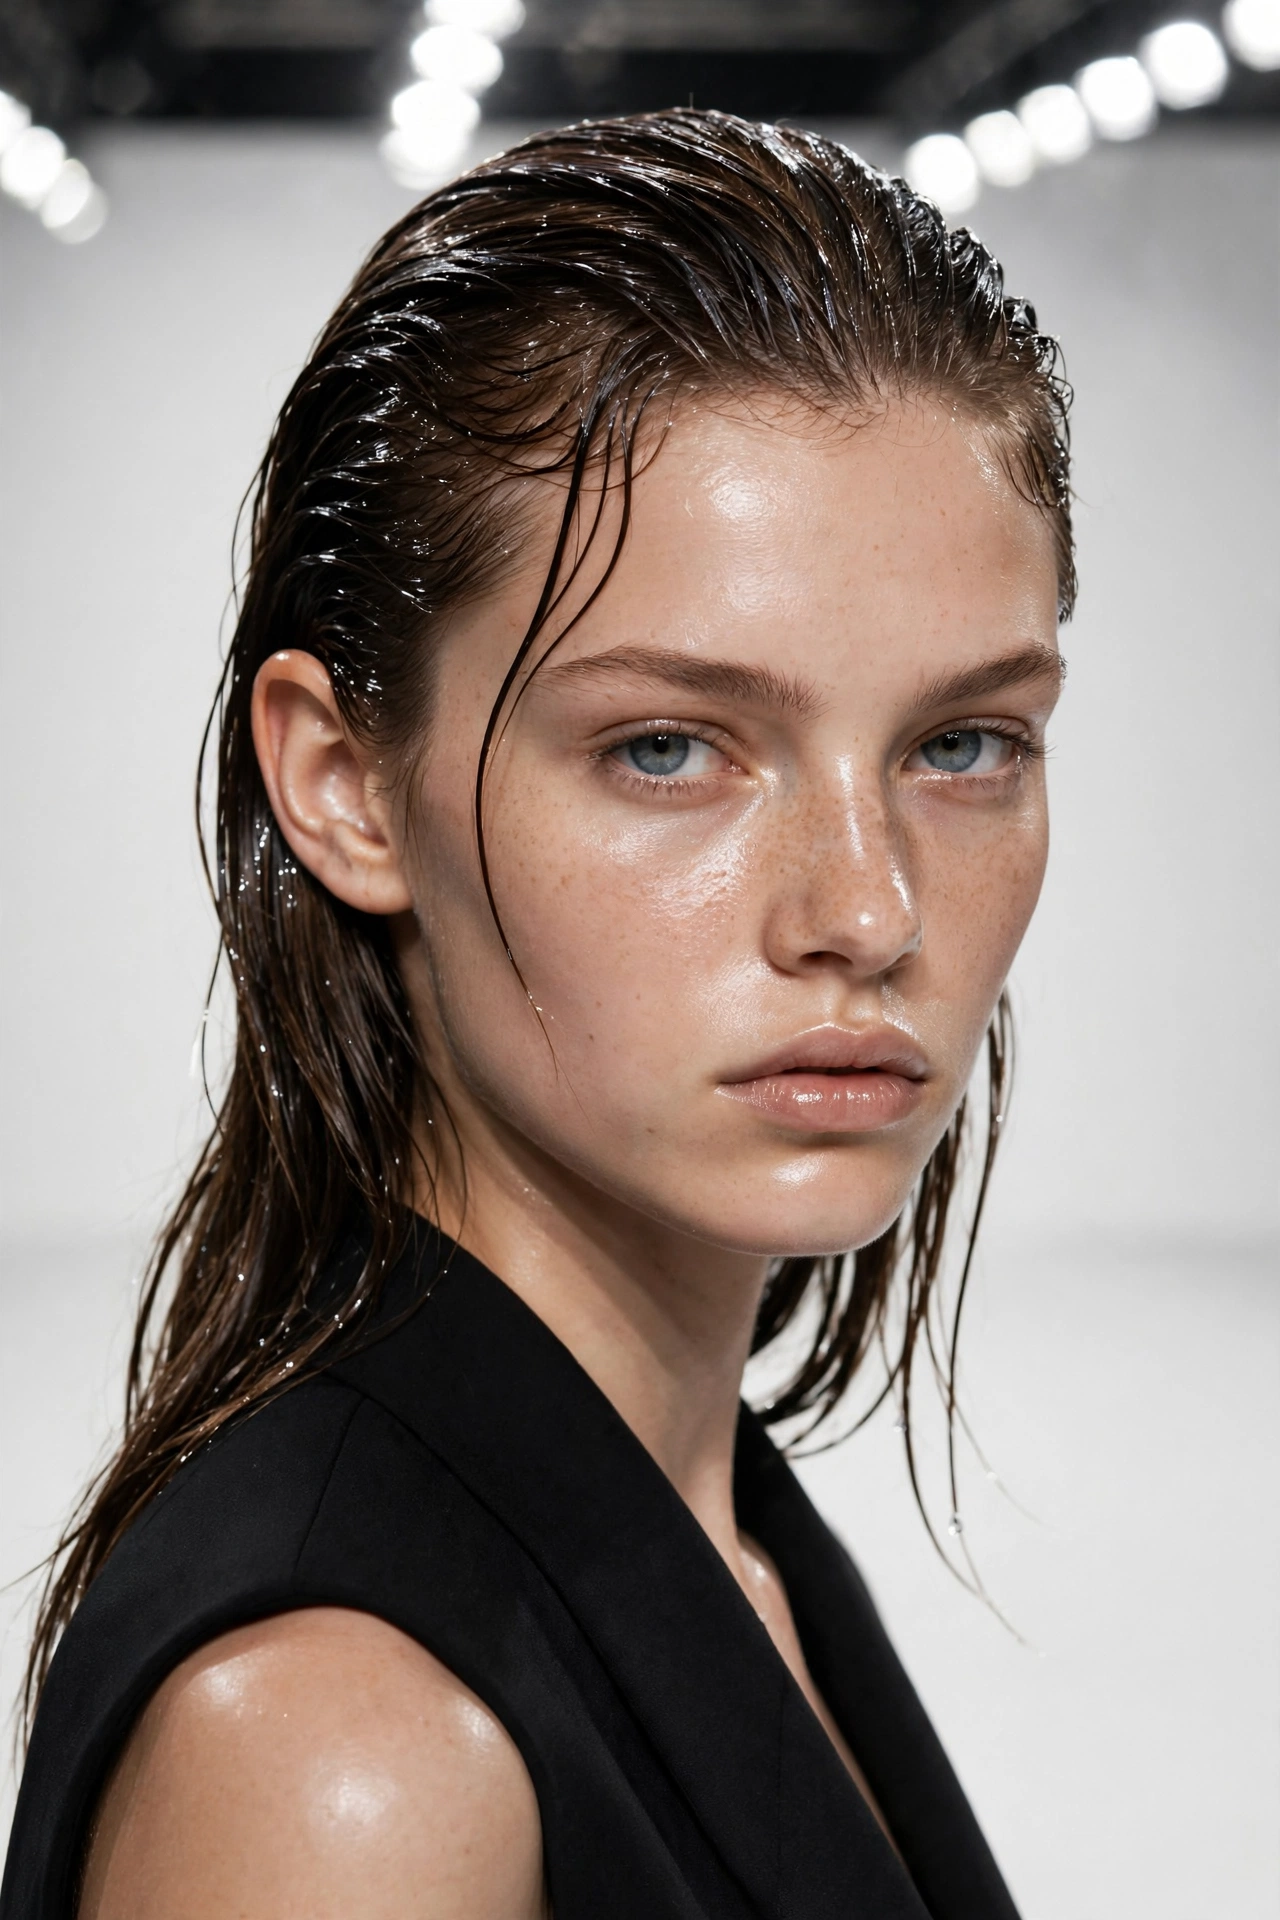
Fashion trends have a way of telling you what’s really going on, and right now they’re telling you the wet look isn’t a fluke. Estetica Magazine noted in July 2026 that the wet look was a standout across the Fall/Winter 2026 runways — not on one or two shows, but as a genuine pattern. When hairstylists behind the biggest collections all reach for the same finish, that’s not coincidence; that’s a direction. The runways leaned into sleek, controlled, high-shine hair as the counterpoint to seasons of undone, air-dried texture, and the wet look was their weapon of choice.
Then came the celebrity moments that pushed it from runway theory into real-life desire. Grazia Daily reported on the wet hair at Calvin Klein’s New York Fashion Week Fall 2026 show — clean, minimal, confident, the hair equivalent of a perfect white shirt. And Salon Magazine covered Zendaya’s wet look at the Euphoria Season 3 premiere, which might be the single most influential hair moment of the year so far. When Zendaya wears something, it moves from the red carpet to the group chat within hours, and her sleek wet styling sent searches for wet hair looks through the roof. Those moments matter because they show you the look working at the absolute highest level — and that’s what makes everyone else want to try it.
But there’s a deeper reason the wet look feels right in 2026, and it’s about what it represents. After years of “effortless” hair that secretly took forty minutes, there’s something refreshing about a style that owns its effort. The wet look is deliberate. It says you showed up on purpose. It photographs beautifully — the shine is basically a built-in filter — which matters more than ever in a world where your hair is constantly on camera. It’s also practical: it tames frizz, survives humidity better than most styles (it’s already got moisture locked in), and transitions seamlessly from day to night. A style that looks high-fashion, photographs like a dream, and actually behaves in real weather? That’s not a trend. That’s a classic in the making.
15 Wet Look Ideas for Women in 2026
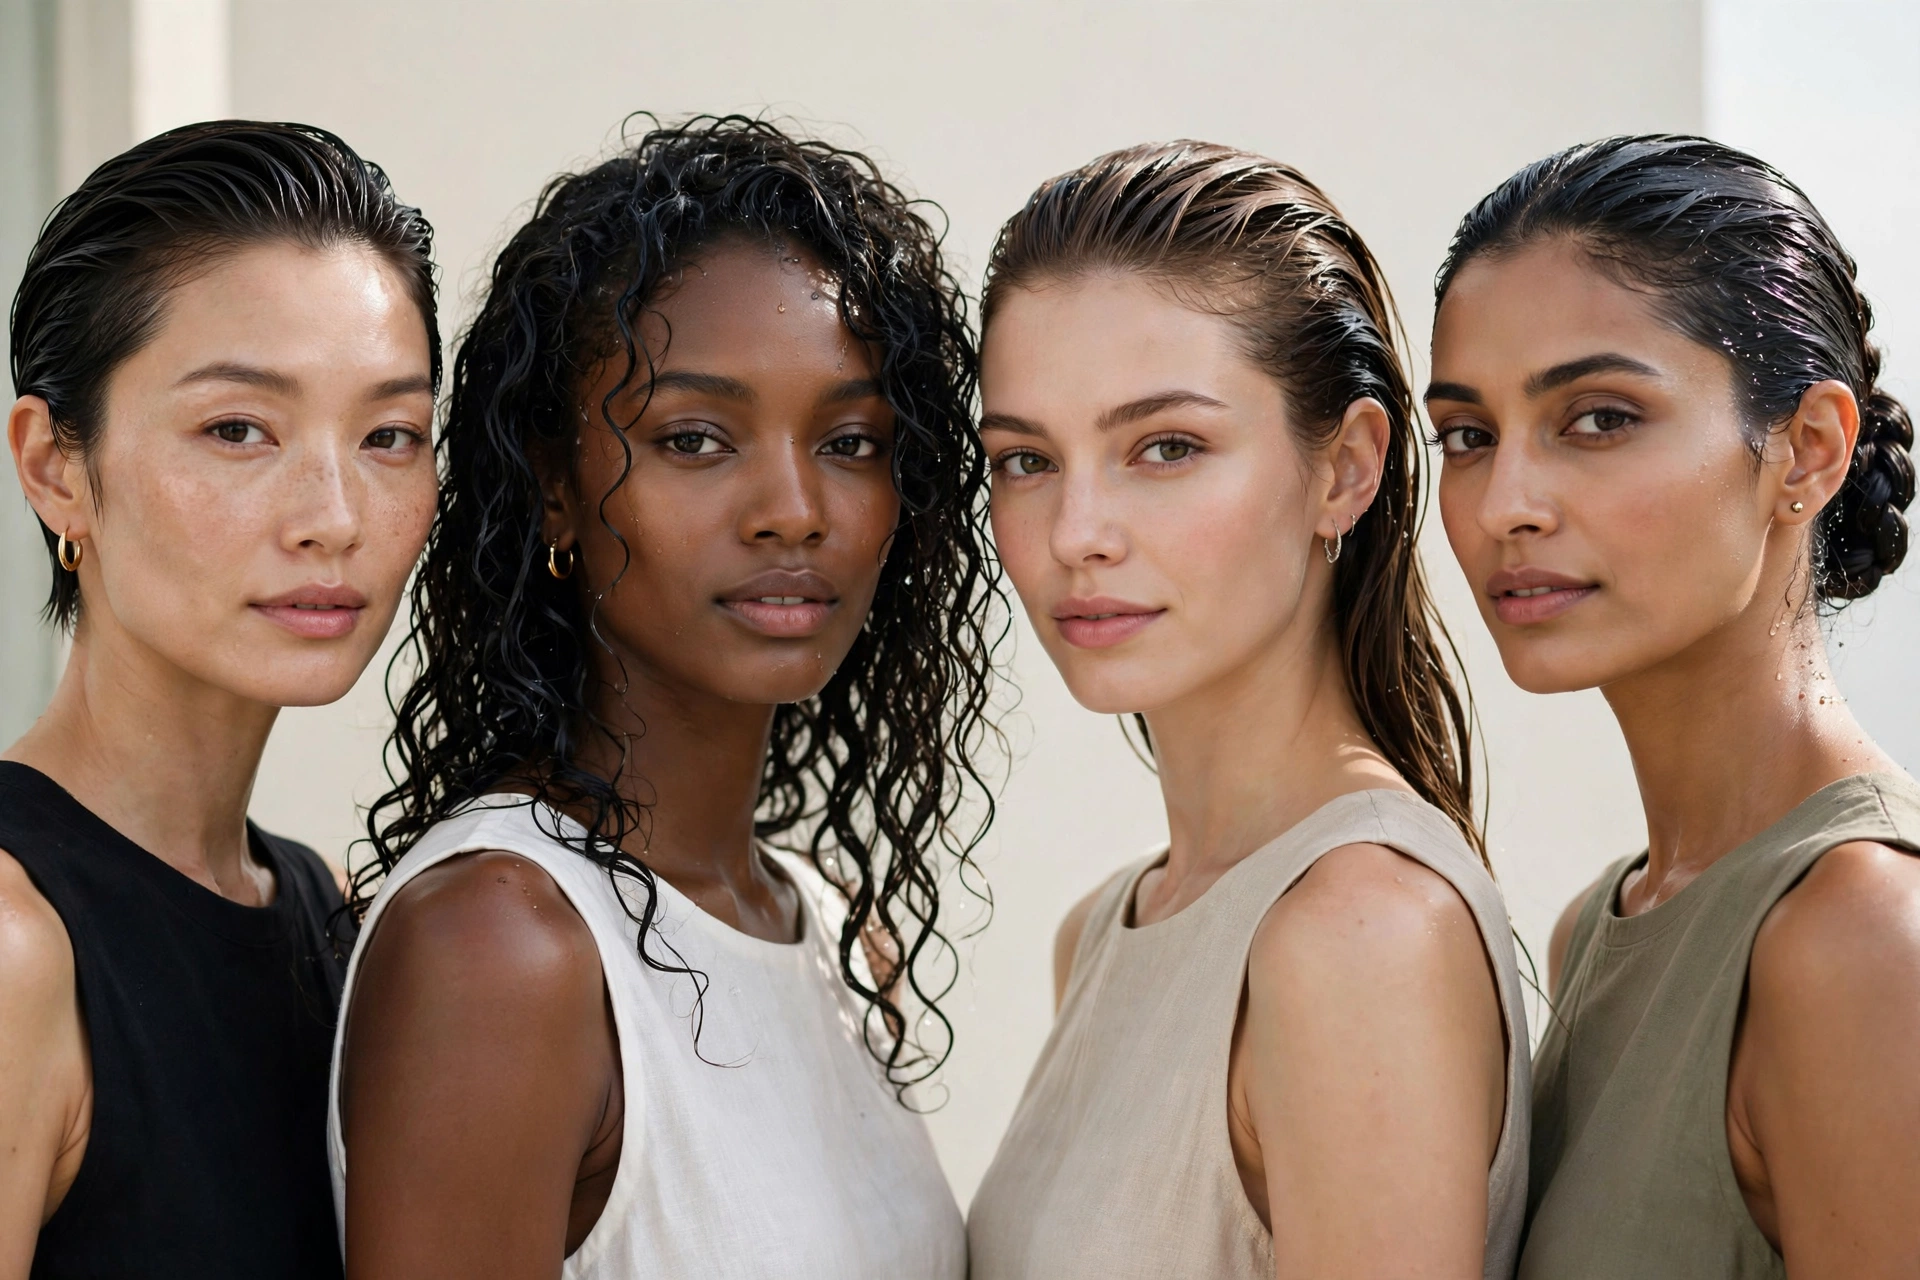
Ready for the good part? These are the 15 wet look variations worth trying in 2026, from the boldest runway versions to the softest everyday takes. Each one includes styling notes so you can figure out which fits your hair type, your plans, and how much effort you actually want to put in. Screenshot your favorites and take them to your stylist — or your bathroom mirror.
1. The Classic Slicked-Back Wet Look
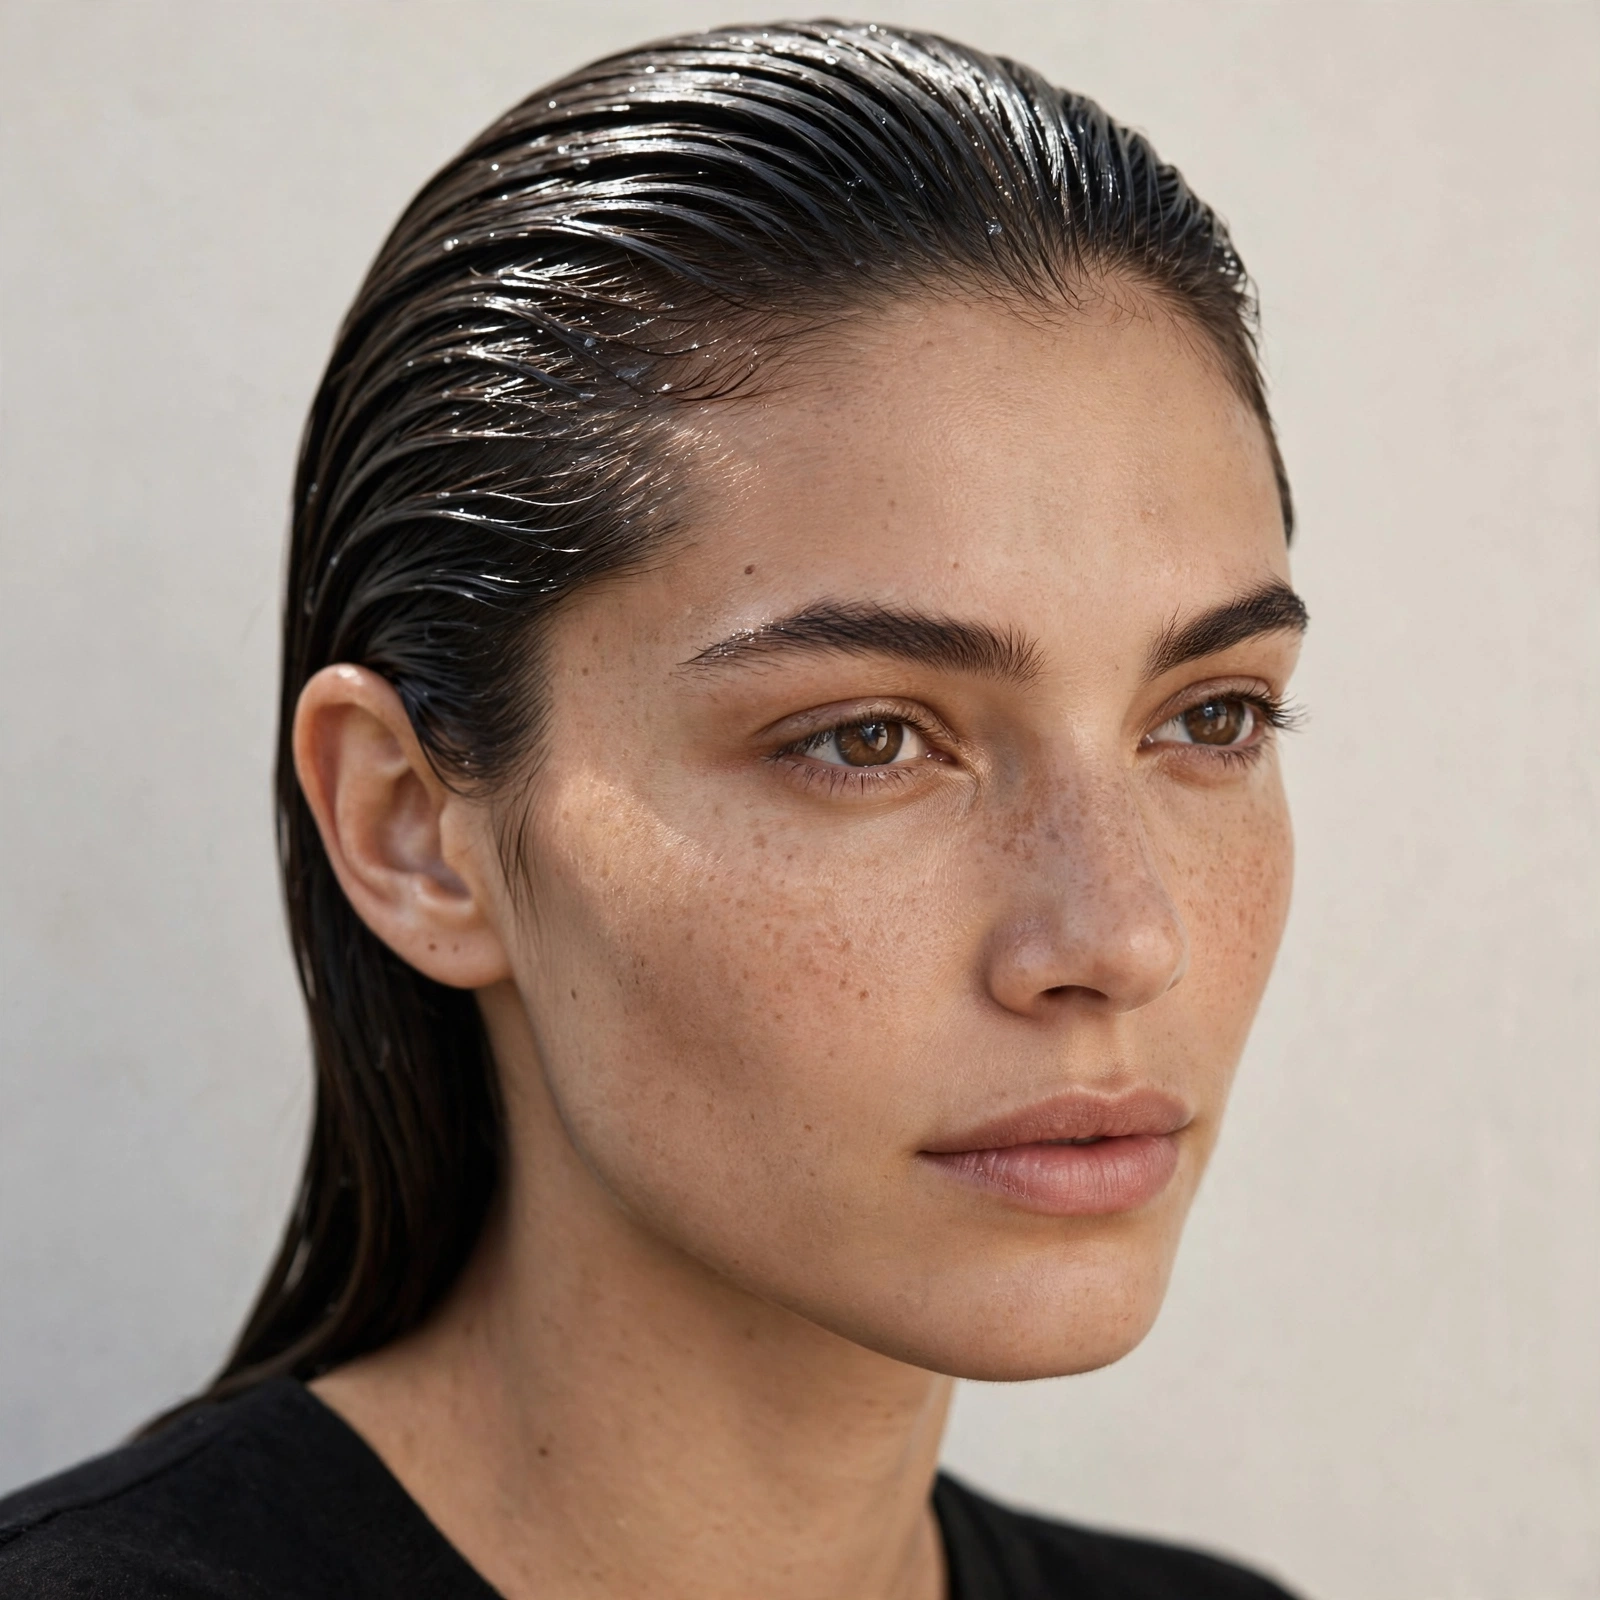
This is the one everyone pictures first: hair combed straight back off the face, every strand lying in the same direction, shine from root to tip. It’s the Calvin Klein show, the Zendaya premiere, the look that launched a thousand screenshots. What makes it work is commitment — half-slicked hair just looks messy, but fully slicked-back hair reads as power. Comb everything back from your hairline with a fine-tooth comb, smooth the sides down behind your ears, and let the length fall straight down your back. The silhouette is clean and architectural, which is why it pairs so well with statement earrings and strong brows.
For this one, work on damp hair — towel-dried after washing, not dripping. Smooth a quarter-sized amount of strong-hold gel from roots to ends, then layer a pea-sized drop of hair oil over the top for that liquid finish. Comb straight back in sections, starting at the crown and working down, and don’t fight your natural part; the product will overpower it. If you have layers or flyaways, a soft-bristle brush over the gel layer tames them. The trick to keeping it fresh: keep a tiny amount of gel in your bag, because the front hairline is the first thing to lift. A quick finger-smooth at hour three and you’re back in business.
2. Soft Wet Waves
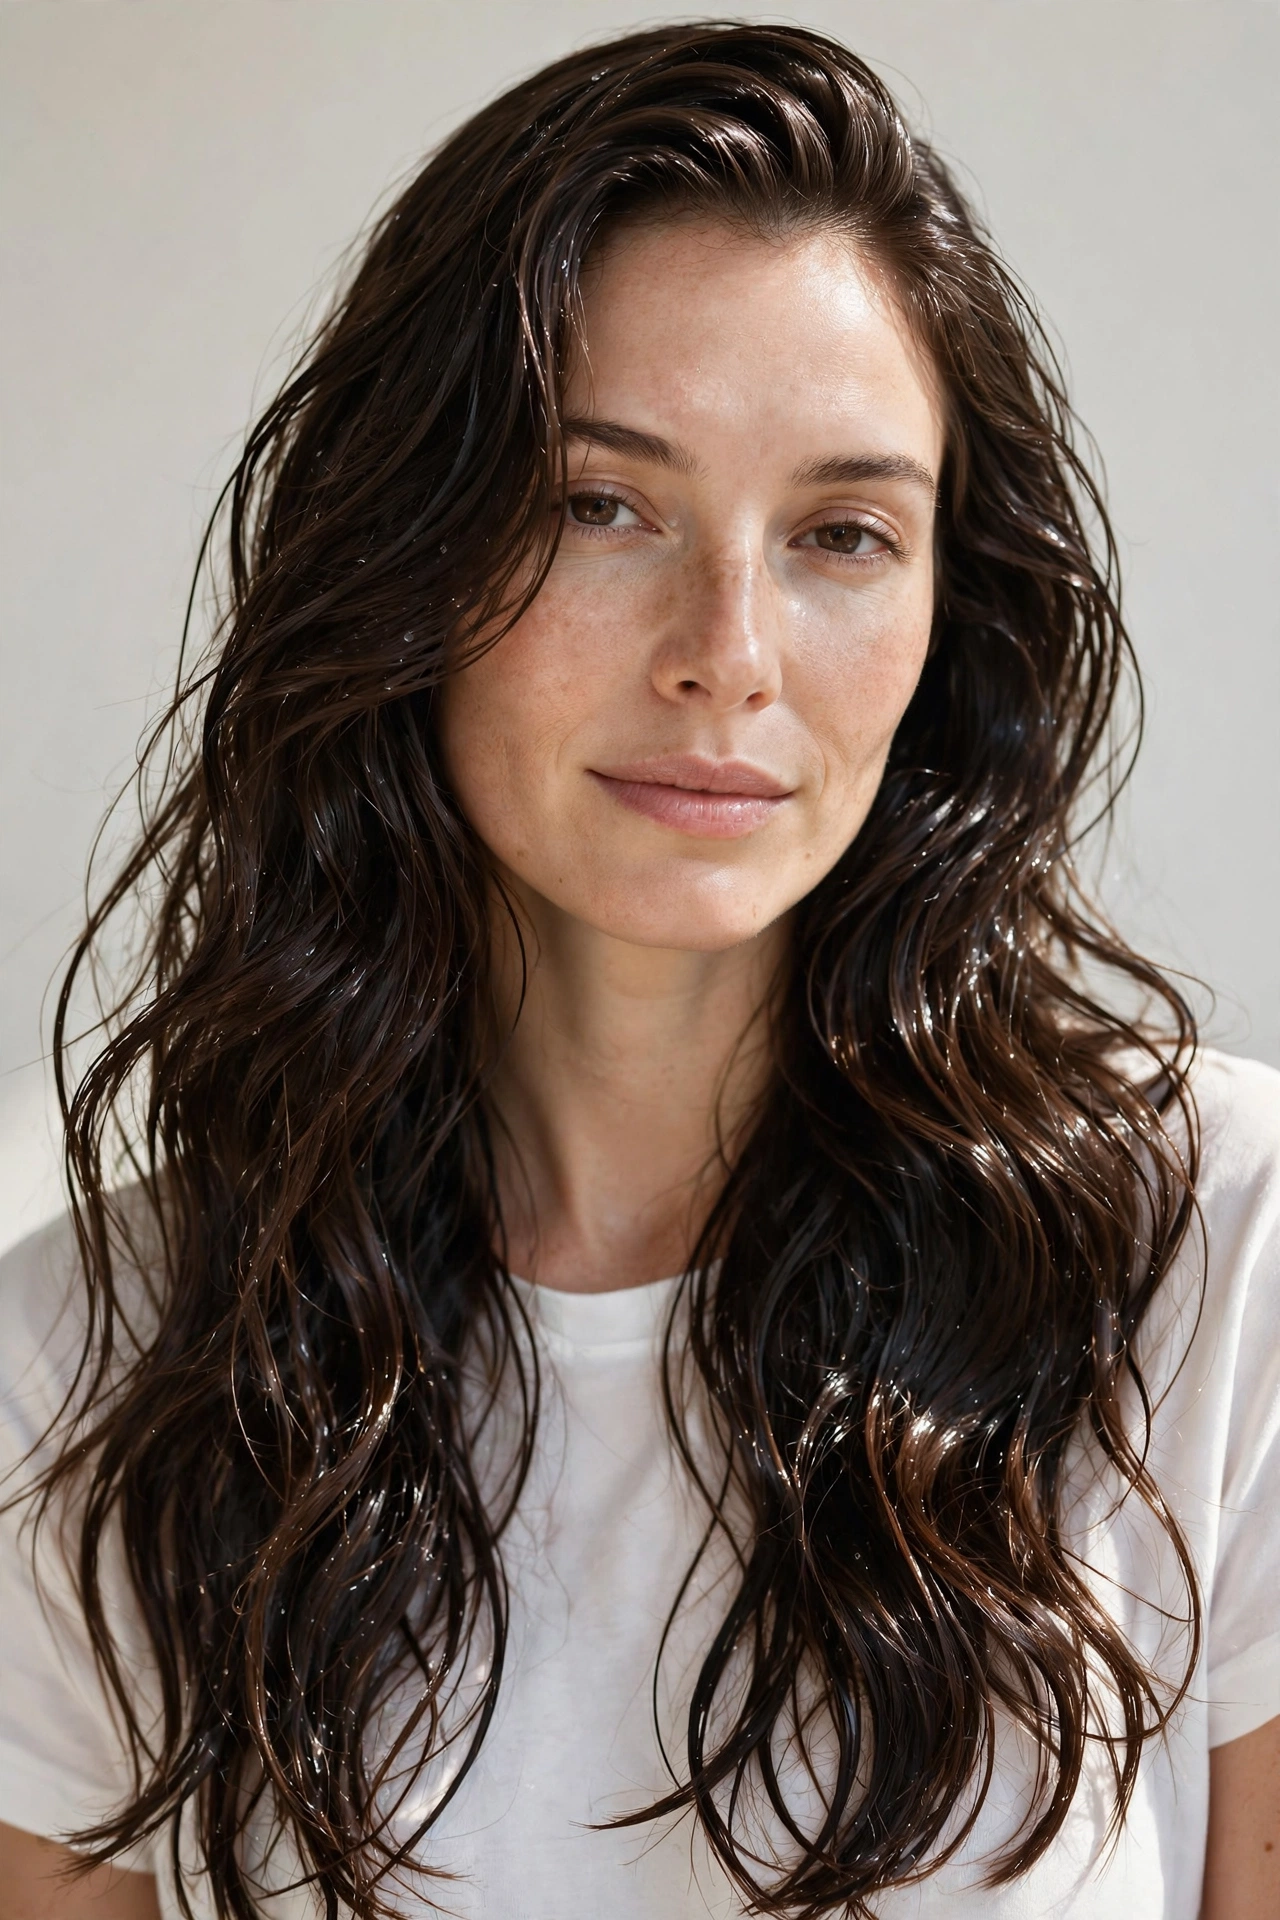
If the slicked-back version feels too severe for you, wet waves are your entry point. This is the wet look with the edges softened — hair still glossy and saturated, but shaped into loose, touchable waves instead of pulled flat. It gives you all the shine with none of the intimidation, and it’s genuinely one of the most flattering versions for everyday wear. The waves catch light as they move, which makes the whole head of hair look luminous rather than lacquered.
Start with your natural wave pattern or create loose waves with a wide-barrel curling iron on dry hair first. Then, instead of brushing them out, rake a golf-ball-sized amount of mousse mixed with a few drops of oil through the lengths with your fingers. Scrunch gently upward to encourage the wave pattern, and let it air-dry — the mousse holds the wave while keeping it glossy. Don’t touch it while it dries; that’s when the frizz forms. This version is forgiving on frizz-prone hair because the wave pattern hides any imperfections, and it’s the wet look I’d recommend to anyone trying it for the first time.
3. The Wet Bob
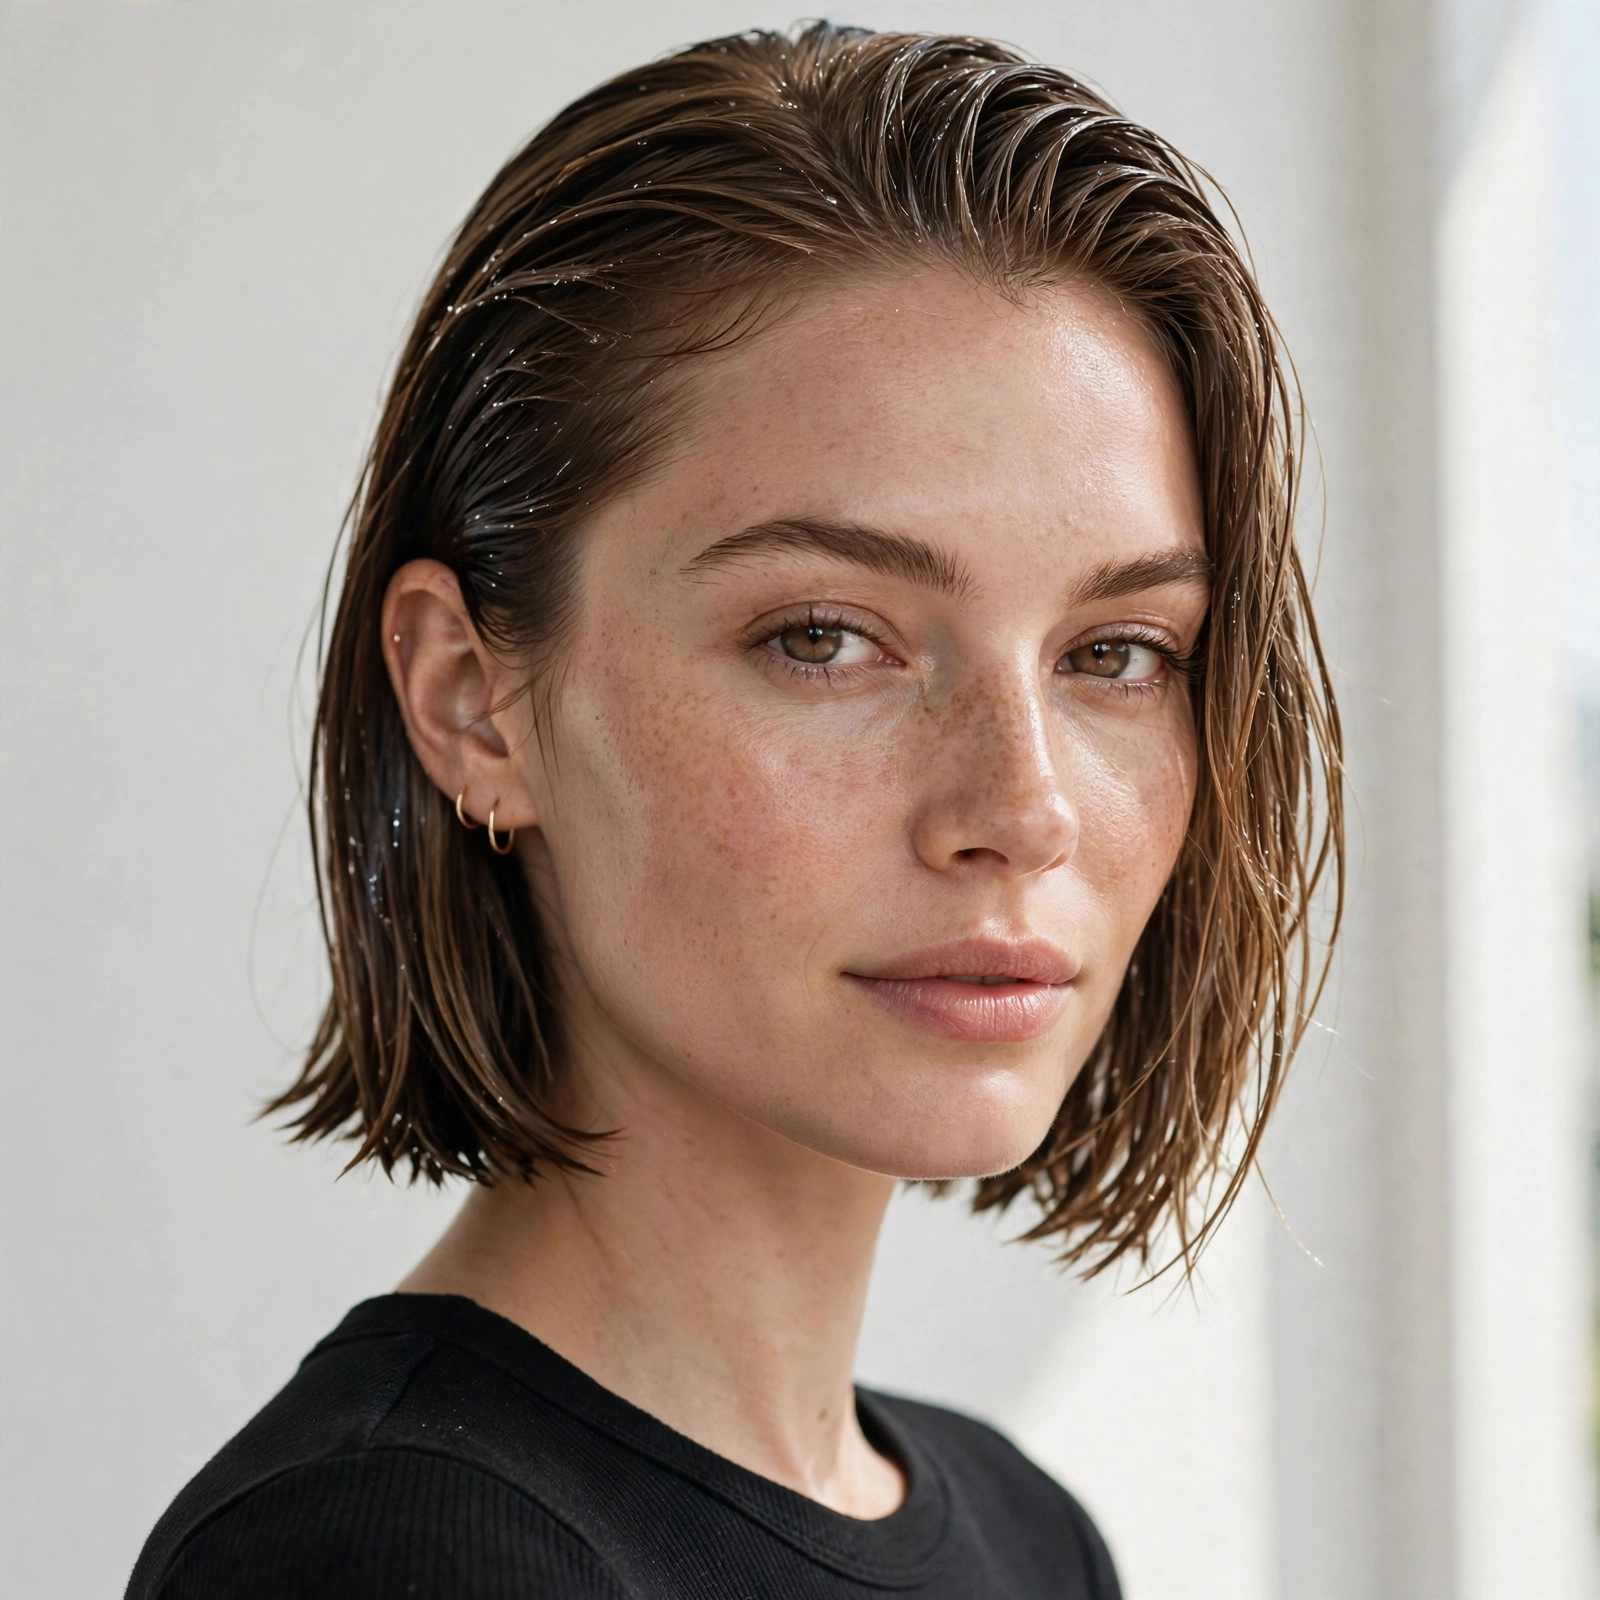
There is no haircut the wet look flatters more than the bob. Short hair and high shine are a perfect match — the gloss defines every line of the cut, and the compact shape keeps the whole thing looking deliberate rather than heavy. Whether yours is a blunt chin-length bob, a French bob, or a lob, the wet finish turns a good haircut into a great one. It shows off the precision of the cut, which is exactly what you want after paying for one.
On damp hair, apply gel from roots to ends with a wide-tooth comb, combing everything in the direction the cut wants to go — usually straight down with a slight tuck behind the ears. The key detail: comb the ends under very slightly so they don’t flip out as they dry. If you have a center part, define it sharply with the tail of a comb before the product sets; a crisp part is what separates the polished version from the messy one. For a French bob, tuck one side behind the ear and leave the other forward — asymmetric, chic, done. This style lasts well because short hair holds product evenly; just smooth the crown with damp fingers if it starts to lift.
4. Sleek Wet Ponytail
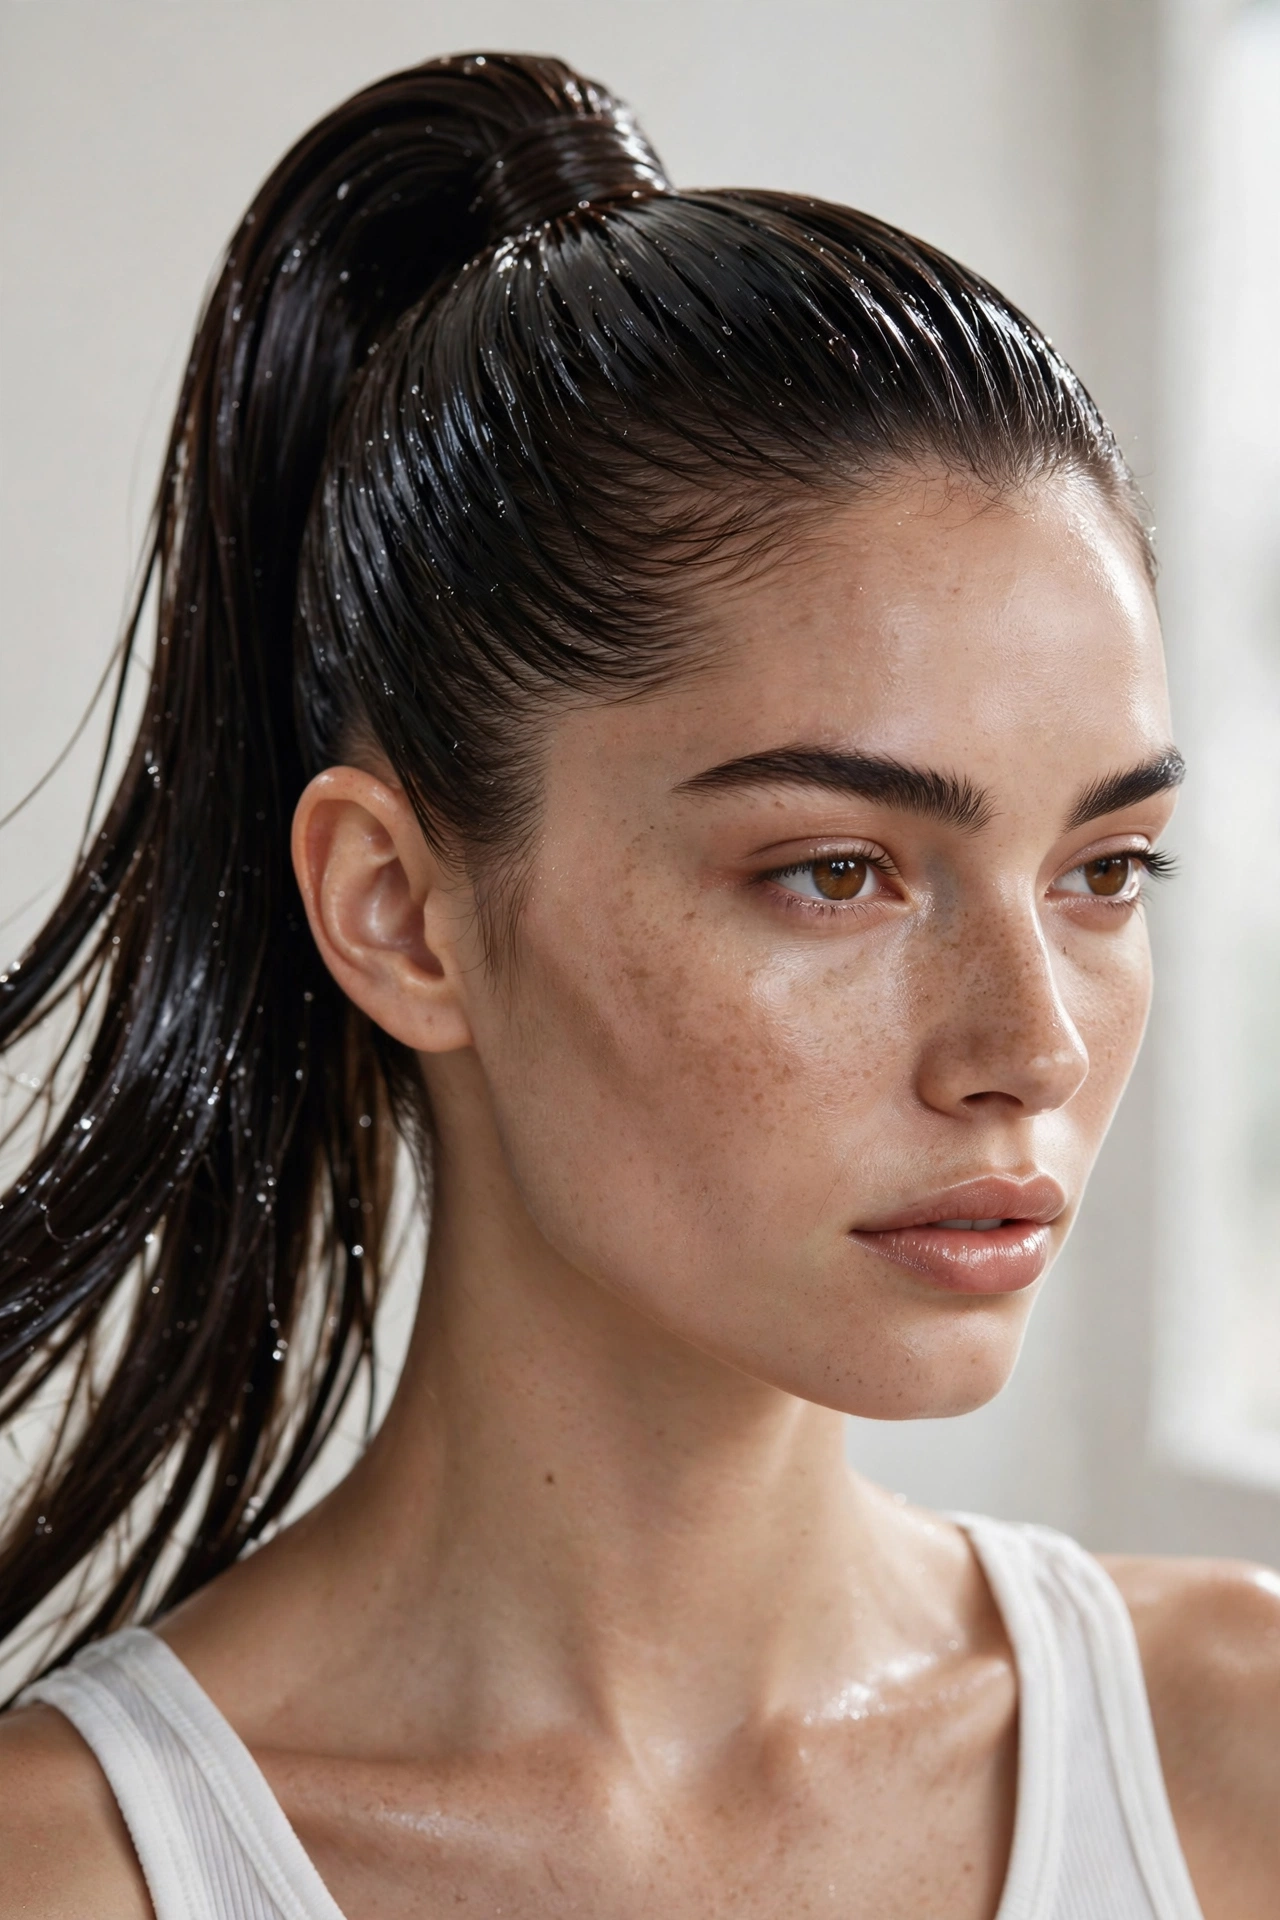
The wet ponytail is the workhorse of this list — the one you’ll actually wear to real life. High and tight or low and polished, a ponytail in a wet finish looks instantly pulled-together, and it solves the eternal ponytail problem: the fuzzy, flyaway crown that makes it look like you gave up. The wet finish eliminates all of that. Every baby hair lies flat, the base of the ponytail gleams, and the tail itself has that heavy, expensive swing.
Gather damp hair into your ponytail first, then apply product — it’s easier to get the crown smooth when the elastic is already holding everything in place. Use a strong-hold gel on the crown and smooth with a boar-bristle brush toward the elastic for that glassy finish. For the tail, run a small amount of gel or cream through the length and comb it straight so it hangs like a sheet. Wrap a small section of hair around the elastic and pin it underneath; an exposed elastic ruins the illusion. This is the gym-to-dinner hairstyle, the interview hairstyle, the “I have my life together” hairstyle — and it genuinely takes ten minutes.
5. Defined Wet Curls
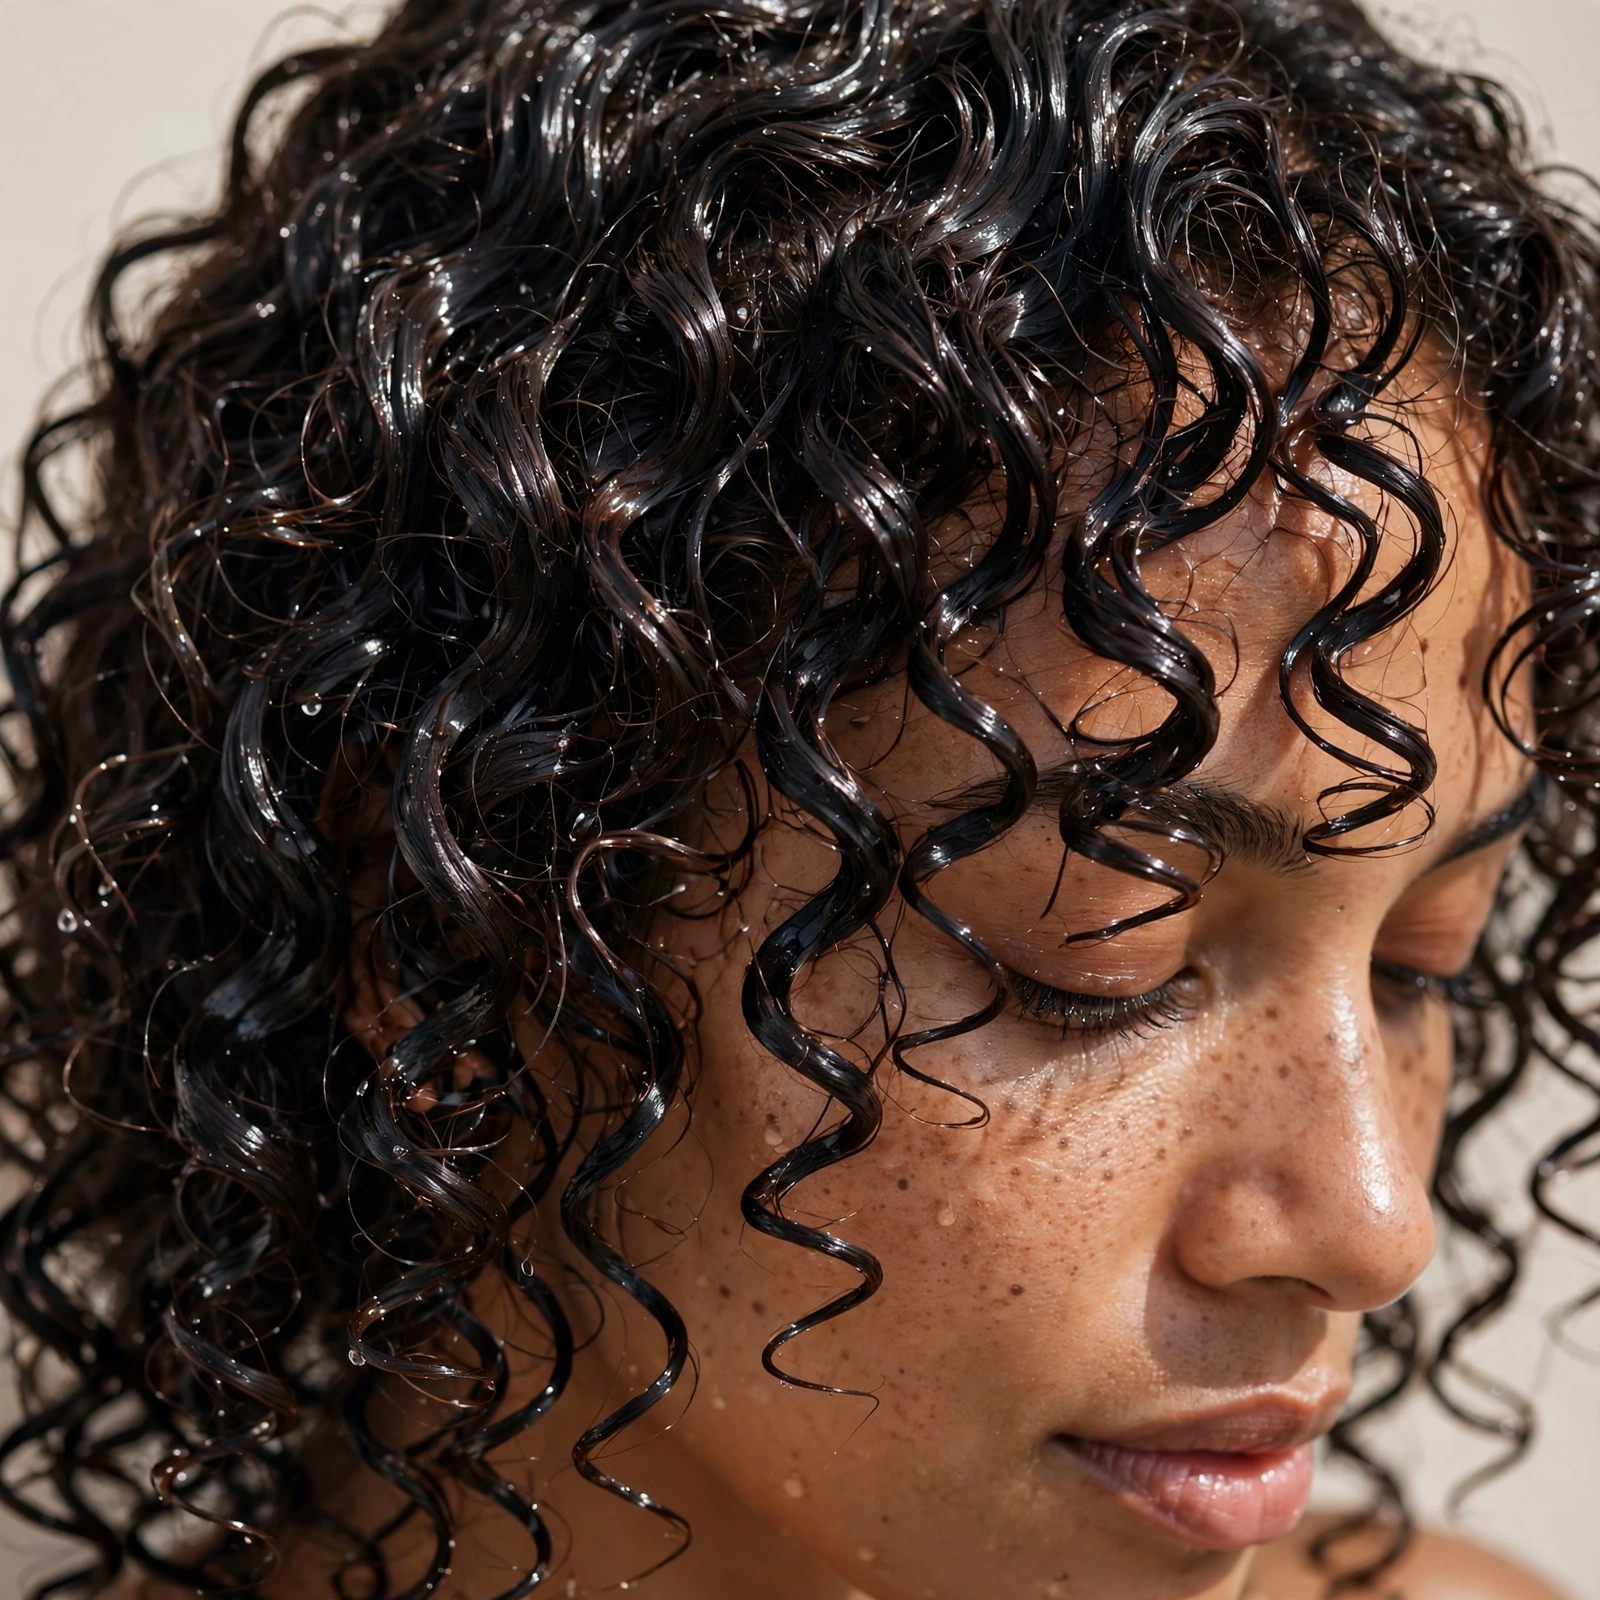
Curly girls, this is your moment. The wet look was practically invented for curls — the products involved (gel, cream, mousse) are the same ones curly routines have used forever, and the glossy finish makes every curl look defined, juicy, and intentional. If your curls tend to frizz or lose definition by midday, the wet look version is the answer: more product, more shine, more hold, and curls that stay clumped and beautiful for hours longer than your usual wash-and-go.
Apply a leave-in conditioner on soaking wet hair, then a generous amount of strong-hold gel — for medium-length curls, think two golf-ball-sized handfuls, applied in sections. Rake and shake each section so the curls clump, then scrunch upward with a microfiber towel or cotton t-shirt to remove excess water without creating frizz. Diffuse on low heat or air-dry without touching. The crucial final step: once it’s fully dry, scrunch out any gel cast with a drop of oil on your hands. You’re left with soft, defined, glossy curls that look wet long after they’ve dried. This is the technique; the “wet” is in the finish, not the moisture.
6. The Wet Pixie
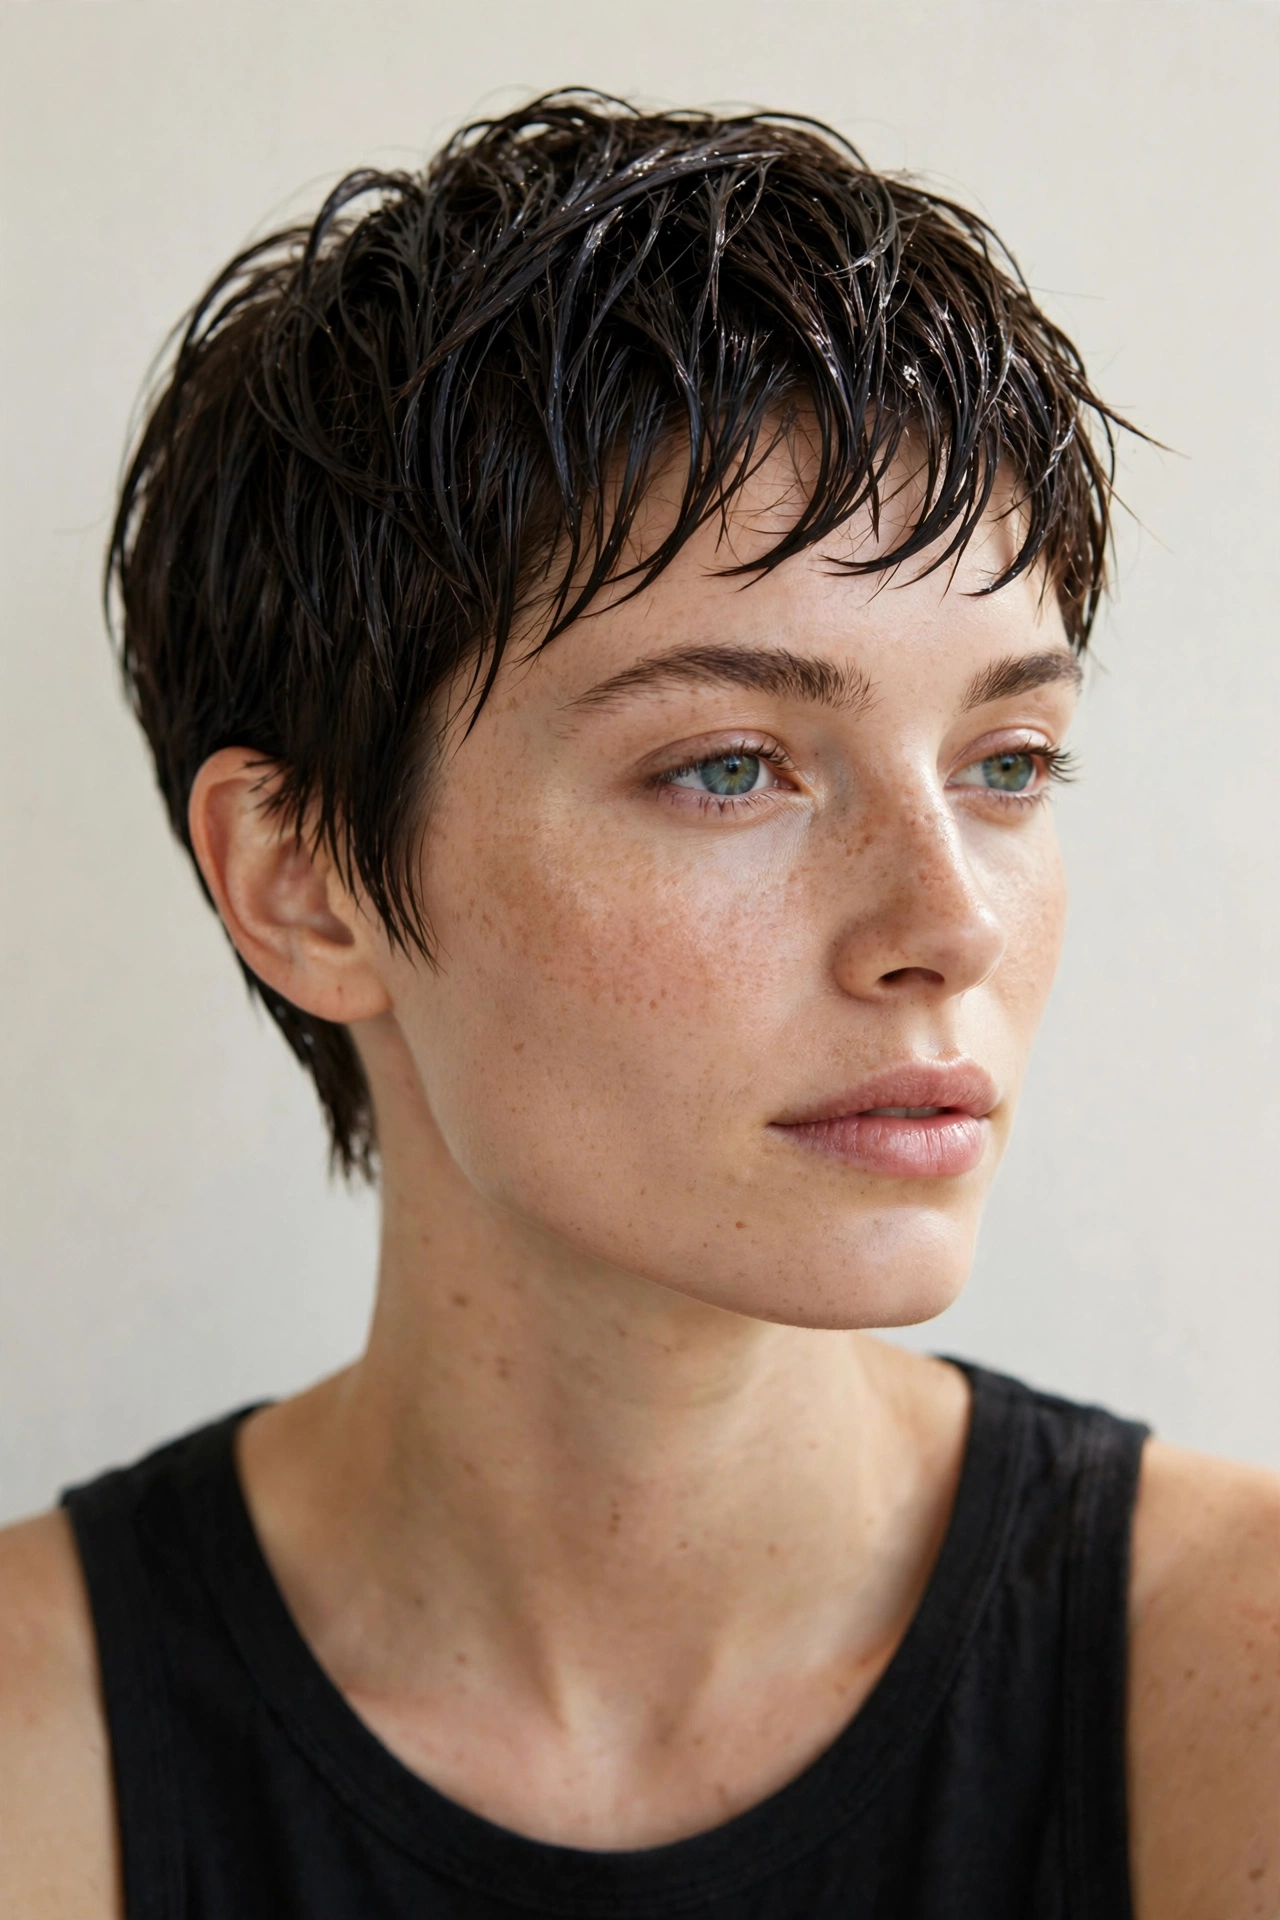
Short hair plus wet finish equals instant edge. The wet pixie is for anyone who wants their haircut to do the talking — the gloss highlights every piece-y layer, every bit of texture, every angle of the cut. It’s androgynous and chic in a way that no other wet look quite manages, and it’s ridiculously low-maintenance once you know the technique. Five minutes, a dab of product, and you walk out the door.
Work a pea-sized amount of pomade or wax through towel-dried hair, focusing on the crown and the front pieces. The direction you push the hair is the whole style: forward for a soft, textured look; swept to one side for something sharper; spiked slightly at the crown for attitude. Use your fingers, not a comb — a comb makes a pixie look too neat, and the wet pixie lives in that sweet spot between polished and undone. If your pixie has longer pieces on top, twist a few of them between your fingers after applying product so they separate into defined, glossy chunks. It photographs incredibly well, by the way — short glossy hair catches light from every angle.
7. Wet Low Bun
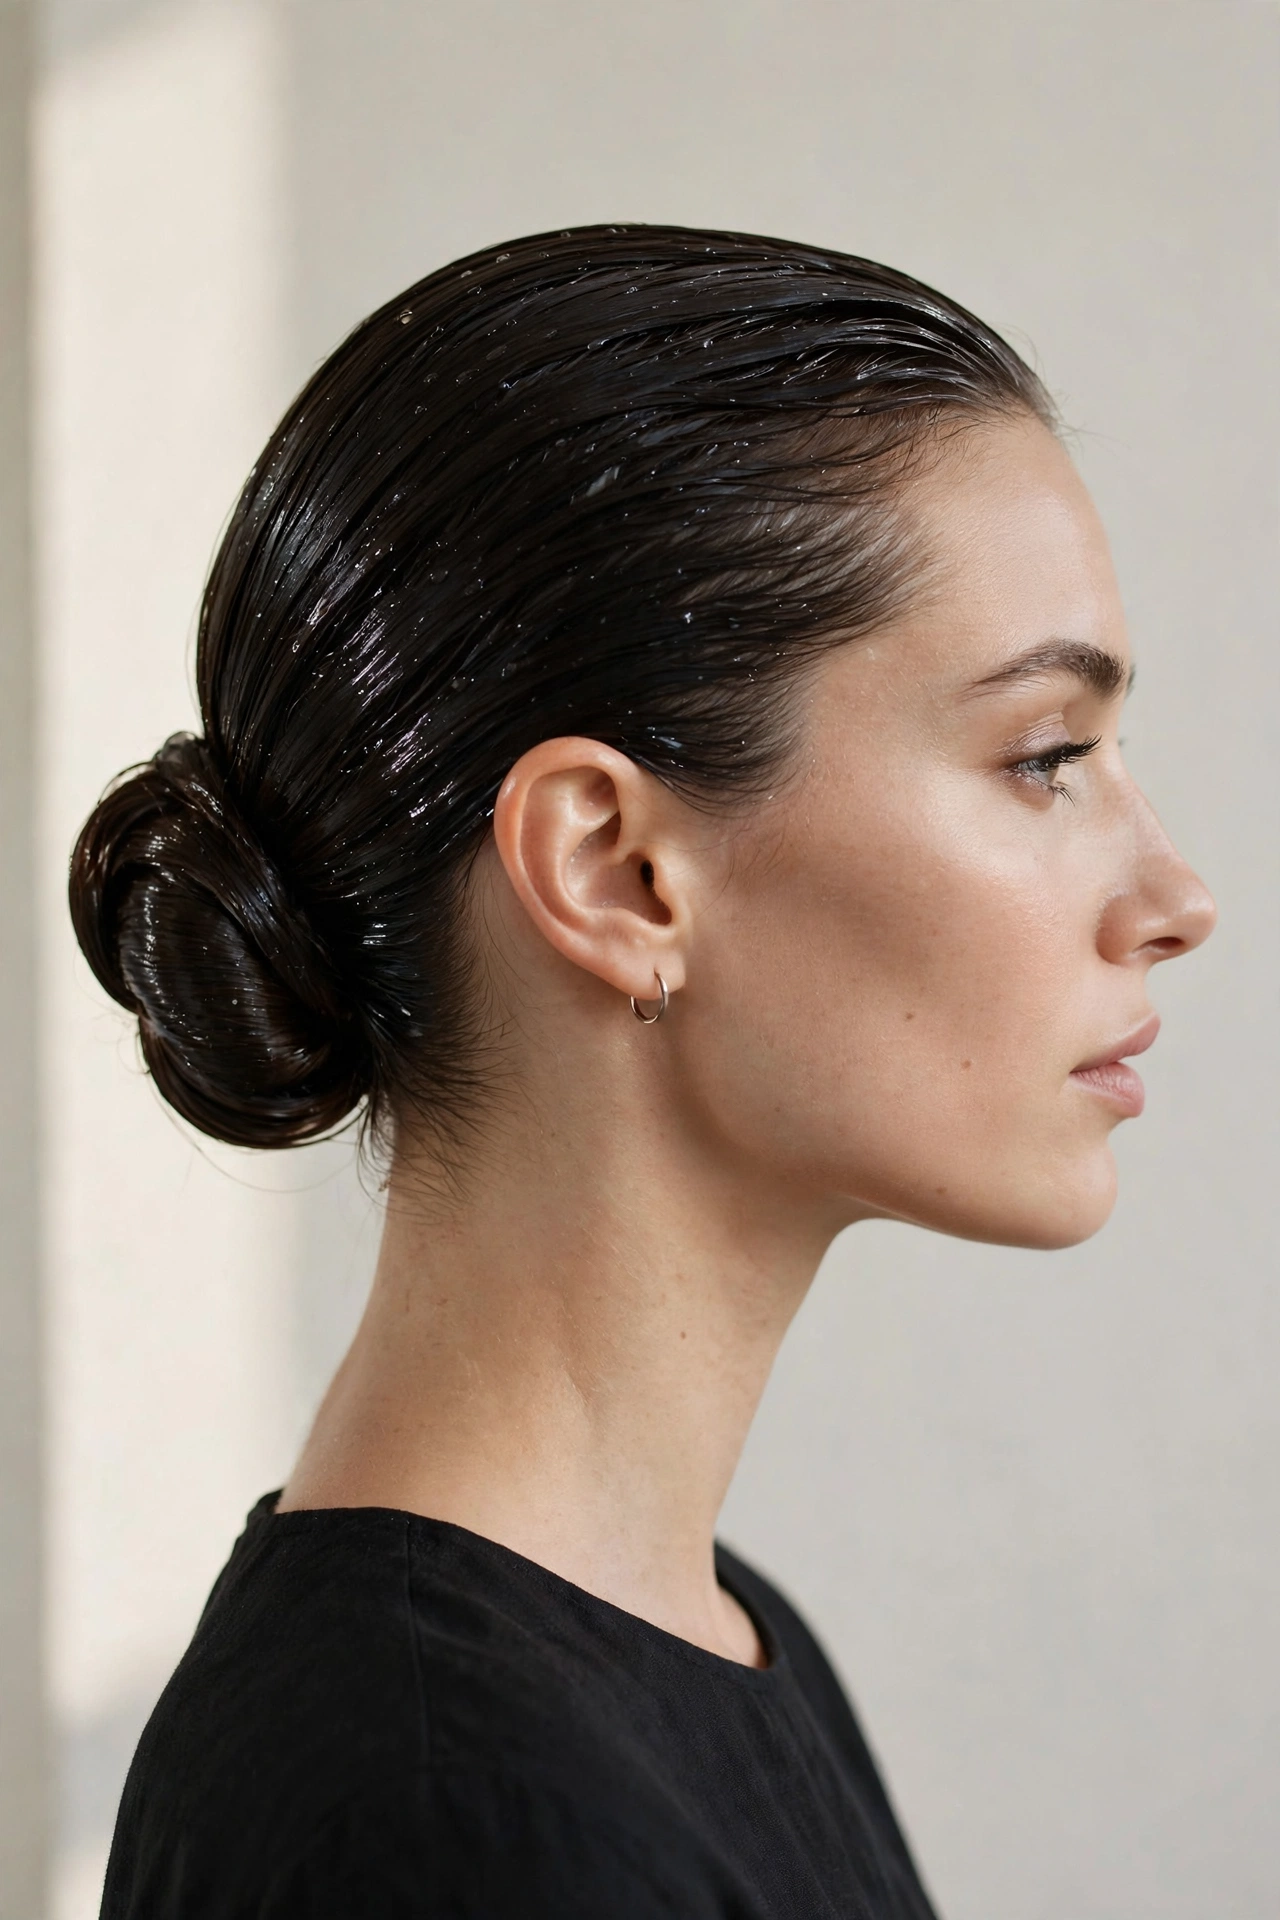
When the occasion calls for elegance, the wet low bun delivers. This is the wedding-guest, the gala, the fancy-dinner version of the wet look — hair smoothed back into a low bun at the nape, everything glossy and controlled, not a single strand out of place. It’s timeless in a way the trendier versions aren’t; this is the hairstyle that looks right in every decade because it’s built on proportion and shine rather than novelty.
Smooth damp hair back with gel using a fine-tooth comb, gathering it at the nape. Twist the length into a bun and pin securely — for a sleek finish, make the bun smooth and compact rather than messy; this is not the moment for a topknot. Run an extra drop of oil over the crown and the bun itself for uniform gloss. The detail that elevates it: make sure the hairline is immaculate. A toothbrush (clean, obviously) with a tiny bit of gel is the pro trick for smoothing the hairline into submission. Pair it with a deep side part for drama or a center part for symmetry — both work, and the shine makes either one look intentional.
8. Wet Look with a Sharp Middle Part
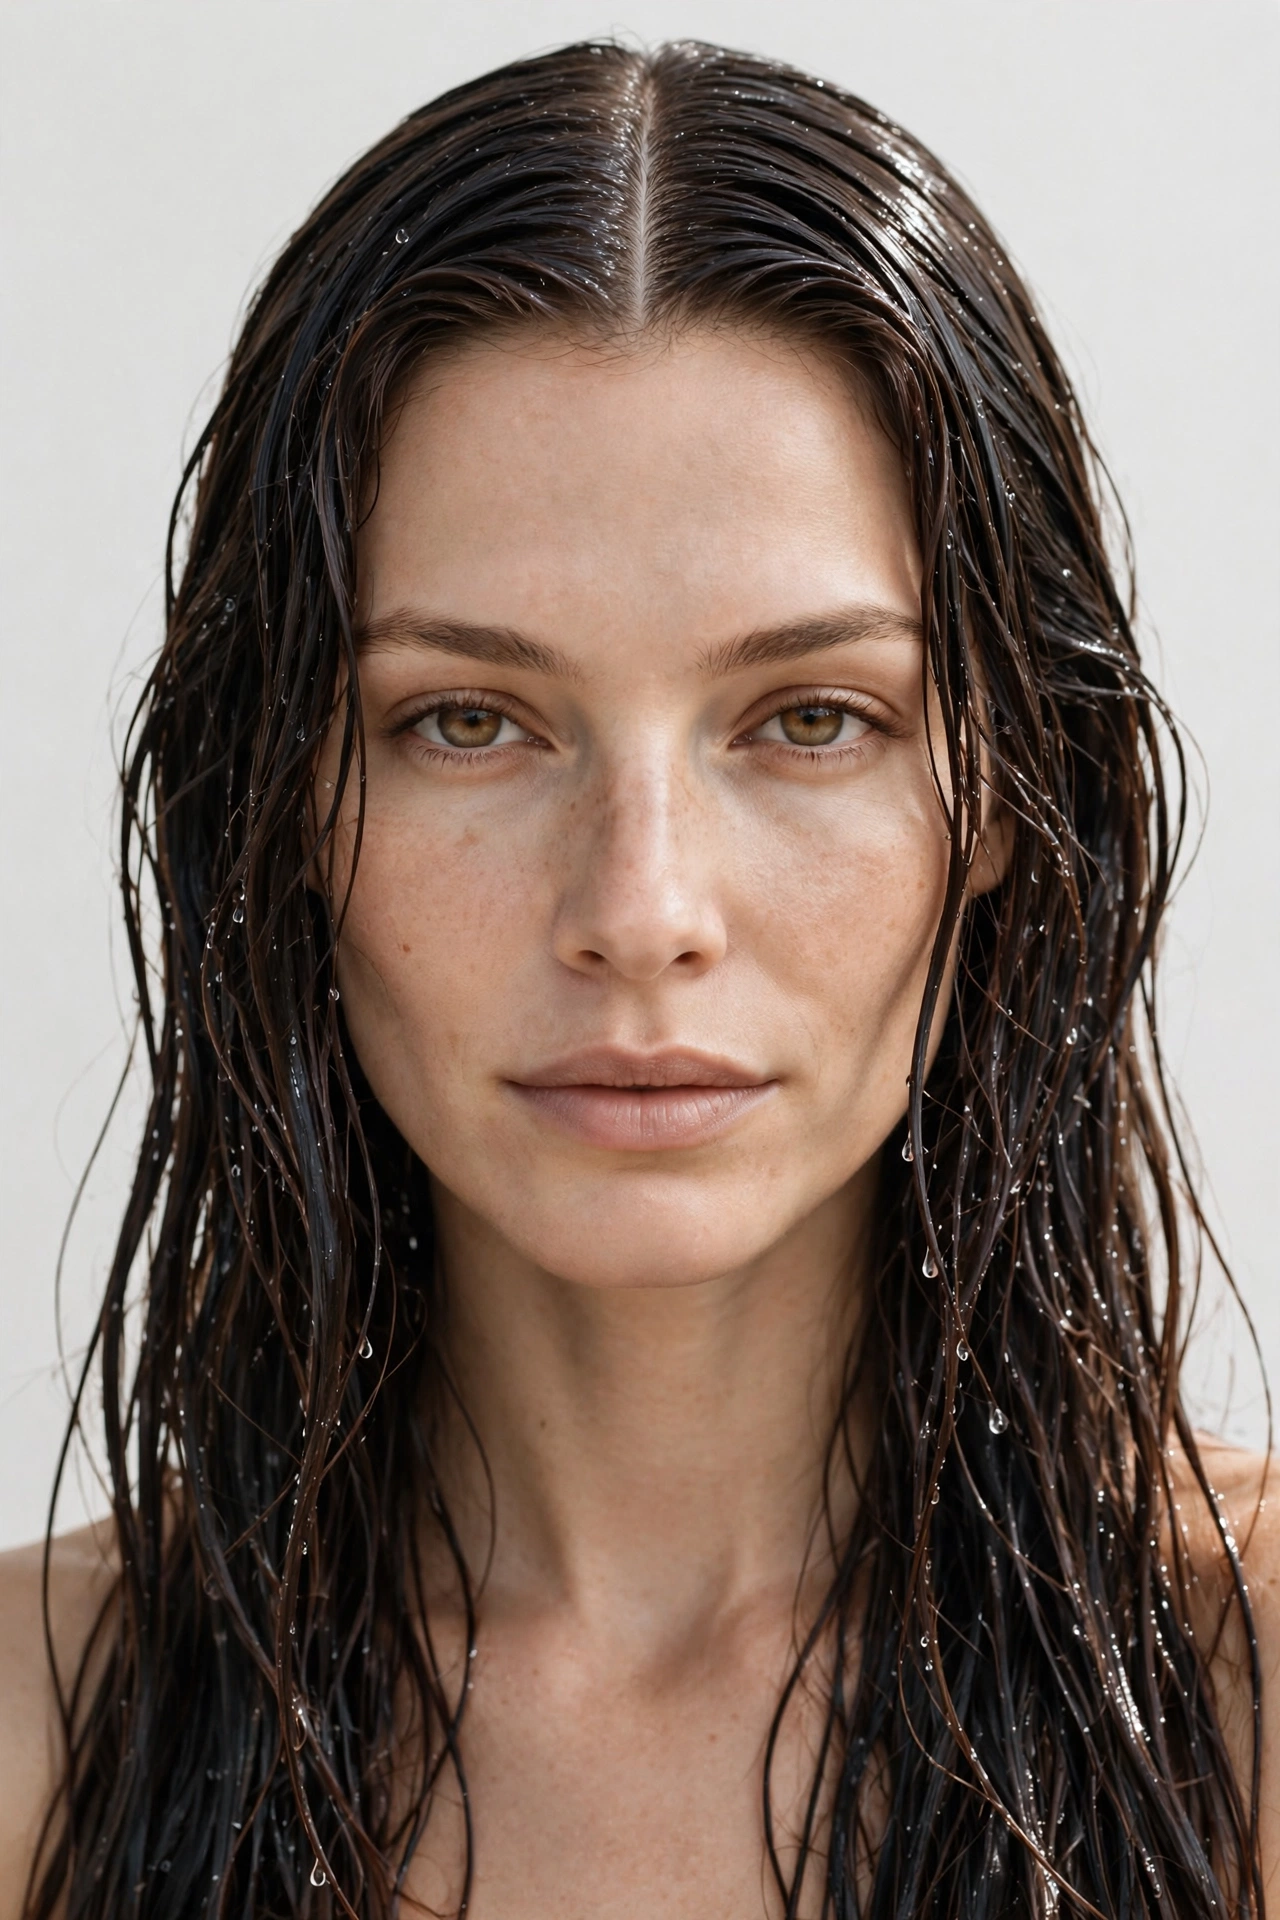
Sometimes the whole style is in the part. A razor-sharp middle part with wet, glossy lengths is one of the most striking versions of this look — symmetrical, severe, and absolutely magnetic. It’s the styling equivalent of a perfectly tailored blazer: simple on the surface, but the precision is what makes it. This works best on medium to long hair where the lengths have room to fall straight and gleam.
Create the part on damp hair with the tail of a comb before applying any product — precision matters, and product makes hair harder to part cleanly. Then smooth gel from the part outward and down, combing each side flat against the head. The sides should lie close and sleek, framing the face like curtains. Comb the lengths straight down with no wave or bend; the whole point is the sheet-of-glass effect. If your hair fights the center part (most hair has a natural part it prefers), use a little extra gel right at the part line and press it flat with your palms for thirty seconds. It’ll hold. This is the version that looks most expensive in photographs — the symmetry does half the work.
9. Wet Shag Layers
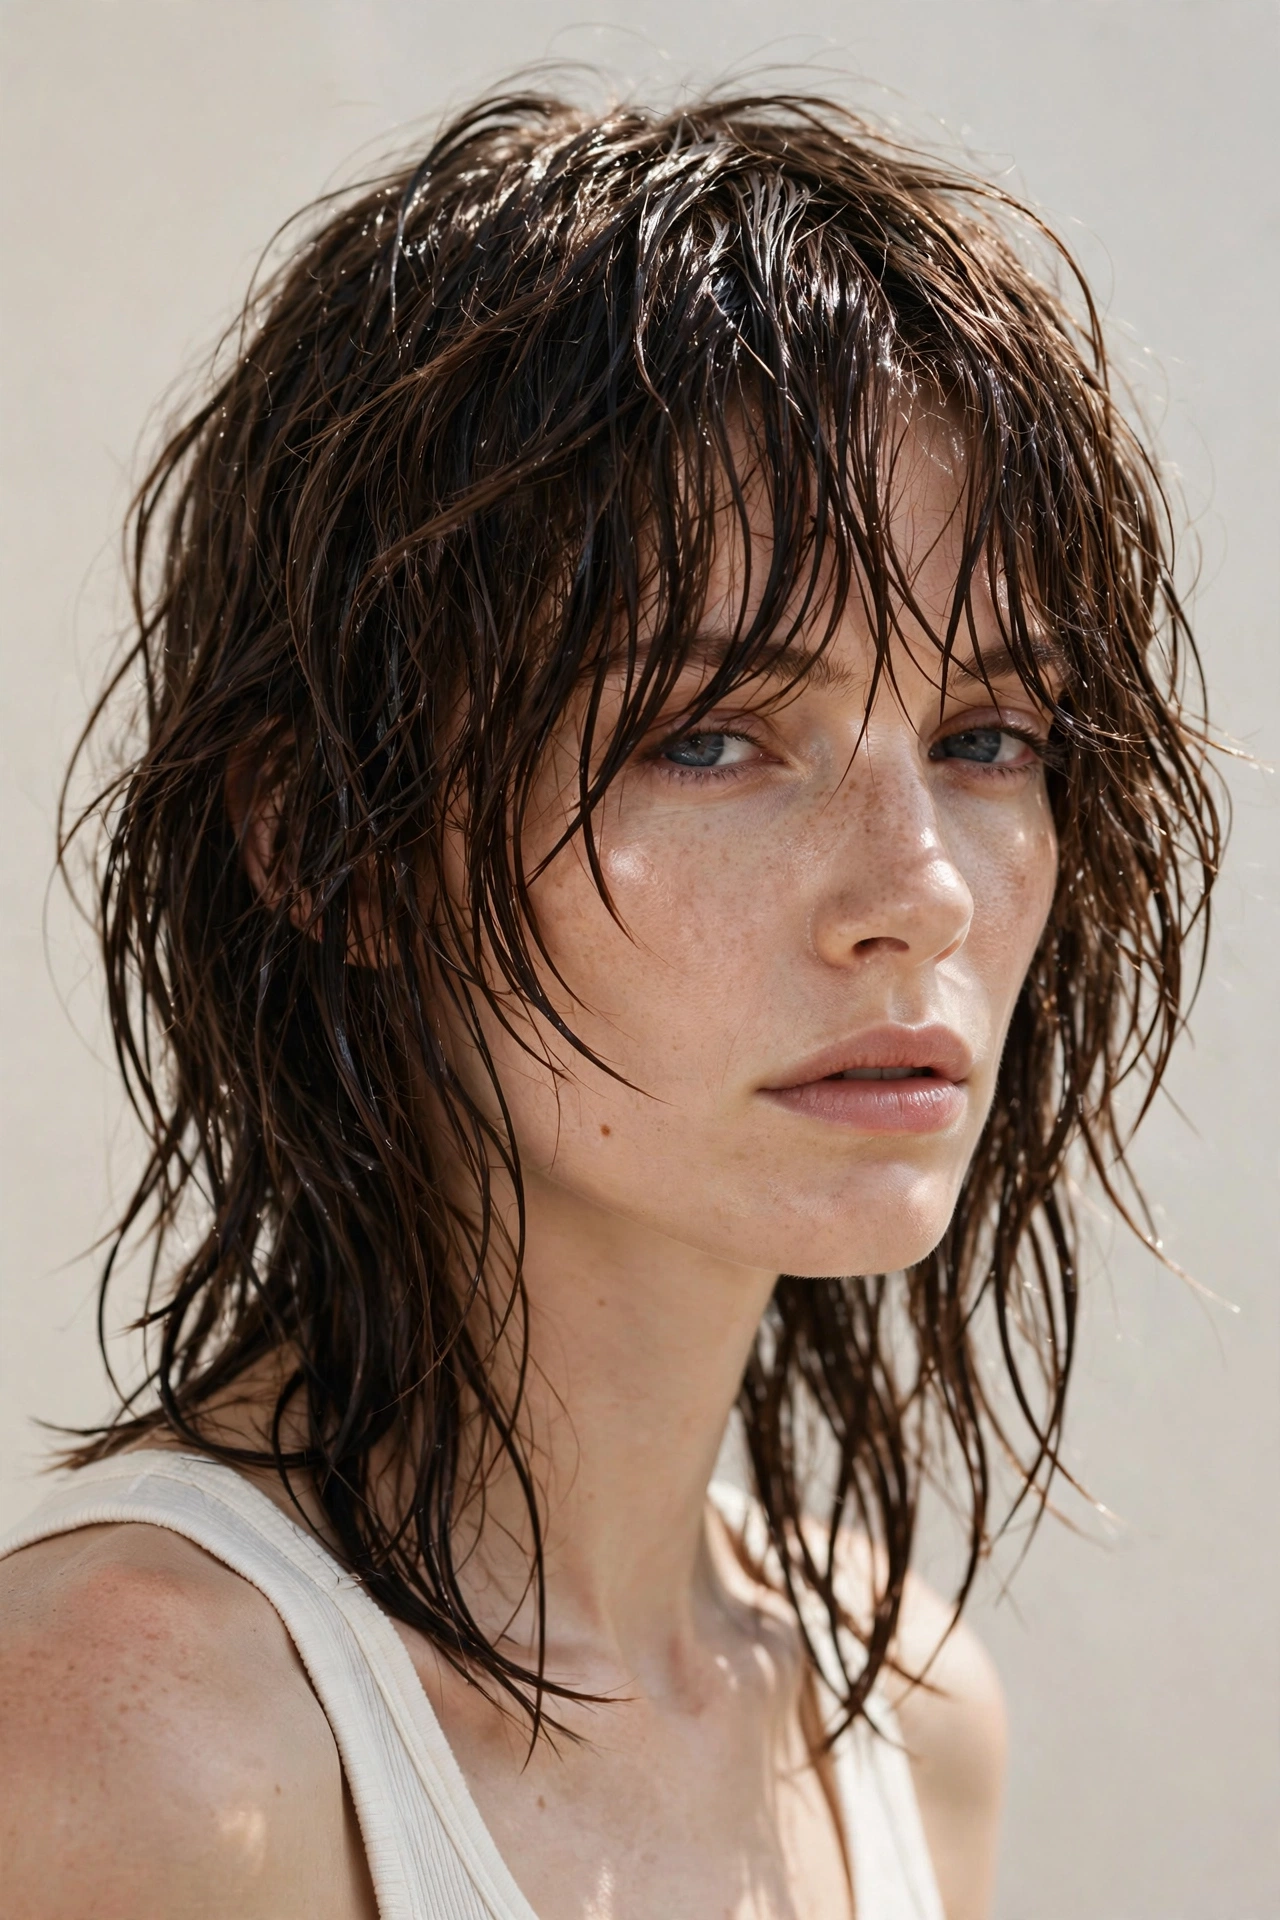
The shag and the wet look seem like opposites — one is all about undone texture, the other about control — but together they’re magic. Wet shag layers give you the piece-y, rock-and-roll shape of the cut with a glossy, defined finish that makes every layer pop. Instead of the usual matte, airy shag, you get something moodier and more deliberate. It’s the cool-girl version of the wet look, and it works beautifully on medium-length hair with lots of layers.
The technique here is different from the sleek versions: you want separation, not flatness. On damp hair, apply a salt-spray-and-gel cocktail — literally mix a pump of each in your palms — and rake it through the layers with your fingers, twisting individual pieces as you go. Scrunch the ends upward to encourage the shag’s natural texture, and let it air-dry. The salt spray keeps the texture piece-y while the gel adds the gloss; skip the comb entirely, because combing kills the shag’s shape. The result is tousled but gleaming — hair that looks like it just came off a fashion shoot, in the best way.
10. Wet Mermaid Lengths
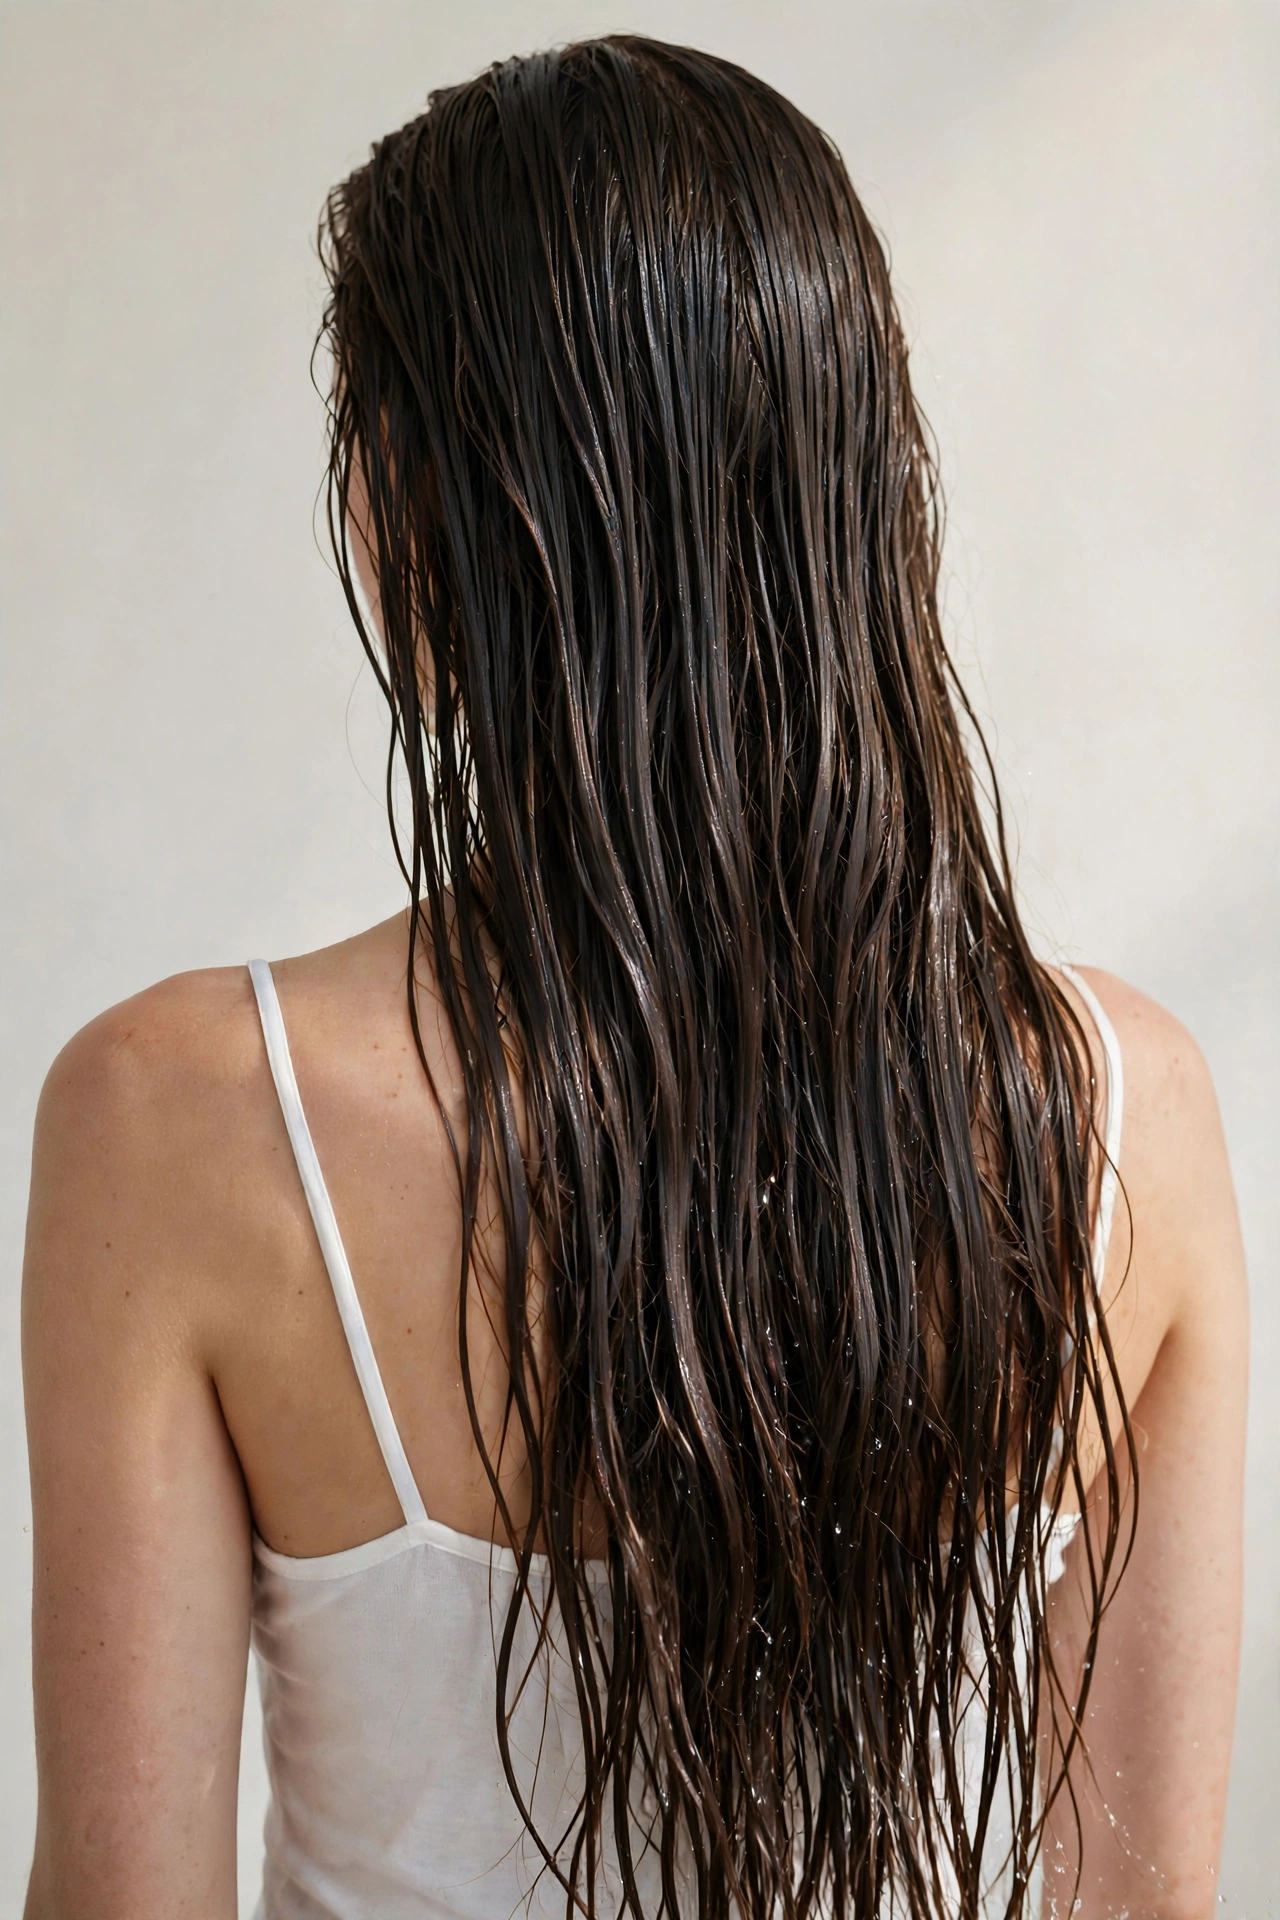
Long hair is where the wet look becomes pure drama. Waist-length hair in a wet finish moves like water — heavy, glossy, catching light with every step. This is the mermaid version: lengths so sleek and shiny they look liquid. It demands commitment (long hair plus product is a combination), but the payoff is the kind of hair people stop you to ask about. If you’ve been growing your hair out, this is how you show it off.
Section your damp hair into four parts and apply a cream-gel hybrid to each section from mid-lengths to ends — the lengths need the most product because they’re the oldest and driest part of your hair. Comb each section straight down with a wide-tooth comb, then do a final pass over everything with a fine-tooth comb for that uniform, sheet-like finish. Don’t bring product all the way to the roots on very long hair unless you want the whole head to look heavy; keeping the roots slightly softer and the lengths glossy gives you the best balance. A drop of shine serum on the very ends as a finisher makes them look freshly trimmed. Fair warning: this uses more product than any other version, so clarify your hair with a good shampoo the next wash.
11. The Wet Side Sweep
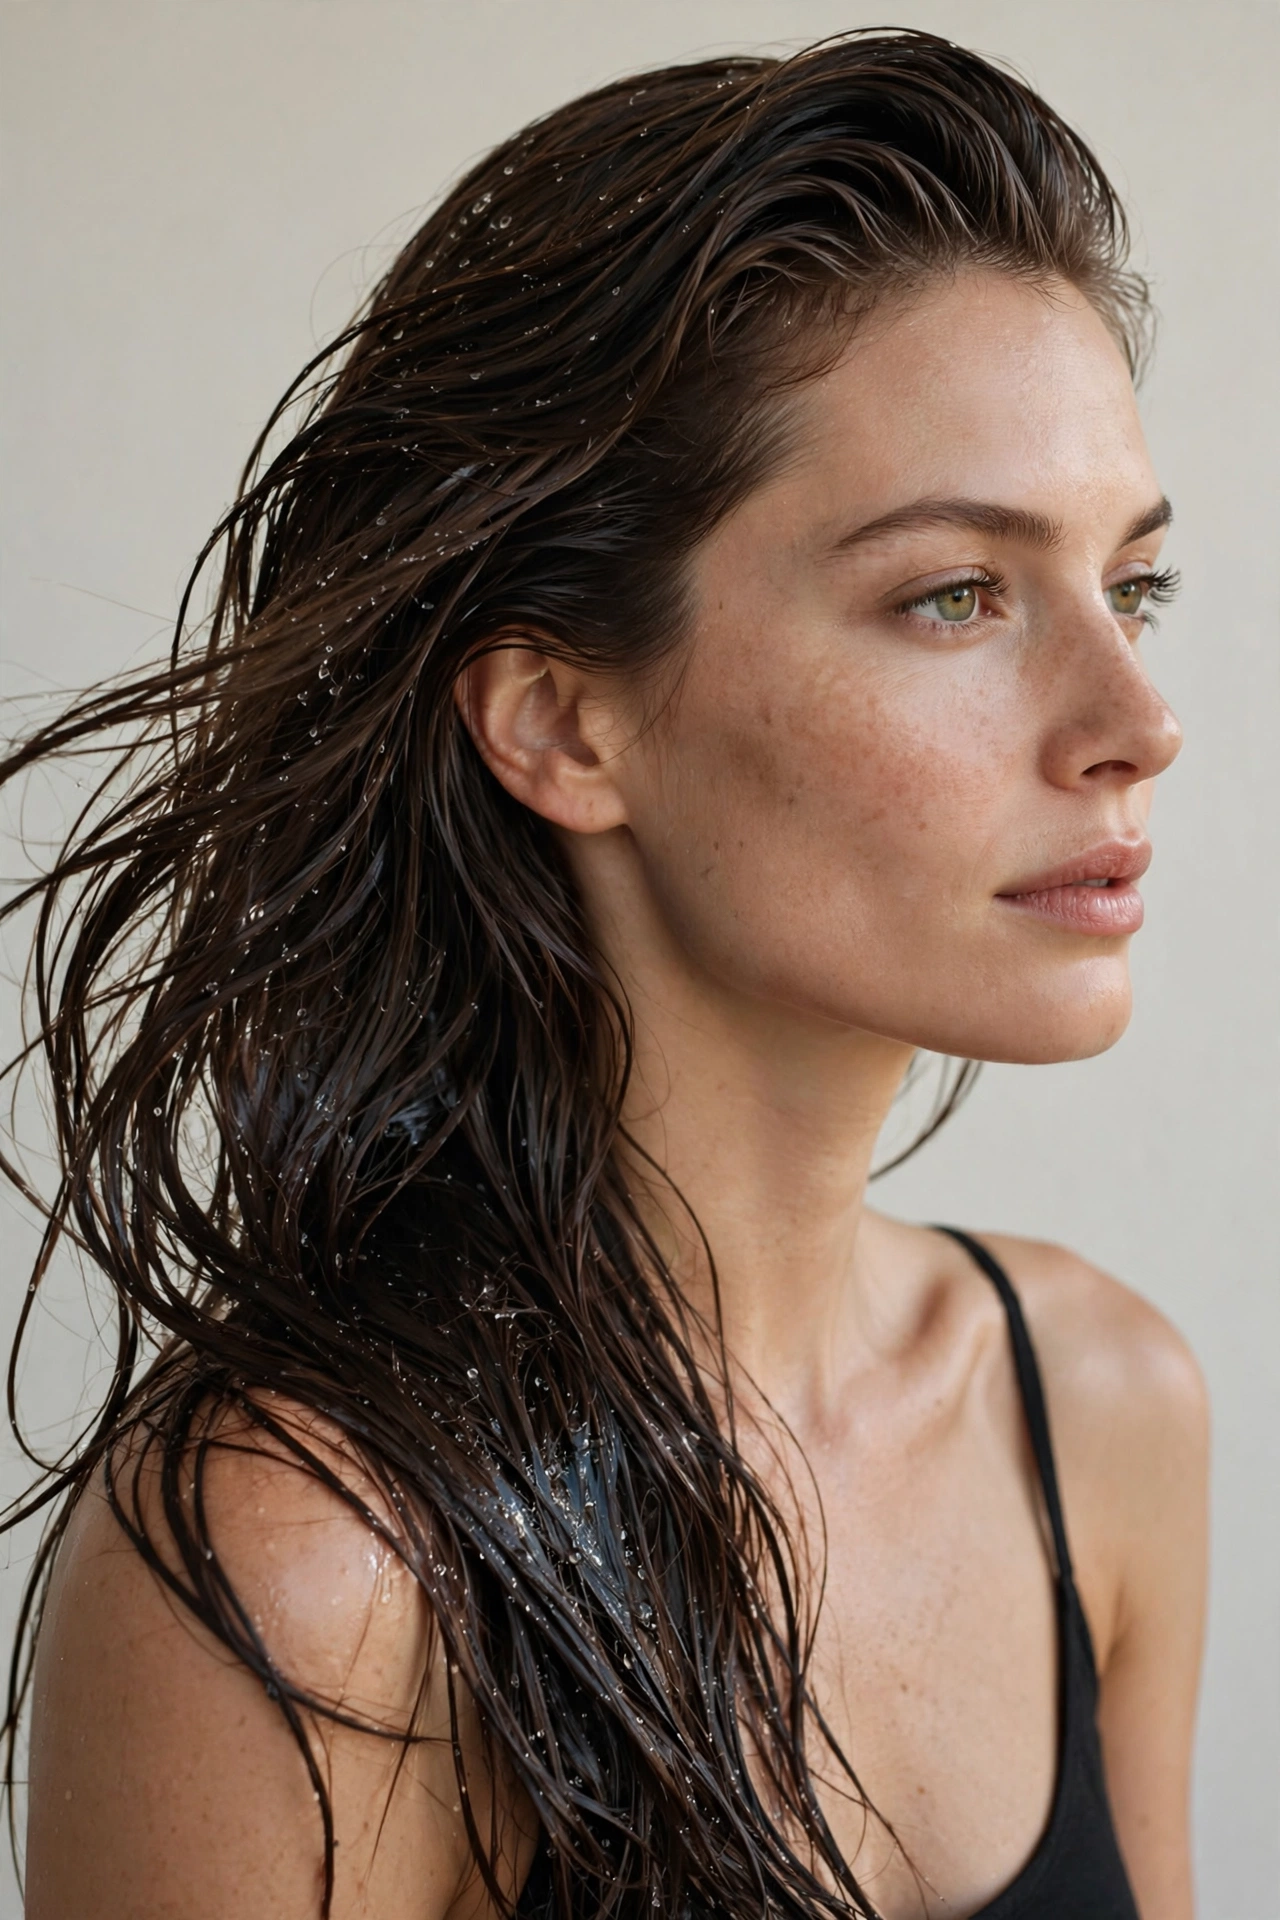
Asymmetry is flattering on almost every face, and the wet side sweep proves it. All the hair swept to one side, glossy and controlled, one side of the head sleek and close while the other cascades — it’s dramatic without being difficult. This is a red-carpet favorite for a reason: it photographs from every angle, it shows off earrings and necklines, and it works whether your hair is shoulder-length or much longer.
Deep-part your damp hair on one side — further over than feels natural, almost above the outer corner of your eyebrow. Smooth gel over the smaller side, combing it flat and tight against the head, and tuck it behind the ear. The larger side gets the same gel treatment but combed in the direction of the sweep, falling over the opposite shoulder. Pin the tucked side with two bobby pins in an X shape if it won’t stay; they hide under the hair. The contrast between the flat side and the full side is the whole style, so don’t be shy about making the sweep dramatic. This is also a great fix for second-day hair — the product and the sweep hide everything.
12. The Wet Braid
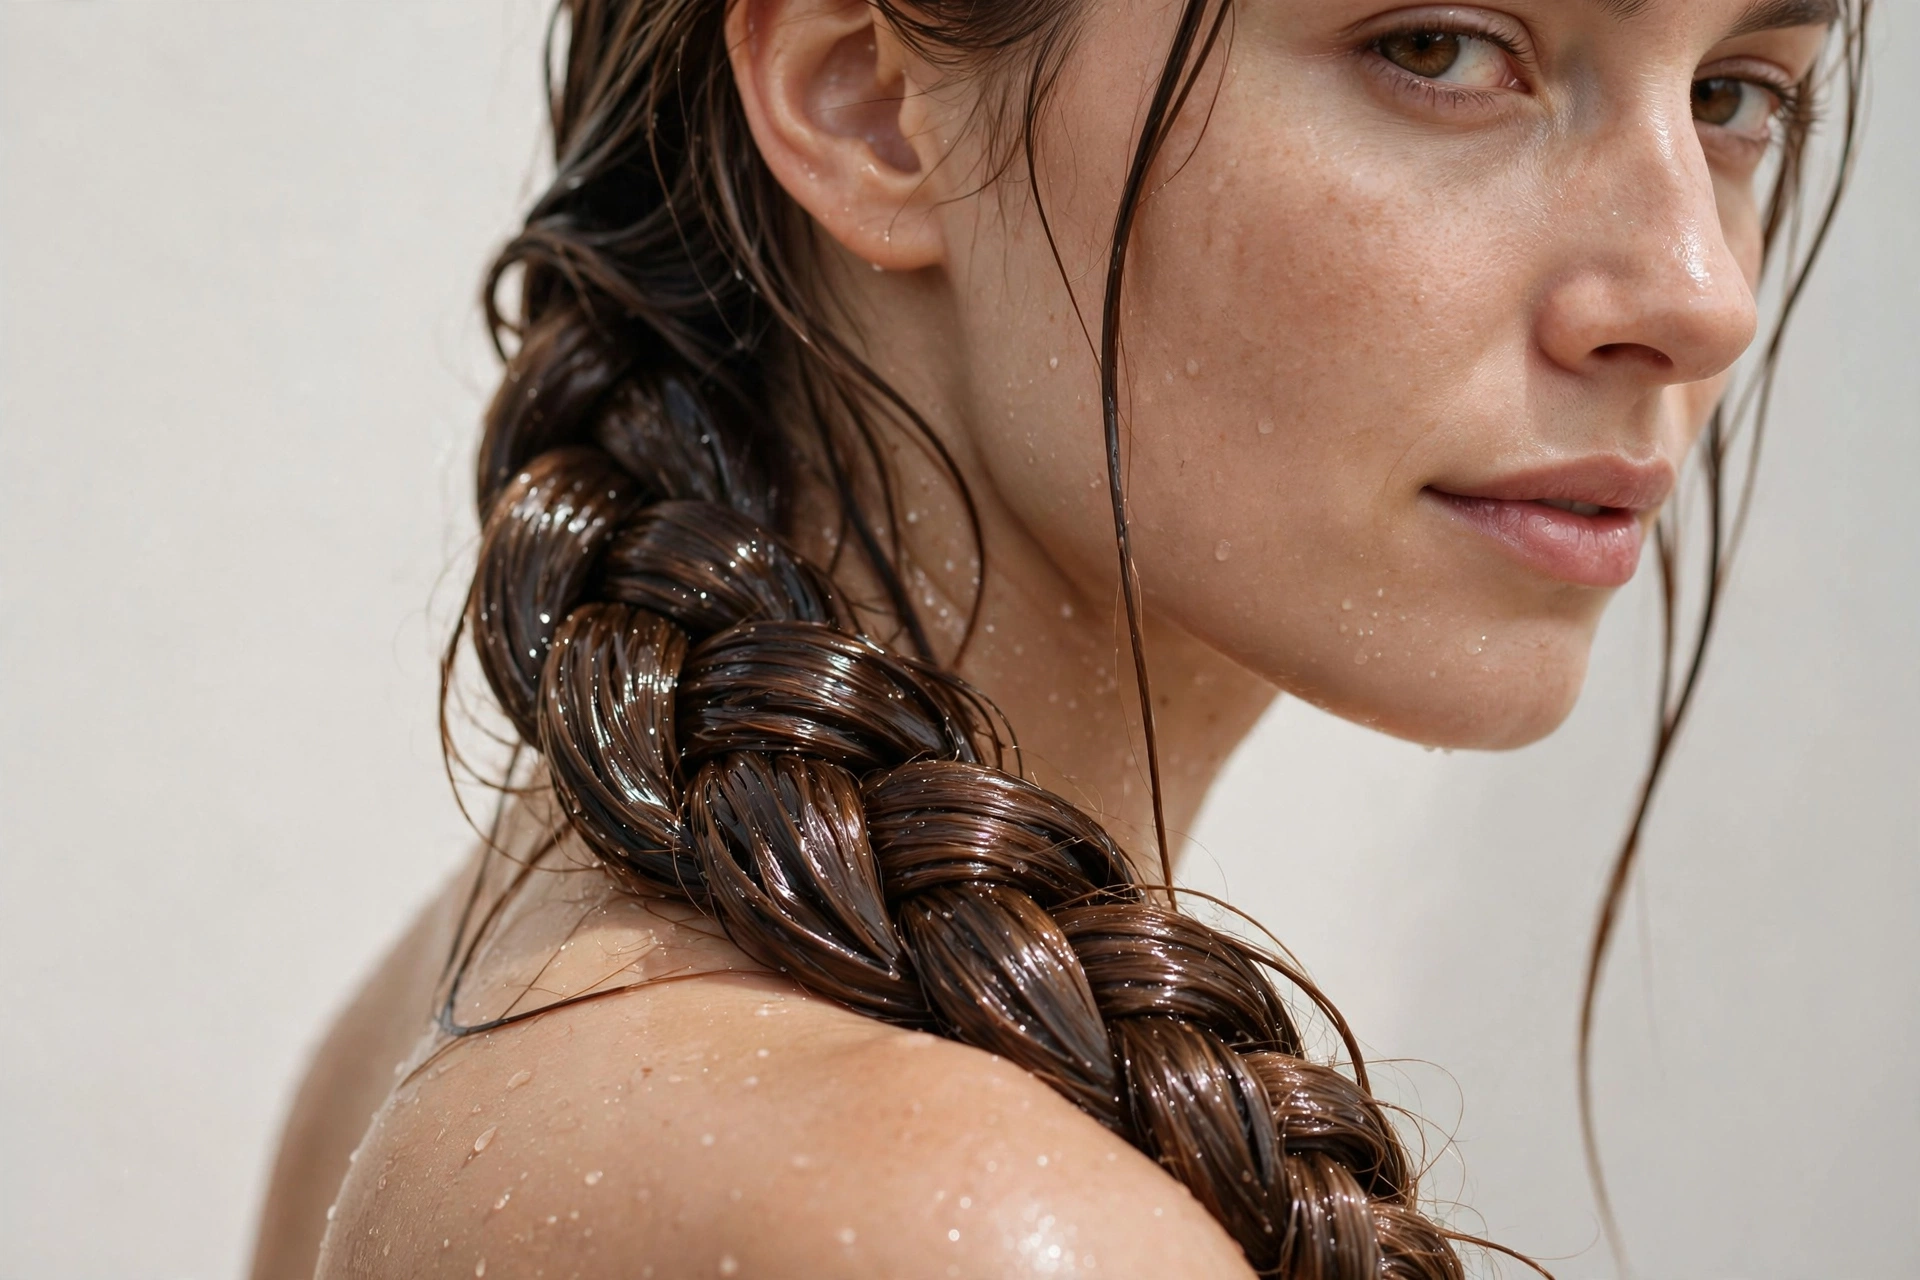
A braid in a wet finish looks completely different from a regular braid — tighter, sleeker, almost sculptural. The gloss defines every crossover of the plait, turning a simple three-strand braid into something that looks intricate and expensive. It’s also one of the most practical versions: the braid holds the style for hours, survives wind and humidity, and the wet finish keeps every strand locked in. Sporty, chic, and genuinely long-lasting.
Apply gel to damp hair and comb it smooth first — braiding over unsmoothed hair defeats the purpose. Pull it into the braid position (over one shoulder, straight down the back, or a side braid) and plait tightly, smoothing each section with a bit more gel as you go. Secure with a clear elastic, then wrap a small piece of hair around it. For a French or Dutch braid, add gel to each new section as you incorporate it; this keeps the crown sleek, which is where braids usually go fuzzy. Finish with a light mist of shine spray over the whole braid. The result looks almost too perfect — in the best way — and it will genuinely last all day without a touch-up.
13. Wet Curtain Fringe
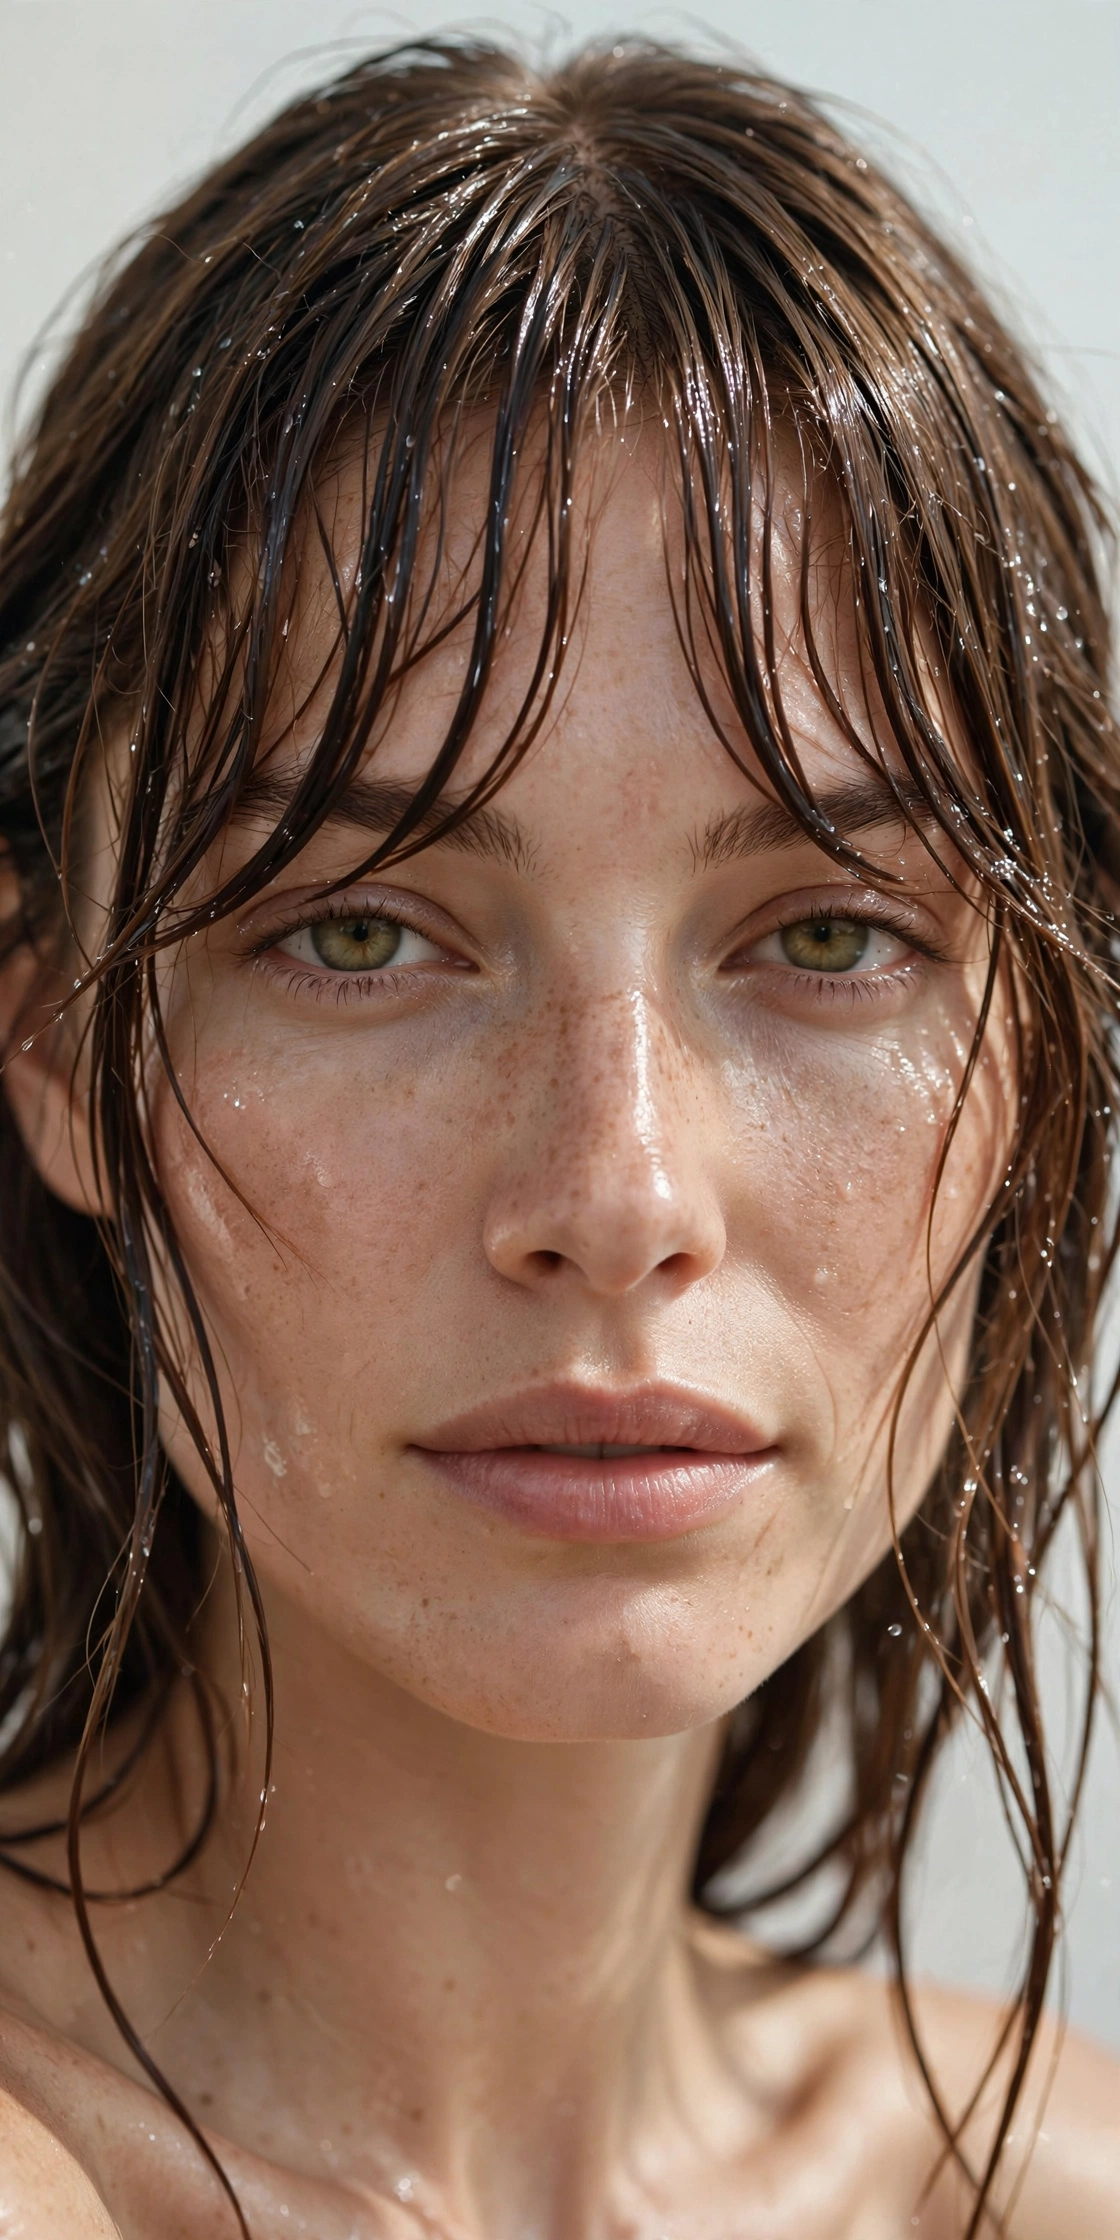
Curtain bangs in a wet finish are having a quiet moment, and they deserve a loud one. The gloss makes the fringe pieces lie exactly where you want them — no flipping, no separating, no midday cowlick rebellion. Wet-styled curtain bangs frame the face like a picture frame, and the shine draws attention to your eyes and cheekbones. If you have bangs and you’ve never tried them wet, you’re missing out on their best behavior.
Style the fringe separately from the rest of the hair — it’s a different job. On damp bangs, use a small amount of lightweight gel (half a pea-size; bangs need less than you think) and comb them into their curtain shape with a fine-tooth comb, parting them in the center and curving each side outward. If you want them sleek against the forehead, press them flat with your palms for a few seconds. The rest of the hair can match in a wet finish or go soft and dry — both work, and the contrast of wet bangs with dry lengths is actually a great look. Touch up the fringe during the day with the tiniest bit of water on your fingers rather than more product; bangs get overloaded fast.
14. Wet Half-Up Style
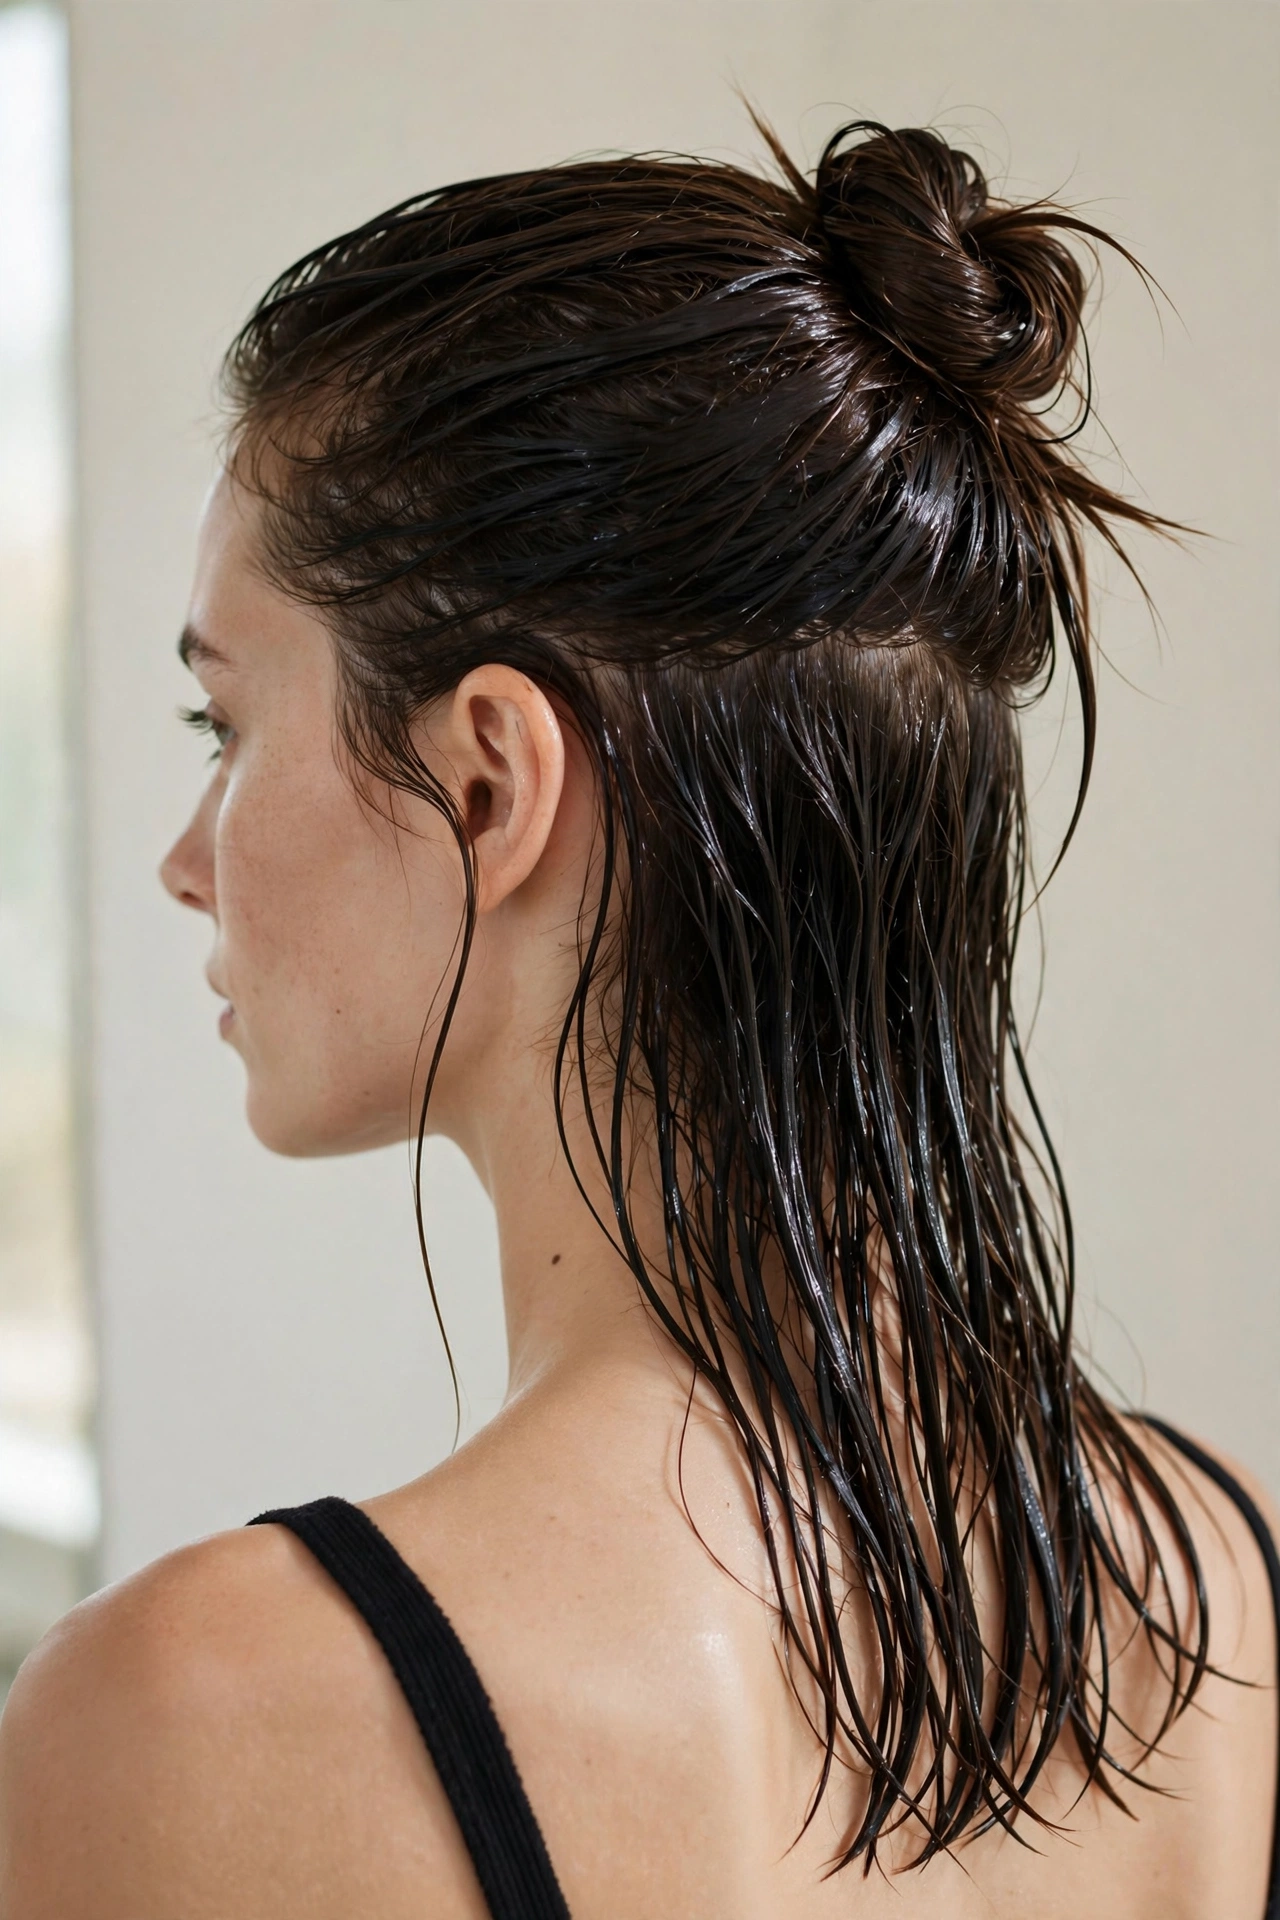
The half-up is the diplomat of hairstyles — a little polish, a little ease — and the wet finish makes it feel current instead of nostalgic. The top section goes back sleek and glossy, the bottom half flows free, and you get the best of both worlds: control where it matters, movement where it counts. It’s the version I’d suggest for anyone who wants to try the wet look but isn’t ready to commit their whole head to it.
Section off the top half of damp hair (roughly from the temples up) and clip the bottom away. Apply gel to the top section and comb it back smoothly, securing it at the crown with an elastic or a small claw clip. Smooth the crown with a brush for that glassy finish — this is the part people see, so make it immaculate. The bottom half is your choice: leave it in its natural texture for contrast, or run a little oil through for a matching gloss. The half-up also flatters almost every face shape because the volume at the crown elongates the face while the loose lengths soften it. Easy, pretty, done.
15. The Wet Low Chignon
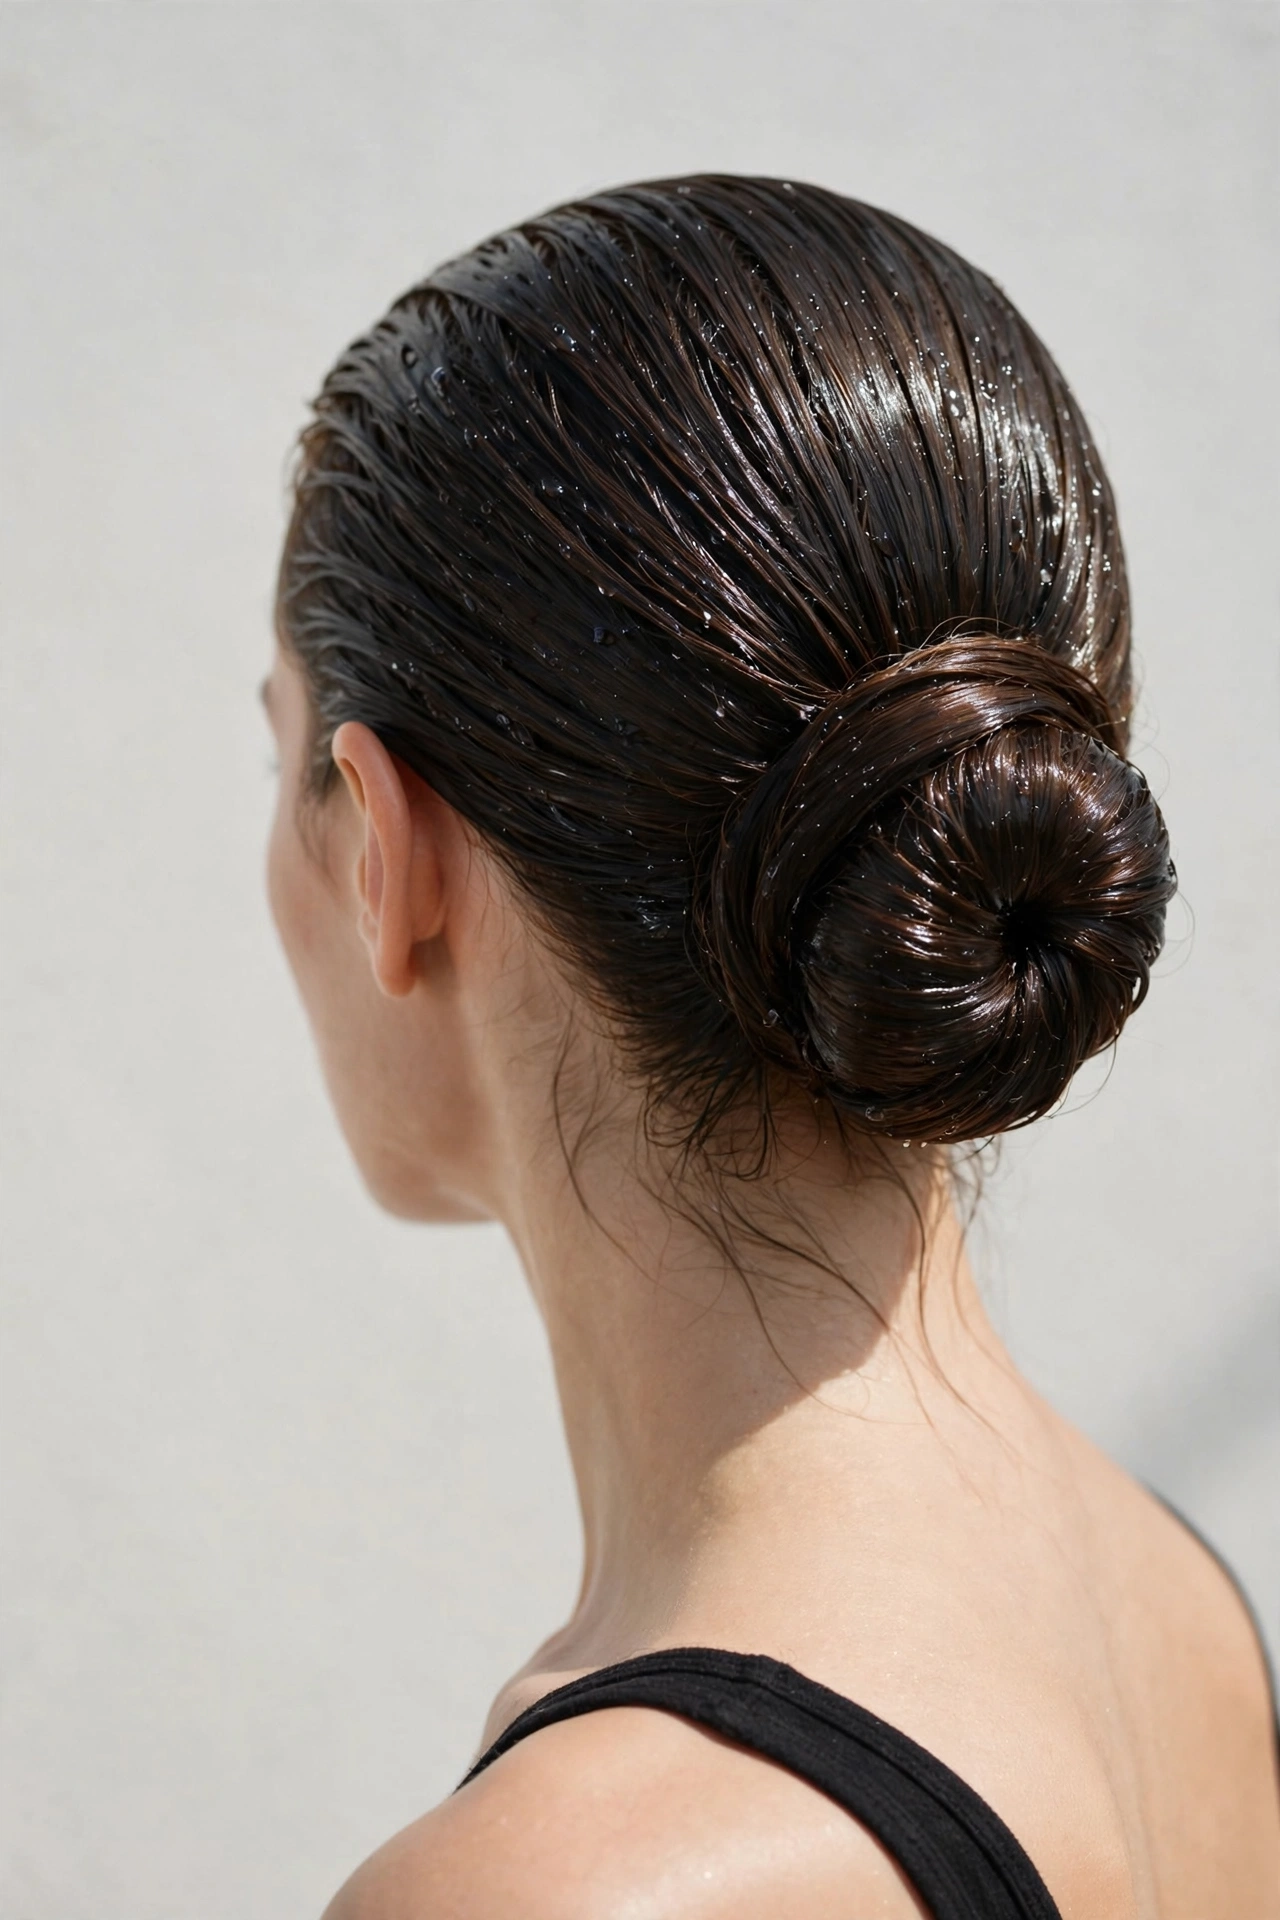
We end with the most refined version on the list: the wet low chignon. Where the wet bun is sleek and simple, the chignon adds architecture — a twisted, folded shape at the nape that looks like it took a stylist an hour (it takes fifteen minutes). The wet finish is what makes it modern; a dry chignon can read as dated, but gloss makes it feel editorial and fresh. This is the wedding hairstyle, the black-tie hairstyle, the one for the photos you’ll keep.
Smooth damp hair back with gel and gather it low. Twist the length, then fold it into a chignon shape — tucking the ends under — and pin generously with U-pins, which hold better than bobby pins for updos. The shape should be soft and rounded, not a tight ball; think sculpture, not knot. Smooth the crown and sides with a fine-tooth comb for uniform shine, and finish with a drop of oil pressed over the whole thing. If you have fine hair, a small hair donut underneath gives the chignon the fullness it needs — nobody will know, and the gloss hides all evidence. Mist lightly with a flexible-hold hairspray as insurance. You’ll look like you hired someone. You didn’t.
How to Get the Wet Look at Home (Step by Step)
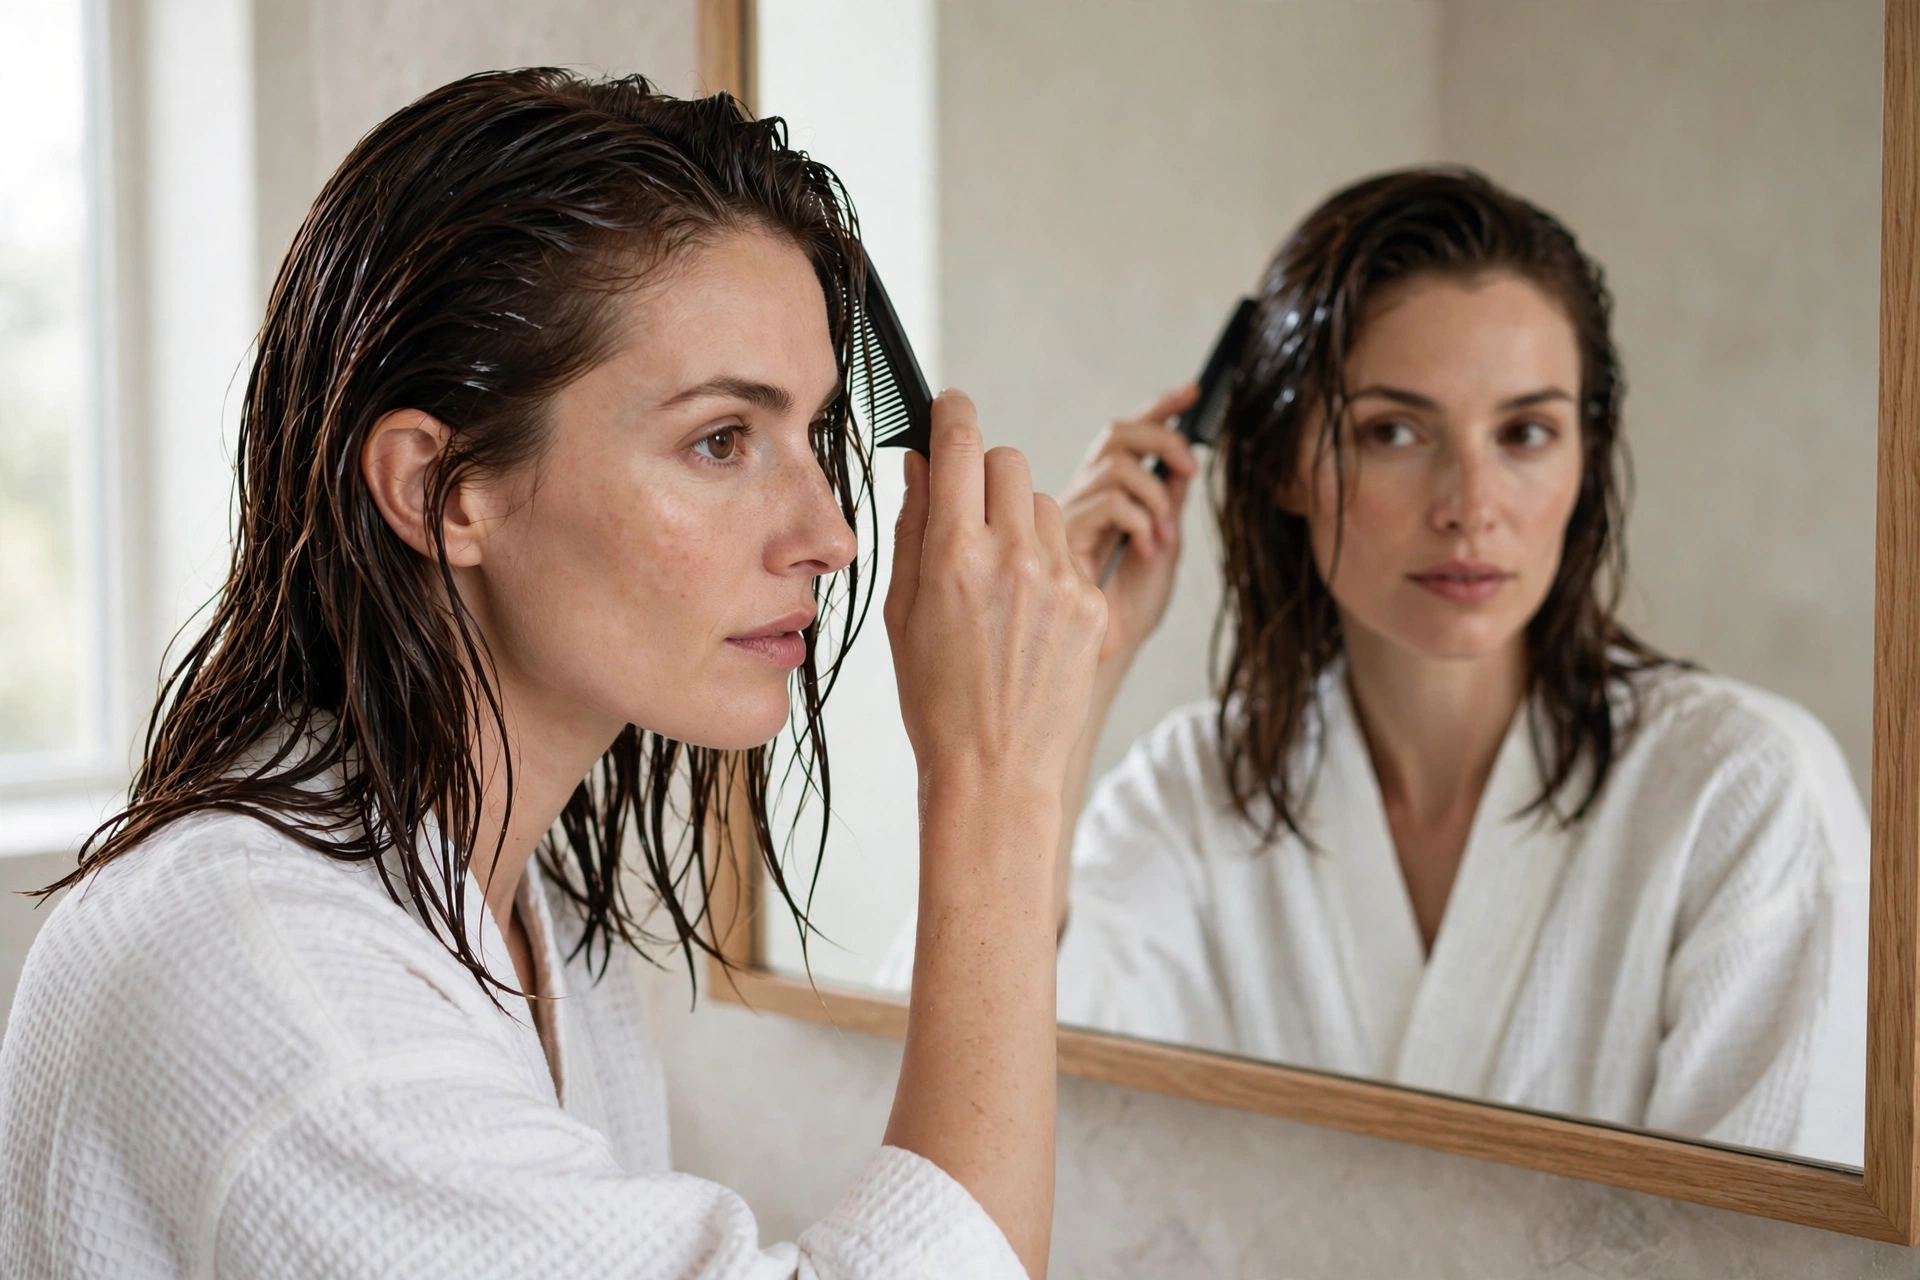
You don’t need a salon to get this right — you need the right order of operations. Here’s the full routine, start to finish.
Step 1: Start with clean, damp hair. Wash with a clarifying or regular shampoo — skip heavy conditioner at the roots, because the wet look needs grip, not slip. Towel-dry until your hair is damp but not dripping, roughly 70–80% dry. This is the single most important detail: too wet and the product dilutes and drips; too dry and it won’t distribute evenly. If you’re refreshing rather than washing, mist your hair with a spray bottle until it’s evenly damp.
Step 2: Apply your base product. Cocktail your products in your palms first — for most versions, that’s a strong-hold gel as the base. Use a quarter-sized amount for short to medium hair, two quarter-sized amounts for long hair. Work it through from roots to ends, section by section, making sure every strand is coated. Uneven product is the number one cause of a patchy wet look. For curly or textured hair, layer a leave-in conditioner underneath the gel.
Step 3: Add the gloss layer. Once the gel is in, add shine: a pea-sized drop of hair oil or a shine serum, smoothed over the surface of the hair. This is what separates “gelled” from “wet look” — the oil creates the liquid, light-reflecting finish. Don’t mix the oil into the gel in your palms for this step; layering it on top gives you more control over where the shine sits.
Step 4: Shape with a comb. Now direct the hair where you want it to live. Use a fine-tooth comb for sleek styles (slicked-back, side sweep, sharp part) or your fingers/a wide-tooth comb for textured versions (wet waves, wet shag). Comb in the final direction — the hair will set where you put it, so be deliberate. Define your part now with the tail of a comb; once the gel starts to set, re-parting gets difficult.
Step 5: Set and finish. Let it air-dry without touching it — touching creates frizz and dull spots. If you’re in a hurry, diffuse on low heat; high heat breaks down the gel cast and kills the shine. Once dry, assess: if there’s any crunchiness, scrunch it out gently with a drop of oil on your hands. A light mist of shine spray over the finished style adds the final reflective layer. Done — and it’ll hold for hours.
Best Products for the Wet Look
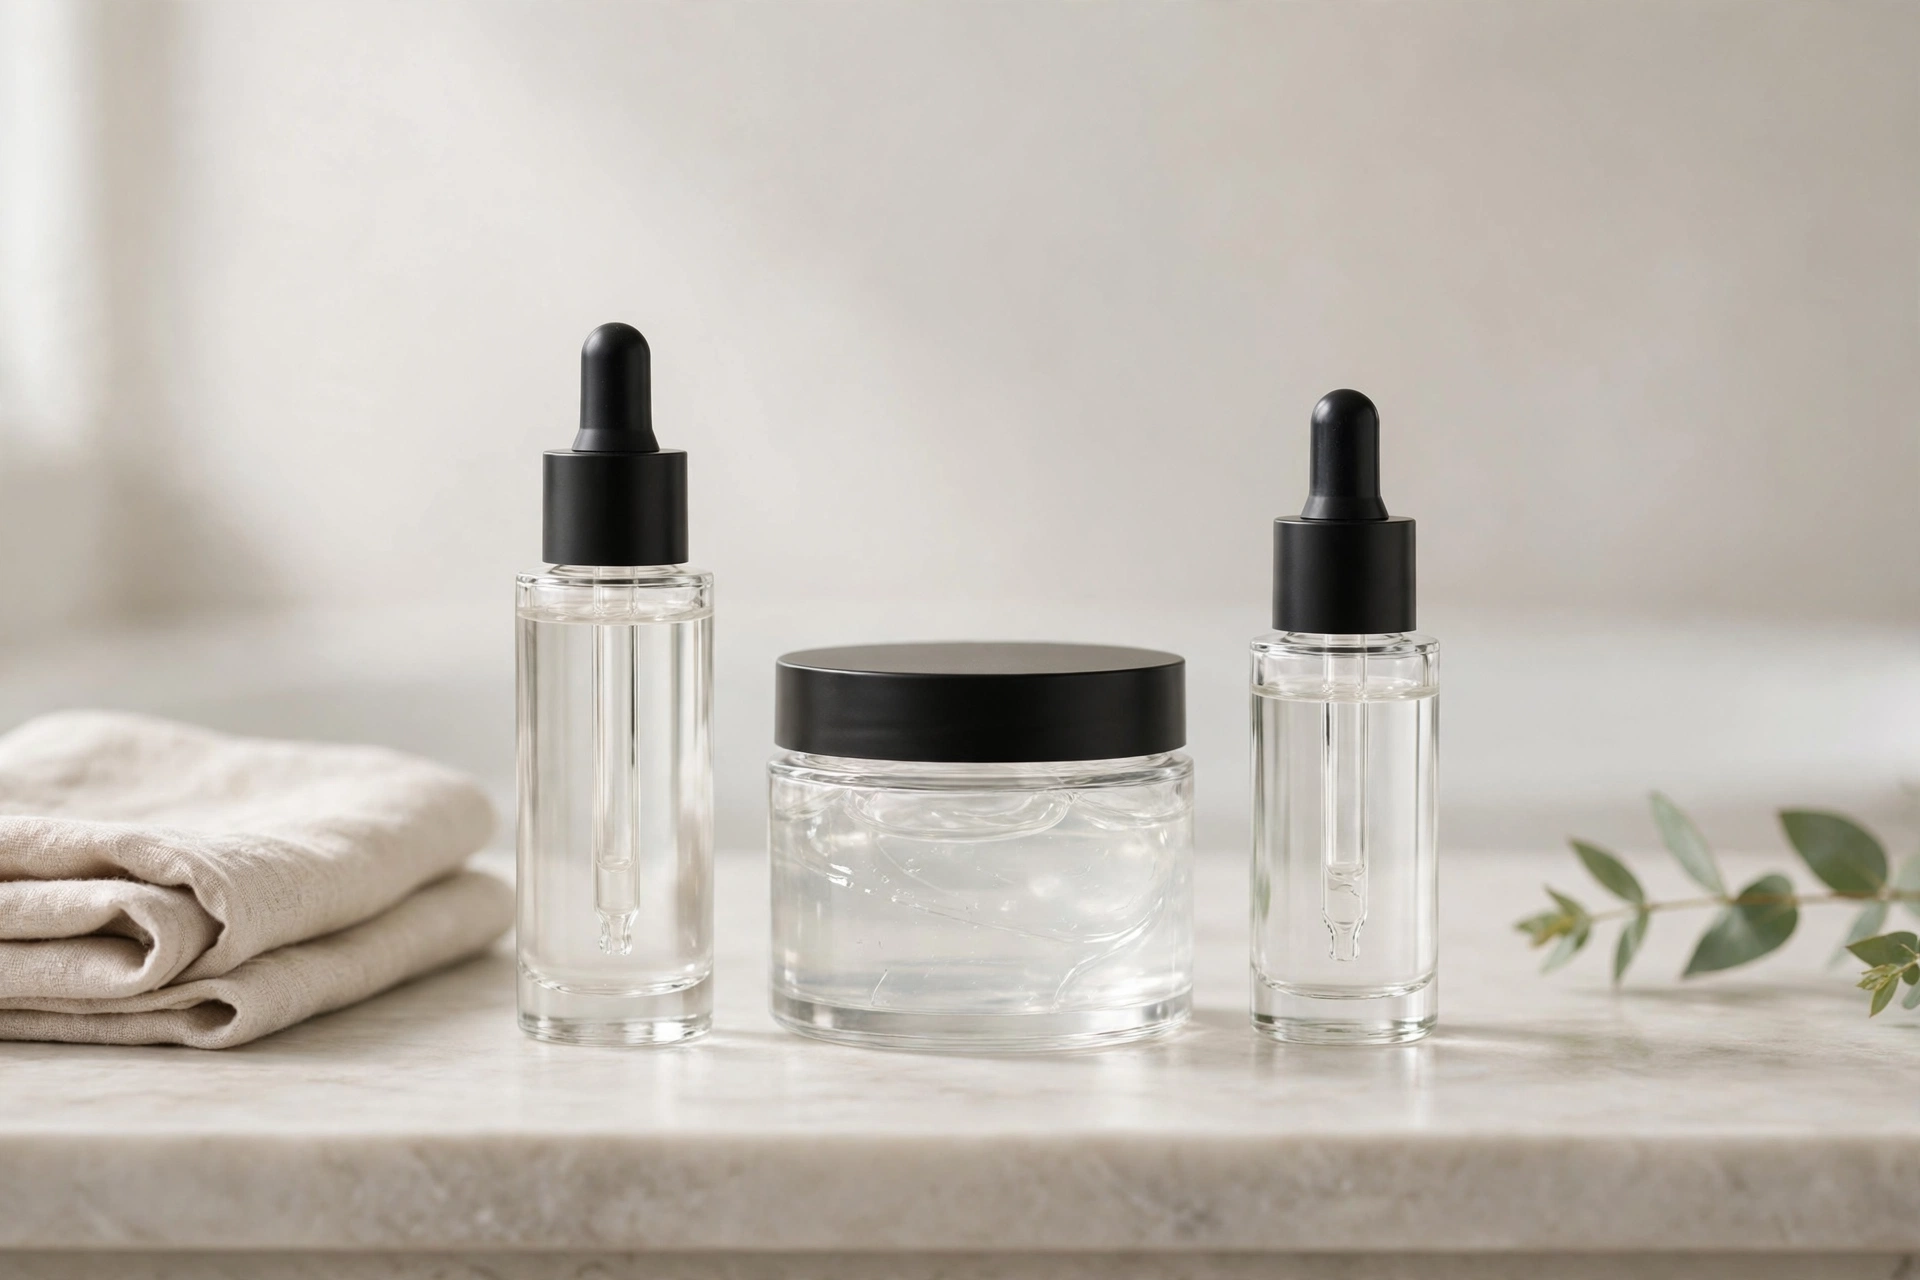
You don’t need a shelf full of products — you need the right three or four. Here’s what actually matters.
A strong-hold gel is the foundation of nearly every wet look. Look for words like “wet,” “sleek,” or “maximum hold” on the label, and avoid gels with alcohol high on the ingredient list — they dry hair out and flake by hour four. Apply generously; timid gel application is why most DIY attempts fail. If your hair is fine, use a medium-hold gel instead and layer it — fine hair gets weighed down fast, and you can always add more.
A hair oil or shine serum creates the liquid finish. Argan, camellia, or a silicone-based shine serum all work — the job is light reflection, not treatment, so don’t overthink the formula. The rule is pea-sized for short hair, two peas for long; oil is the easiest thing to overdo, and over-oiled roots are what make the wet look read as greasy instead of glossy. When in doubt, apply to the lengths first and let the residue handle the roots.
A mousse is your friend for the softer versions — wet waves, wet shag, anything where you want body with your shine. Mousse gives hold without the heaviness of gel, and it plays well layered under oil. Use a golf-ball-sized amount on damp hair, distributed evenly. For curly hair specifically, mousse over a leave-in is often better than gel alone — you get definition without the crunch.
A pomade or wax handles the short versions — pixies, bobs, the hairline on any style. Pomade gives you piece-y definition and shine with reworkable hold, which means you can restyle during the day without adding more product. A pea-sized amount is plenty; warm it between your palms until it nearly disappears before touching your hair. And keep a fine-tooth comb, a boar-bristle brush, and a spray bottle in your kit — the tools matter as much as the products for getting that glassy finish.
Best Hair Types and Face Shapes for the Wet Look
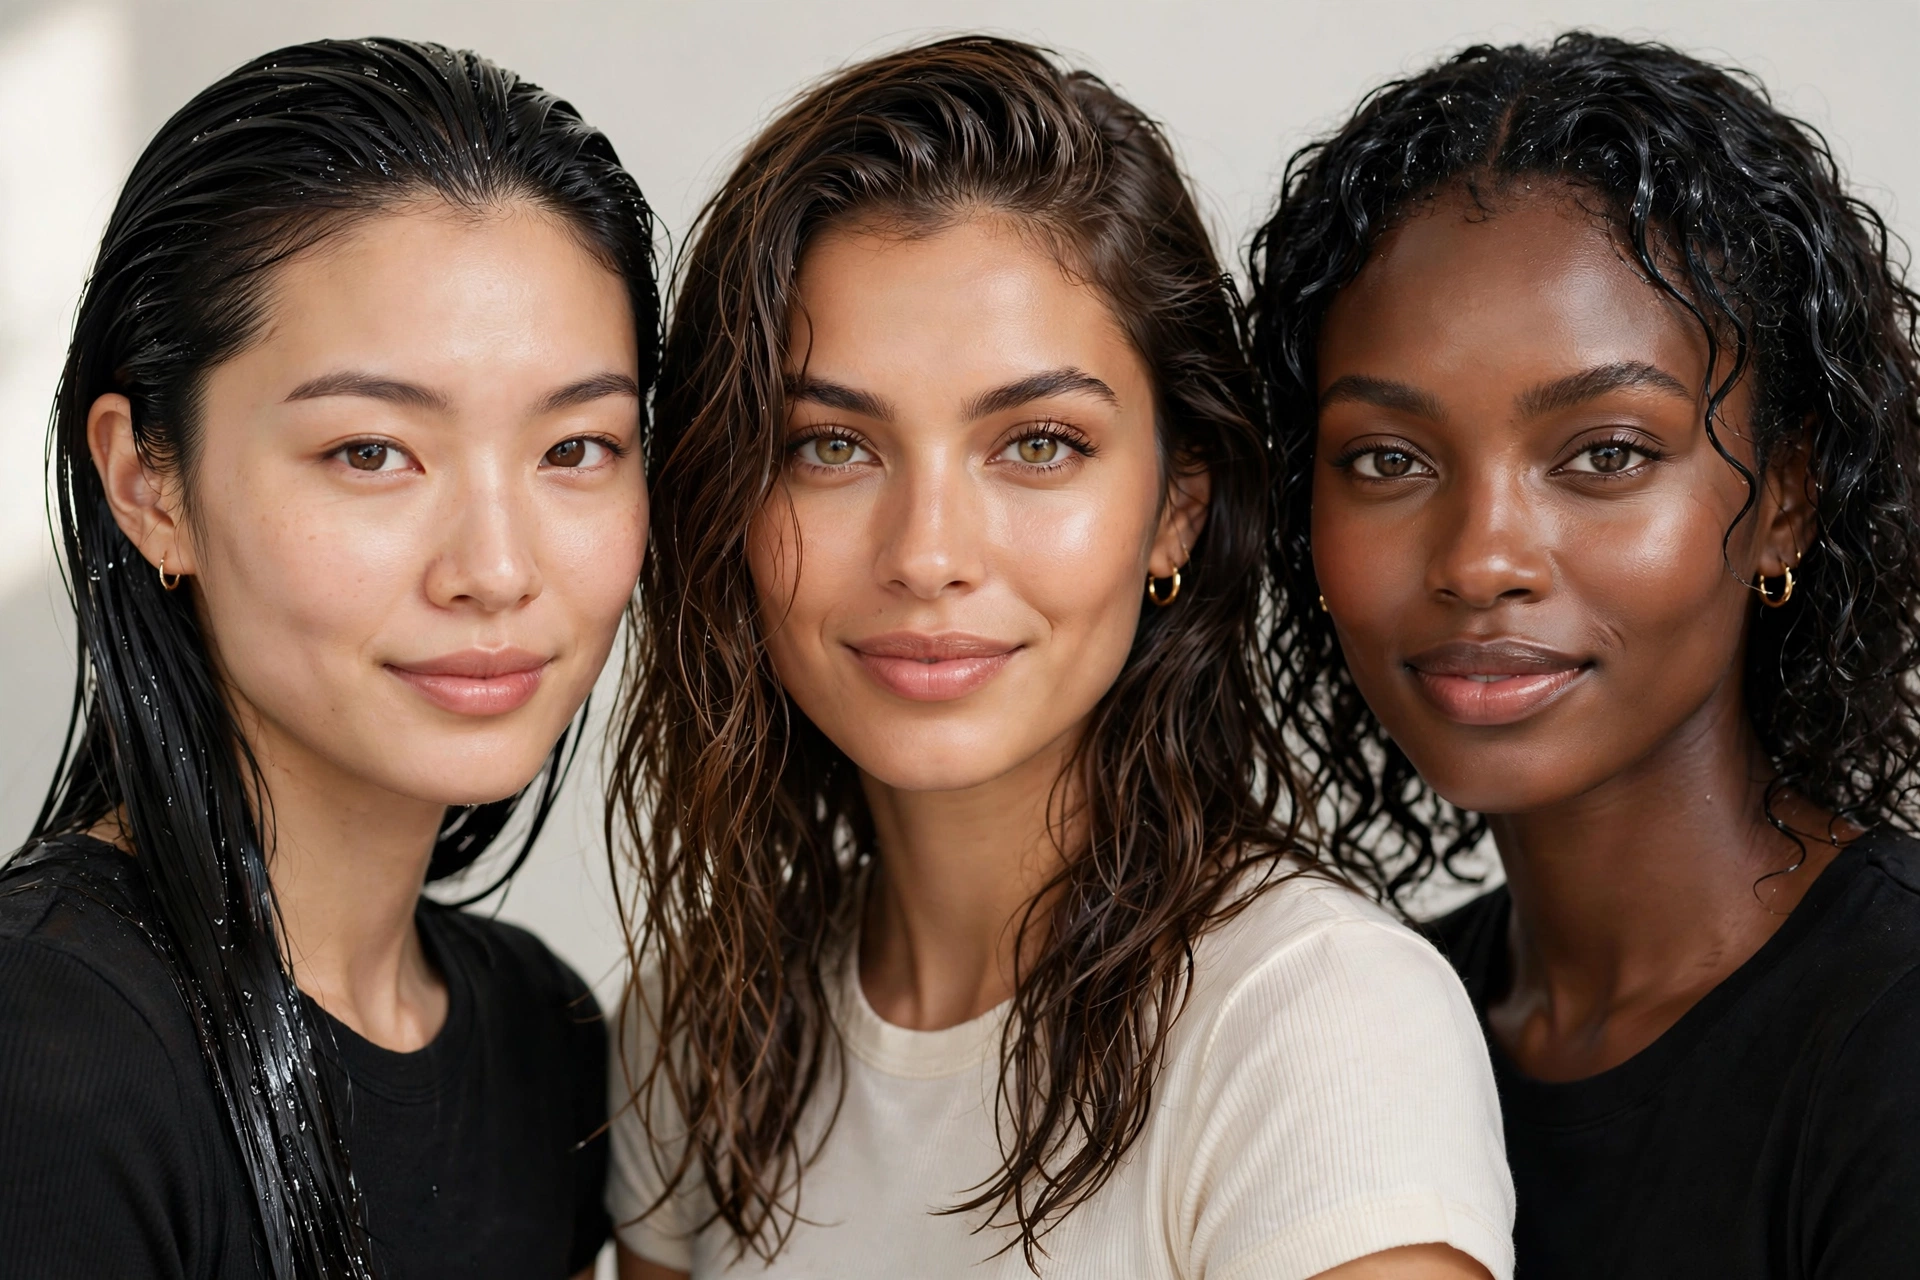
The honest answer: the wet look works on every hair type, but the technique changes. Straight hair gets there fastest — the product has the least work to do, and the finish is naturally glassy. Fine straight hair should use lighter products and less of them; the look is absolutely achievable, you just build in thin layers. Thick straight hair can take more product and holds the style longer, which is an advantage for all-day wear.
Wavy and curly hair might be the wet look’s best canvas. The products involved are the same ones that define curls, so you’re working with your texture instead of against it. The main adjustment: apply product to wetter hair than straight-haired folks do, because curls need the moisture to clump properly. Coily hair takes beautifully to the wet look too — the gloss adds a dimension that matte styling can’t, and gel-based routines are already familiar territory. The key for all textured hair is even distribution; work in small sections and don’t rush.
As for face shapes: the slicked-back versions open up the whole face, which flatters oval and heart-shaped faces especially — but they also expose everything, so if you’re self-conscious about your forehead, choose a version with a side sweep or curtain fringe instead. Round faces benefit from the height and sleekness of a high wet ponytail or a deep side part, which add vertical lines. Square faces soften beautifully with wet waves or a half-up style. The real rule is simpler than any face-shape chart, though: if you love it, wear it. Confidence is the accessory that makes every version work.
Wet Look Maintenance and Touch-Up Guide
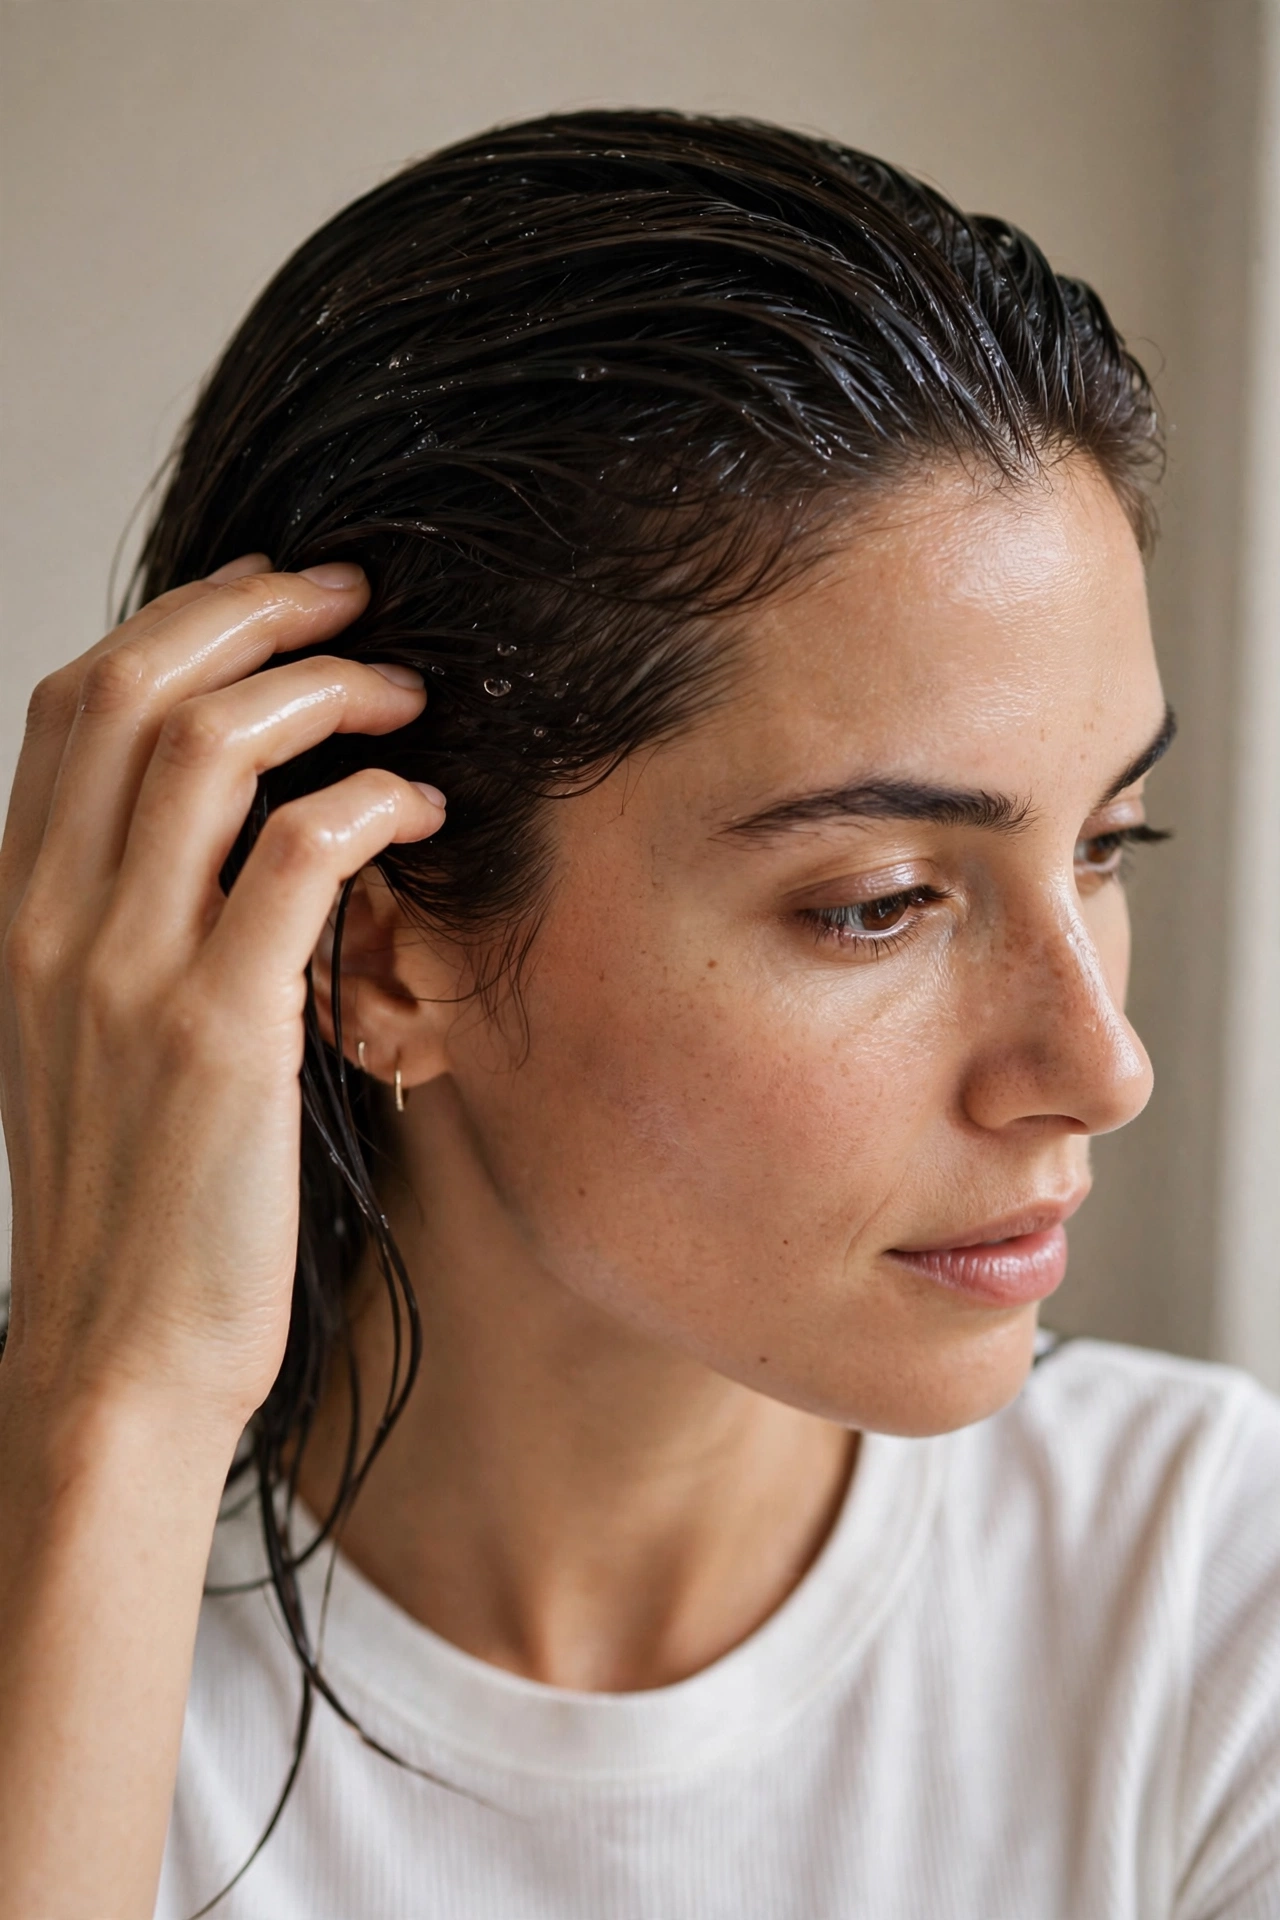
A good wet look lasts, but it isn’t immortal. Here’s how to keep it alive from morning to midnight.
The first two hours are the easiest — the style is fresh, the product is holding, and you don’t need to do anything except not touch it. Seriously: hands off. Every touch transfers oil from your fingers and dulls the finish. If you must adjust, use the back of your hand or a comb, not your fingertips.
Midday touch-ups focus on the hairline and crown, which lift first. Keep a travel-size gel or a small amount of pomade in your bag. Smooth a tiny bit over any lifting sections with your palms — never add product to the lengths midday, or you’ll get buildup. If the shine has dulled, a single spritz of shine spray revives it instantly. For curls, a light mist of water reactivates the gel; scrunch gently and the definition comes back.
Evening refresh: if you’re going from day to night, you can usually revive the whole style without starting over. Mist the hair lightly with water, smooth a small amount of gel over the surface, recomb into shape, and let it set for ten minutes. It won’t be identical to the morning version, but it’ll be close — and honestly, the slightly softened evening version often looks better, more lived-in and less severe.
The wash-out matters too. All that product needs to come out properly, or you’ll get buildup that makes your next style fail. Use a clarifying shampoo once a week if you wear the wet look regularly, and always double-shampoo after a heavy-gel day — the first wash loosens the product, the second actually cleans the hair. Follow with a good conditioner on the lengths, because gels can be drying over time. Your hair will thank you.
Frequently Asked Questions
Does the wet look hairstyle damage your hair?
Not inherently — the style itself is just product and shaping. The risk comes from the products: heavy gels used daily without proper washing cause buildup, and alcohol-based gels dry hair out over time. Protect yourself by choosing alcohol-free formulas, clarifying weekly, and always conditioning after a heavy-product day. The heat isn’t a factor here since most wet looks air-dry, which actually makes it gentler than most heat-styled looks.
How long does the wet look last?
A well-executed wet look holds 8–12 hours on most hair types — genuinely all-day wear. Thick and textured hair tends to hold longest; fine hair may need a midday touch-up at the crown. Humidity is actually less of an enemy than you’d think, since the style already contains moisture. The main killers are touching it, wind (for loose versions), and sleeping on it — this is not an overnight style.
Can I do the wet look on dry hair?
Yes, with adjustments. Mist your dry hair with water until it’s evenly damp first — applying gel to fully dry hair gives you patchy distribution and a sticky finish. The spray-bottle refresh is also how you revive the style later in the day. Some products, like pomades for pixies, work fine on dry hair, but for the classic glossy finish, damp is always better.
Will the wet look make my hair look greasy?
Only if you overdo the oil or apply heavy product right at the roots. The difference between “glossy” and “greasy” is product placement and amount: keep oils on the lengths, use gel evenly rather than in globs, and choose shine serums over heavy oils if your hair gets oily fast. When it’s done right, people read it as intentional shine — the same way they’d read a glossy lip, not a greasy one.
Is the wet look appropriate for work or formal events?
Absolutely — some versions more than others. The wet low bun, wet chignon, and sleek wet ponytail are office-perfect and formal-ready; they read as polished and deliberate. The full slicked-back editorial version is bolder, better saved for evenings and events unless your workplace is fashion-forward. When in doubt, choose the neater, more contained versions for professional settings.
What should I tell my stylist if I want the wet look for an event?
Bring reference photos — this matters more than any description, because “wet look” means different things to different stylists. Specify the finish you want: sleek and severe, or soft and wavy. Mention your plans (indoor, outdoor, dancing — it affects product choice) and how long it needs to last. Ask them to use a strong-hold gel as the base with an oil or shine serum layered on top, and ask what to bring for touch-ups. A good stylist will also tell you honestly if your hair type needs a tweak to the plan — listen to them.
Final Thoughts
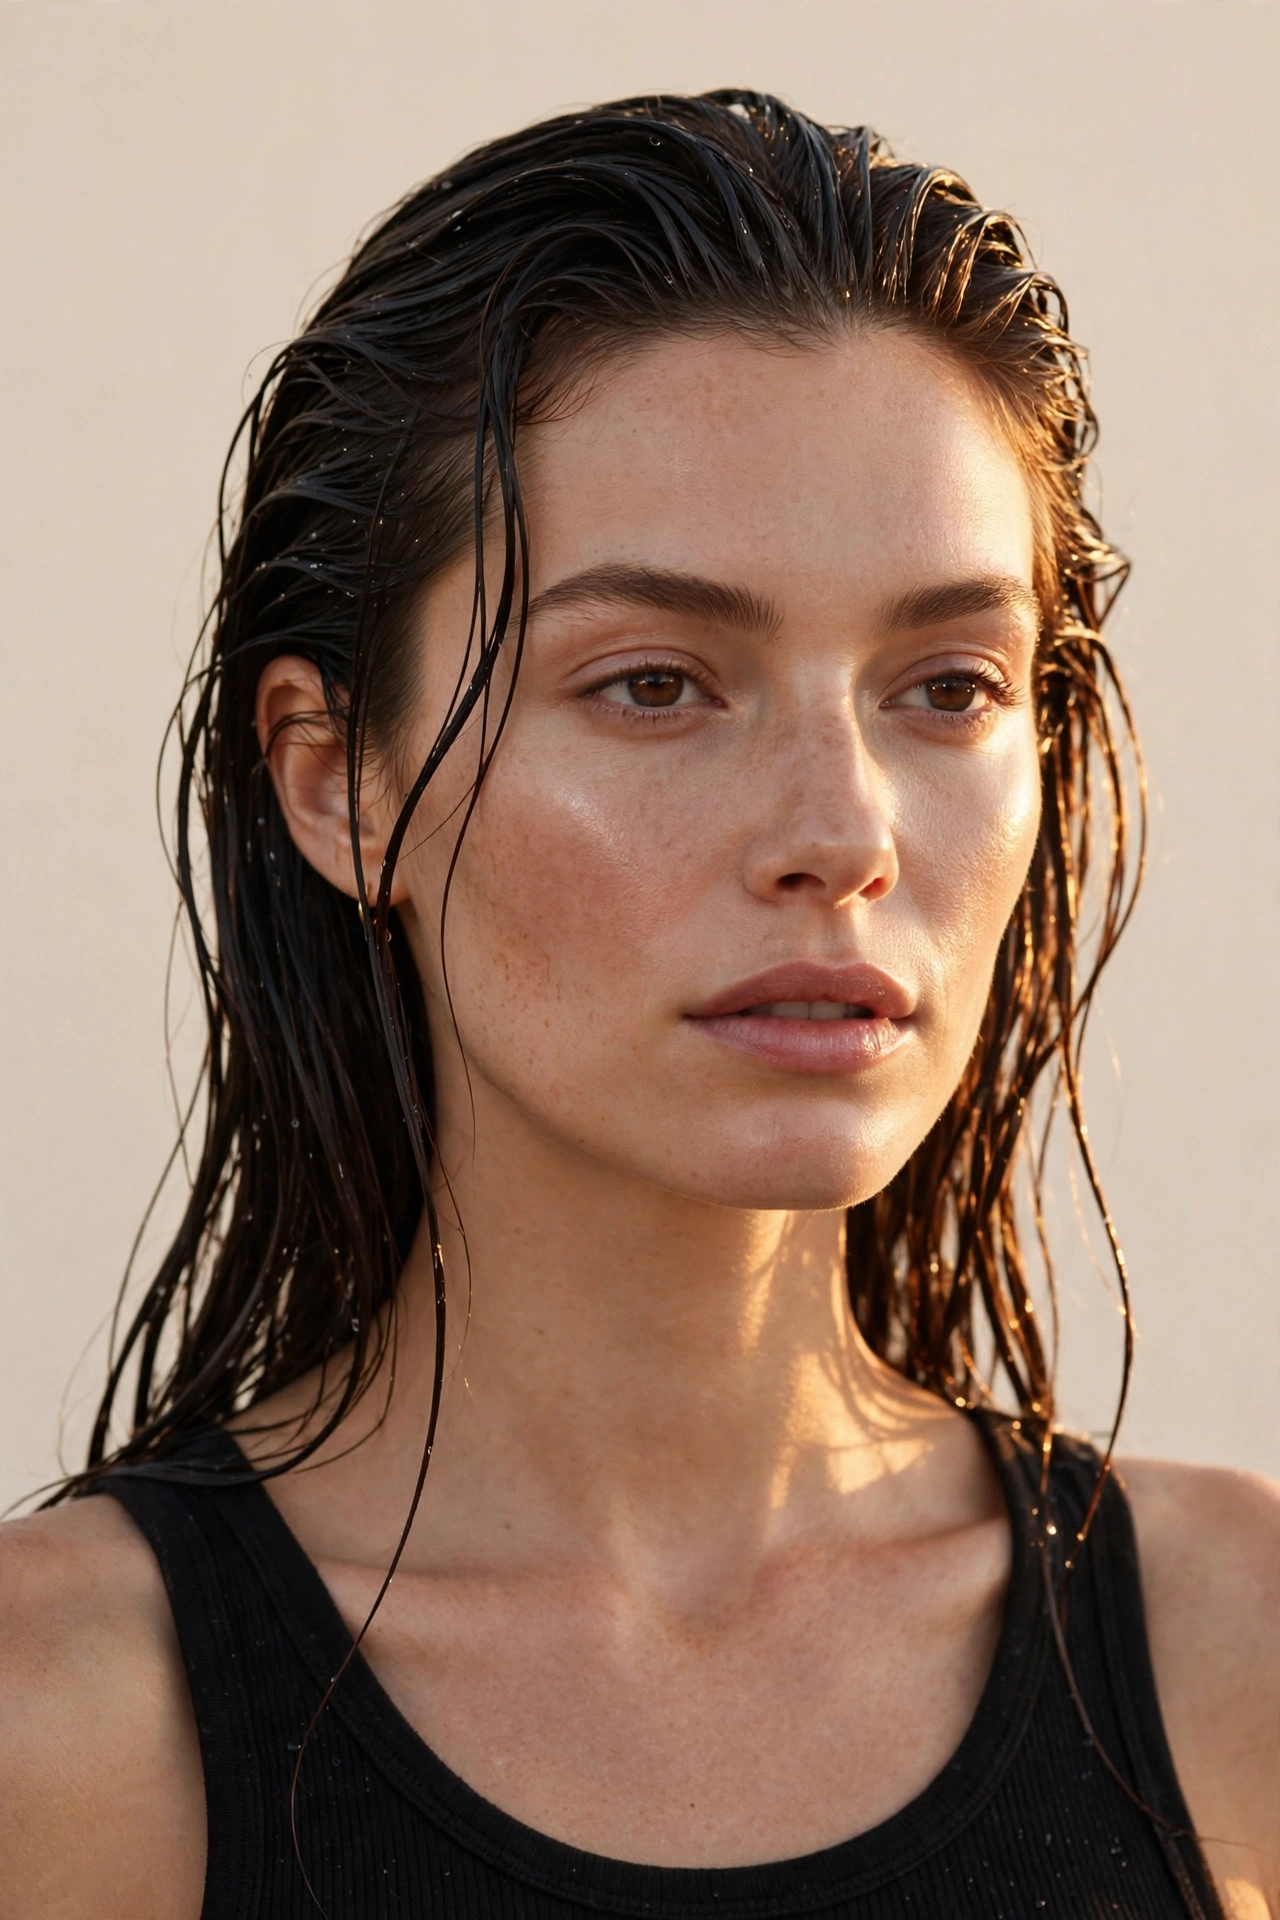
The wet look hairstyle for women in 2026 isn’t really about looking wet — it’s about looking deliberate. In a year when the runways, from Fall/Winter 2026’s standout moments to Calvin Klein’s New York show, keep returning to sleek, high-shine hair, and when icons like Zendaya wear it to the biggest premieres, the message is clear: polish is back, and it looks incredible.
Start with the version that scares you least — wet waves if the slicked-back feels like too much, a wet ponytail if you want practical, defined curls if that’s your texture. Get the product amounts right, respect the damp-hair rule, and don’t touch it while it sets. That’s genuinely most of the technique. The rest is just practice, and the learning curve is kinder than it looks.
Your hair already knows how to shine — the wet look just gives it permission. Try one version this week. Take the photo. You’ll see what I mean.
Conclusion
The wet look is 2026’s sultriest styling trick — hair that gleams like you just stepped out of the ocean. From slicked-back buns to dripping-wet waves, it brings red-carpet drama to any occasion. It suits all hair types and adds instant edge to both short and long lengths.
The secret is layering: apply gel to damp hair, comb through for sleekness, then lock it with a gloss spray. It holds best for evenings rather than all-day wear. In 2026, the wet look proves that high-shine hair is the boldest accessory you own.