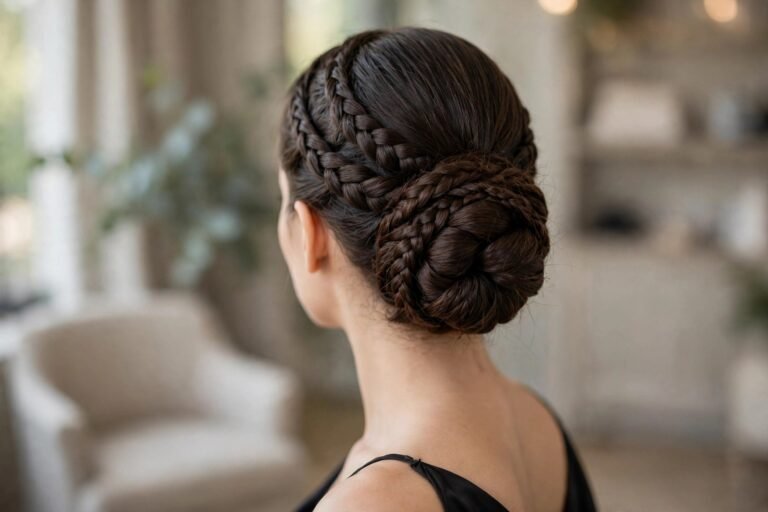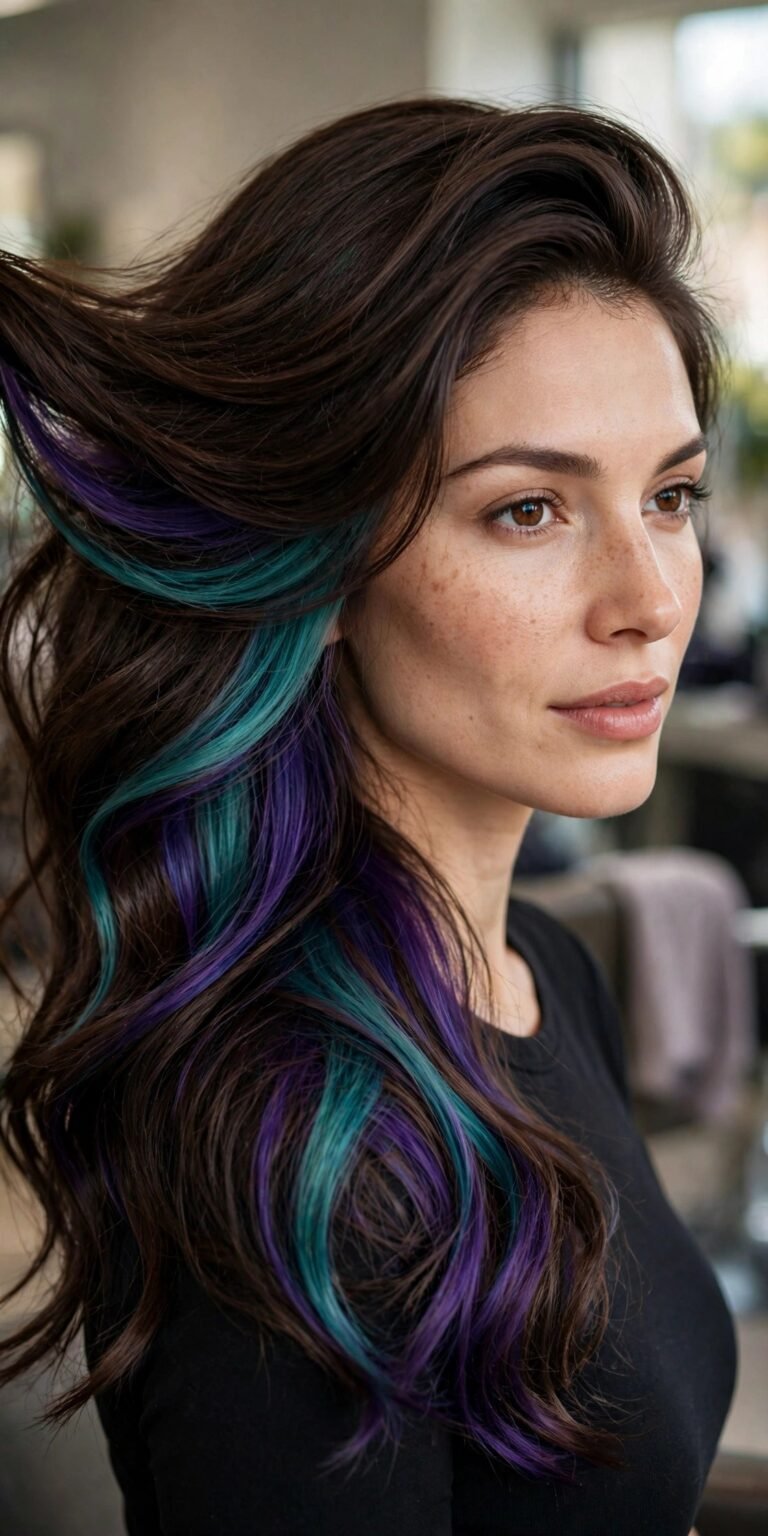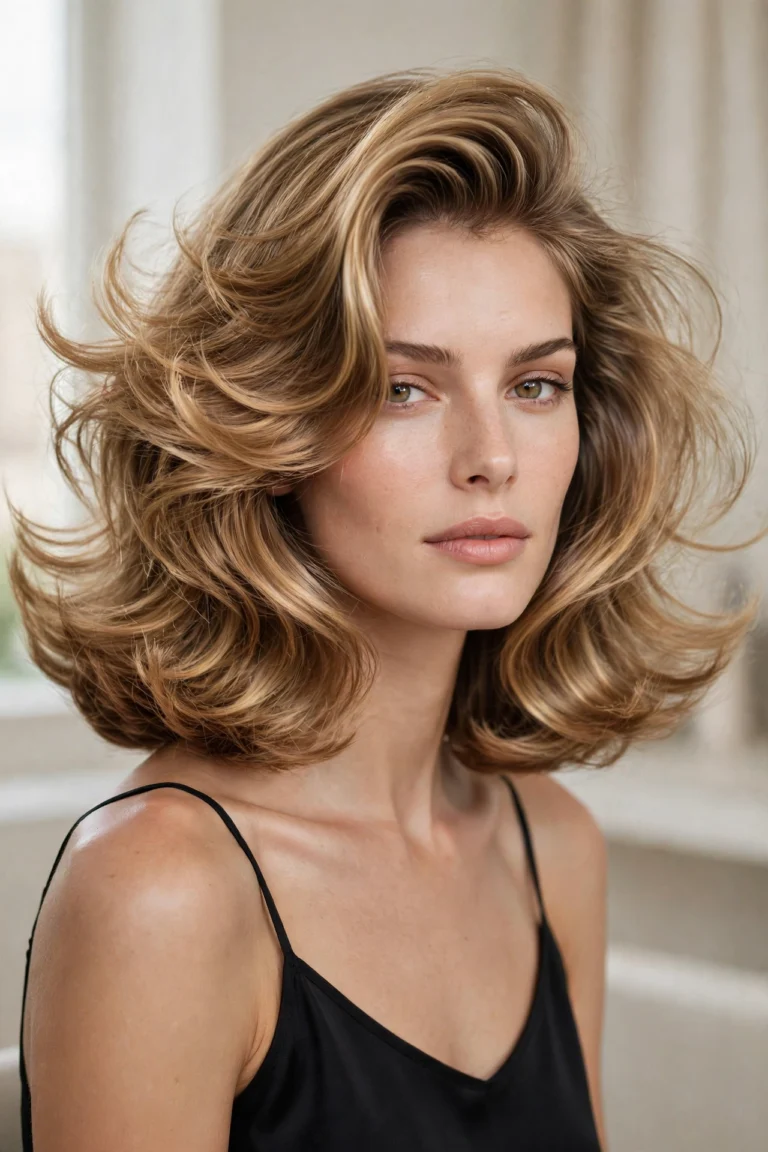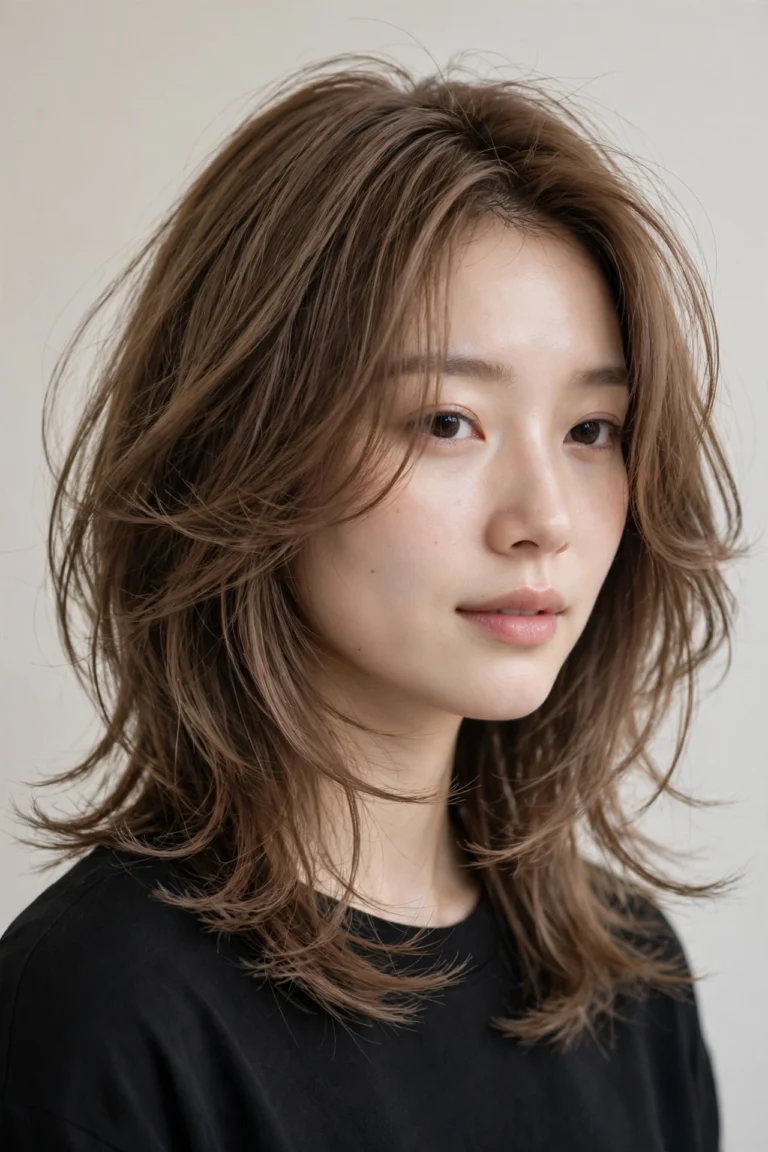
Beach Waves 2026: 16 Effortless Wavy Looks for Every Hair Length
Beach Waves 2026: The Effortless Hair Everyone Secretly Wants
Let me tell you something I’ve noticed after years of watching hair trends come and go like seasonal weather. Most “effortless” hairstyles are a lie. They take forty-five minutes, three products, and a level of wrist coordination most of us don’t have before coffee. beach waves are the rare exception. When they’re done right, they genuinely look like you just walked off the sand — and the dirty little secret of 2026 is that the best ones take less time than your old straightening routine ever did.
Here’s what changed. A few years ago, beach waves meant clamping a curling iron around random sections and hoping for the best, which is how a generation of us ended up with what I can only describe as “prom curls that gave up halfway.” The 2026 version is different. It’s softer. The waves start lower, the ends stay straighter, and the whole thing has this lived-in quality that doesn’t scream “I spent my morning with hot tools.” Stylists finally stopped trying to make beach waves perfect, and the result is honestly the best hair trend we’ve had in years.
I’ve watched women with stick-straight hair, tight coils, fine baby hair, and thick manes that eat hair ties for breakfast all pull off some version of this look. That’s the real magic of beach waves — they’re not one hairstyle, they’re a whole family of them. There’s a version for every length from a pixie to waist-length, every texture, and every budget. The heatless girls have their overnight braids. The low-maintenance crowd has the five-minute scrunch. And the ones who love a hot tool have more wand techniques than they’ll ever need.
So consider this your complete field guide. Sixteen looks, broken down honestly — who each one suits, exactly how to do it, what it costs you in time and products, and the downsides nobody on social media mentions. Plus the routine that keeps wavy hair healthy, answers to the questions I get asked constantly, and the styling mistakes that quietly ruin beach waves for most people. Grab a coffee. Let’s get into it.
Table of Contents
- What Beach Waves Really Are (and Why 2026 Is Their Year)
- 16 Effortless Beach Wave Looks for 2026
- The Beach Wave Routine: Styling, Care & Maintenance
- Frequently Asked Questions
- Conclusion
What Beach Waves Actually Are (And What They’re Not)
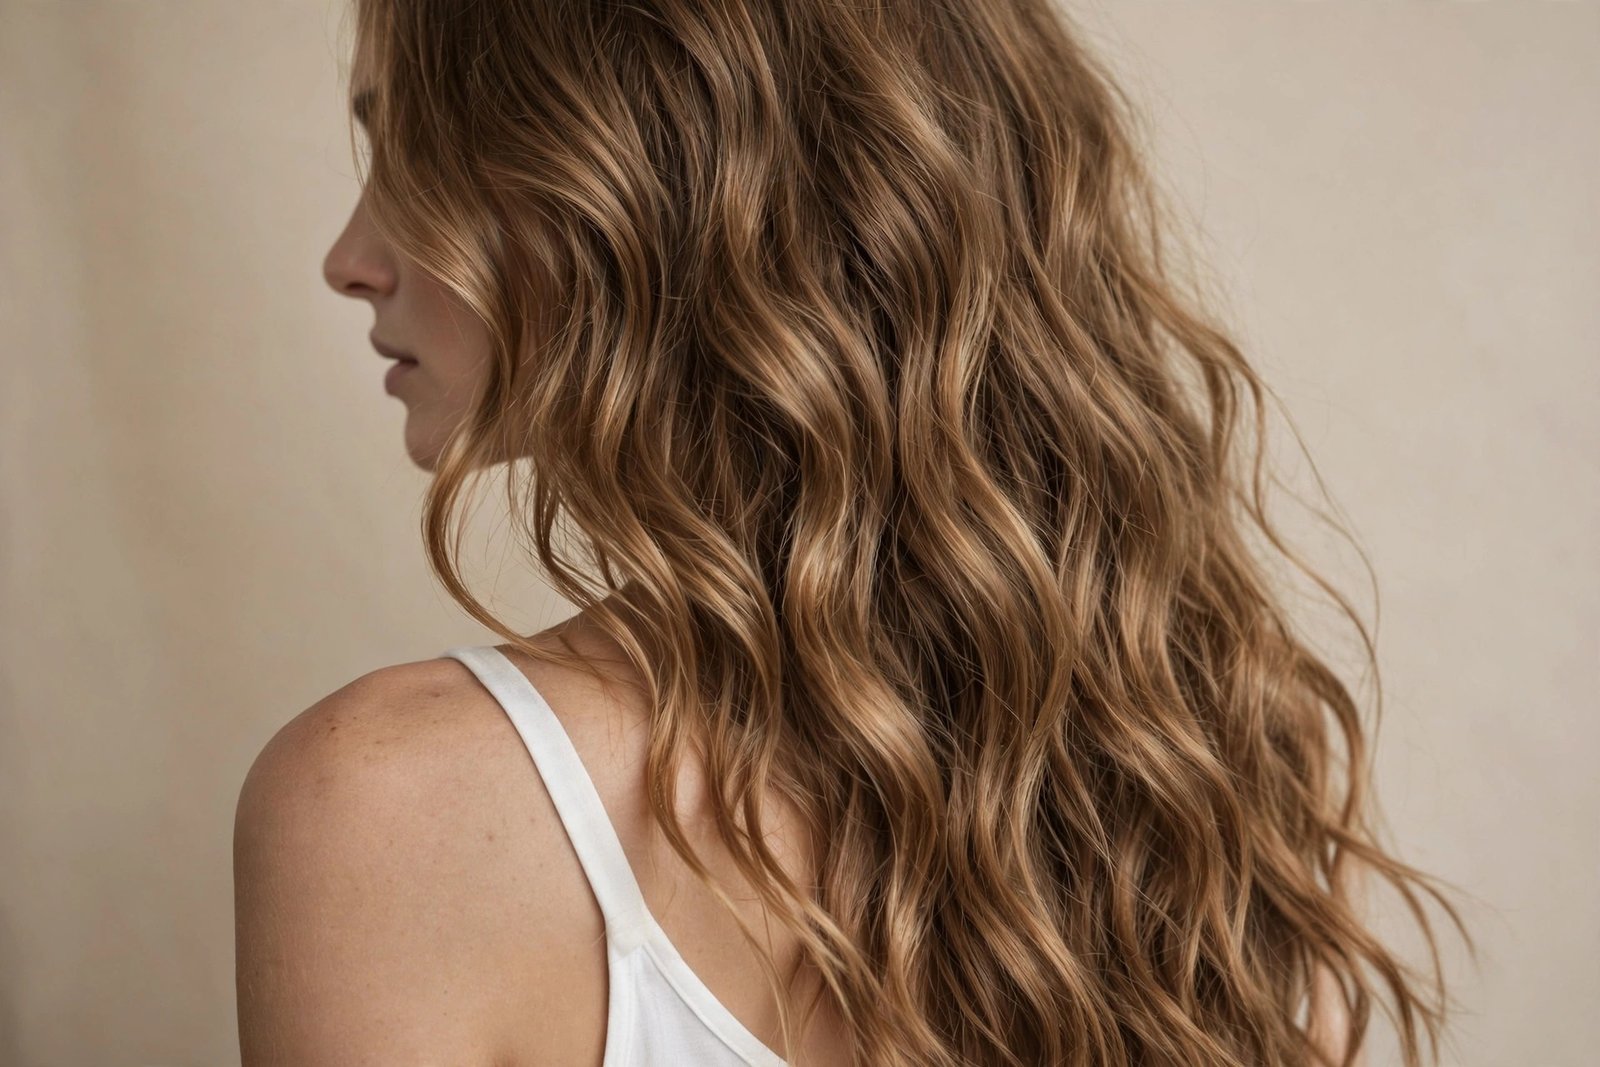
Here’s my working definition, and I’ll stand by it: beach waves are loose, irregular S-shaped bends through the mid-lengths and ends of the hair, with the roots relatively smooth and the very tips left slightly undone. They look like what salt water and wind do to hair after a day at the shore. The key word is irregular — the waves shouldn’t match each other. The moment both sides look symmetrical, you’ve left beach territory and wandered into “curls” territory, which is a perfectly fine place to be, just not what we’re doing here.
What they’re not: they’re not curls, they’re not the mermaid-crimper waves from 2019 that looked like corrugated cardboard, and they’re definitely not those tight ringlet “beach waves” some tutorials try to sell you, which are just curls photographed near sand. Real beach waves have air in them. You can see through the texture. The hair moves when you turn your head instead of sitting in one sculpted helmet-shape. If your waves don’t move, they’re not beach waves — they’re a sculpture, and sculptures belong in museums.
The other thing people get wrong is thinking beach waves require beach hair. You don’t need naturally wavy texture. You don’t need thick hair. Some of the best beach waves I’ve ever seen were on fine, straight hair that “couldn’t hold a curl” — the owner just finally learned the right technique for her hair type instead of copying a tutorial made for someone with completely different strands. Hair type doesn’t disqualify you from beach waves. Wrong technique does, and that’s fixable.
Why Beach Waves Rule 2026
Every few years, hair swings between polished and undone like a pendulum, and right now the pendulum is firmly on the undone side. But there’s something specific happening in 2026 that’s worth noticing. The “clean girl” era of slicked-back buns and glass hair had a good run, and honestly, it was exhausting. Everything had to be perfect. Every flyaway was a personal failure. Beach waves are the collective exhale after all that — hair that looks better slightly imperfect, where a little frizz reads as texture instead of a mistake.
There’s also a practical reason this trend has legs: it survives real life. Sleek blowouts collapse in humidity. Intricate braids take an hour. Beach waves? They look arguably better on day two and day three, when your natural oils have softened everything and the waves have relaxed into that perfectly imperfect shape. I’ve started telling clients that beach waves are the only hairstyle that gets better when you sleep on it. Try saying that about a silk press.
And then there’s the versatility factor, which is honestly unmatched. Beach waves work at a wedding and at the gym. They look expensive with balayage and cool with virgin hair. They flatter round faces, long faces, square jaws — the texture breaks up the outline of the face in a way that straight hair just doesn’t. When a trend works for teenagers and grandmothers simultaneously, that’s not a trend anymore. That’s a classic wearing a trendy outfit.
Who Suits Beach Waves (Spoiler: Almost Everyone)
I’ll be honest with you — I can count on one hand the people I’ve told “beach waves aren’t for you,” and every one of them had extremely short hair they were growing out through that awkward in-between stage where nothing looks intentional. For everyone else, there’s a version that works. The trick is matching the wave to your face, your texture, and your actual life, not the life of the influencer in the tutorial.
Face shape first, because this is where people overthink. Round faces do best with waves that start lower (below the cheekbone) and longer lengths that draw the eye down — volume at the sides of a round face just adds width where you don’t want it. Long faces want the opposite: waves starting higher, around the cheek, with some width through the mid-lengths to balance things out. Square faces love soft waves that break up a strong jawline. Heart-shaped faces look gorgeous with volume through the ends. Oval faces can do literally anything, which is both a blessing and a decision-fatigue curse.
Hair texture is the other half of the equation, and this is where I’ll save you some grief. If your hair is naturally wavy, you’re enhancing, not creating — lighter products, less heat, and you’re done in ten minutes. Straight hair needs more persuasion: heat, texture spray, and the discipline to let curls cool completely before touching them (this is where most straight-haired girls fail — they brush out warm waves and wonder why they fell flat by lunch). Curly hair can absolutely do beach waves; you’re just stretching and loosening your natural pattern rather than building waves from scratch. Fine hair needs the least product but the most strategic technique — too much product and it collapses, too little and it won’t hold. Thick hair is the opposite: section properly, don’t rush, and accept that it takes longer but holds for days.
16 Effortless Beach Wave Looks for 2026
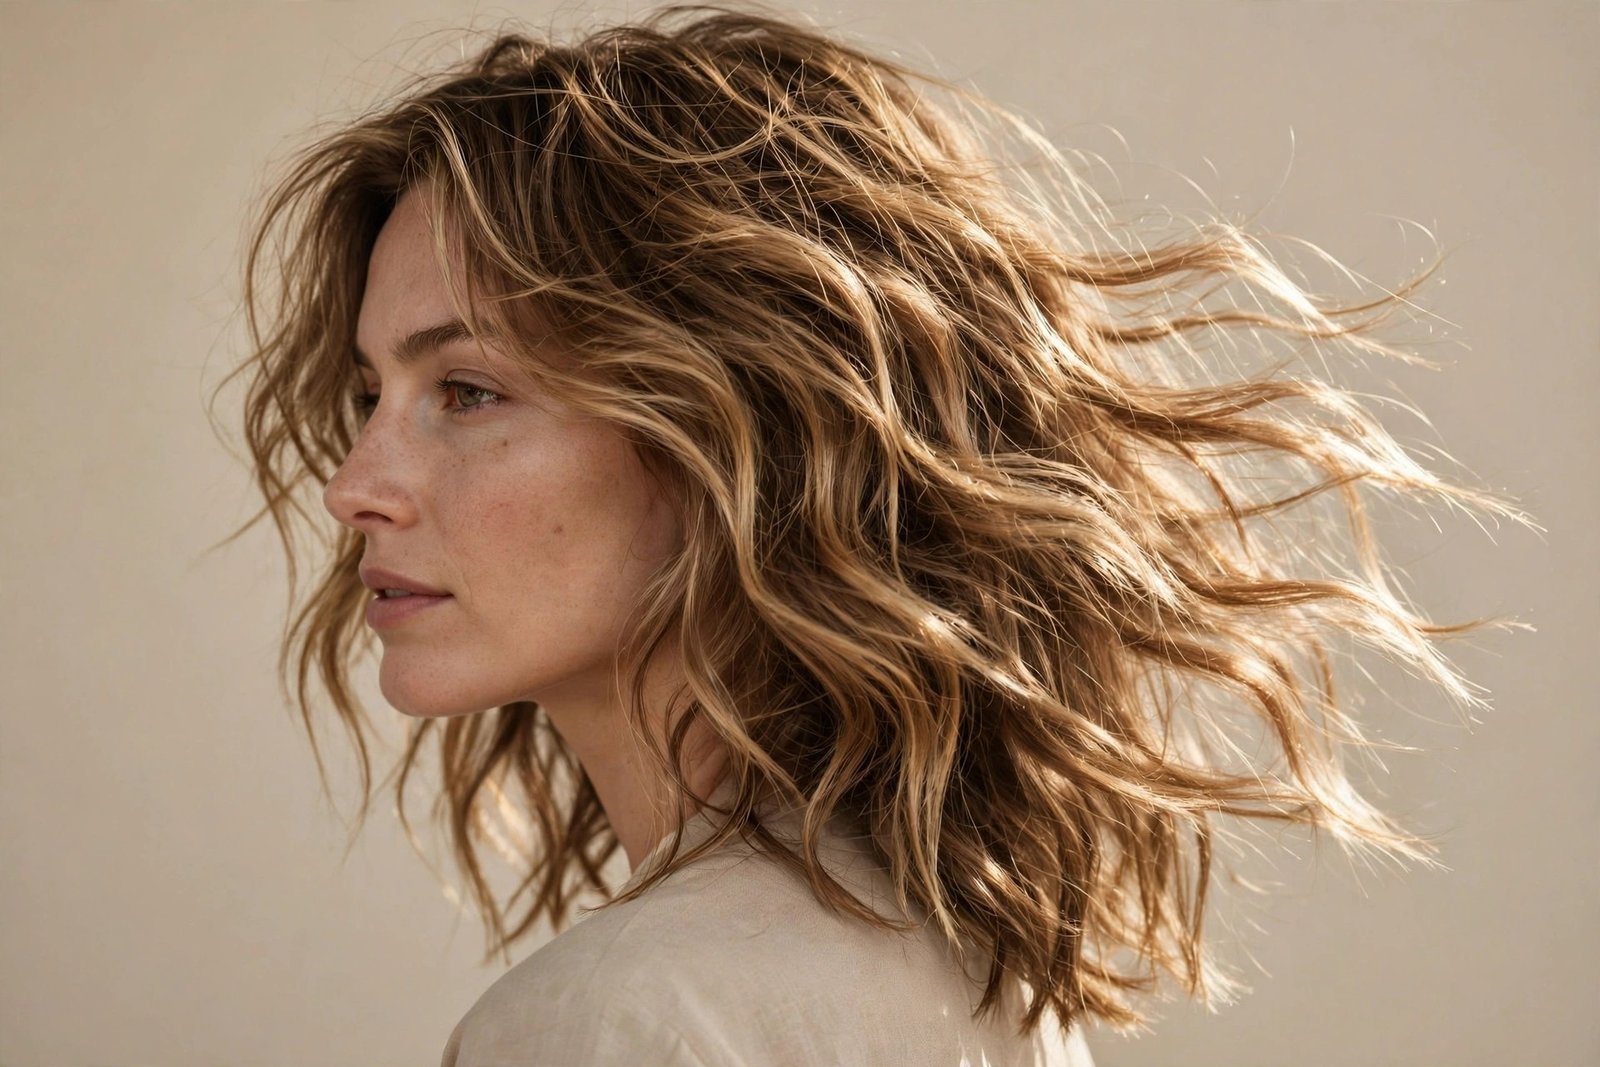
Here’s the full lineup — sixteen ways to wear beach waves, organized so you can find yours fast. I’ve ordered them roughly from longest to shortest, with the texture-specific and occasion-specific ones mixed in where they make sense. Every look gets the honest treatment: who it flatters, how to actually do it at home, what it’ll cost you in time and products, and the one thing that tends to go wrong.
1. Classic California Beach Waves
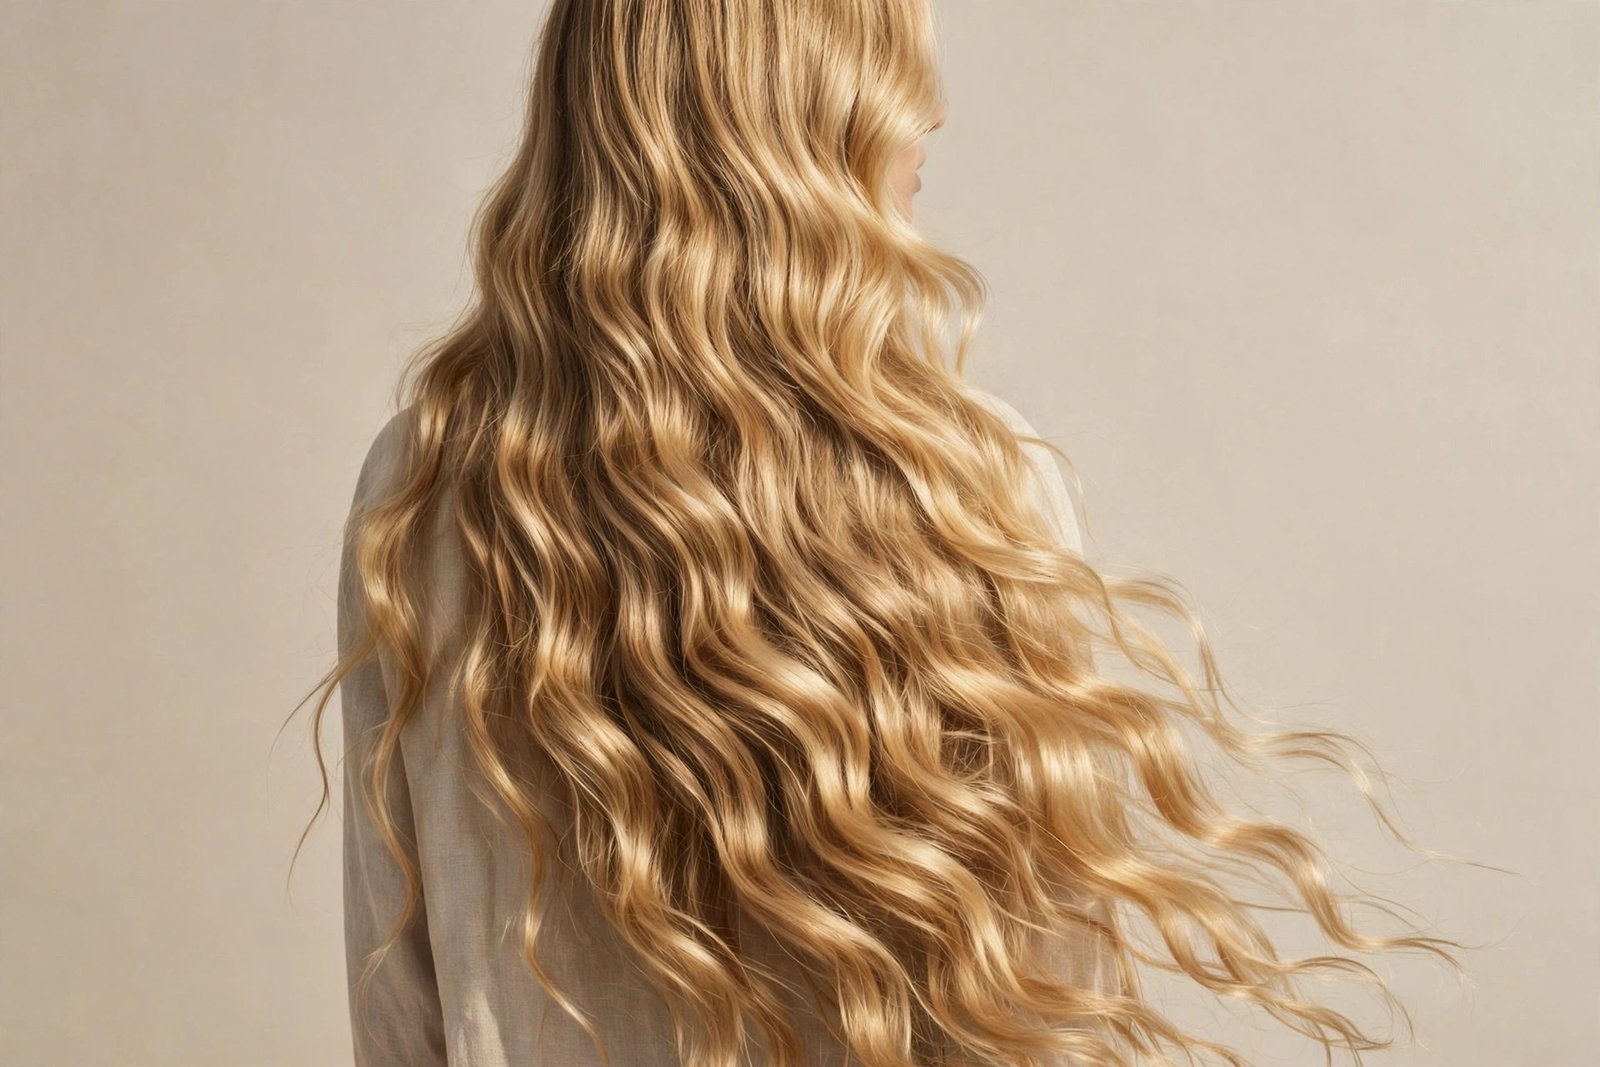
This is the look that started it all — long hair, loose waves through the lengths, that sunlit “I surf on weekends” energy even if the closest you’ve been to a surfboard is a screensaver. The 2026 update keeps the length but softens everything: the waves are bigger, the finish is glossier, and there’s none of that crunchy texture-spray stiffness the 2016 version had.
Who it suits: honestly, almost anyone with hair past the shoulders, but it sings on long faces and oval faces where the length draws everything downward in the most flattering way. If you have a round face, ask your stylist for long layers starting at the collarbone so the waves don’t add width at cheek level.
The how: work on dry hair with a heat protectant (non-negotiable — I don’t care how healthy your hair is, hot tools without protection is just slow-motion damage). Take 1.5 to 2-inch sections and wrap them around a 1.25-inch curling wand, leaving the last inch and a half of the ends out. Alternate the direction of every section — this is the single most important detail, because uniform direction gives you pageant curls and alternating direction gives you that organic, wind-done-it look. Let every wave cool completely before you touch it. I mean completely. Go make your coffee, answer a text, then come back. Once cool, rake through with your fingers and finish with a light texturizing spray, not a heavy salt spray — the new formulas give separation without the straw feeling.
Maintenance is refreshingly low. This look genuinely improves on day two and three — sleep with it in a loose topknot or a silk scrunchie ponytail, and in the morning just revive the front pieces with the wand. Honest downside: on very fine hair, these can fall flat by evening, especially in humidity. The fix is a light mousse at the roots before blow-drying, not more hairspray — hairspray on fine hair is like putting a raincoat on a dandelion.
2. The Lob That Surfs
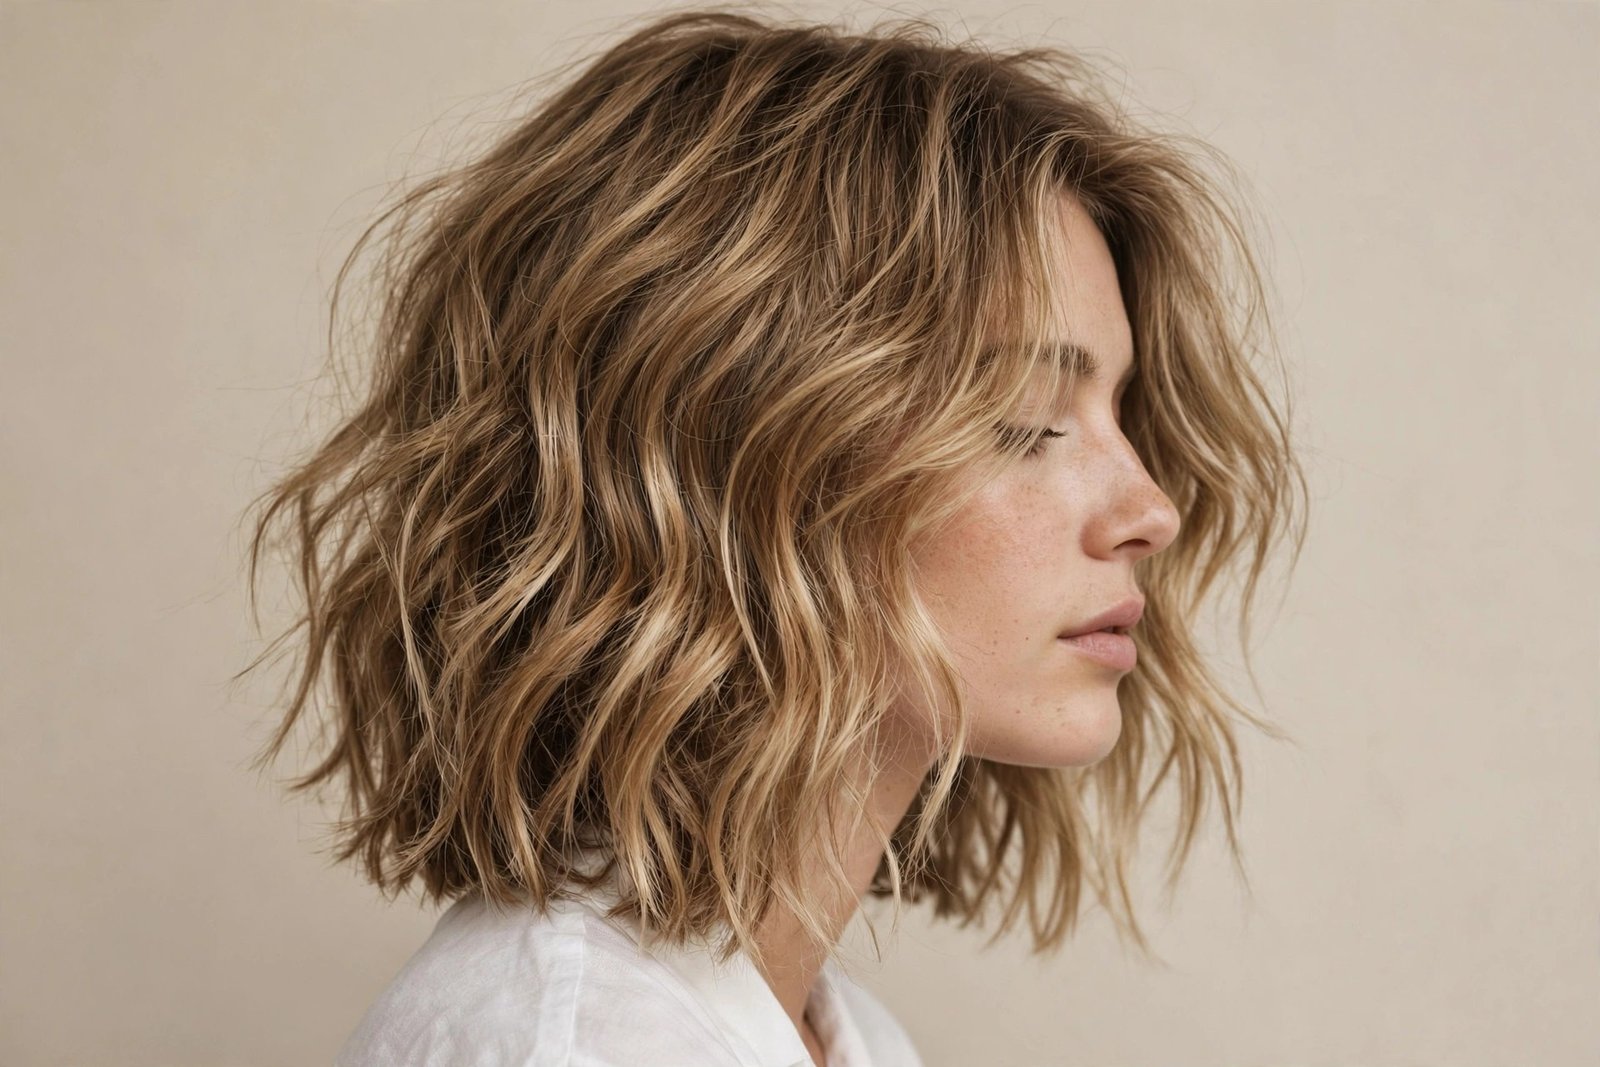
The lob — that long bob sitting somewhere between the chin and the collarbone — might be the single best haircut for beach waves, and I’ll die on this hill. There’s a sweet spot of length where waves have enough room to form properly but not so much hair that the whole thing takes forever or collapses under its own weight. The lob lives exactly there.
Who it suits: everyone, but especially women who want the beach wave look without the commitment of long hair maintenance. It’s magic on thick hair (removes the bulk that makes long waves heavy) and on fine hair (the blunter ends make hair look thicker than long layers ever could). Round faces should keep it closer to collarbone-length; heart-shaped faces look incredible with a chin-grazing version that balances a narrower chin.
The how: this is the fastest hot-tool beach wave you’ll ever do, because there just isn’t that much hair. A 1-inch wand or even a flat iron works beautifully here — clamp small sections, twist the iron away from your face, and pull through slowly, leaving the ends straight. The flat-iron method gives a slightly more modern, piecey finish that I actually prefer on lobs. Fifteen minutes, tops, once you’ve done it twice. Finish with a pea-sized amount of styling cream on the ends to define the pieces.
The thing nobody mentions: lobs with beach waves need trims every 8 to 10 weeks to keep the shape. Let it grow past the collarbone without a reshape and it starts looking less “effortless lob” and more “growing out a bob,” which is a different aesthetic entirely. Honest downside: if your hair is very curly, a wavy lob needs regular smoothing or the silhouette goes triangular. Know thyself.
3. Salt-Spray Shoulder Waves
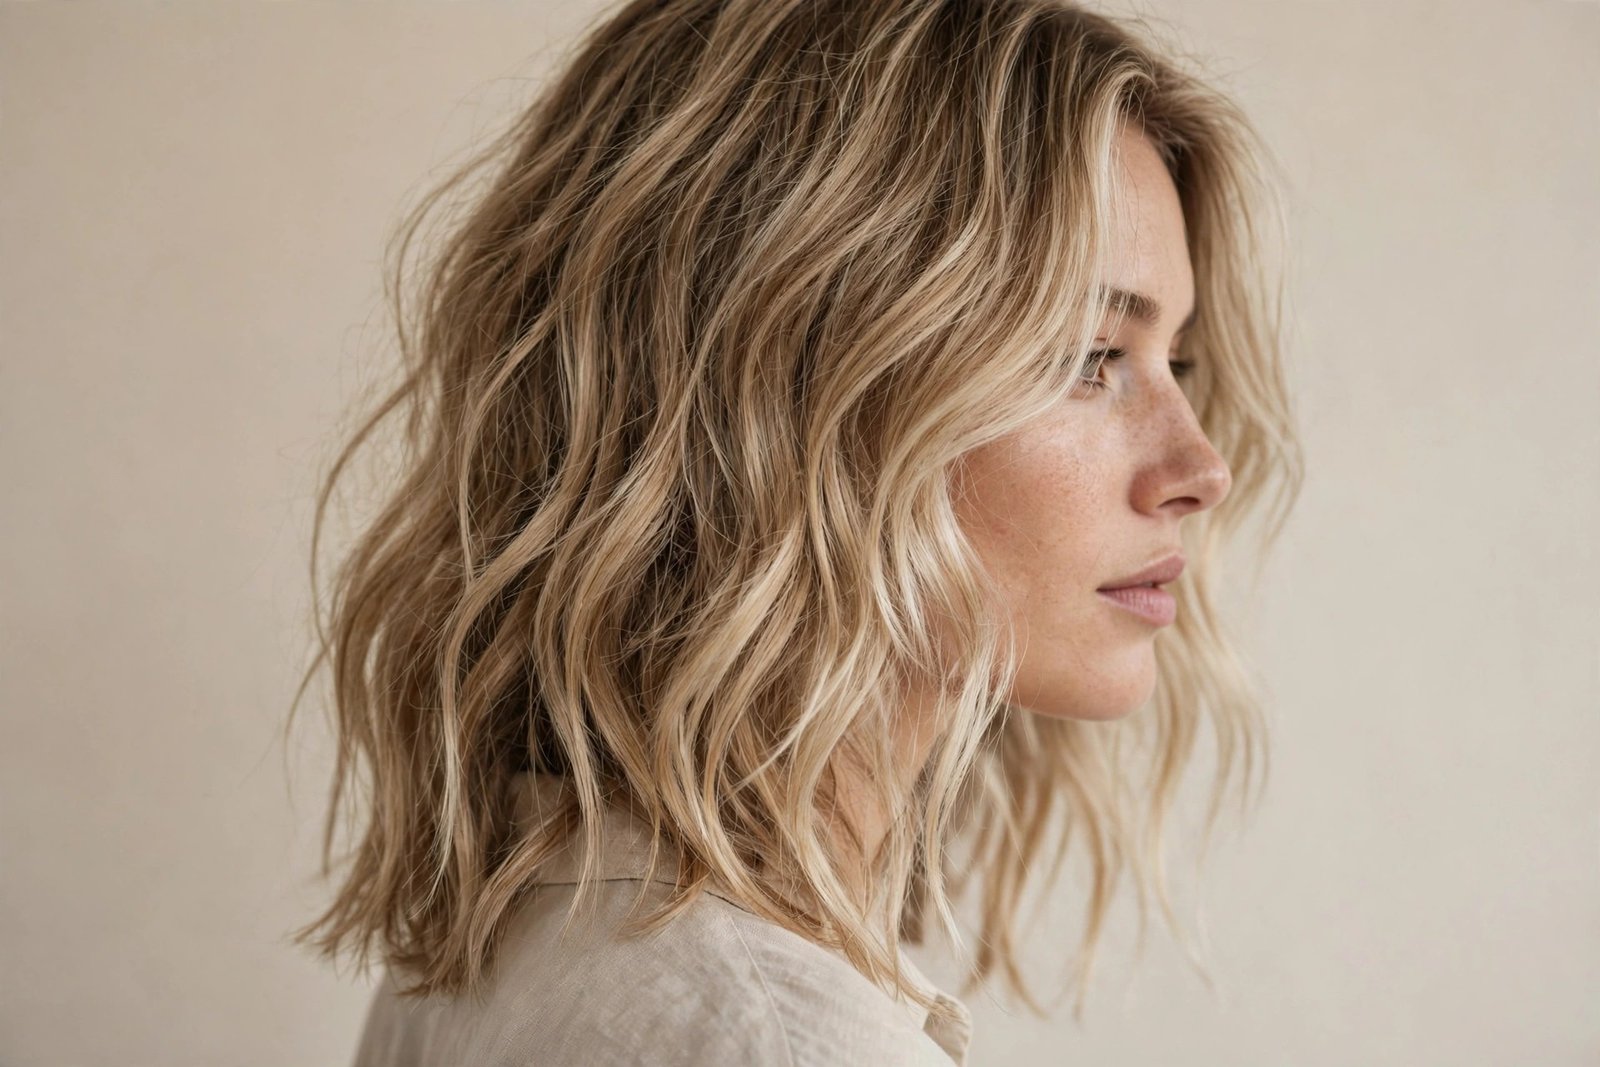
This is the purist’s beach wave — the one that actually uses salt spray, the way the look was born. Shoulder-length hair, spritzed with sea salt mist, scrunched, and left to air-dry into that perfectly imperfect texture. No hot tools, no forty-minute routine, just chemistry and patience.
Who it suits: naturally wavy or curly hair absolutely owns this look — you’re enhancing what’s already there. Straight-haired girls can do it too, but manage expectations: you’ll get texture and movement, not defined waves, and that’s still gorgeous. This is the ideal look for the girl who swims, surfs, or just refuses to own more than three hair products.
The how: start with damp, not dripping hair — towel-dry until it’s about 70% dry. Spritz salt spray through the mid-lengths and ends (avoid the roots unless you enjoy that gritty-scalp feeling), then scrunch upward in sections, really squeezing the hair into your palm. Here’s the part people skip: don’t touch it while it dries. Every time you run your fingers through drying waves, you’re breaking up the pattern your hair was trying to form. Diffuse on low heat if you’re impatient, or just let it air-dry. Once fully dry, flip your head upside down and shake gently at the roots for volume.
Product talk: not all salt sprays are equal, and the cheap ones are basically salt water in a fancy bottle — which, to be fair, is what salt spray is, but the good ones add conditioning agents so your hair doesn’t feel like actual rope. Look for formulas with a bit of oil or aloe. Honest downside: daily salt spray use is drying over time. If this is your everyday look, you need a weekly deep-conditioning mask, no exceptions. Your ends will thank you.
4. Mermaid Waves with Curtain Layers
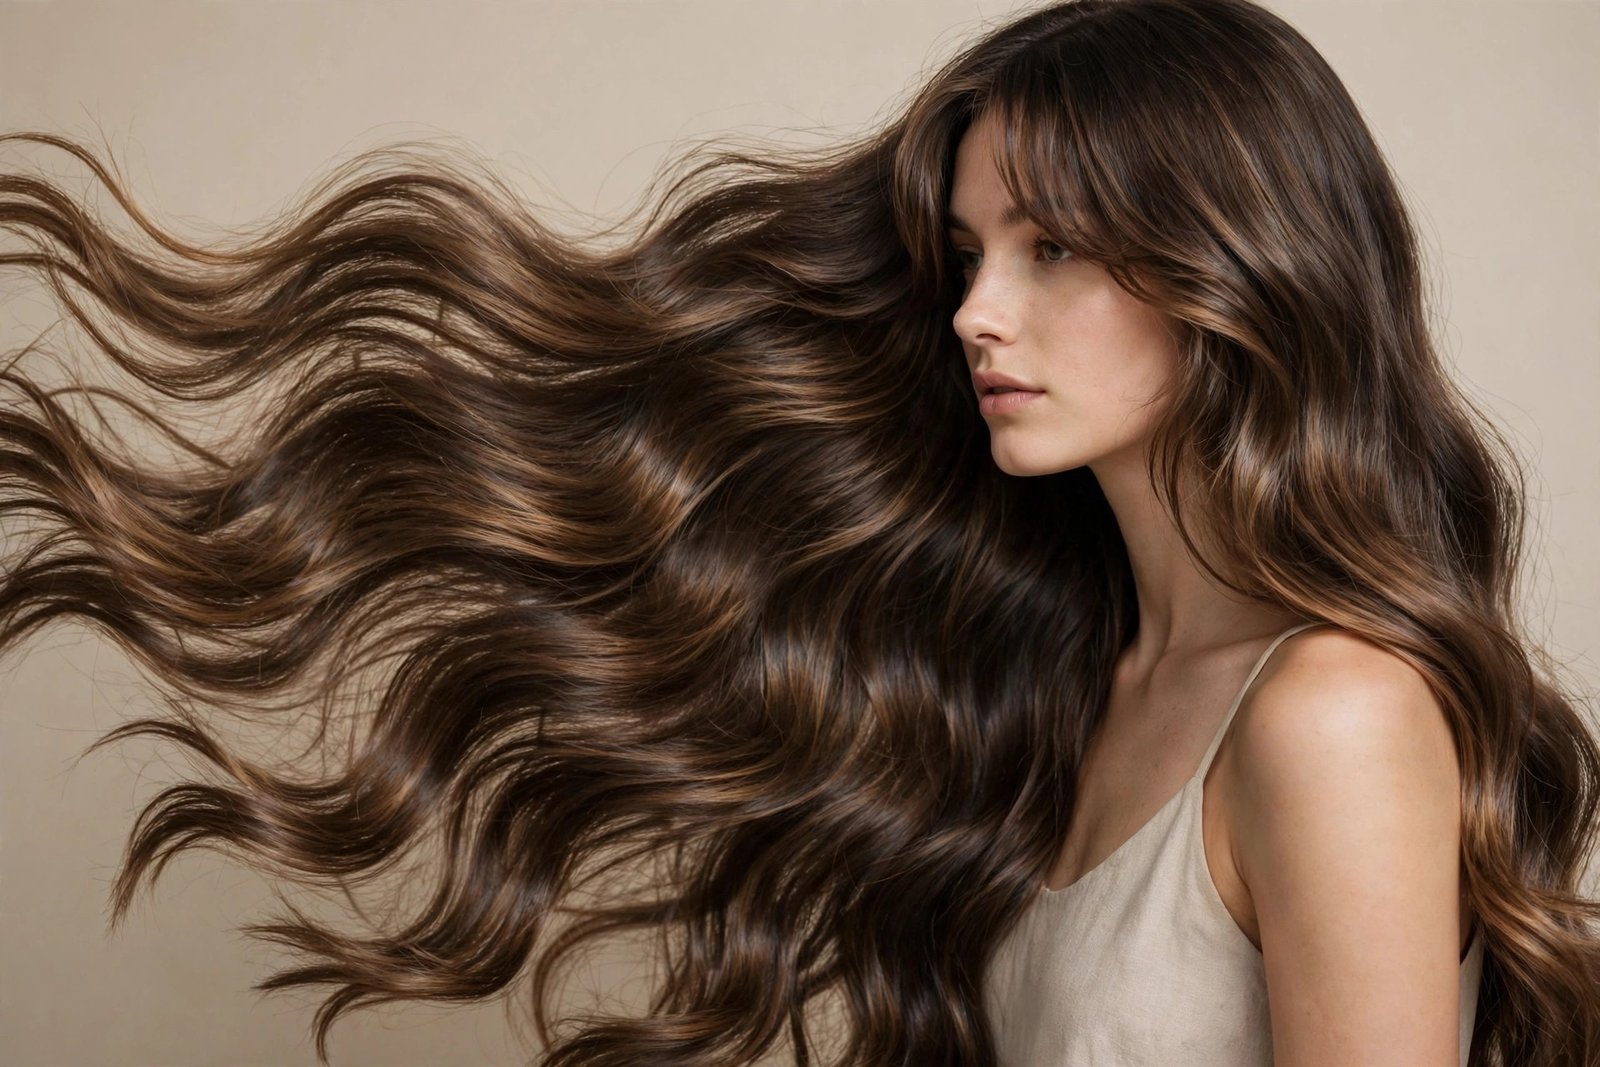
Take classic beach waves, make them longer, add face-framing curtain layers, and you’ve got the mermaid wave — the most requested long-hair look in salons right now, and the one that photographs like an absolute dream. The curtain layers are doing the heavy lifting here: they give the front of the hair movement and shape so the whole thing doesn’t read as one heavy curtain of waves.
Who it suits: long hair girlies, obviously — you need at least bra-strap length for the full effect. The curtain layers make this surprisingly forgiving on different face shapes: they soften square jaws, add width to long faces at exactly the right spot, and frame round faces beautifully. If your hair is very fine, though, be careful — too many layers on fine long hair can make the ends look wispy. Ask for long, blended layers rather than choppy ones.
The how: this is a two-tool job for the full effect. Blow-dry with a round brush first, directing the curtain pieces away from your face so they get that swooping frame. Then wave the lengths with a large-barrel wand (1.5 inch), wrapping big sections and — say it with me — leaving the ends out. The curtain pieces get special treatment: wrap them away from the face and let them cool pinned up for extra bounce. Finish with a shine spray rather than a matte texture spray; mermaid waves should look glossy and expensive, not gritty.
Time investment is real: this is a 30 to 40-minute style on long thick hair. The payoff is that it holds for days — long hair holds wave patterns longer than short hair because there’s more weight keeping everything settled. Sleep in a loose braid to preserve the pattern. Honest downside: the maintenance haircut matters enormously here. Curtain layers grow out awkwardly, so you’re looking at trims every 10 to 12 weeks minimum to keep the face-framing fresh.
5. The Tousled Bob
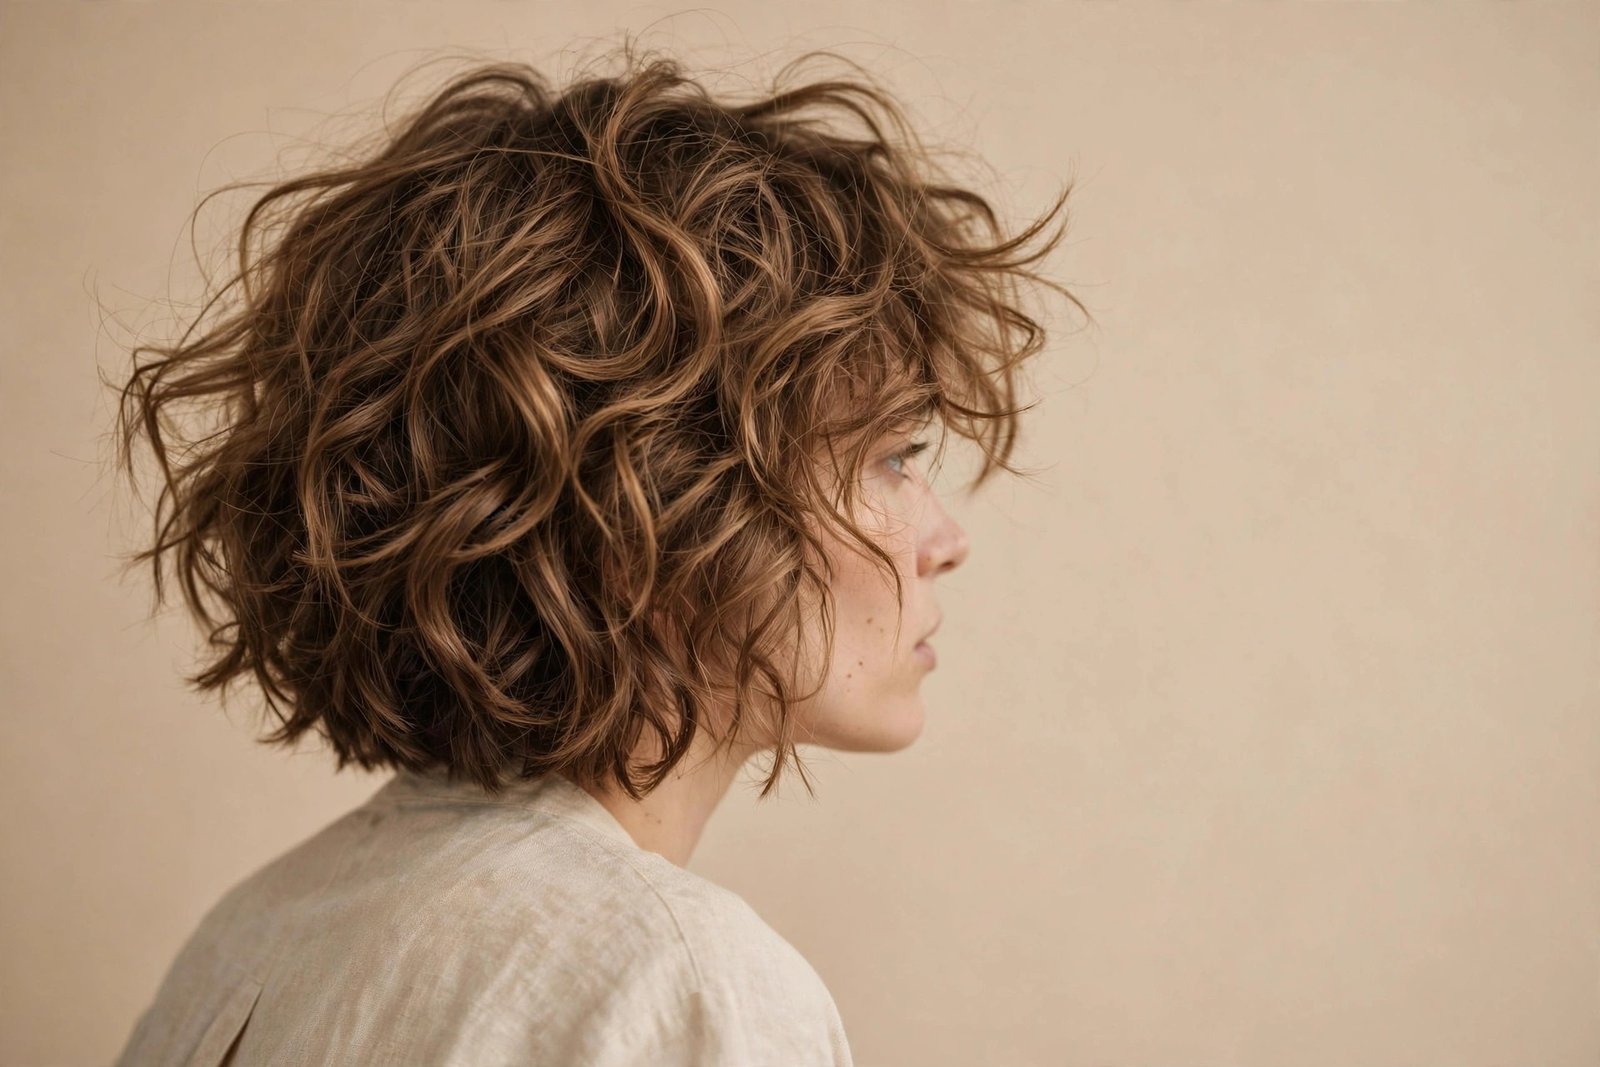
Short hair girls, this one’s for you — and yes, beach waves absolutely work on a bob. The tousled bob is having a massive moment because it solves the eternal short-hair dilemma: how to look styled without looking like you tried too hard. A few loose bends through a bob gives it that “I woke up like this, but better” quality that sleek bobs just can’t touch.
Who it suits: bobs and lobs on the shorter side, chin to just above the shoulder. It’s particularly gorgeous on thick hair, where the waves break up the heaviness that can make short thick hair look like a helmet. Fine-haired girls, this is your secret weapon too — texture creates the illusion of density, and a wavy bob will always look thicker than a straight one of the same length.
The how: a flat iron is honestly better than a curling wand here — the shorter the hair, the harder it is to wrap around a barrel without burning your fingers or your ears. Take 1-inch sections, clamp near the root, twist the iron 180 degrees away from your face, and glide down slowly, flicking the ends outward slightly for that piecey finish. Alternate directions for that organic feel. The whole head takes about ten minutes once you get the rhythm. A tiny bit of texturizing paste on the ends — emphasis on tiny — separates the pieces.
The catch with short wavy hair: it has a shorter lifespan than long waves. By day two, a tousled bob can start looking more “tousled” than intended, if you know what I mean. Dry shampoo at the roots on day two revives it beautifully. Honest downside: if your bob is very blunt and one-length, waves can make the ends kick out in weird directions. A few soft layers or at least point-cut ends make all the difference — worth mentioning at your next appointment.
6. Curly-Girl Beach Waves
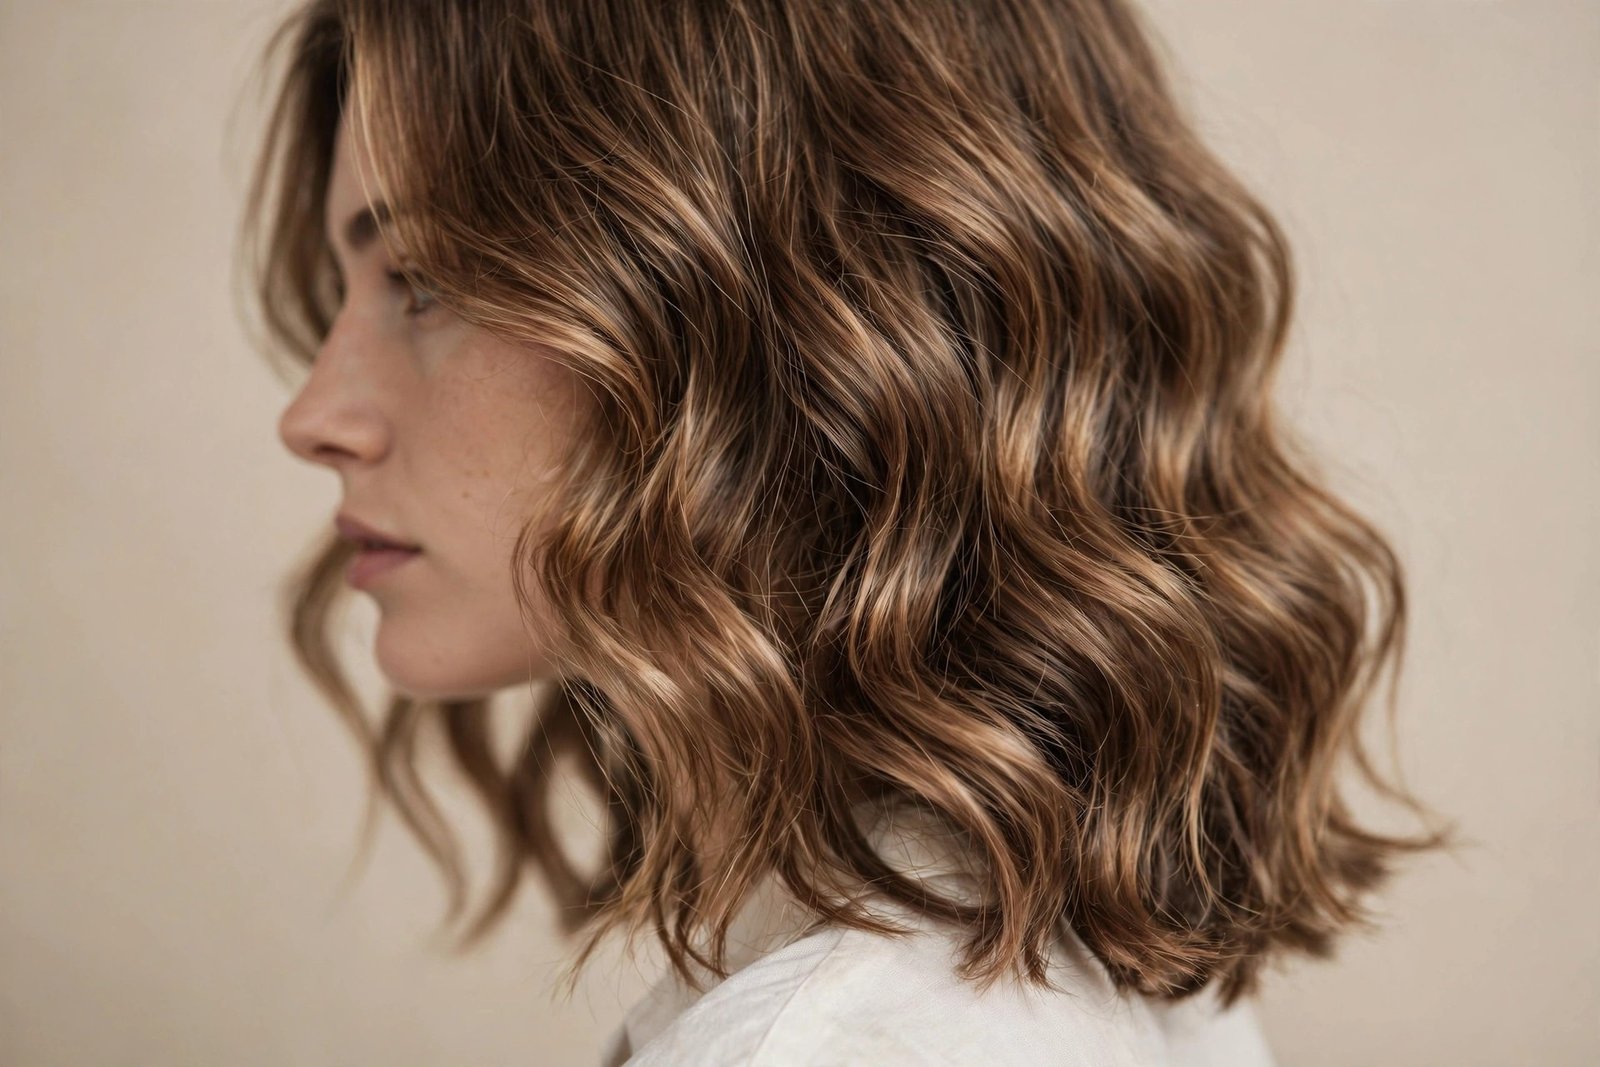
Here’s a truth the hair internet doesn’t say enough: curly girls don’t need to “achieve” beach waves — they need to loosen what’s already there. If your natural pattern is ringlets or tight waves, beach waves for you means stretching, softening, and separating, not building texture from nothing. And the results are stunning, because natural curl patterns have a dimension that hot tools can only imitate.
Who it suits: anyone with 2B to 3B natural texture. If your hair is tighter than 3B, you can still get a beautiful stretched-wave look, but it takes more work and honestly, your natural coils are already gorgeous — this is just one option in your arsenal, not an upgrade.
The how: the secret is tension and weight. On wash day, apply your leave-in and curl cream to soaking wet hair, then instead of scrunching up (which encourages tight curl formation), smooth sections downward between your palms to elongate the pattern. A diffuser on medium heat, hovering rather than scrunching, sets the stretched shape. For second-day waves, the pineapple method overnight (loose high ponytail with a silk scrunchie) stretches the roots while preserving the ends. Some curly girls swear by banding — loose ponytails down the length of the hair overnight — to gently elongate waves without heat.
What I love about this approach: zero heat damage, and your hair keeps its health. What to watch for: stretching curly hair repeatedly without enough moisture leads to breakage, because you’re asking the hair shaft to do something it doesn’t naturally do. Deep condition weekly, and if your ends start feeling crispy, back off the stretching for a bit. Your hair is talking to you — listen.
7. Fine-Hair Beach Waves
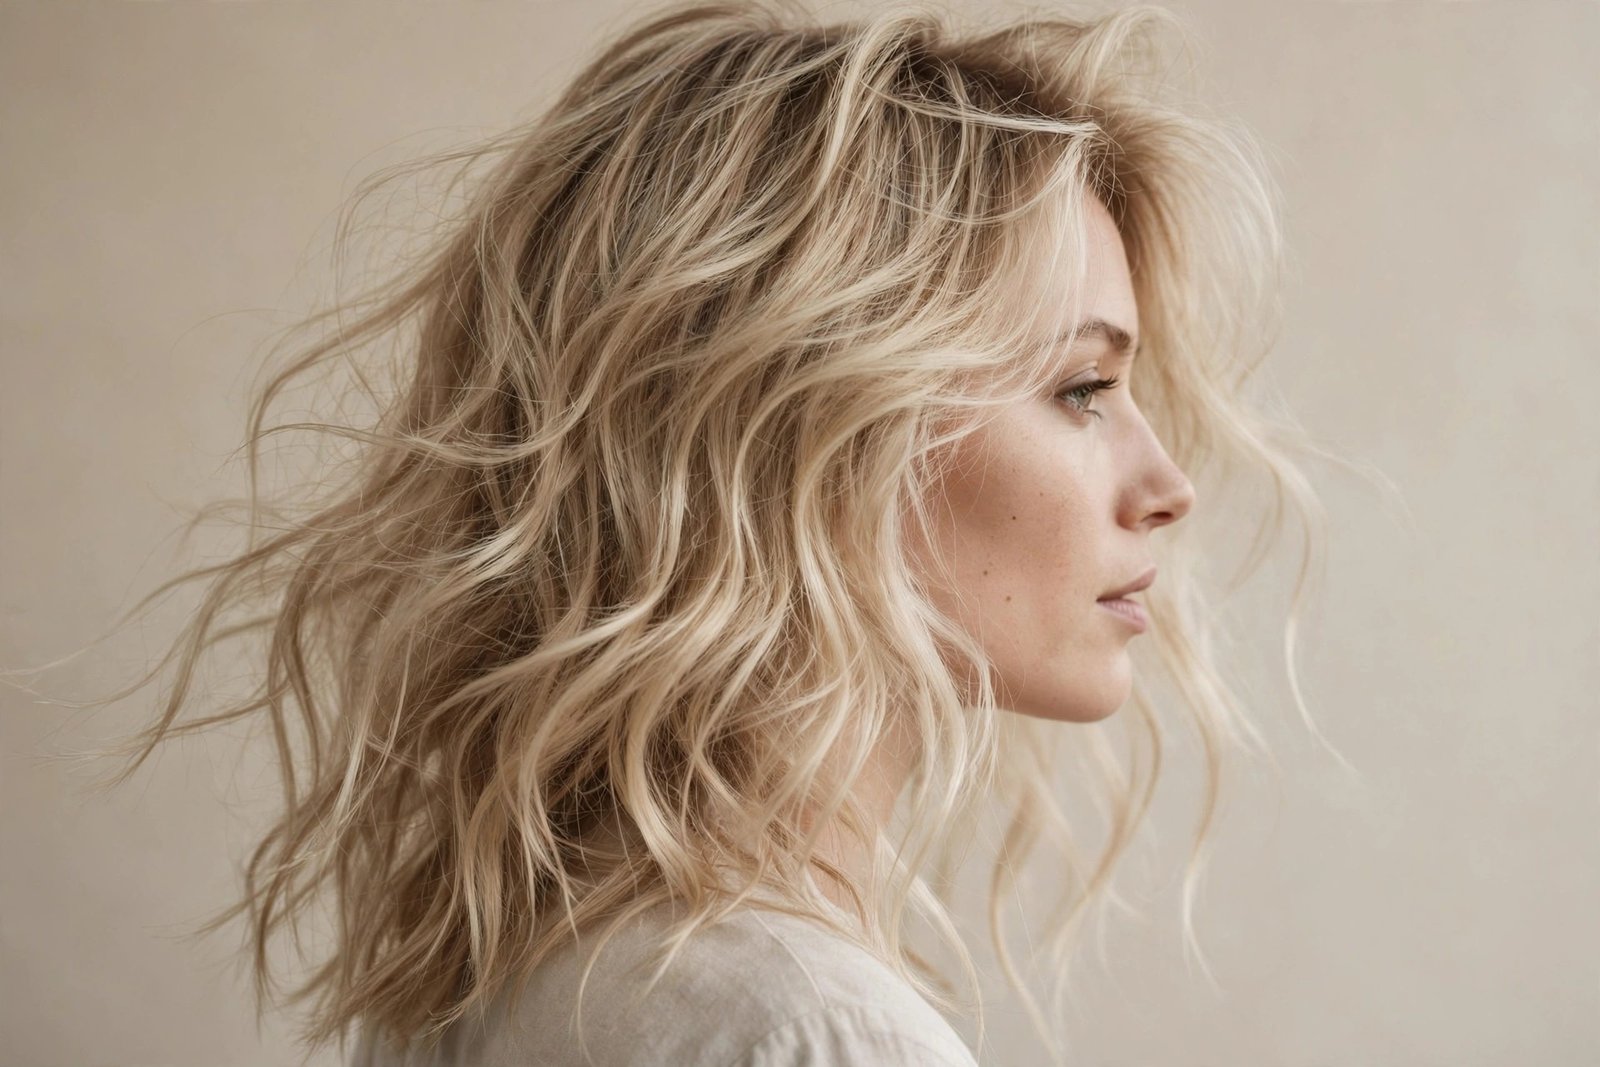
Fine hair and beach waves have a complicated relationship, and I want to be straight with you about it. Fine hair can look absolutely incredible wavy — airy, touchable, romantic. But it also has the structural integrity of a soap bubble, which means the wrong products or techniques will either weigh it down into limp strings or puff it into frizz. The margin for error is smaller. The payoff, when you nail it, is bigger.
Who it suits: fine-haired women of any length, though shoulder-length to medium tends to be the sweet spot — long fine hair often looks thinner when waved because the texture separates the strands and reveals scalp. If your hair is fine AND long, keep the waves looser and glossier rather than piecey and separated.
The how: product discipline is everything. Start with a volumizing mousse at the roots on damp hair — mousse, not cream, not oil, because fine hair needs hold without weight. Blow-dry upside down for root lift, then wave with a smaller barrel than you’d think (1 inch, not 1.25). Here’s the counterintuitive part: fine hair holds a tighter wave better than a loose one, because a loose wave on fine hair just… relaxes into nothing by noon. So make slightly tighter waves than you want, knowing they’ll drop into perfect beach waves within an hour. Let them cool completely — I cannot stress this enough for fine hair — then break them up gently with just your fingers. No brush. Brushes on fine wavy hair are how you get frizz.
The product trap: fine-haired girls tend to either use nothing (waves fall flat) or use everything (hair looks greasy and heavy). The sweet spot is two products max: mousse before, and a whisper of dry texture spray after. Honest downside: in high humidity, fine beach waves are the first casualty. A light-hold hairspray misted from arm’s length helps, but some summer days you just have to embrace the softer version of the look.
8. Thick-Hair Tamed Beach Waves
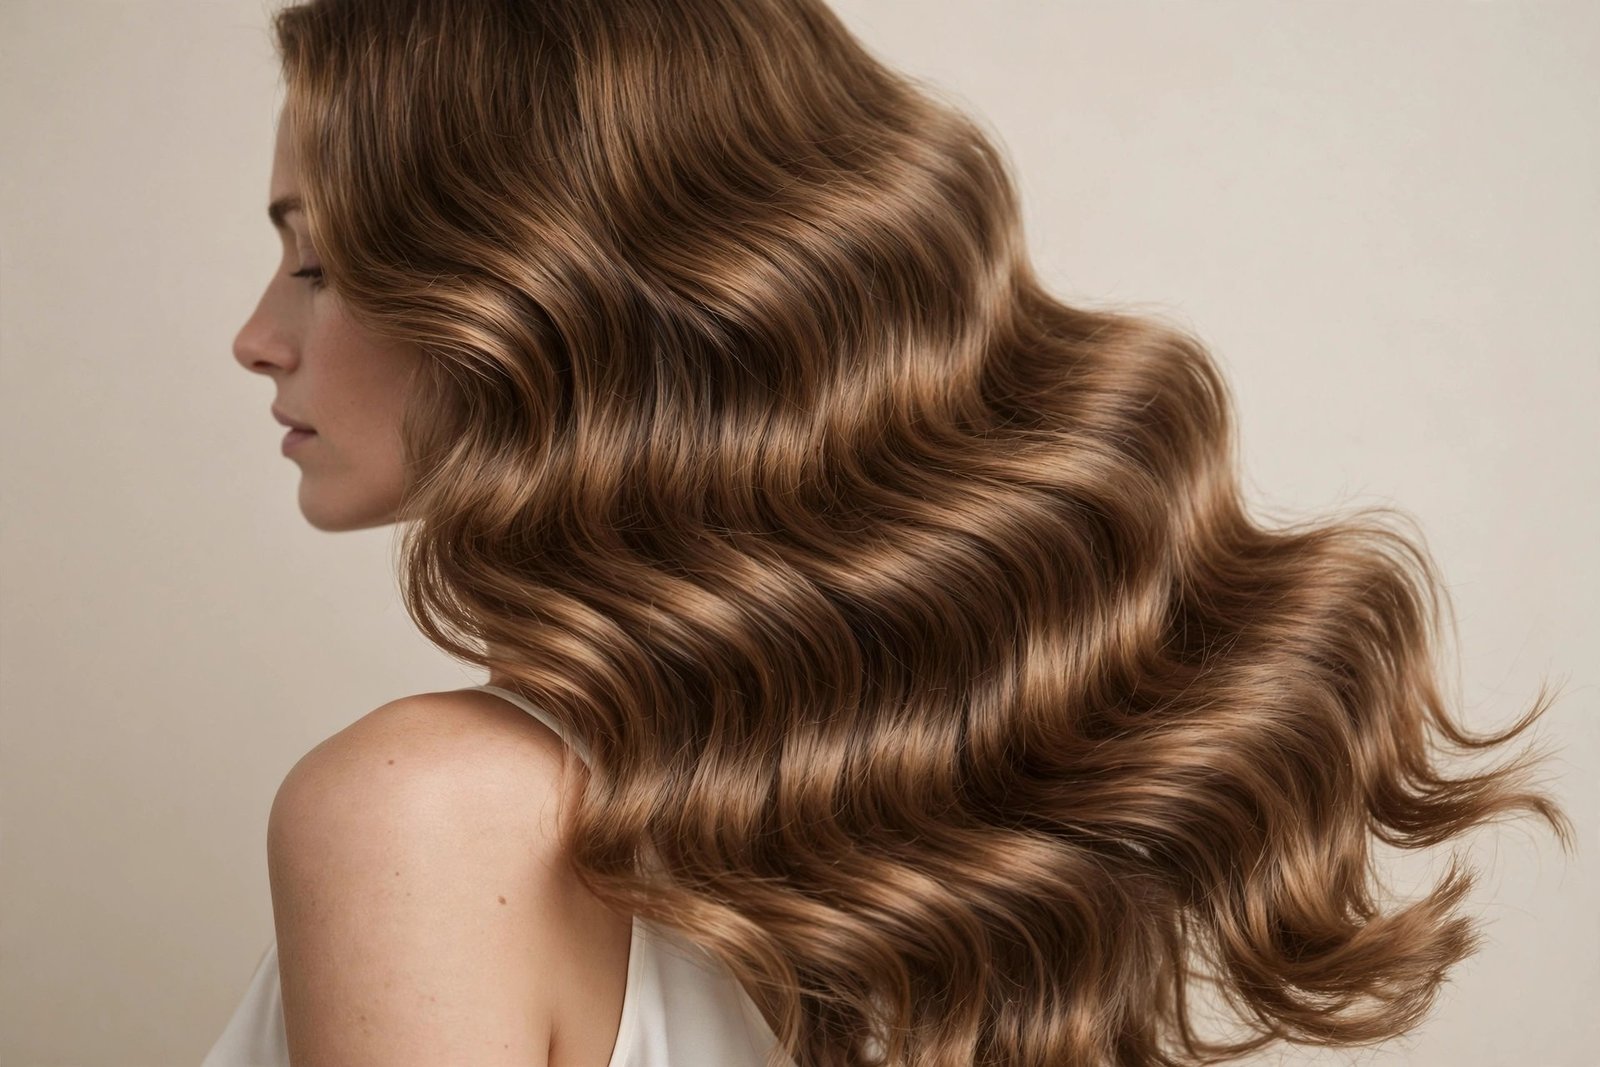
Thick hair is both the best and worst candidate for beach waves. Best, because once the waves are in, they stay for days — thick hair holds texture like it has a personal grudge against straightness. Worst, because getting there takes time, arm strength, and strategic sectioning. I’ve seen thick-haired women give up on beach waves after one attempt where they tried to wave their whole head in six giant sections. Don’t do that. Respect the process.
Who it suits: medium to thick hair, medium to long lengths. Short thick hair can do beach waves too, but it needs serious layering first or the waves just add bulk on bulk. If your ponytail is thicker than a quarter, this section is written for you.
The how: sectioning is not optional — it’s the whole game. Divide your hair into at least four sections (two bottom, two top), clip the top away, and work the bottom first in 1.5-inch subsections. A 1.25-inch wand is your friend; smaller barrels take forever on thick hair. Because thick hair holds heat longer, you can work slightly faster than fine-haired girls, but don’t rush the cooling — pin each wave up as you go if you have the patience, because cooled-and-pinned waves on thick hair last until your next wash day. A smoothing serum on the ends before waving prevents the dreaded thick-hair frizz halo.
Here’s what I actually recommend for the time-crunched thick-haired girl: don’t wave your whole head. Wave the top layer and the face-framing pieces only — the underlayers can stay relatively straight and nobody will ever know, because the wavy canopy covers everything. This cuts styling time in half and looks identical in every photo you’ll ever take. Honest downside: thick beach waves + humidity can expand into something bigger than intended. An anti-humidity serum is worth its weight in gold from June through September.
9. Blonde Balayage Beach Waves
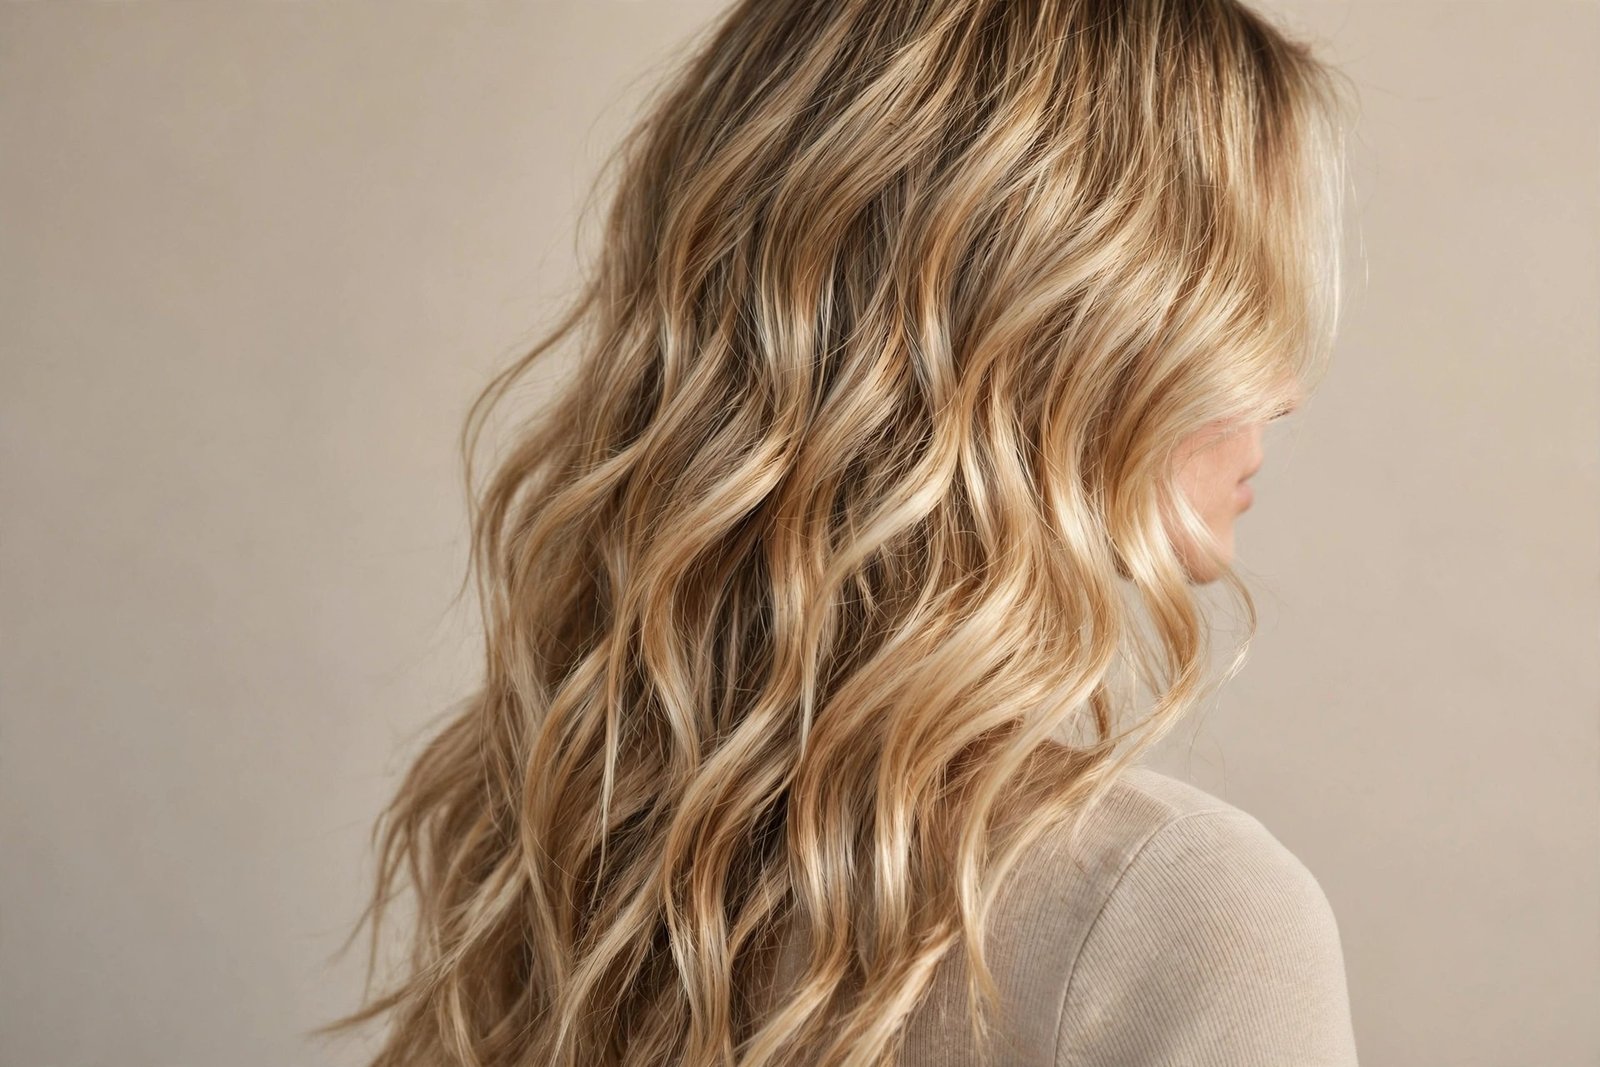
Some color and style combinations are just meant for each other — peanut butter and jelly, denim and white tees, and balayage and beach waves. The dimensional color makes every wave visible, and the waves make the color look expensive. It’s symbiotic. This is the most photographed beach wave look on the internet for a reason: light catching the bends of highlighted hair is genuinely one of the prettiest things hair can do.
Who it suits: blondes, brondes, and anyone with balayage, ombré, or lived-in highlights. The technique works on any base color, but the visual payoff is biggest when there’s at least two tones in the hair for the waves to show off. If you’re a solid dark brunette considering this, a few face-framing highlights will give you 80% of the effect for 20% of the commitment.
The how: the styling technique is standard beach wave — wand, alternating directions, ends out. What matters here is the finish. Matte texture sprays can make blonde look dull and ashy, which is the opposite of what you want. Use a shine-enhancing wave spray or a light glossing mist instead. And here’s a pro tip most tutorials miss: wave the hair, then gently pull a few face-framing pieces forward and re-wave just those, so the lightest pieces sit right where the light hits your face.
Color maintenance is the real cost of this look. Balayage grows out gracefully, which is its whole selling point, but blonde beach waves show brassiness faster than straight blonde hair because the texture catches light differently. A purple shampoo once a week keeps things bright — but only once a week, because overdoing it gives blonde hair that dreaded lavender-gray cast. Toner refreshes every 8 to 10 weeks keep it looking salon-fresh. Honest downside: this is the highest-maintenance look on this list in terms of color upkeep. The styling is easy; keeping the blonde beautiful is the actual job.
10. Brunette Dimension Waves
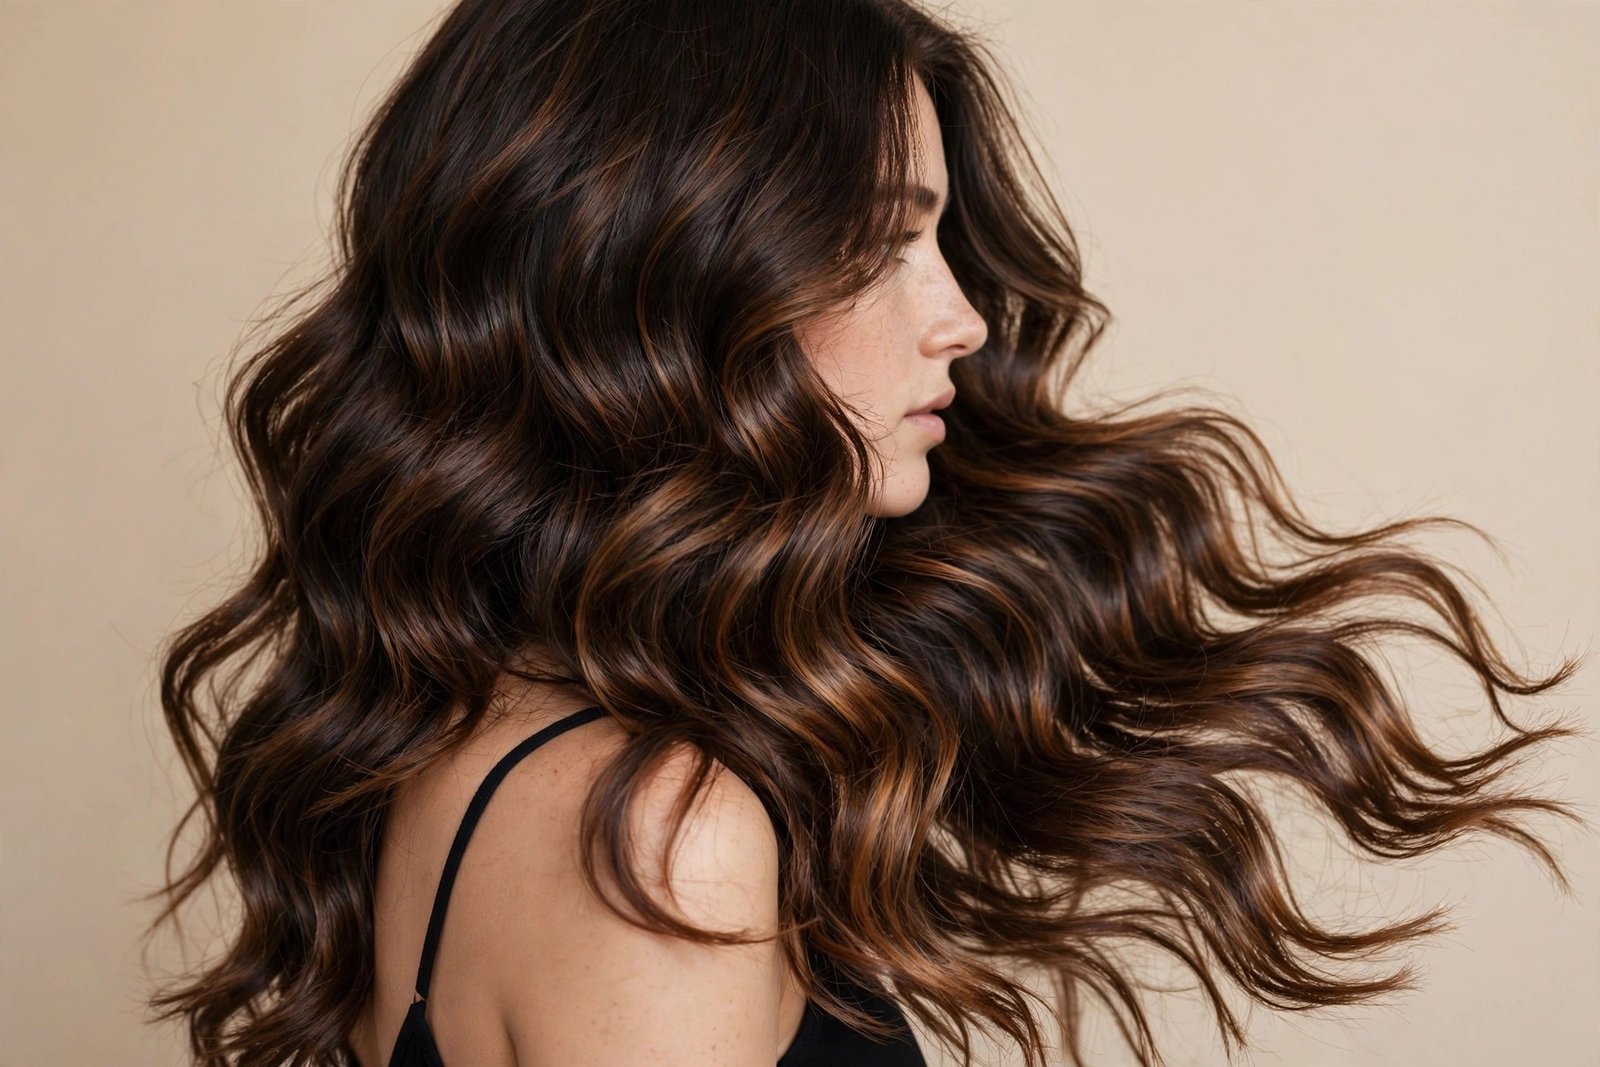
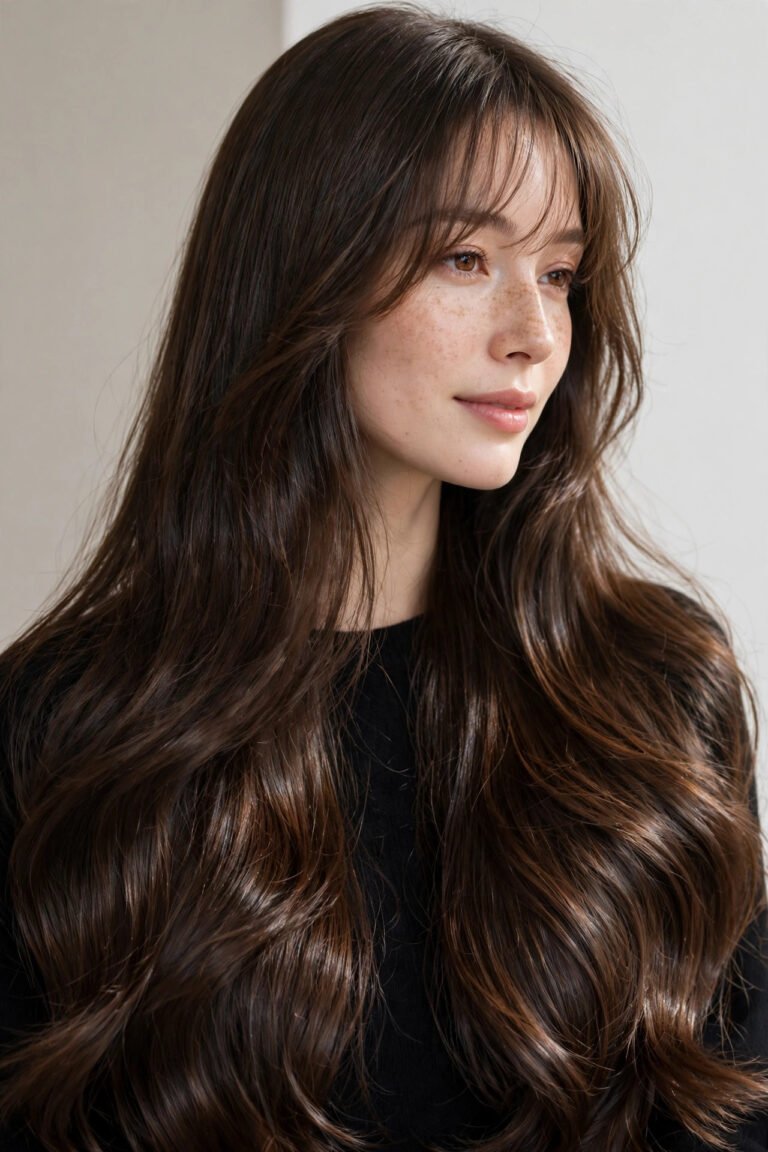
Brunettes, your time has come. For years the beach wave conversation was dominated by blonde hair, as if dark hair couldn’t do texture. Nonsense. Brunette beach waves in 2026 are all about dimension — rich chocolate bases with caramel ribbons, espresso with subtle copper glints — and the waves are what make those tones visible. Straight dark hair can look flat and one-dimensional; waved dark hair looks like it has depth for days.
Who it suits: natural brunettes and anyone with dark color. This look is especially flattering on olive and warm skin tones, where the rich tones in the hair echo the warmth in the complexion. Cool-toned brunettes should lean toward ash-brown dimension rather than golden pieces to keep everything harmonious.
The how: shine is everything for brunette waves — dark hair shows every bit of dullness, but it also rewards gloss like nothing else. Start with a shine serum on damp hair, blow-dry smooth, then wave with a 1.25-inch wand. The technique tweak for brunettes: slightly larger sections than blondes use, because bigger waves on dark hair read as luxurious while small waves can read as frizzy. Finish with a glossing spray — the kind that makes you do a double-take in the mirror.
Here’s something fun: brunette beach waves photograph differently than they look in person, and usually better. The camera picks up dimension that the naked eye misses in flat lighting. If you’ve ever felt your dark hair looks boring in photos, waves might be the fix you’ve been looking for. Honest downside: dark hair shows damage more visibly than blonde — split ends and breakage catch the light in the worst way. Brunettes doing regular heat styling need trims every 8 weeks and a genuinely good heat protectant, not the travel-size afterthought kind.
11. Redhead Sunset Waves
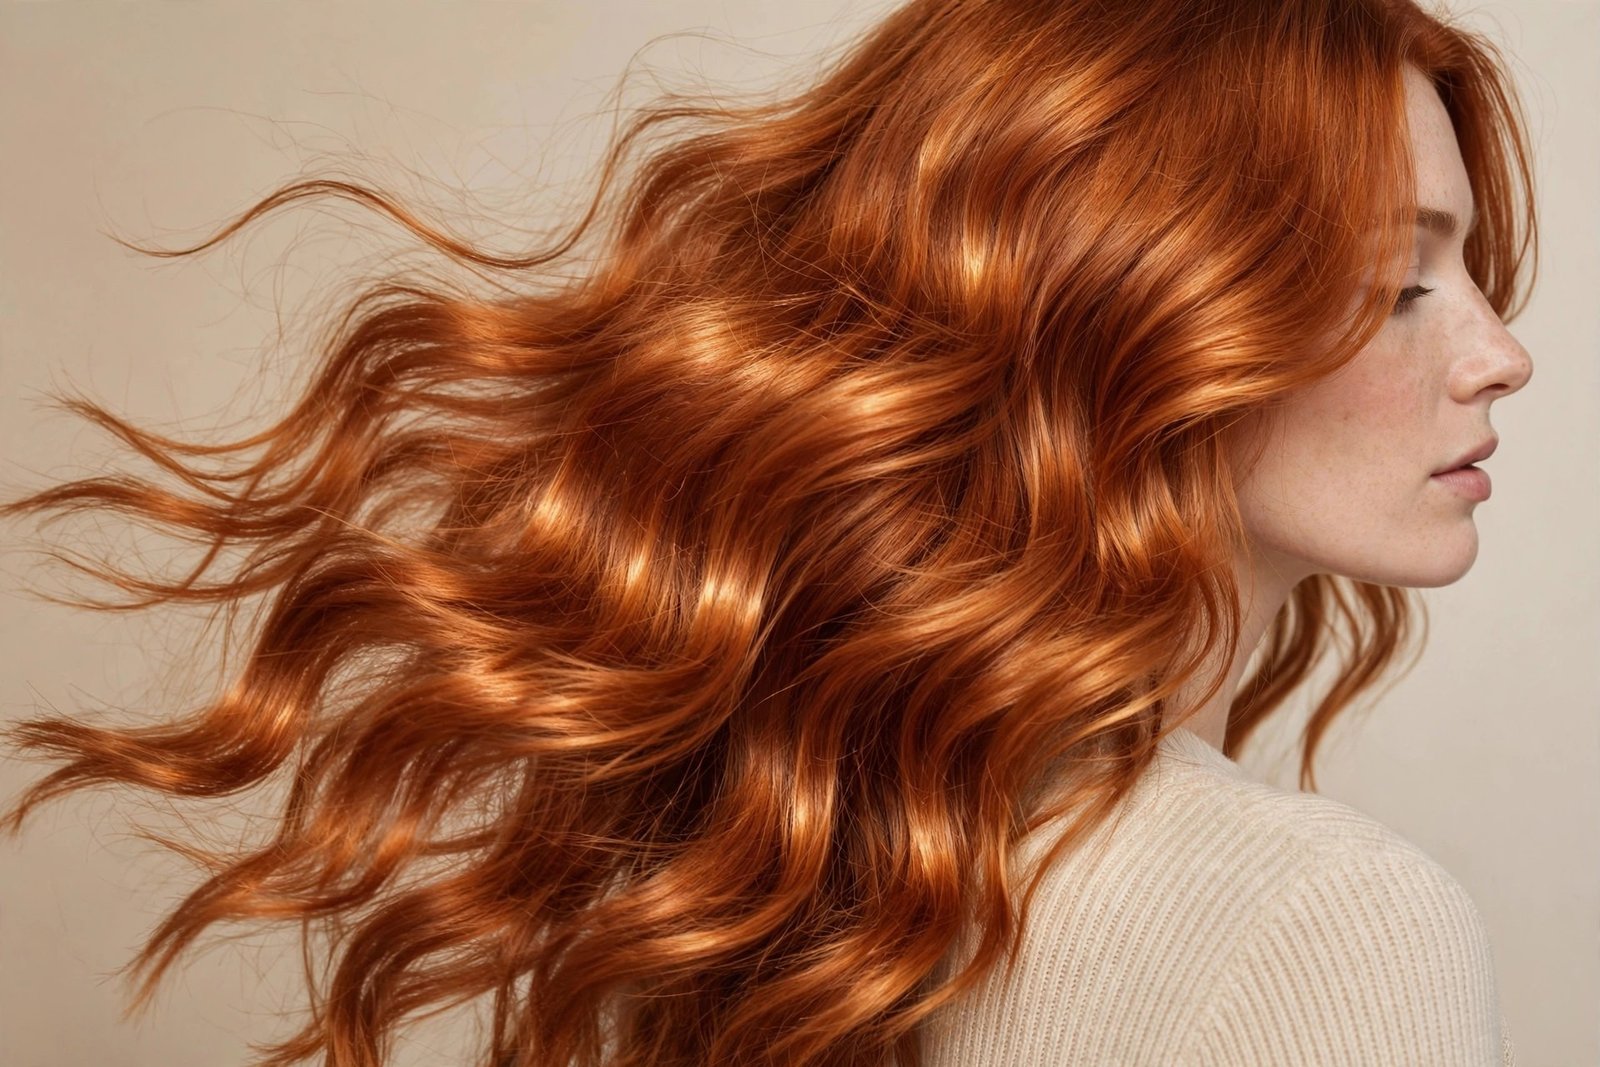
Copper, auburn, strawberry, full red — red hair with beach waves looks like it’s lit from within, and I’m not being poetic, it’s physics. Red tones reflect warm light in a way that makes every wave look dimensional. If you have red hair and you’ve never tried beach waves, you’re sitting on an absolute goldmine of a look and I need you to fix that this week.
Who it suits: natural redheads (you lucky few) and anyone with copper or auburn color. This look is stunning on fair skin with freckles — the classic pairing — but deep auburn waves on deeper skin tones are equally show-stopping. The key is matching the red’s undertone to your skin: copper-gold for warm undertones, cherry-auburn for cool.
The how: red hair tends to be coarser in texture, which is actually an advantage — it holds waves beautifully and rarely goes limp. The technique is standard, but the product choices matter more. Red color fades faster than any other shade (the color molecules are literally larger and wash out quicker), so use color-safe, sulfate-free everything, and wash in the coolest water you can stand. Heat styling accelerates fading, so if you’re waving daily, a lower heat setting and fewer passes are worth the extra minute of patience.
The fading issue is the honest downside and there’s no way around it — red is high-maintenance color, full stop. A color-depositing conditioner in your shade, used weekly, is the difference between vibrant copper and sad faded orange. Budget for gloss refreshes every 6 to 8 weeks. But here’s the thing: when red beach waves are fresh, there is no prettier hair on the planet. None. I’ve checked.
12. The Overnight Braid Waves
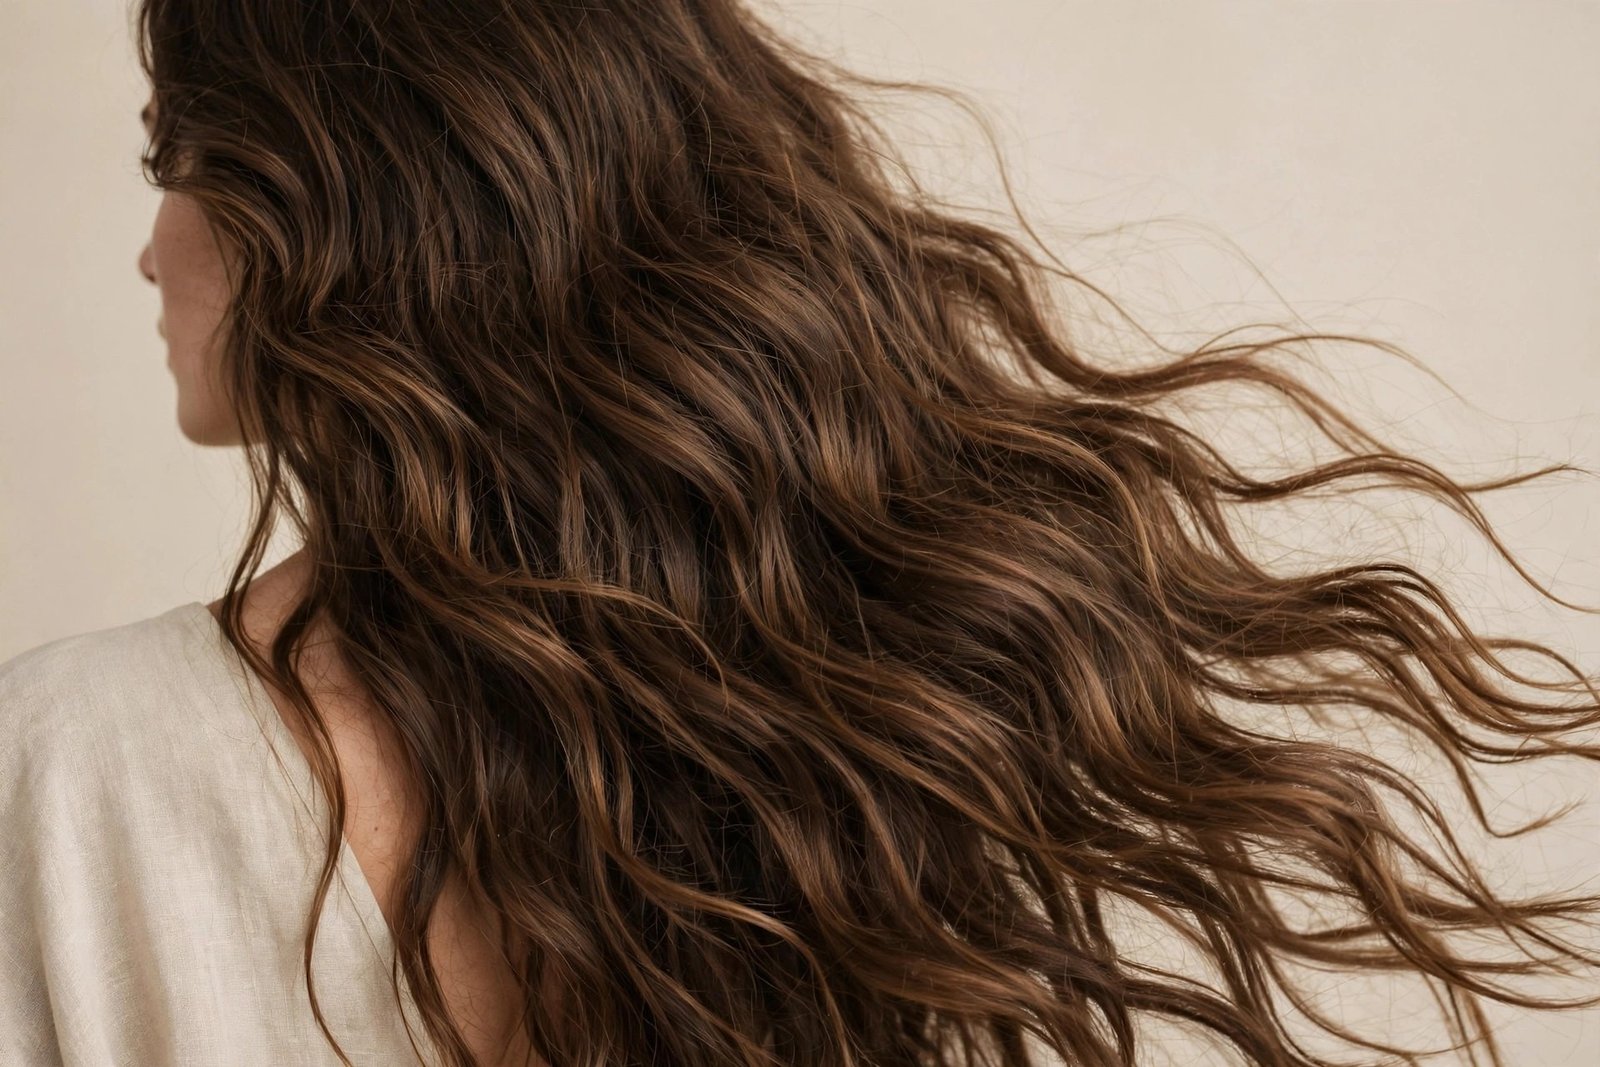
The heatless hero. Braid damp hair before bed, wake up with waves — it’s the oldest trick in the book, and in 2026 it’s having a renaissance because the “no heat damage” crowd finally perfected the technique. The difference between sad, crimpy braid waves and gorgeous beachy ones comes down to details most people get wrong, so let’s get them right.
Who it suits: everyone, but especially heat-damage recoverers, busy moms, students, and anyone whose mornings are a war zone. It’s also the best option for very long hair, where hot-tool waving takes an eternity — braids work while you sleep, which is the ultimate multitasking.
The how: start with damp hair — about 80% dry, not wet. Wet hair braided tight gives you crimps; damp hair braided loosely gives you waves. Apply a light leave-in or wave cream, then divide into 2 to 4 loose braids depending on your hair thickness. Two braids give bigger, looser waves; four give more texture. The critical detail: braid loosely, especially at the roots — tight braids create that weird crimped-root look that screams “I slept in braids.” Secure ends with silk scrunchies or spiral ties, never elastic bands (they dent). In the morning, undo, shake gently, and break up the waves with your fingers. A tiny bit of oil on the ends tames any frizz.
Variations worth trying: French-braid the top section for root volume, or twist sections into buns instead of braiding for a different wave pattern. Some girls swear by the “sock method” — wrapping damp hair around a soft sock — which gives more uniform waves. Honest downside: braid waves are less predictable than hot tools. Humidity, how damp your hair was, how tightly you braided — it all affects the outcome. Some mornings you’ll get perfection, some mornings you’ll get “character.” Embrace it.
13. The 5-Minute Scrunch
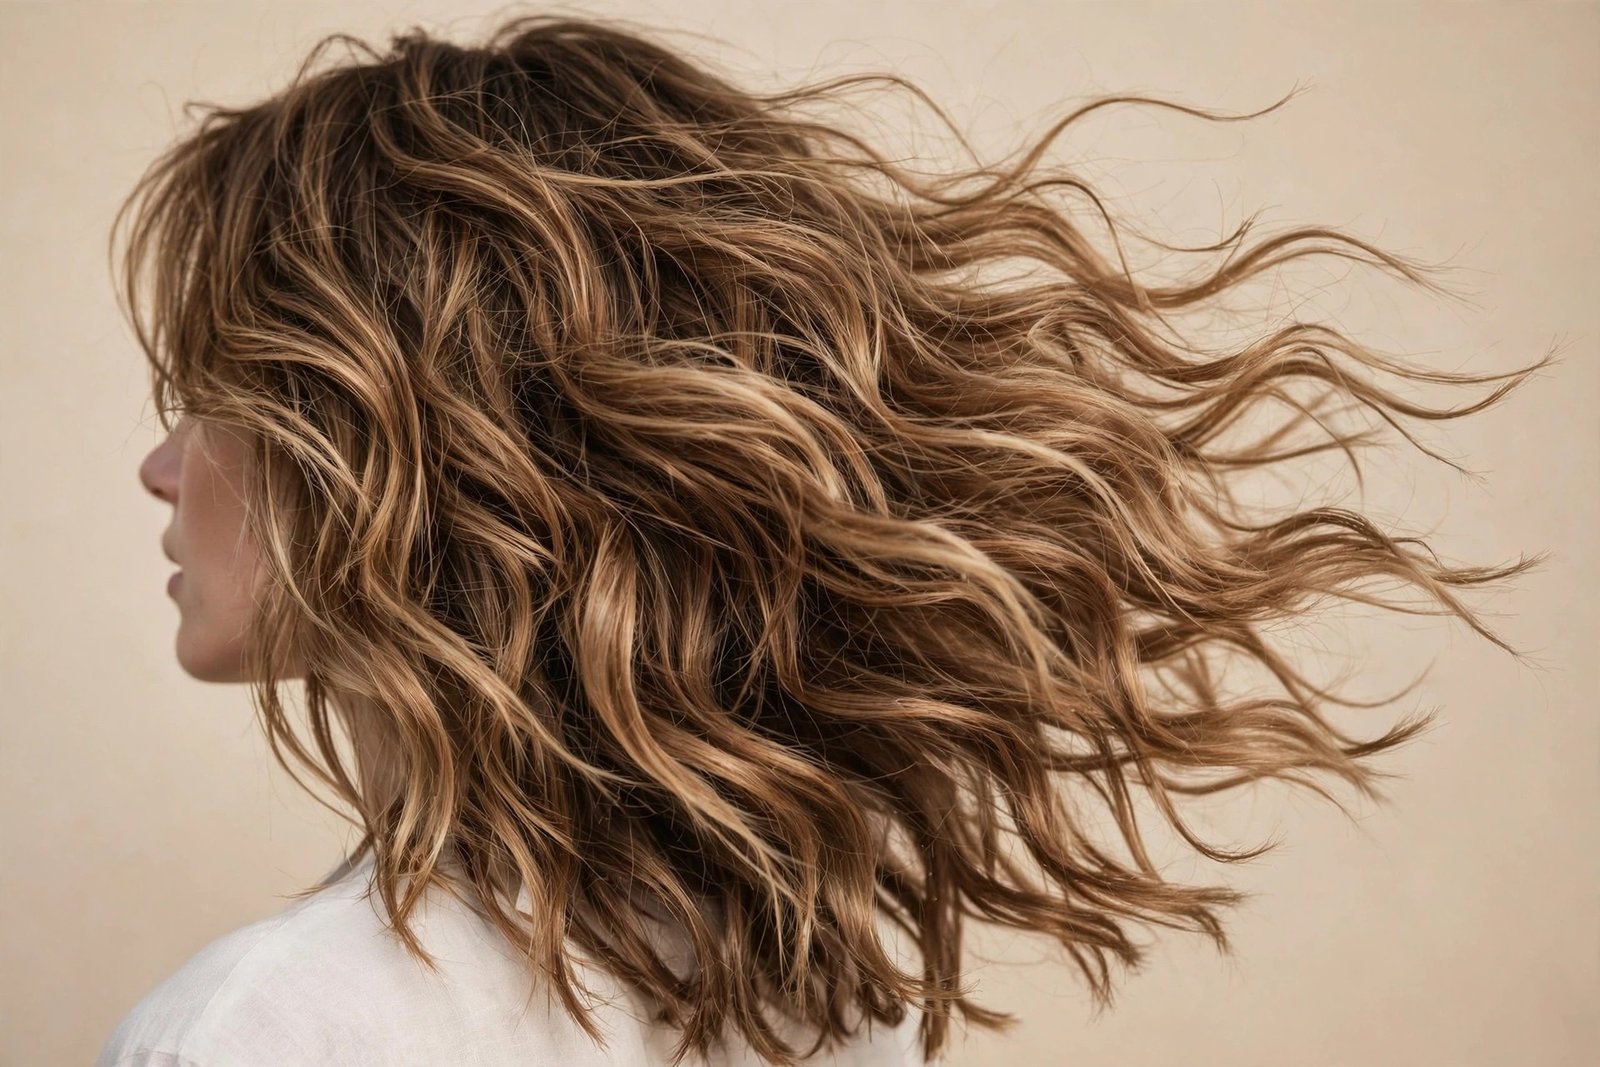
For the girl who hits snooze three times. The 5-minute scrunch is the emergency version of beach waves — not the most refined look on this list, but the one you’ll actually use on a Tuesday morning when you have a meeting at nine and your hair looks like a bird’s nest. There’s no shame in the speed game. Some of the best hair days of my life took five minutes.
Who it suits: anyone with some natural texture (even a little) and medium to long hair. Stick-straight hair can do a version of this, but you’ll need a wand on the front pieces — scrunching alone won’t create waves where there are none.
The how: dampen your hair — a spray bottle works, or just do this right after a shower. Flip your head upside down. Apply a golf-ball-sized amount of mousse or a wave-enhancing cream through the lengths. Now scrunch: gather sections of hair in your palm, squeeze upward toward the scalp, hold for two seconds, release. Work around your whole head. Flip back up, arrange the part with your fingers, and either diffuse for three minutes or let it air-dry while you do your makeup. Done. If your front pieces look sad, wrap just those two around a wand for ten seconds each — it’s the difference between “I tried” and “I woke up like this.”
This pairs beautifully with a good lived-in blonde color, by the way — low-maintenance color plus low-maintenance styling is the ultimate combination for busy women. Honest downside: this is a day-one look. By day two, the 5-minute scrunch usually needs a full refresh or a ponytail. It’s fast, not immortal.
14. Wedding-Guest Polished Beach Waves
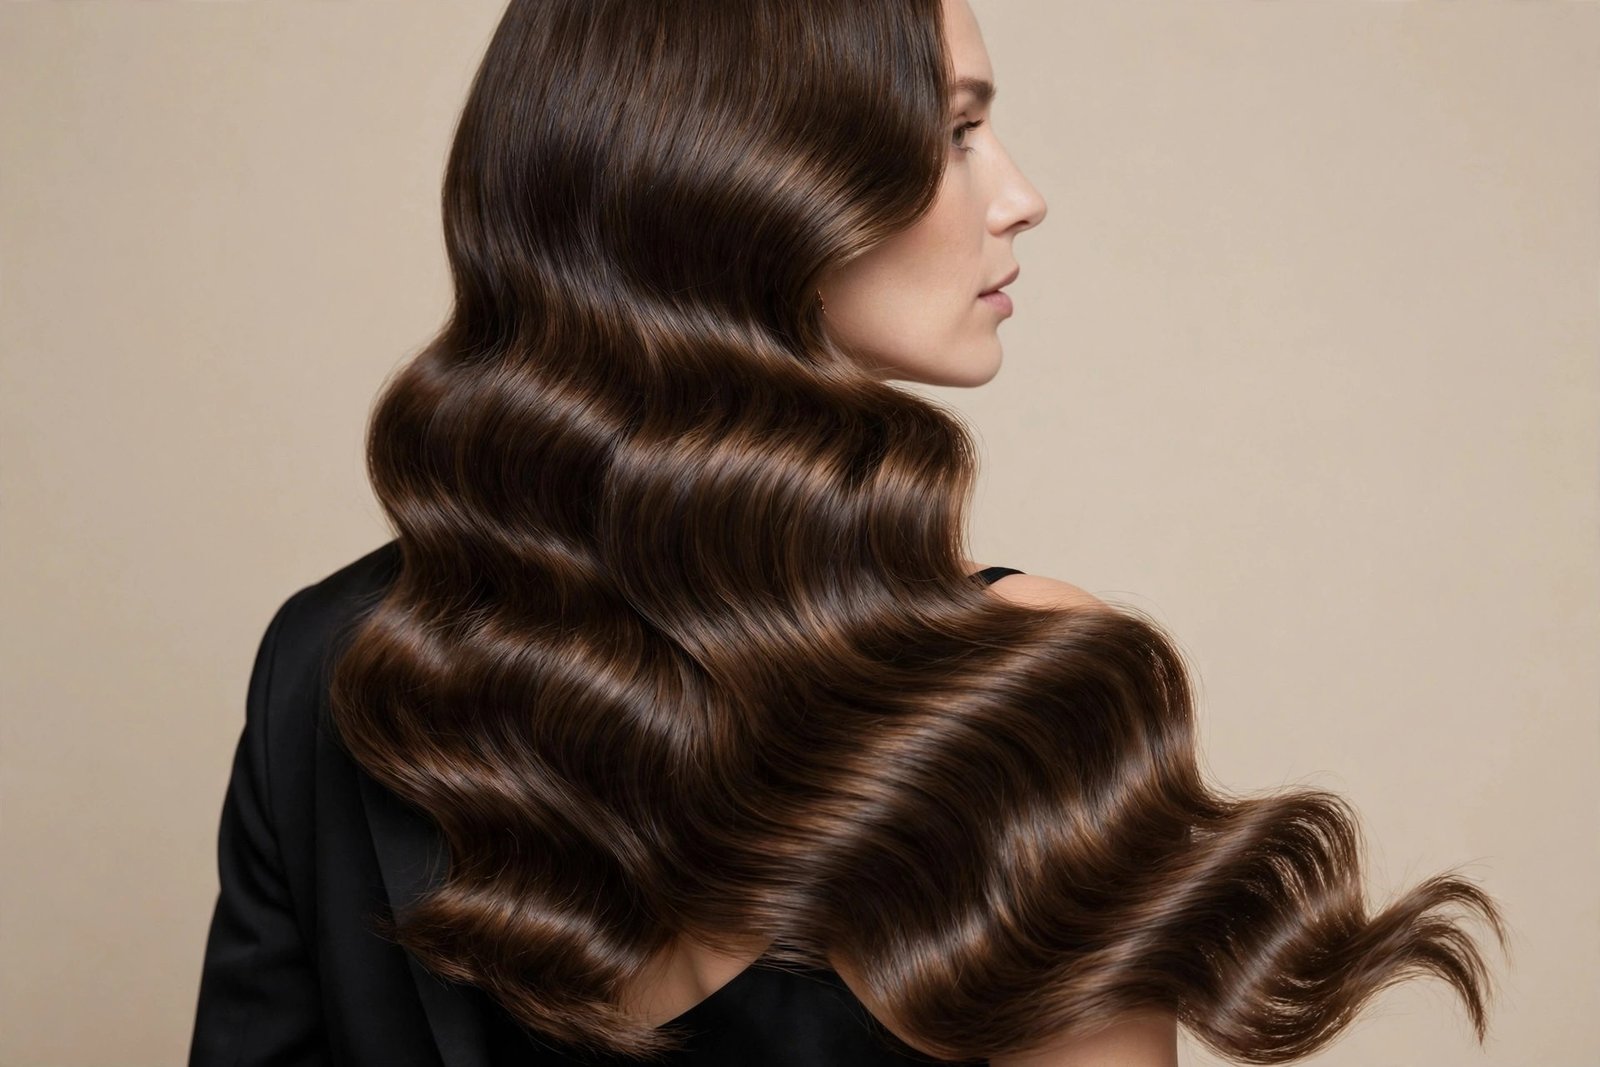
Beach waves at a wedding might sound too casual, but the polished version is one of the most requested formal styles in salons right now — and for good reason. It’s romantic without being stiff, it photographs beautifully, and unlike an intricate updo, it won’t collapse if you actually dance. The key word is polished: smoother roots, more uniform waves, glossier finish. Think “beach waves that went to finishing school.”
Who it suits: wedding guests, bridesmaids, anyone attending a formal event who doesn’t want to look like they’re trying too hard. Long and medium hair work best; very short hair should consider the tousled bob (look #5) dressed up with accessories instead.
The how: the technique is classic wand waves, but with upgrades. Blow-dry smooth first with a round brush — the polished finish starts at the blow-dry, not the wand. Wave in consistent 1.5-inch sections, all wrapped in the same direction on each side (this is the one time I’ll tell you not to alternate — uniformity reads as formal). Let everything cool, then brush through gently with a soft bristle brush to meld the waves into soft, continuous movement. Finish with a shine spray and a light-hold hairspray. Tuck one side behind the ear and add a simple accessory — a gold cuff, a pearl pin, a small clip — and you’ve got a look that works from ceremony to last dance.
Timing tip: do this 2 to 3 hours before the event, not right before. Freshly waved hair always looks a bit too “done”; giving it time to relax is what makes it look expensive. Honest downside: polished waves in an outdoor summer wedding + humidity = a race against physics. If the wedding’s outside, bring the hairspray in your clutch and make peace with touch-ups.
15. The 90s Blowout-Wave Hybrid
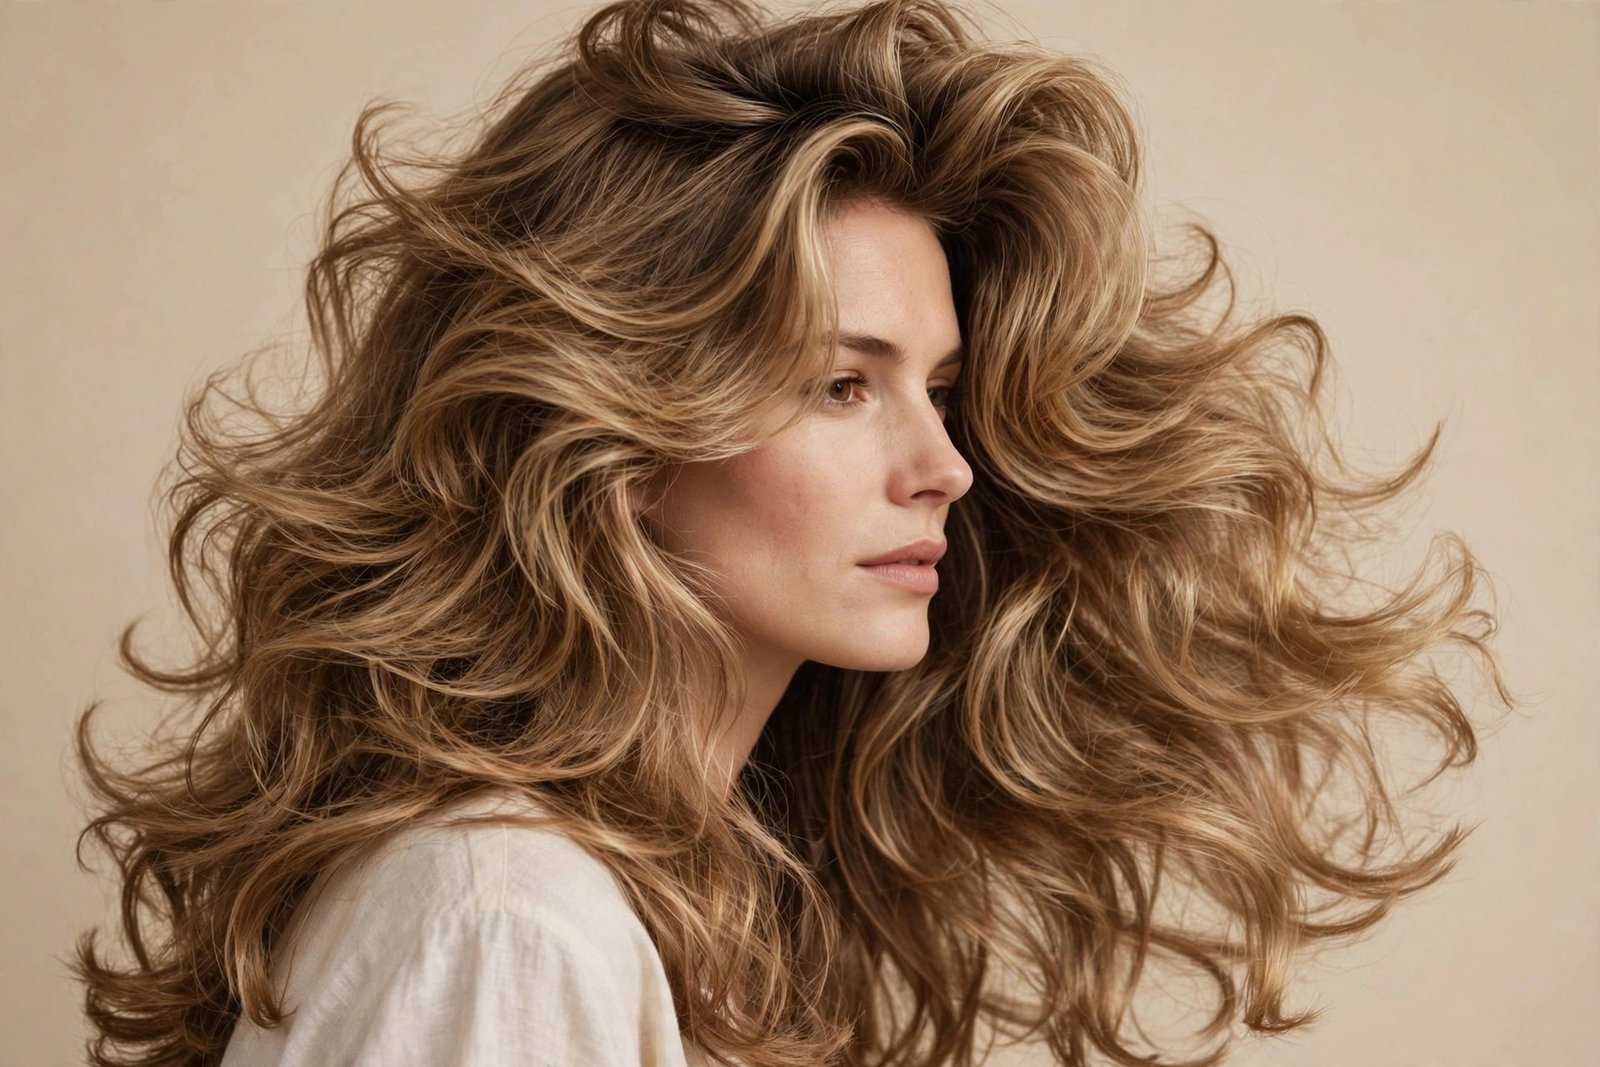
The 90s are back in a big way — bouncy blowouts, curtain bangs, the whole supermodel moment — and the smartest girls are merging that volume with beach wave texture. The result is the best of both worlds: the lift and bounce of a blowout with the relaxed, modern feel of waves. It’s giving “off-duty model,” and I mean that as the highest compliment.
Who it suits: medium to long hair with layers — layers are essential here because they create the movement that makes the hybrid work. Fine to medium hair gets the most dramatic volume payoff. If you loved the bouncy blowout trend but found it too polished for everyday, this is your middle ground.
The how: blow-dry with a large round brush, focusing on root lift — overdirect each section up and away from the scalp as you dry. This is where the volume comes from, so don’t rush it. Once dry, wave only the mid-lengths and ends with a 1.5-inch wand, keeping the roots smooth and bouncy from the blow-dry. The contrast between voluminous roots and relaxed wavy ends is the whole look. Finish with a volumizing texture spray at the roots and a light shine mist on the ends.
This is the highest-effort look on the everyday-wearable part of this list — a proper round-brush blow-dry takes 20 to 30 minutes on medium-long hair. The shortcut version (rough-dry with your fingers, then use velcro rollers on the crown while you do makeup) gets you about 70% of the way there. Honest downside: the volume fades. This is a day-one look, full stop. Sleep on it and you’ll wake up with regular beach waves, which is fine, just not the hybrid anymore.
16. Short Pixie Soft Waves
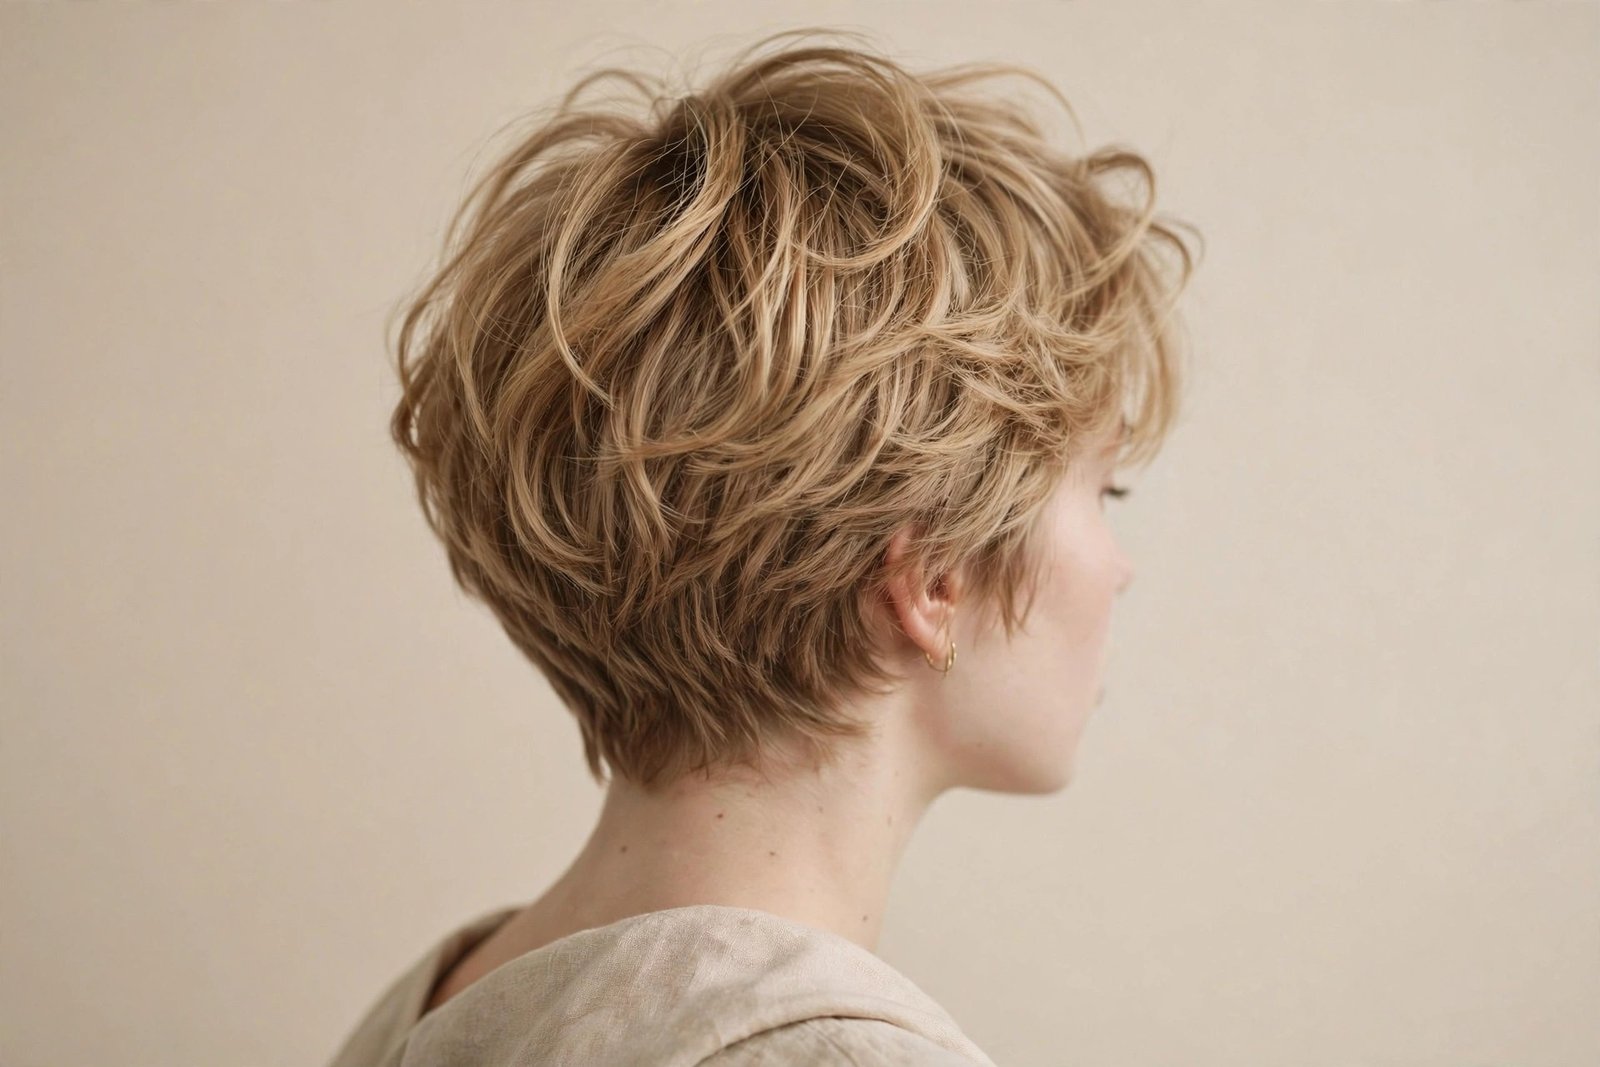
Yes, really. Beach waves on a pixie. Before you close this tab, hear me out — soft, tousled texture on a pixie cut is one of the most modern, cool-girl looks of 2026, and the “beach wave” version (loose bends, piecey separation, zero stiffness) keeps it feminine and touchable rather than spiky. It’s the pixie for girls who don’t want to look severe.
Who it suits: pixie cuts with at least 2 to 3 inches on top — you need enough length to bend. This is stunning on fine hair (texture = the illusion of thickness) and on women with strong bone structure, because the softness of the waves balances angular features beautifully.
The how: forget the curling wand — you’ll burn your fingers and your patience. A mini flat iron (the half-inch kind) is the tool here. On dry hair with heat protectant, take small sections on top, clamp, twist slightly, and pull through. You’re creating bends, not curls — think of it as adding “movement” rather than “waves.” Work in different directions for that organic feel. Finish with the tiniest amount of texturizing paste, warmed between your palms and scrunched through the top. The whole thing takes five minutes once you learn it.
Styling products matter more at this length because there’s nowhere to hide. Too much product and a pixie goes greasy instantly; too little and the texture won’t hold. Start with half of what you think you need. Honest downside: pixies need cuts every 4 to 6 weeks to keep the shape, and wavy texture grows out into awkwardness faster than straight texture. Budget for frequent trims or embrace the grow-out as its own look.
The Beach Wave Routine: Styling, Care & Maintenance
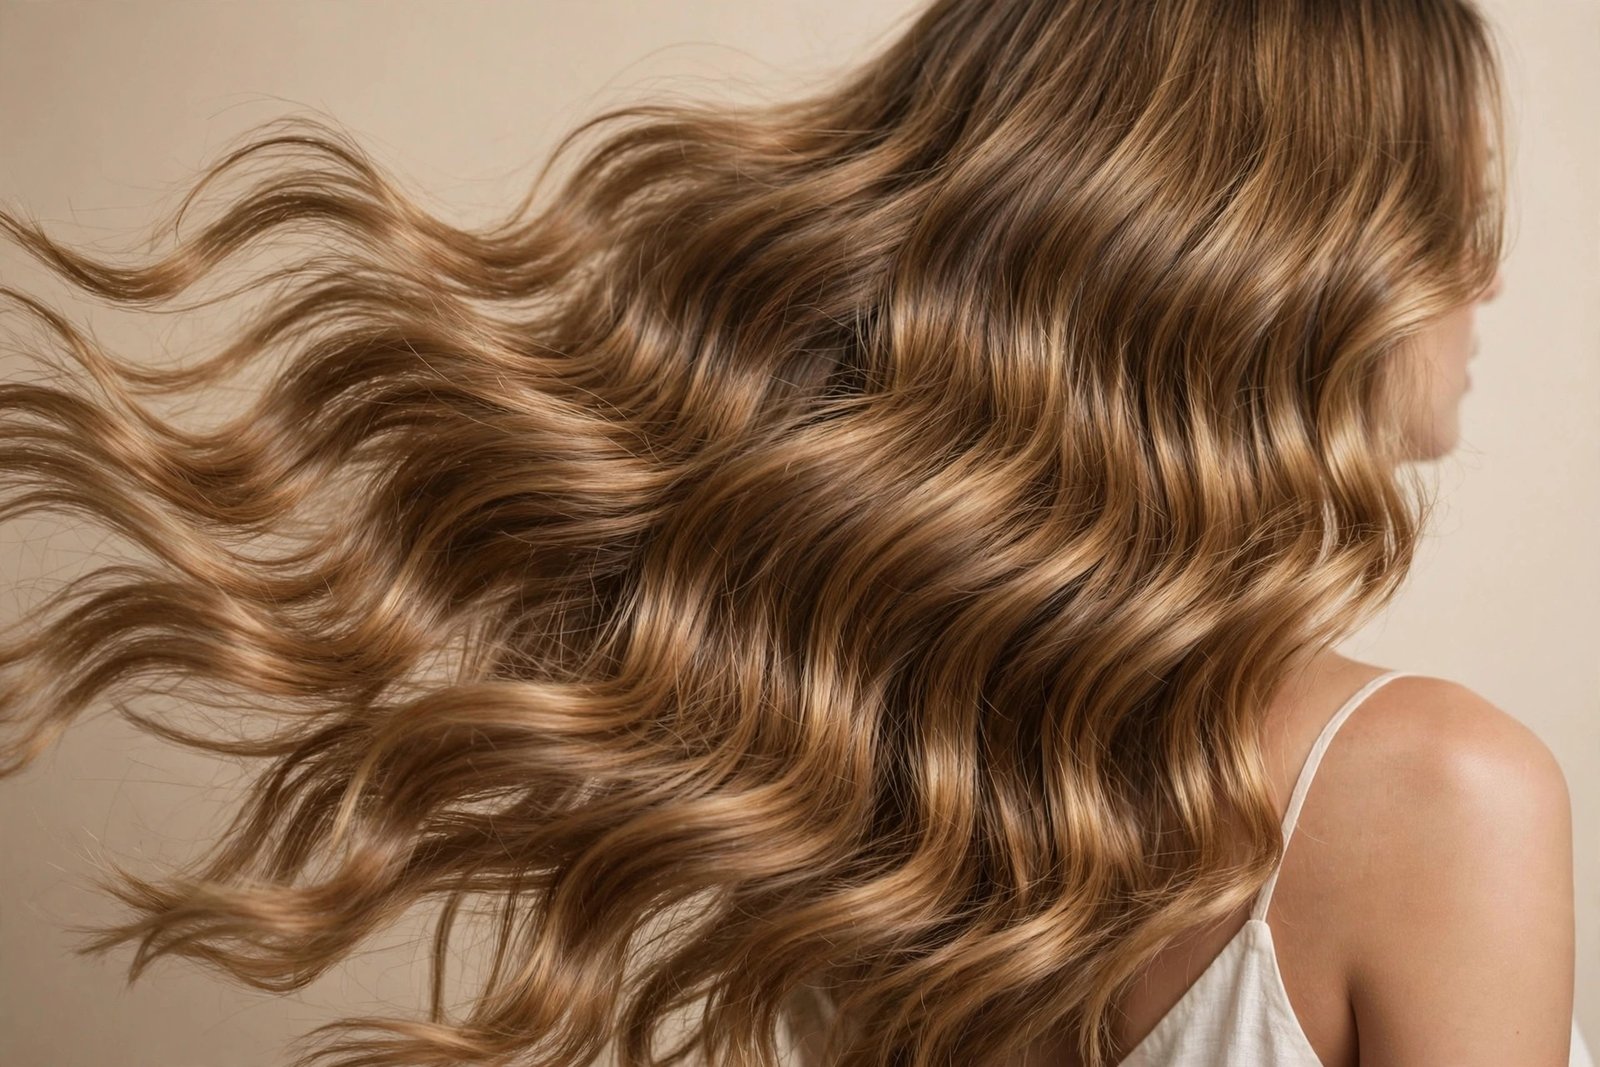
The looks above are the what. This section is the how-behind-the-how — the routine that makes beach waves sustainable instead of a special-occasion project. Because here’s the thing nobody tells you: great beach waves aren’t really about the styling technique. They’re about hair health, wash-day habits, and the boring maintenance stuff that makes the fun styling part actually work. Get the foundation right and the waves practically style themselves.
Wash Day: The Foundation of Good Waves
Everything starts here, and I mean everything. Hair that’s over-washed, under-conditioned, or coated in product buildup will not wave properly no matter what technique you use. It’s like trying to paint on a dirty canvas — the technique isn’t the problem, the surface is.
How often should you wash? For most wavy-haired women, 2 to 3 times a week is the sweet spot. Daily washing strips the natural oils that give waves their softness and hold, while going too long between washes leaves roots flat and greasy, which kills wave volume. If you’re currently a daily washer, transition gradually — your scalp overproduces oil because you’re constantly stripping it, and it takes 2 to 3 weeks to recalibrate. Dry shampoo is your bridge during the transition, applied the night before (not the morning) so it has time to absorb.
Product-wise, sulfate-free shampoo is worth the switch for wavy hair. Sulfates are effective cleansers, but they’re indiscriminate — they strip the oils your waves need along with the dirt. A gentle sulfate-free formula cleans without leaving hair squeaky (squeaky is not clean, by the way — squeaky is stripped). Conditioner goes on the mid-lengths and ends only, never the roots, unless you enjoy flat roots. And once a week, swap your regular conditioner for a deep conditioning mask. Leave it on for at least 10 minutes — the “2-minute mask” thing is marketing; real penetration takes time. If your hair is color-treated, especially blonde or red, this weekly mask is non-negotiable. Color processing makes hair more porous, porous hair loses moisture faster, and dry hair doesn’t wave — it frizzes.
One more wash-day detail that matters enormously: how you dry. Rough towel-drying is the enemy of waves — it creates frizz and breaks up the natural pattern before you even start. Squeeze water out gently with a microfiber towel or an old cotton t-shirt (the t-shirt trick is free and genuinely works better than most fancy towels). Then apply your styling products to damp hair, not wet and not dry. Damp — about 70% dry — is the magic window where products distribute evenly and actually penetrate instead of sitting on top or sliding off.
Heat Styling Without the Damage
Let’s have an honest conversation about heat, because the “never use heat” absolutists and the “350 degrees or nothing” crowd are both wrong. Heat is a tool. Used correctly, it’s fine. Used carelessly, it’s cumulative damage that shows up months later as breakage you can’t explain. The difference is entirely in the details.
First: heat protectant, every single time, no exceptions. I don’t care if you’re “just touching up two pieces.” Heat protectant works by forming a barrier that slows heat transfer and distributes it more evenly — it’s real science, not marketing. Apply it to dry hair before any hot tool, and make sure you’re covering the ends, which are the oldest and most vulnerable part of your hair. The amount matters too: a light mist over the whole head isn’t enough. Section and spray properly, the way you’d apply sunscreen — thorough coverage, not a symbolic gesture.
Second: temperature. Most people use way more heat than they need. Fine hair should stay around 300-325°F (150-165°C). Medium hair does fine at 325-350°F. Only very thick, coarse, resistant hair needs 375-400°F, and even then, one slow pass beats three fast ones at max heat. If your tool doesn’t have adjustable temperature, that’s your sign to upgrade — single-temperature tools are almost always too hot for most hair types. And here’s a detail from the beauty editors at Byrdie that I completely agree with: the health of your hair matters more than any styling technique, so when in doubt, go cooler and slower.
Third: frequency management. Daily heat styling is where damage accumulates, even with protectant. The goal is to heat-style 2 to 3 times a week max, and refresh rather than redo on the other days. This is why the nighttime routine (next section) matters so much — preserving your waves overnight means you only need the hot tools a few times a week. Your hair will thank you with better texture, more shine, and fewer split ends, which means fewer trims, which means your hair actually gets longer. It’s all connected.
The Nighttime Routine That Saves Your Mornings
If you’re still sleeping on your waves with no protection and wondering why they look tragic by morning, this section will change your life. What you do at night determines 80% of how your hair looks in the morning. This is the highest-leverage five minutes in all of hair care.
The pineapple method is the classic for a reason: gather your hair into a loose, high ponytail on top of your head using a silk scrunchie or spiral tie — never a regular elastic, which creates dents and breakage. The “loose” part is critical. You’re not making a tight ponytail; you’re loosely gathering the hair so the waves aren’t compressed while you sleep. For shorter hair that won’t pineapple, a loose low braid or two loose space-bun twists work the same way.
The pillowcase matters more than you’d think. Cotton pillowcases create friction — every time you turn your head, cotton grabs your hair and roughs up the cuticle, which means frizz and flattened waves by morning. A silk or satin pillowcase lets your hair slide instead of snag. It’s a twenty-dollar upgrade that pays off every single night. If you want to go further, a silk bonnet or wrap over the pineapple is the gold standard — it sounds excessive until you wake up with day-three hair looking like day-one hair.
Morning refresh is the other half of the equation. Don’t re-wet your whole head — that resets everything and you’re back to square one. Instead, mist lightly with water mixed with a tiny bit of leave-in conditioner (a spray bottle with this mix is the most useful three dollars you’ll spend on hair), scrunch the mid-lengths to reactivate the wave pattern, and only touch up the front pieces with a hot tool if needed. The whole refresh takes three minutes. Compare that to a full restyle and you’ll understand why the nighttime routine is the real secret of people with consistently great wavy hair.
Products: What You Actually Need (and What’s Marketing)
The hair product industry wants you to believe you need seventeen products for beach waves. You need four, maybe five. Everything else is situational. Let me break down what’s actually essential versus what’s nice to have versus what’s pure marketing.
Essential number one: heat protectant. We’ve covered this. Essential number two: a wave-enhancing product for damp hair — mousse for fine hair, cream for medium to thick hair. This is what gives your waves structure and hold from the inside out. Essential number three: a texture or sea salt spray for finished hair — this is what creates that piecey, separated, touchable beach texture. Essential number four: a light-hold hairspray or a shine mist for finishing, depending on whether your priority is hold or gloss. That’s the core kit. Everything in your routine should fit in one small bag.
Nice to have: dry shampoo (for extending wash day), a deep conditioning mask (weekly treatment), a silk pillowcase (counts as a product in my book), and a good detangling brush for wet hair. Situational: purple shampoo if you’re blonde, color-depositing conditioner if you’re red or brunette with dimension, anti-humidity serum if you live somewhere humid. If you’re dealing with grown-out color and want ideas for low-maintenance shades that pair perfectly with waves, mocha balayage and money piece highlights are both gorgeous with wavy texture.
What’s marketing: separate “wave shampoos” and “wave conditioners” (your regular good-quality products are fine), expensive “beach wave” branded tools that are just curling wands with a markup, and anything that promises “salon results in 60 seconds.” Good hair takes a little time. Anyone promising otherwise is selling you something. The most honest advice I can give about products: the best product is the one you’ll actually use consistently. A fifteen-dollar mousse you use every wash day beats a sixty-dollar serum that sits in your cabinet.
Frequently Asked Questions
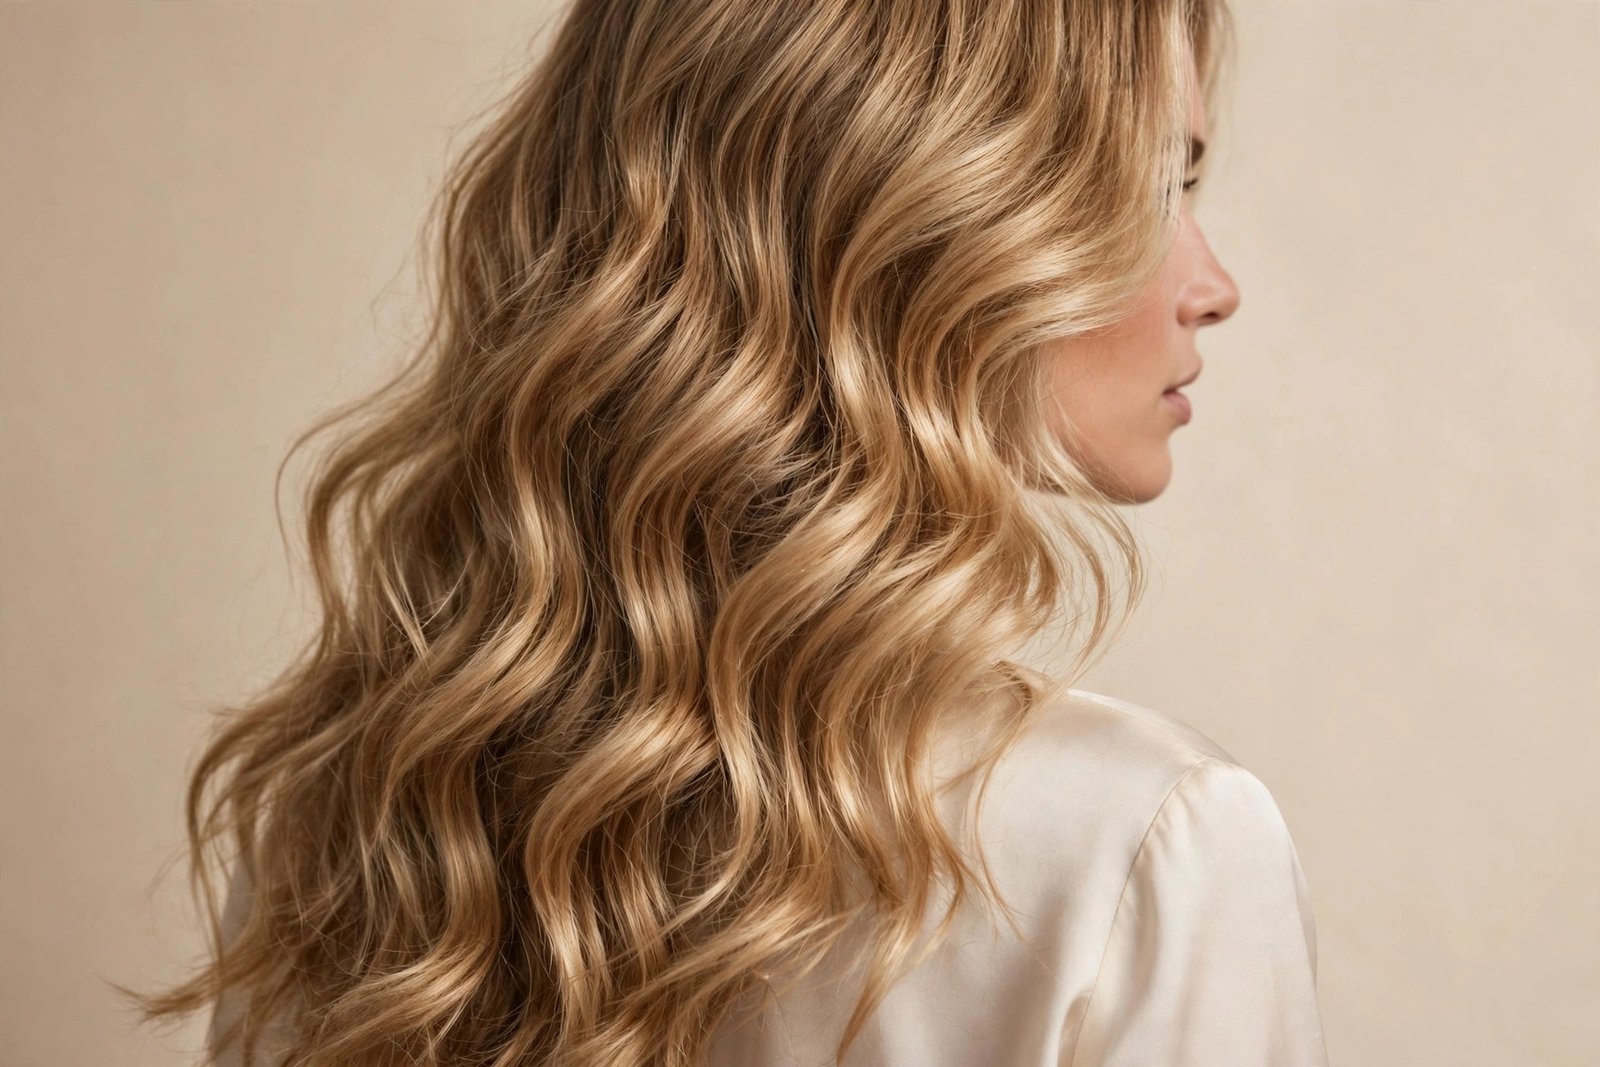
The questions I get asked most about beach waves, answered straight — no hedging, no “it depends” cop-outs (okay, one or two depend, but I’ll tell you exactly what they depend on).
How long do beach waves last?
On freshly washed hair with proper technique, expect 2 to 3 days of good waves, with day two often looking better than day one. Thick and coarse hair holds waves the longest — up to 4 or 5 days with nighttime protection. Fine hair is the shortest-lived, sometimes dropping by evening on day one, especially in humidity. The biggest factors in longevity are: letting waves cool completely before touching them (this sets the pattern), using the right products for your hair type, and protecting your hair at night with the pineapple method and a silk pillowcase. If your waves consistently die within hours, the culprit is almost always touching them while warm or using too-heavy products that drag the pattern down.
Can I get beach waves without any heat at all?
Absolutely — the overnight braid method (look #12 in this guide) is the most reliable heatless option, and it works on every hair type. Other heatless methods worth trying: sock curls for more uniform waves, twisted buns for looser texture, and the headband method where you wrap damp hair around a soft headband overnight. The trade-off is predictability — heatless waves vary more from day to day depending on how damp your hair was, how you slept, and humidity. They’re also generally softer and less defined than hot-tool waves. For the best of both worlds, many women do heatless waves most days and use a wand just on the front pieces for polish. Your hair gets a break, and you still look put-together.
Why do my beach waves fall flat within hours?
Nine times out of ten, it’s one of three things. First, you touched the waves before they cooled completely — warm hair is still moldable, so breaking up warm waves literally un-forms them. Let them cool for at least 10 minutes (pinned up is even better). Second, your products are too heavy for your hair type — rich creams and oils on fine hair drag waves straight down. Switch to lighter formulas. Third, your sections were too big or your barrel too large for your hair’s holding ability — try slightly smaller sections and a slightly smaller barrel, since tighter waves relax into beach waves but loose waves relax into nothing. Less commonly, the issue is product buildup on the hair preventing proper grip — a clarifying shampoo once a month resets everything.
Are beach waves suitable for thin or fine hair?
Yes, with the right approach — and they can actually make fine hair look thicker, since texture creates the illusion of density. The rules for fine hair: use mousse (not cream) on damp hair for lightweight hold, choose a smaller barrel (1 inch) since fine hair holds tighter patterns better, let waves cool completely before touching, and break them up with fingers only — never a brush. Keep products minimal (two max) and avoid anything with heavy oils near the roots. The one thing to be realistic about: fine beach waves have the shortest lifespan of any hair type, especially in humidity. They’re a beautiful day-one look, and dry shampoo plus a quick front-piece refresh extends them to day two. For more fine-hair-friendly inspiration, textured bobs are another fantastic option.
What’s the actual difference between beach waves and curls?
It comes down to shape, uniformity, and finish. Curls are uniform, defined, spiral-shaped, and usually start higher up near the roots — think classic curling-iron curls or a formal updo texture. Beach waves are irregular S-shaped bends (not spirals), deliberately non-matching from section to section, starting lower around the cheekbones or below, with straighter ends and a more matte, touchable finish. The easiest test: if both sides of your head look symmetrical, they’re curls. If each wave looks slightly different and the whole thing looks a bit undone, they’re beach waves. Neither is better — they’re just different aesthetics. As Allure’s hair coverage has noted over the years, the trend cycle keeps swinging between polished and undone, and knowing which one you’re actually creating saves a lot of frustration.
How do I stop my beach waves from looking frizzy?
Frizz is the number one complaint about beach waves, and it’s almost always a moisture issue, not a styling issue. Frizzy hair is thirsty hair — the cuticle is raised and rough instead of lying flat and smooth. The fixes, in order of impact: a weekly deep conditioning mask (this alone solves it for most people), applying products to damp — not dripping, not dry — hair, using a microfiber towel instead of rough-drying with regular towels, and finishing with a tiny amount of smoothing oil or serum on the ends only. What doesn’t work: more heat (it makes frizz worse by further drying the hair), brushing dry wavy hair (it breaks up the pattern into frizz), and piling on products to “smooth” frizz — heavy product on frizzy hair just gives you weighed-down frizz. Fix the moisture first, then style.
Do I need layers to get good beach waves?
You don’t strictly need them, but layers make beach waves significantly better — I’d call them strongly recommended rather than required. Here’s why: one-length hair waved all over tends to form one big uniform wave pattern that can look heavy and triangular, especially on thick hair. Layers break up the weight, let the waves form at different points, and create the movement and dimension that make beach waves look expensive. Long, blended layers are the sweet spot — you don’t need choppy or dramatic layering. That said, if you’re growing out your hair or love a blunt cut, you can still do beautiful beach waves; just focus the waves through the mid-lengths and ends, keep the roots smooth, and use a shine product to keep the blunt ends looking intentional. For layering inspiration that works beautifully with waves, boho styles show how texture and layering work together.
Conclusion
Here’s what I want you to take away from all of this: beach waves aren’t a talent, they’re a skill, and skills can be learned. Every woman you’ve ever envied for her “effortless” wavy hair went through the awkward phase — the too-tight curls, the waves that fell flat by lunch, the frizz disasters. The difference between her and everyone else is just that she kept going until she figured out what worked for her specific hair. Your hair is not the problem. The wrong technique for your hair is the problem, and that’s fixable starting today.
So pick one look from this list — just one, the one that made you think “that could be me” — and try it this week. Not all sixteen. One. Get the products right for your hair type, protect your hair at night, give yourself permission for the first attempt to be imperfect. Because the real secret of beach waves, the one that no tutorial thumbnail will tell you, is that they’re supposed to look a little imperfect. That’s the whole point. Now go make some waves.