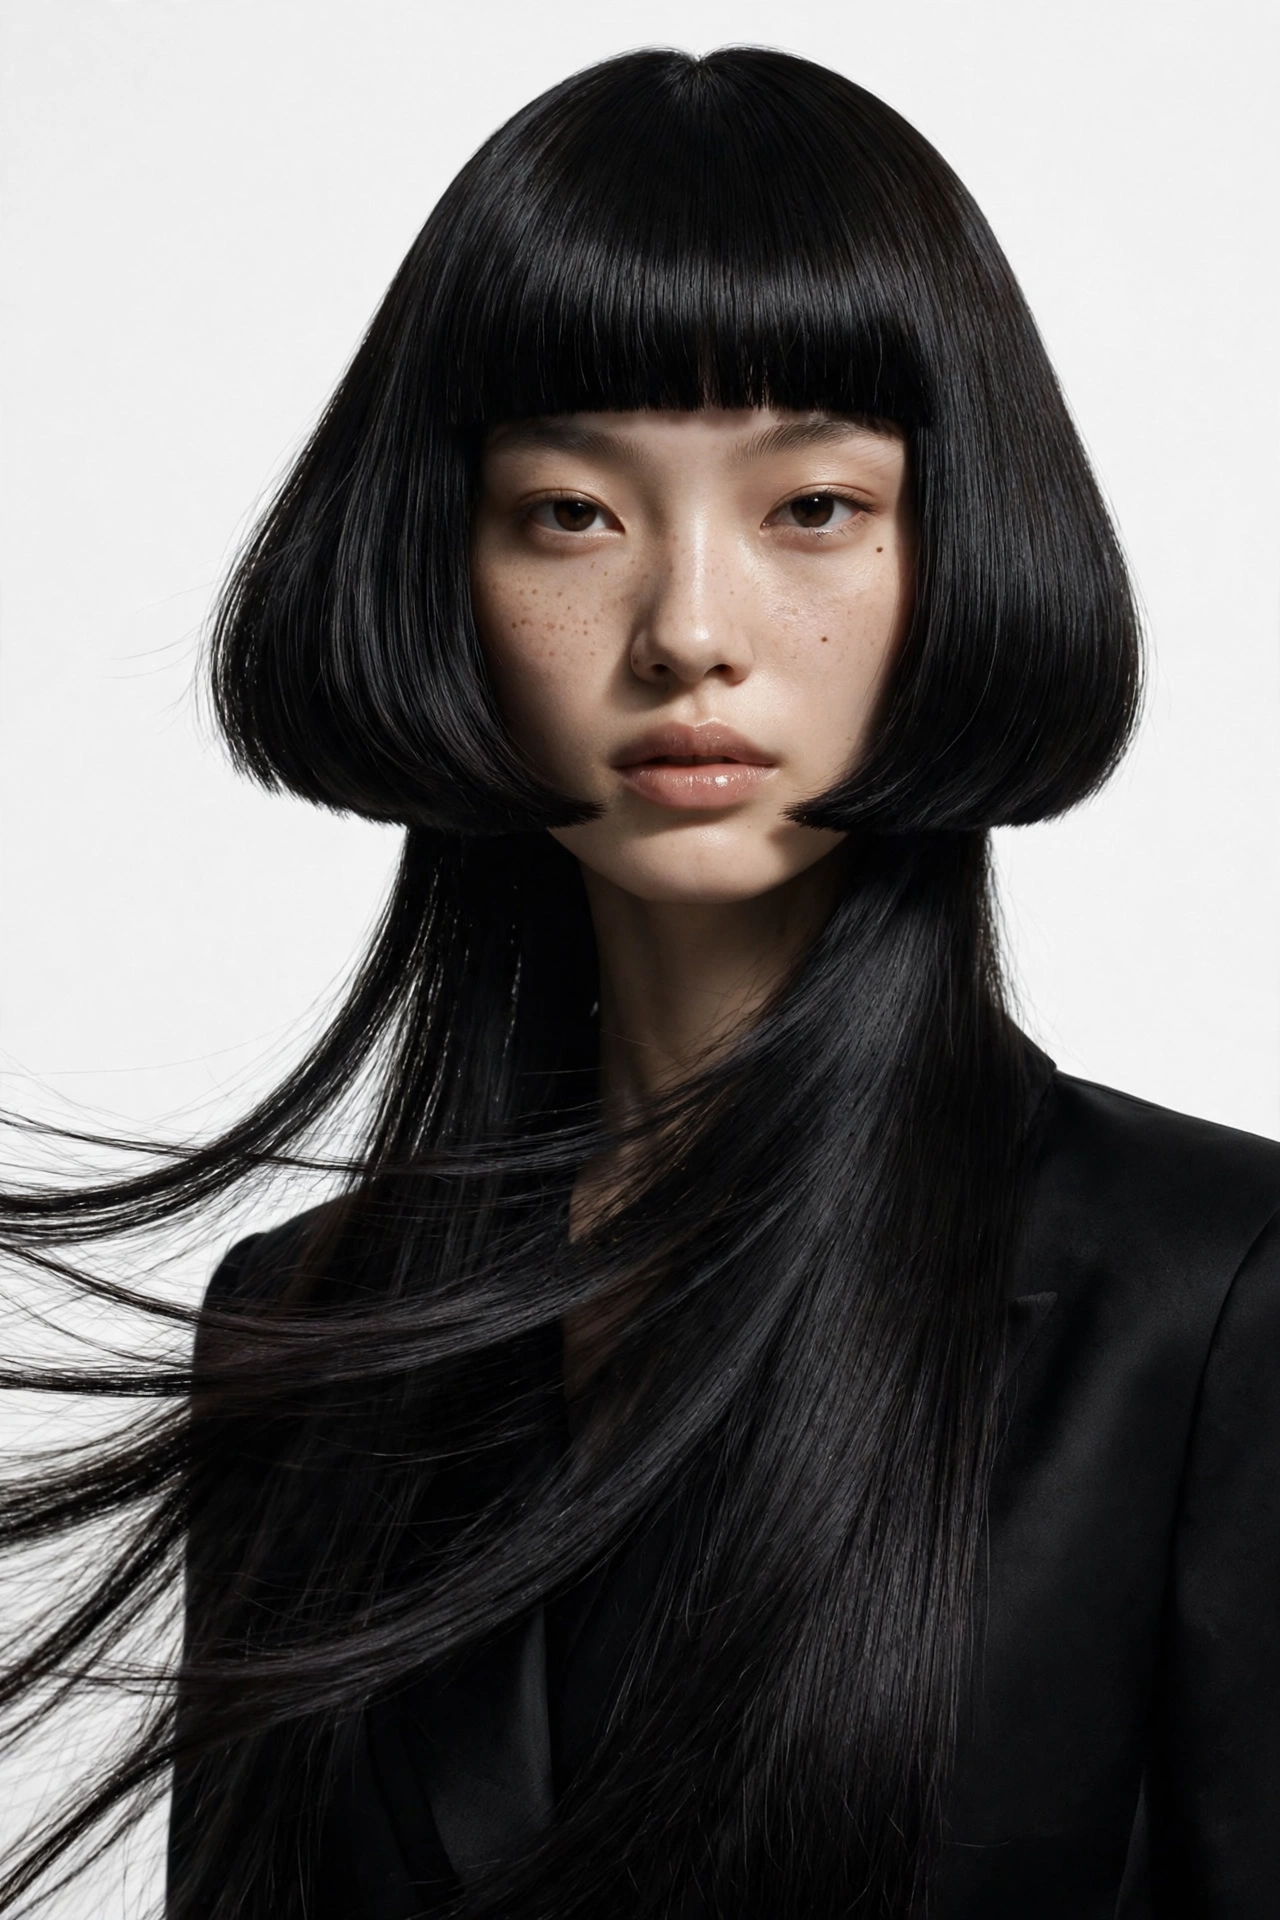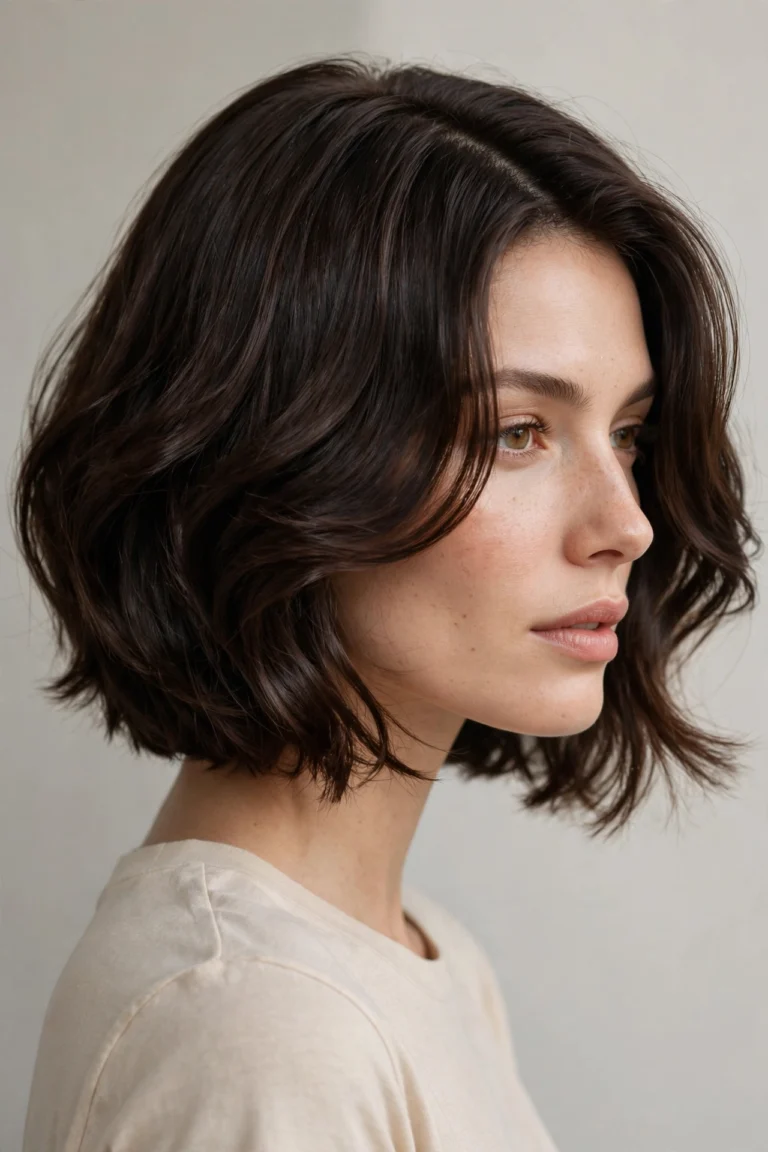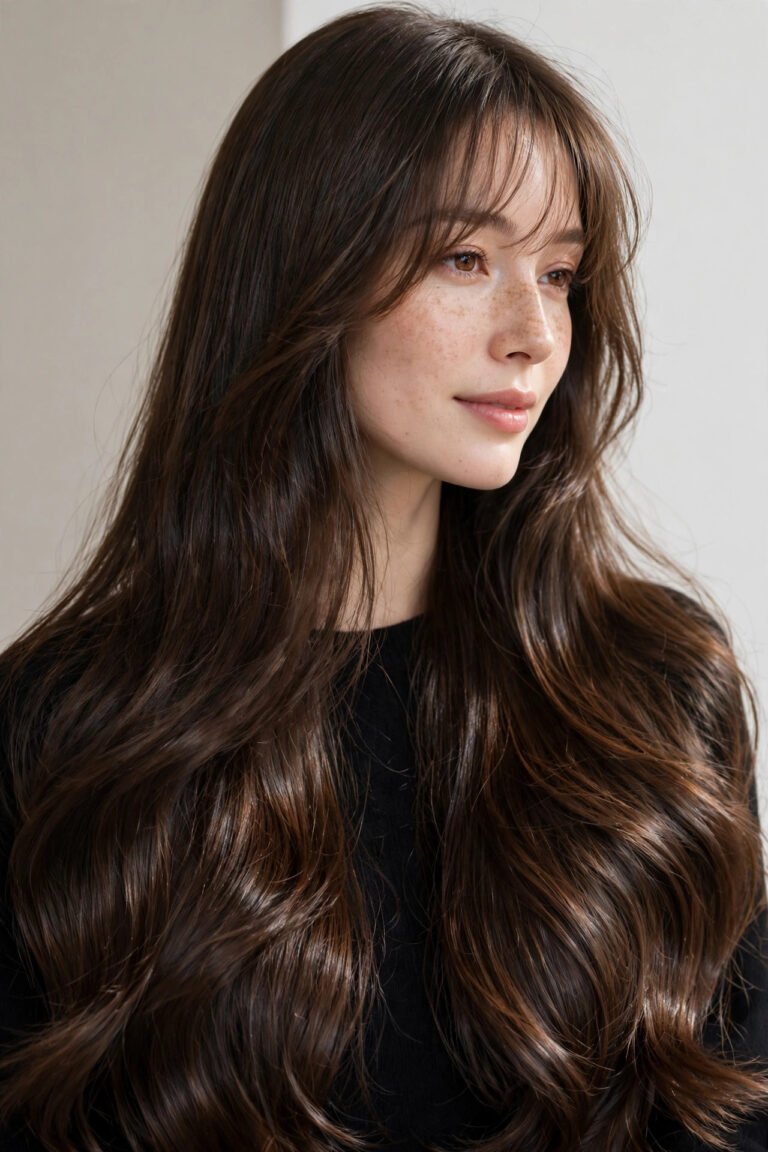
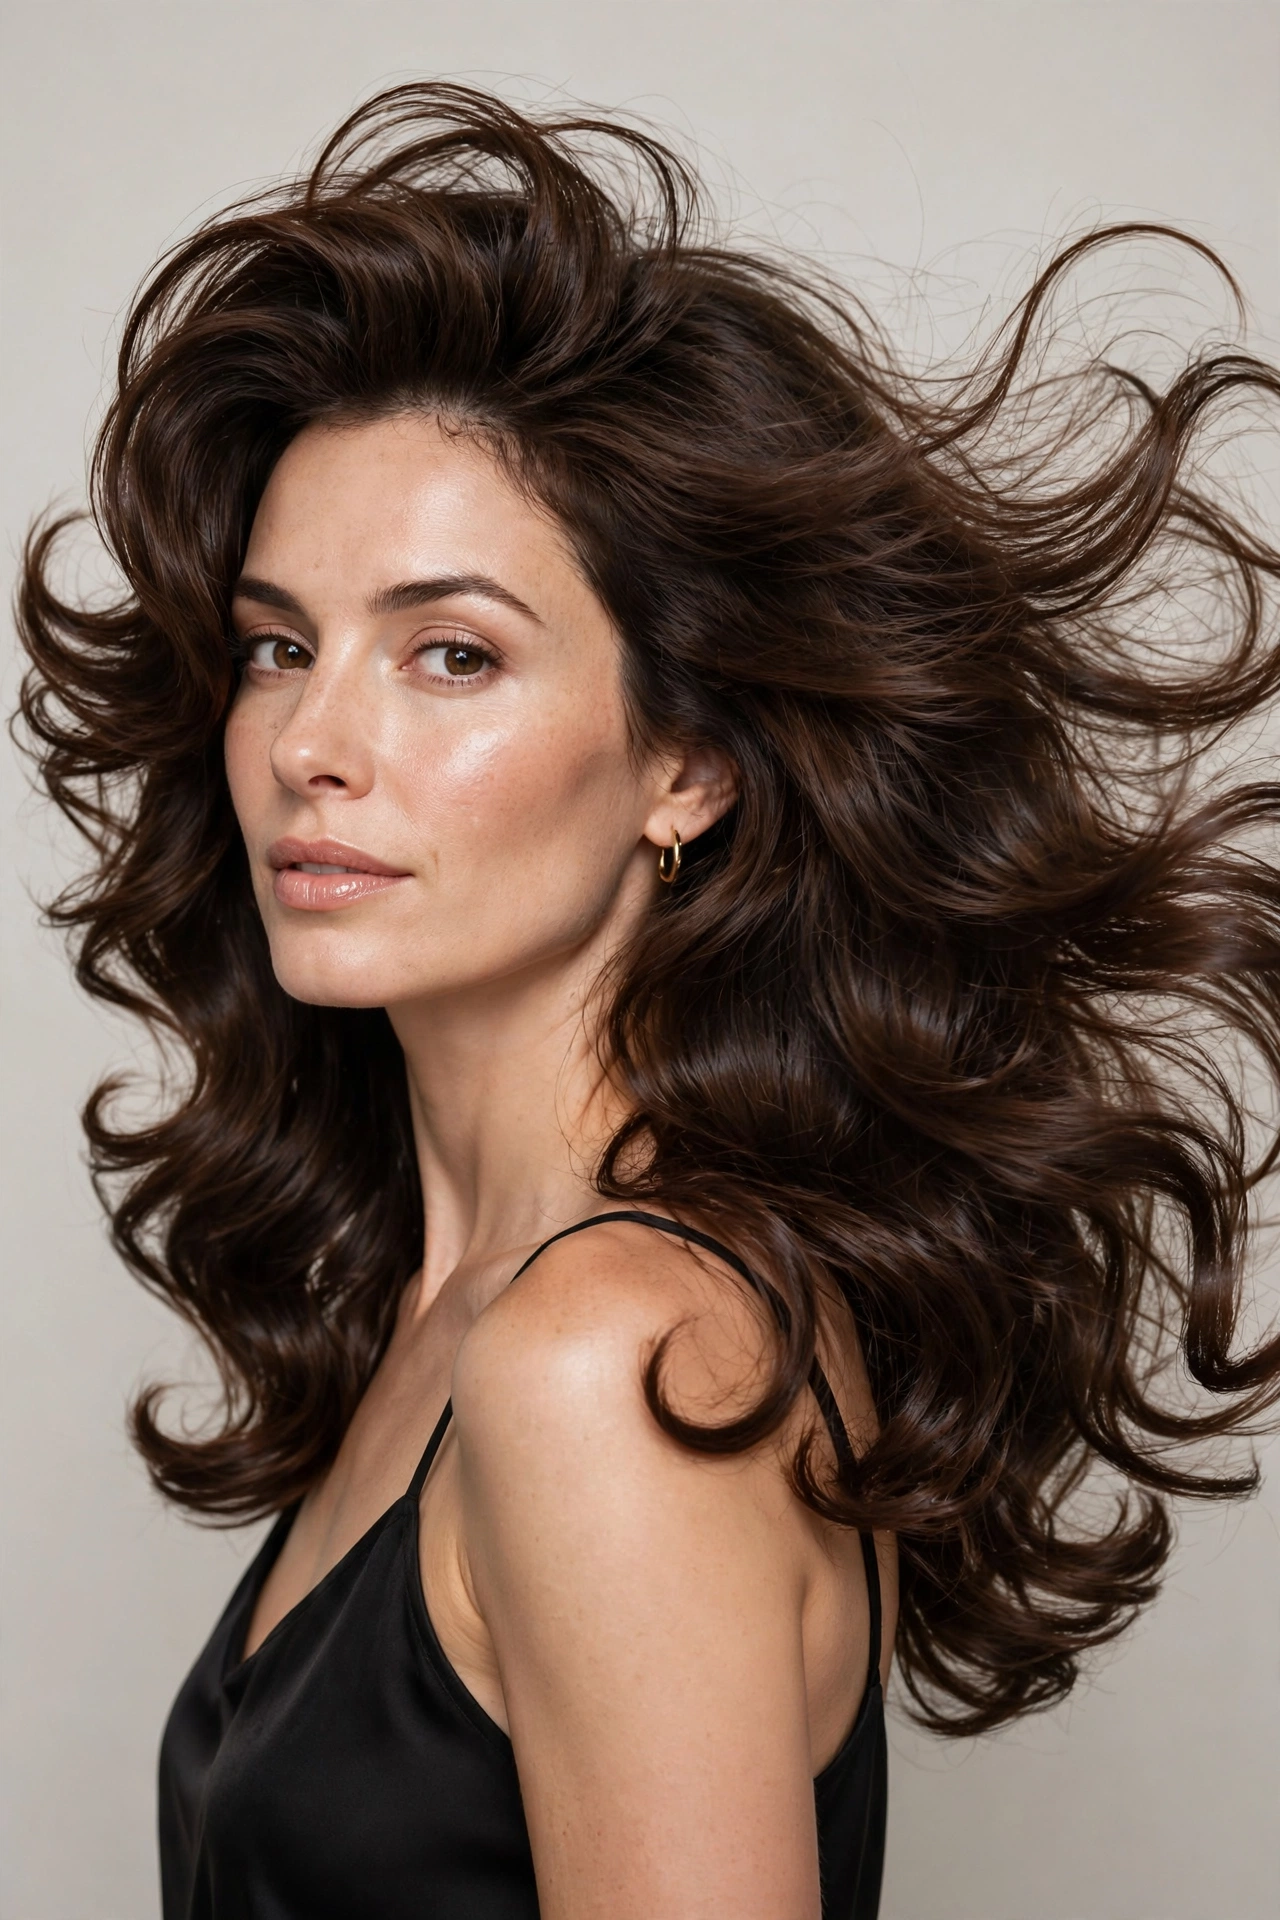
Bouncy Blowout Women 2026: 20 Voluminous Salon Styles
Bouncy Blowout Women 2026: 20 Voluminous Salon Styles
There is a specific feeling you get when you walk out of a salon after a proper blowout. Your hair moves when you turn your head. It catches the light. Strangers glance twice. I have had exactly two haircuts in my life that made me feel like that, and both times it was not really the cut that did it. It was the blowout. This guide to the bouncy blowout women are booking in record numbers for 2026 is about recreating that feeling on demand, whether you are sitting in a salon chair or standing in your own bathroom with a round brush and twenty spare minutes.
In the next few thousand words, you will get twenty genuinely different bouncy blowout styles, not twenty versions of the same photo. We will cover the classic salon blowout, the ’90s supermodel revival that refuses to die, curtain-fringe and layered versions, options for short hair, curly hair, and fine hair that will not hold a curl past lunchtime. You will also learn exactly what to tell your stylist to get the result you actually want, how to do a convincing version at home with a dryer and a round brush, which face shapes and hair types each style flatters, and how to keep the bounce alive for days instead of hours.
The reason this matters in 2026 is simple. Hair trends come and go, but the blowout is the rare thing that never actually leaves. It adapts. This year it has absorbed the ’90s revival, the curtain-bang era, and the glass-hair movement, and come out the other side looking fresher than it has in a decade. If you have ever thought blowouts were just for weddings and job interviews, this is the year that thinking expires.
What Is the Bouncy Blowout?

A bouncy blowout is a blow-dried hairstyle built around volume, movement, and shine. The hair is dried in sections with a round brush, with each section lifted at the root and curled under or outward at the ends, so the finished result has lift at the crown, soft bend through the lengths, and ends that flick instead of lying flat. The “bouncy” part is literal. Done right, the hair springs back when you touch it. Done wrong, it is just big hair that falls flat by noon, which is why technique matters more than tools.
The classic version most people picture comes from the salon chair: freshly washed hair, a volumizing mousse or root-lift spray worked through damp strands, then section-by-section drying with a large ceramic round brush, finishing with a cool shot to set each section and a light mist of flexible-hold hairspray. The whole appointment takes forty-five minutes to an hour, and the result typically lasts two to four days with the right maintenance. It is the most requested salon service in the world for a reason. No other single appointment changes how you look this dramatically in under an hour.
What people sometimes miss is that a blowout is not one look. It is a technique applied to whatever haircut you already have. Long layers get the full bombshell treatment. A bob gets lift at the roots and a flicked-under finish. Curly hair gets stretched and smoothed into big, soft volume. The twenty styles below are twenty different applications of that one technique, and the differences between them are bigger than you would expect. Choosing the right one for your hair type is the difference between a blowout that lasts three days and one that gives up by dinner.
Why the Bouncy Blowout Is Trending in 2026
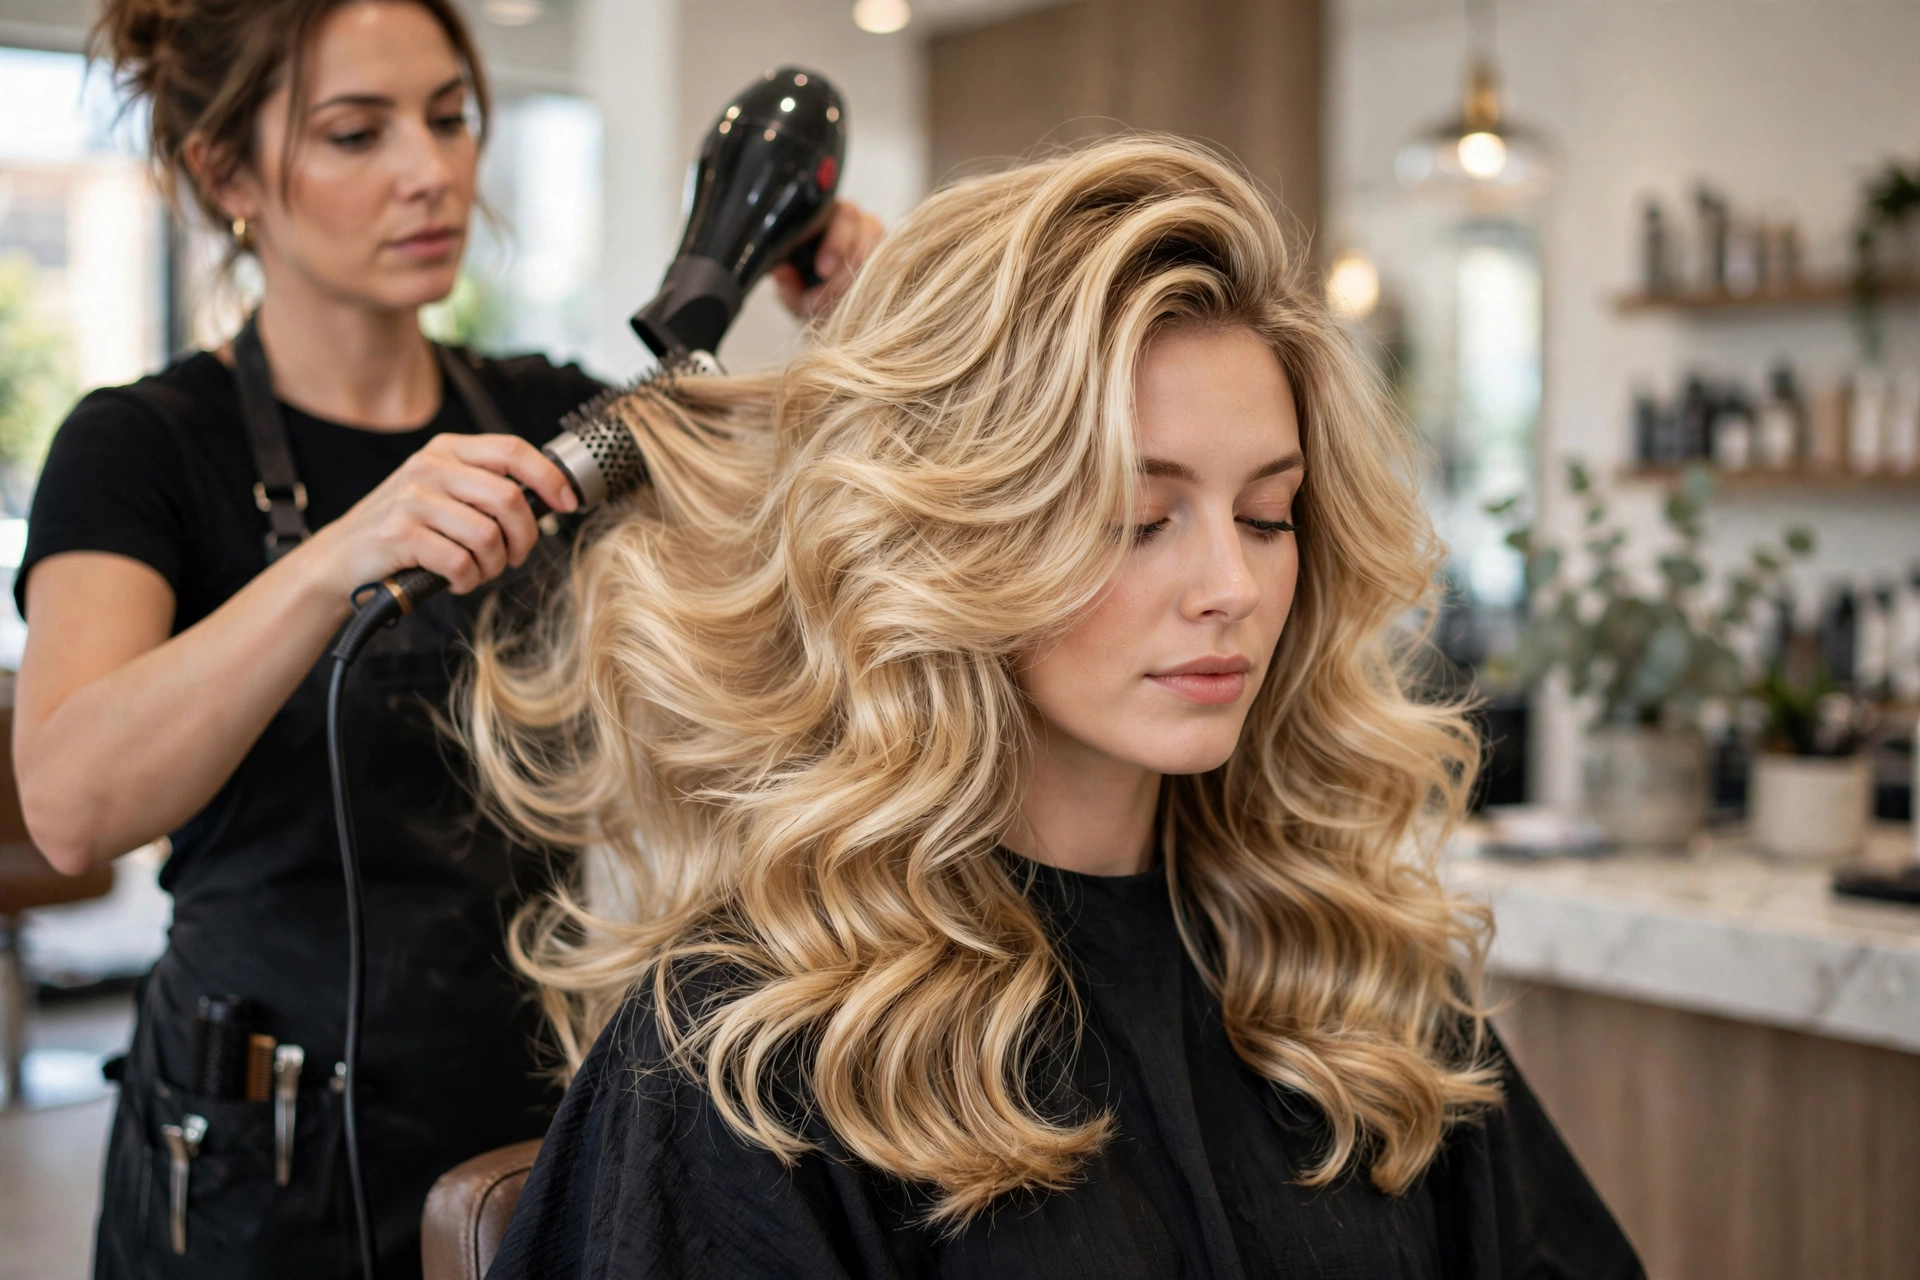
The blowout never really went away, so calling it a comeback is slightly dishonest. What is genuinely new in 2026 is the scale of it. Blowout searches spike every autumn as women refresh their hair for the season, and this year the spike has turned into a sustained wave. Beauty editors keep declaring bouncy, bombshell blowouts permanently in style, and for once the declaration matches what is actually happening in salons. Bookings for blowout services are up, round-brush tutorials are everywhere, and the look has fully crossed over from special-occasion hair to everyday hair.
A few things are driving it. The ’90s supermodel revival is the biggest one. The big, brushed-out, impossibly glossy hair of that era has been creeping back through fashion for two years, and in 2026 it has fully arrived in mainstream hair. At the same time, the curtain-bang and face-framing-layer trends of the last few years turned out to be the perfect foundation for a blowout. All those layers need somewhere to go, and a round brush gives them somewhere to go. Glam’s detailed bouncy blowout guide, built around recreating that polished voluminous finish at home, shows how mainstream the technique has become: it is no longer salon-only knowledge.
There is also a practical engine behind the trend. Hybrid working settled into its final form, and the blowout turned out to be the ideal low-effort high-impact style for it. One good blowout on Sunday evening carries you through three or four days of video calls with ten-minute refreshes. Dry shampoo at the roots on day two, a quick re-curl of the face-framing pieces on day three, and you are done. Compared to daily heat styling, a weekly blowout is arguably better for your hair, because you are applying heat once instead of five times. That math has converted a lot of skeptics.
20 Bouncy Blowout Styles for Women to Try in 2026
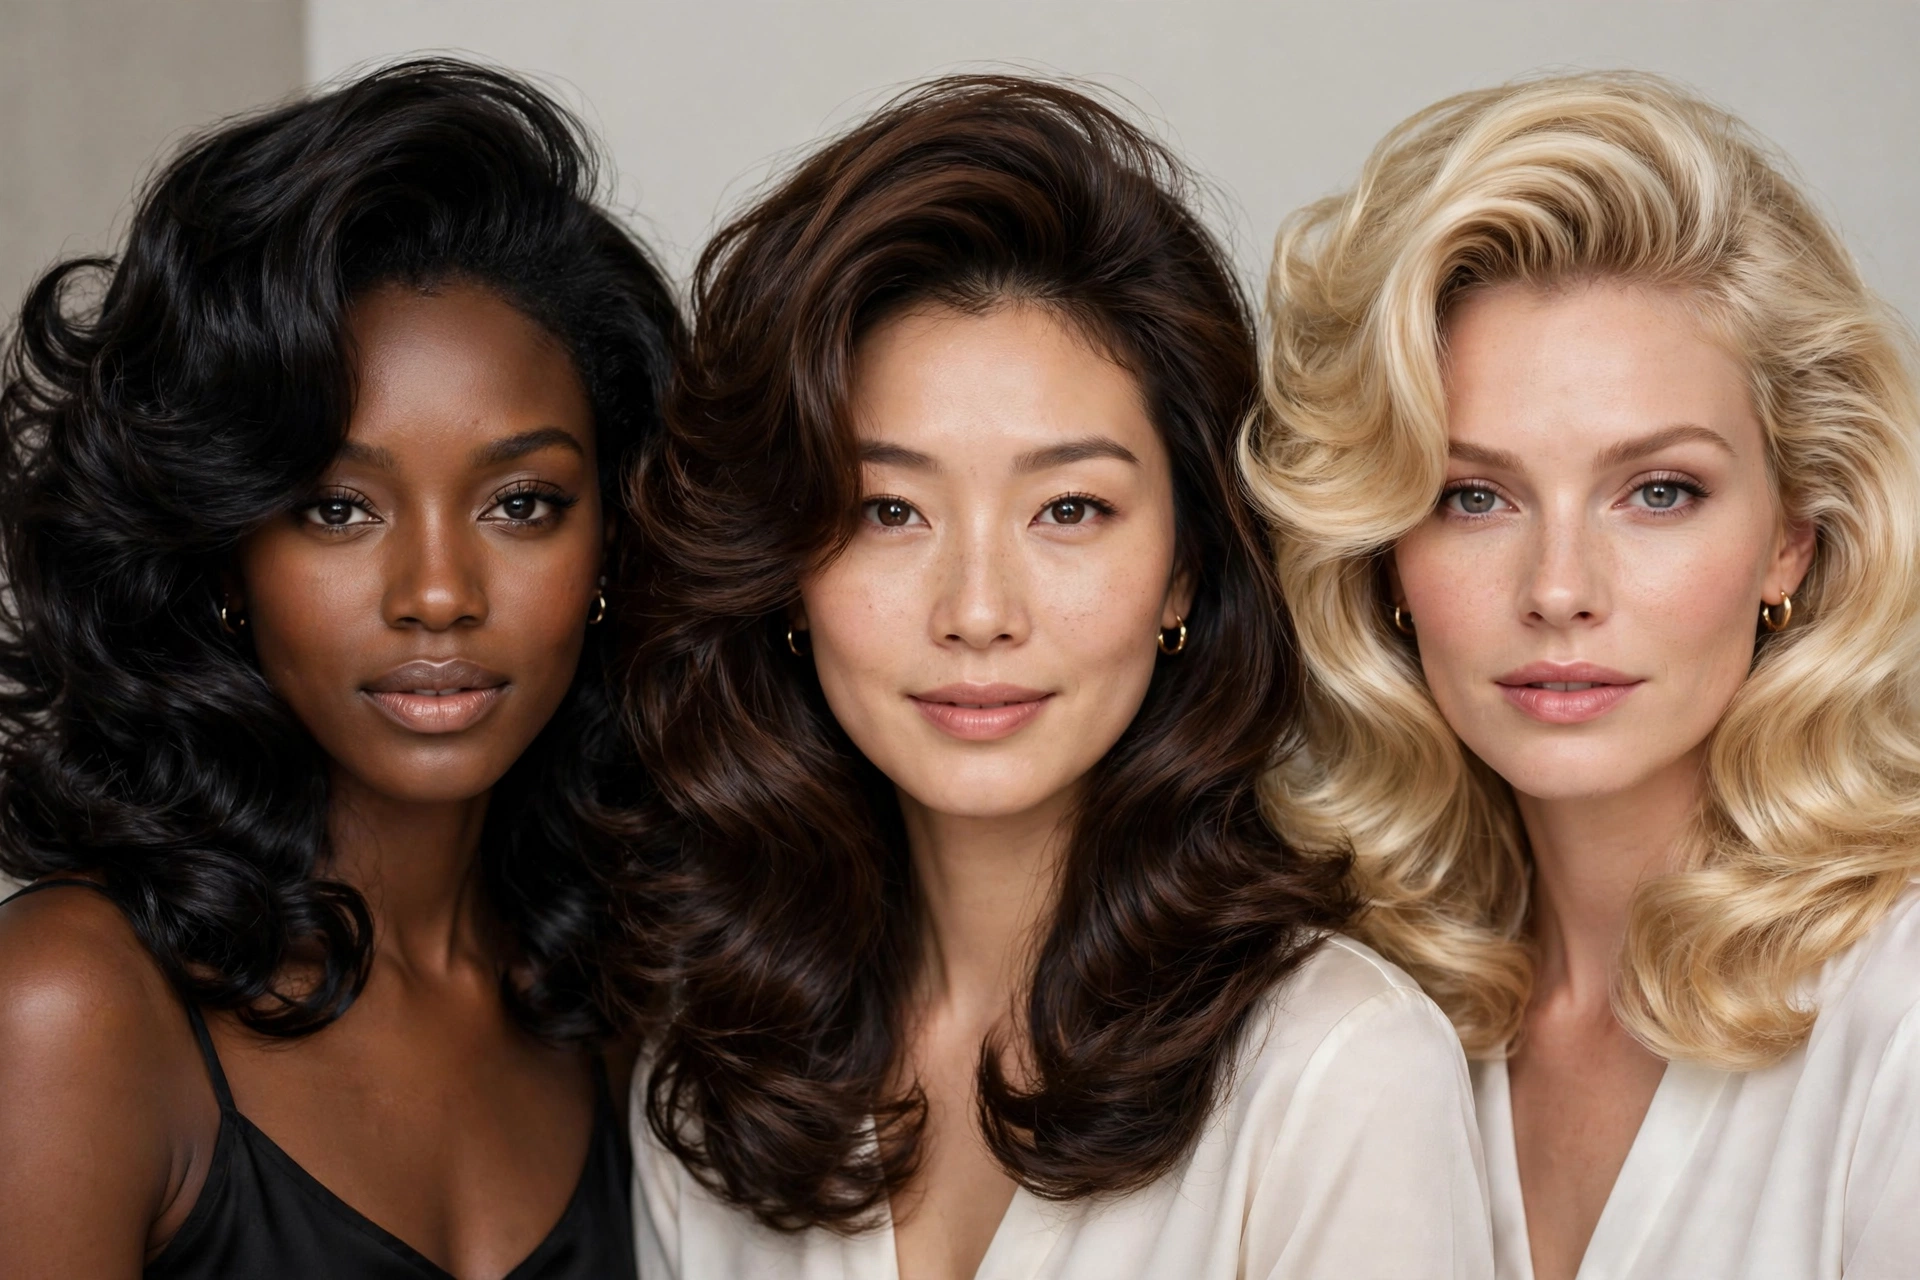
Here is the main event. Twenty blowout styles, each one distinct, each one suited to different hair types, lengths, and lifestyles. Some are pure salon looks. Some are built for the bathroom mirror. Read through them the way you would read a menu, and pay attention to the hair-type notes. The wrong blowout for your texture is a forty-minute disappointment. The right one feels like cheating.
1. The Classic Salon Blowout
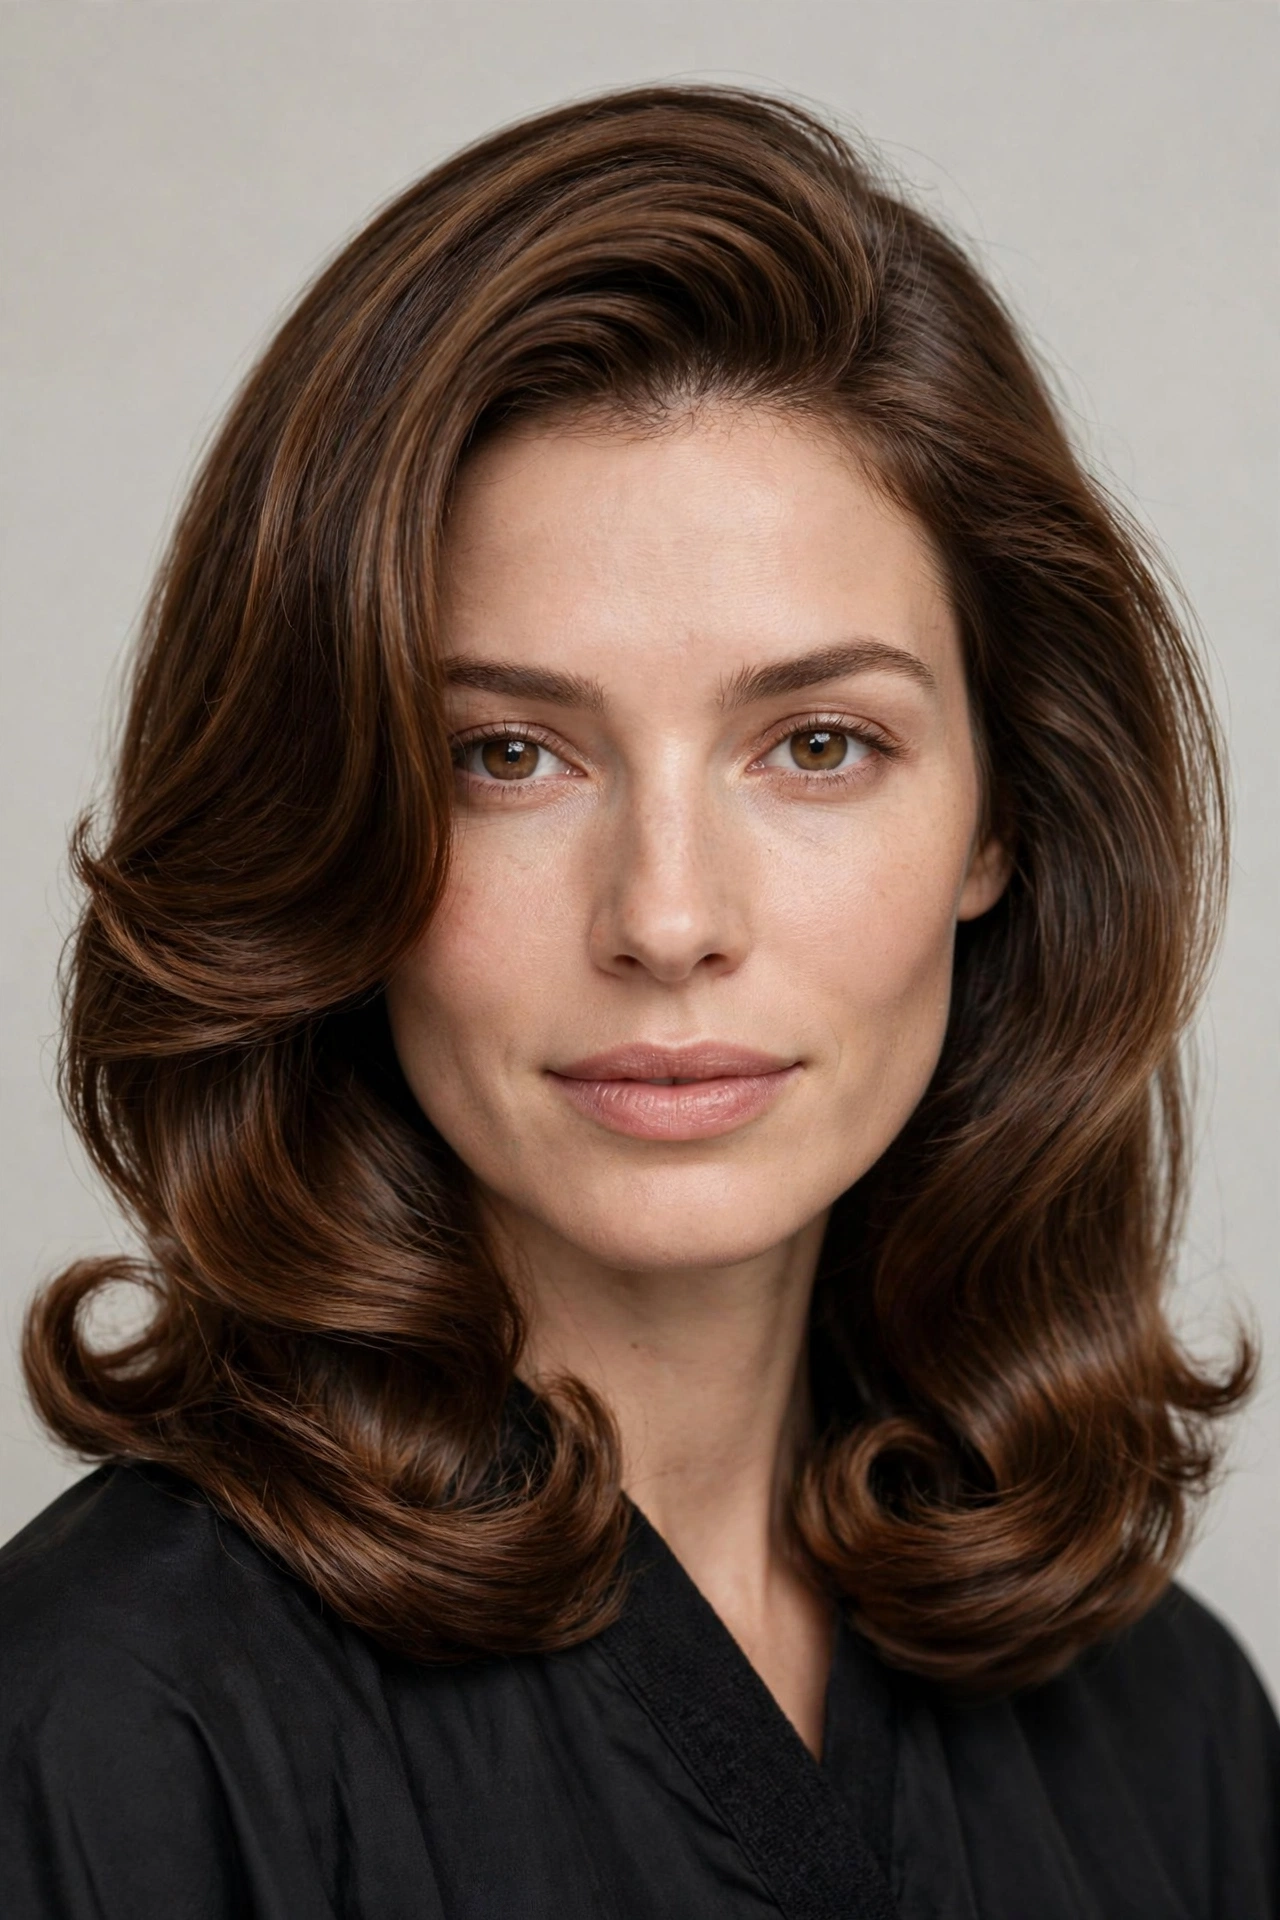
This is the blueprint everything else is built on. The classic salon blowout starts with a proper shampoo, usually twice, with a volumizing formula. Conditioner goes from mid-lengths to ends only, because conditioner at the roots is the number one killer of volume. Then a heat protectant and a volumizing mousse through damp hair, sectioned into four to six parts depending on thickness. Each section is dried with a large round brush, lifted at the root, smoothed through the middle, and curled under at the ends. A cool shot sets every section. The result is smooth, full, and polished, with ends that turn under in that unmistakable salon curve.
What makes the classic version worth booking professionally, at least the first time, is the back of your head. You cannot see it, you cannot reach it properly, and it is where home blowouts go to die. A stylist gets even tension and even heat on every section, which is why salon blowouts last days and home ones sometimes last hours. If you are learning, book one professional blowout and pay attention to the sectioning. Ask your stylist to talk you through it. Most will, happily. Then replicate the front and crown at home and accept that the back will be eighty percent as good, which is still very good. Expect to pay for forty-five to sixty minutes in the chair, and tip for the arm workout you just watched.
2. The ’90s Supermodel Blowout
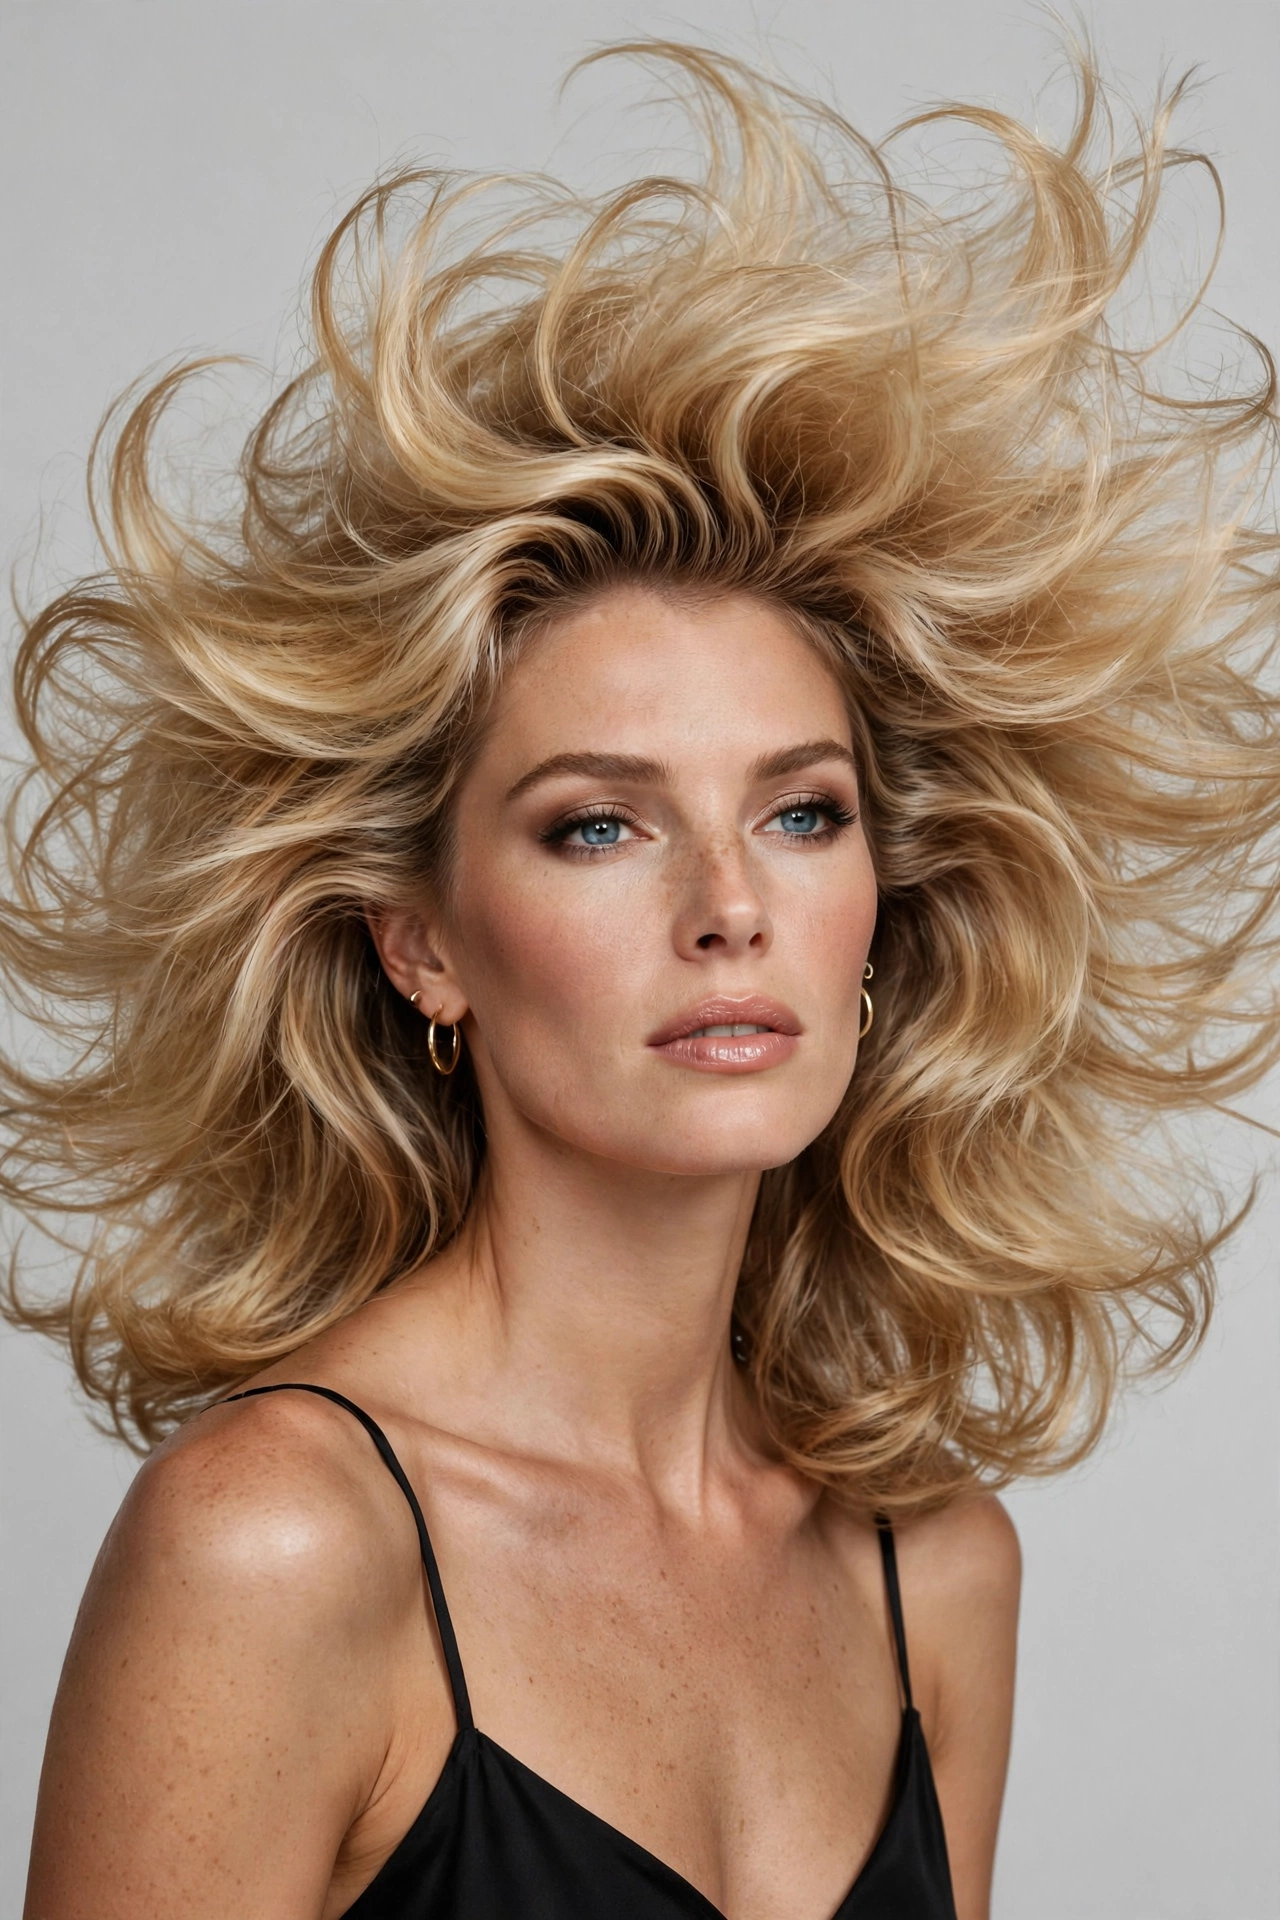
The ’90s supermodel blowout is the maximalist version: bigger, bouncier, glossier, with that brushed-out finish that looks like money. Think of the hair in old shampoo commercials, the kind that seemed to move in slow motion. The technique differences are real. Sections are dried with more over-direction, meaning each section is pulled up and away from the head before drying, which builds height at the crown that a standard blowout does not attempt. Velcro rollers go in while sections are still warm, which is the old-school secret nobody should have abandoned. Ten minutes in rollers while you do your makeup, then release, brush through with a paddle brush, and finish with shine spray.
This is the highest-maintenance blowout on the list and it does not pretend otherwise. It needs length, ideally past the shoulders, and it needs density. Fine hair can fake it with rollers and root powder, but the real thing belongs to medium and thick hair. It also needs commitment to the refresh routine, because big volume settles. Sleep with your hair in a loose topknot on a silk pillowcase, revive the crown with dry shampoo in the morning, and re-roll the front sections for ten minutes while you have coffee. Done right, it lasts three days. Done casually, it lasts one glorious evening, which is honestly enough for most occasions you would wear it to.
3. The Curtain-Fringe Blowout
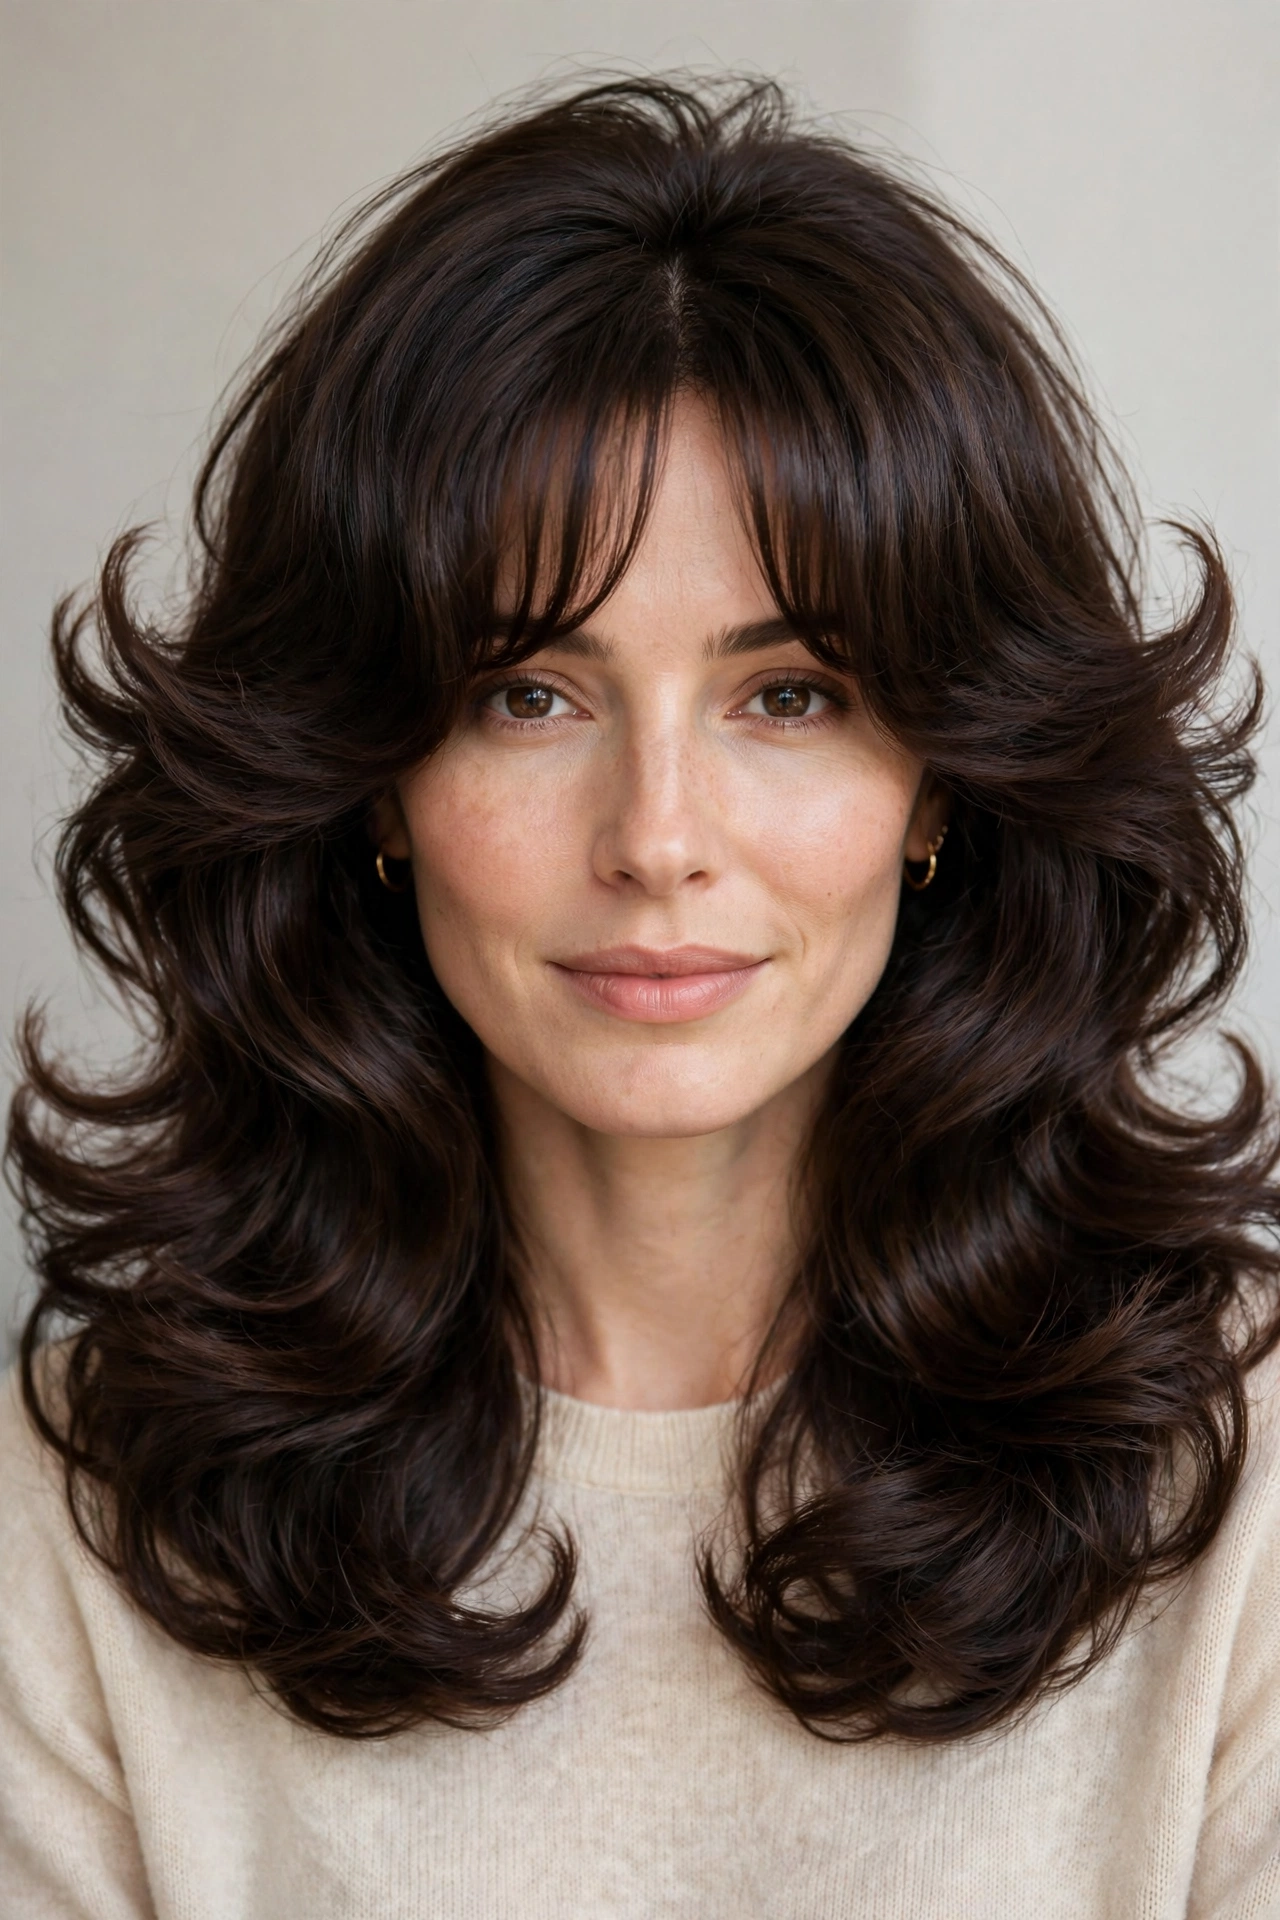
If you have curtain bangs or long face-framing layers, this is your blowout. The curtain-fringe blowout treats the front sections as the main event instead of an afterthought. The fringe pieces are dried with a medium round brush, curved away from the face so they sweep outward in that soft curtain shape, while the rest of the hair gets the standard voluminous treatment. The result frames the face in a way that photographs incredibly well, which is half the reason this version dominates social feeds. For more on working with this kind of fringe, our guide to curtain bangs with long layered hair covers the cut itself in detail.
The styling detail that matters most here is direction. Curtain pieces must be dried away from the face, not toward it. Dry them toward the face and they collapse into the eyes by midday. Dry them outward with the brush rolling away from the cheek, and they hold their sweep. A lot of women get this wrong for months and assume curtain bangs just do not work for them, when the cut was fine and the drying direction was the whole problem. This blowout also pairs beautifully with velcro rollers on just the front two sections. Roll them outward, leave them while you finish getting ready, and release last. The fringe will look like you spent an hour on it. You spent ten minutes.
4. The Layered Blowout
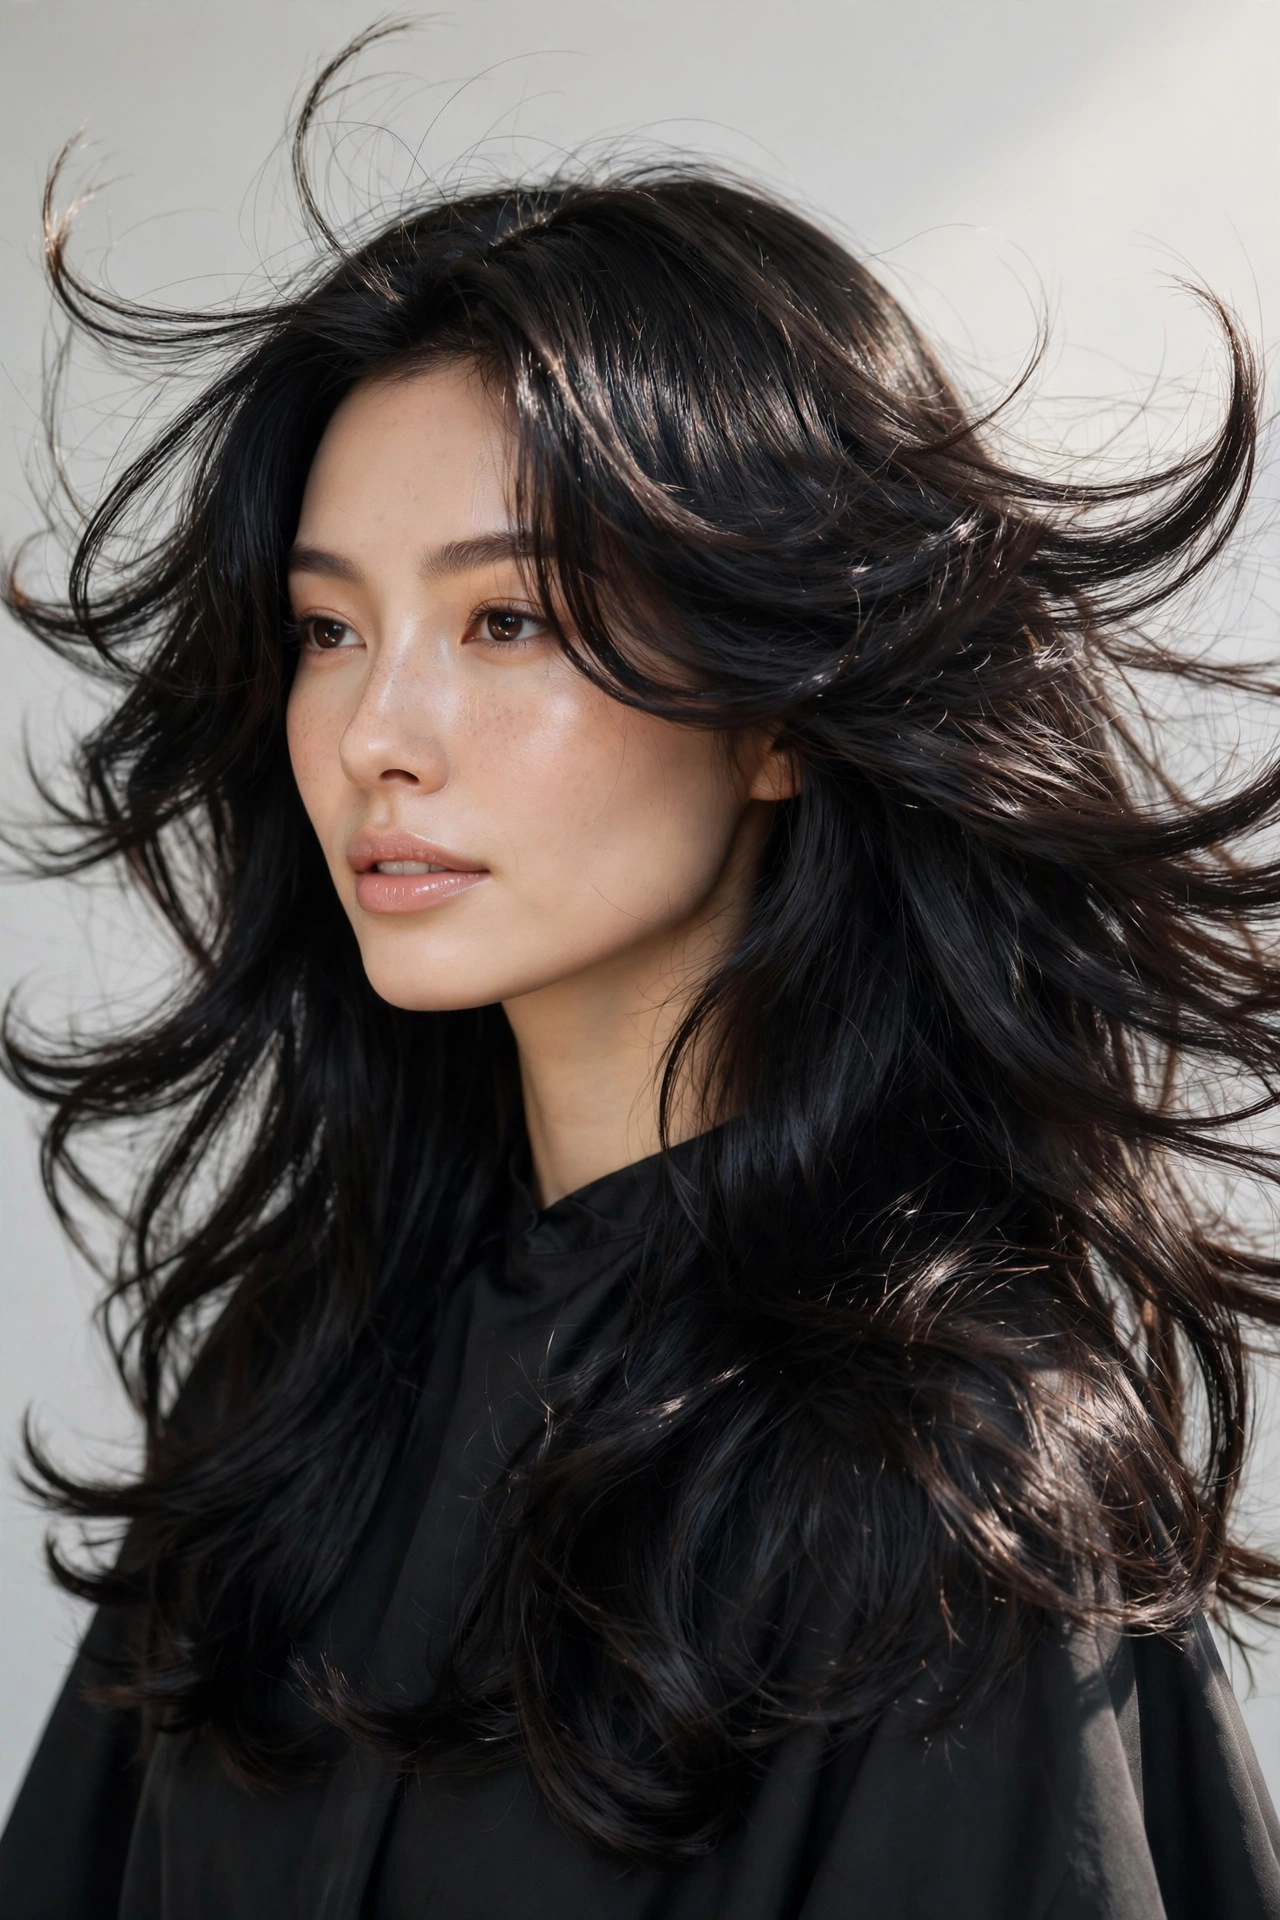
Layers and blowouts were made for each other, and the layered blowout is the proof. When hair is cut in long layers, each layer can be dried to flip in a slightly different direction, which creates movement that one-length hair simply cannot produce. The shortest layers around the face get flicked outward, the mid layers get smoothed under, and the longest lengths get a soft bend. The finished effect is hair that looks like it is in motion even when you are standing still. If your hair is one length all over, this is the blowout that will make you consider layers at your next appointment.
The technical key is treating each layer as its own section rather than drying big mixed chunks. It takes longer, roughly an extra fifteen minutes, but the payoff is the definition between layers that makes this style distinctive. Ask your stylist for long layers with the shortest pieces starting at the chin if you want the full effect, or at the collarbone for something subtler. Our medium-length hairstyles for women roundup has several layered cuts that take a blowout beautifully. Maintenance-wise, layers grow out gracefully, so this blowout actually looks better in weeks three to six after a cut than in week one, when the layers can feel too bouncy and separated.
5. The Side-Part Bombshell Blowout
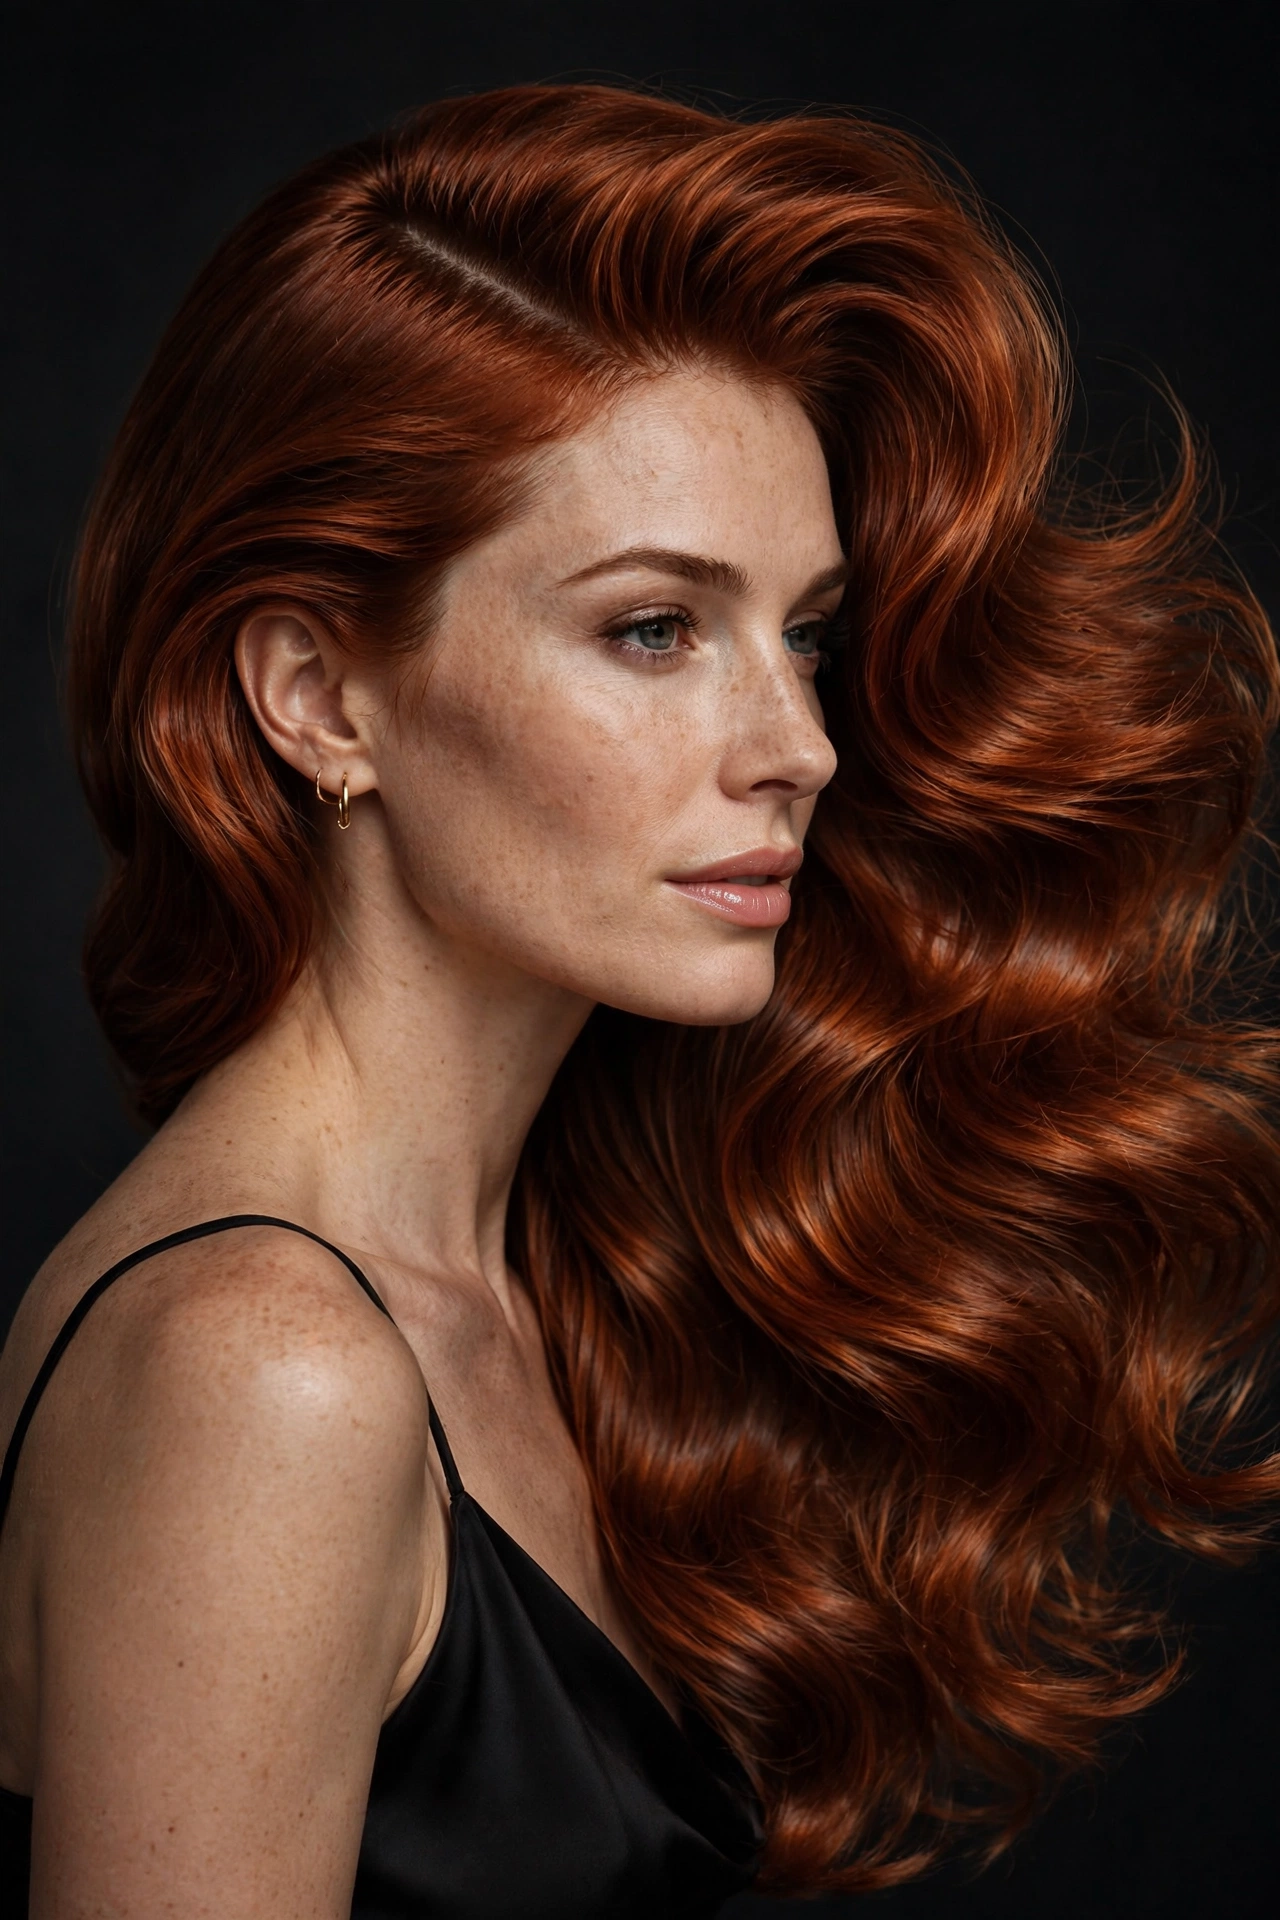
The side part is having a genuine moment in 2026, and the side-part bombshell blowout is its loudest expression. A deep side part instantly creates asymmetry, and asymmetry reads as volume, because one side of the head suddenly carries much more hair than the other. The heavy side gets dried with maximum root lift, swept over in a dramatic swoop, while the lighter side is smoothed flatter against the head. The contrast is what makes it work. It is glamorous in a way that center parts rarely are, and it suits evenings, events, and anyone whose face looks better with some asymmetry.
Finding your deep side part takes experimentation. It is usually about two inches off center, but the exact spot depends on your hairline and cowlicks. A good test: part your hair where it naturally wants to fall when wet, then push it another inch to the side. If it fights you, you have gone too far. Once you find it, train it by drying the roots in that direction for the first two weeks. After that it starts falling there on its own. This blowout loves a bit of height at the crown on the heavy side, so do not be shy with root-lift spray there. A light-hold hairspray misted from underneath, rather than sprayed on top, holds the swoop without making it crunchy.
6. The Middle-Part Sleek Blowout
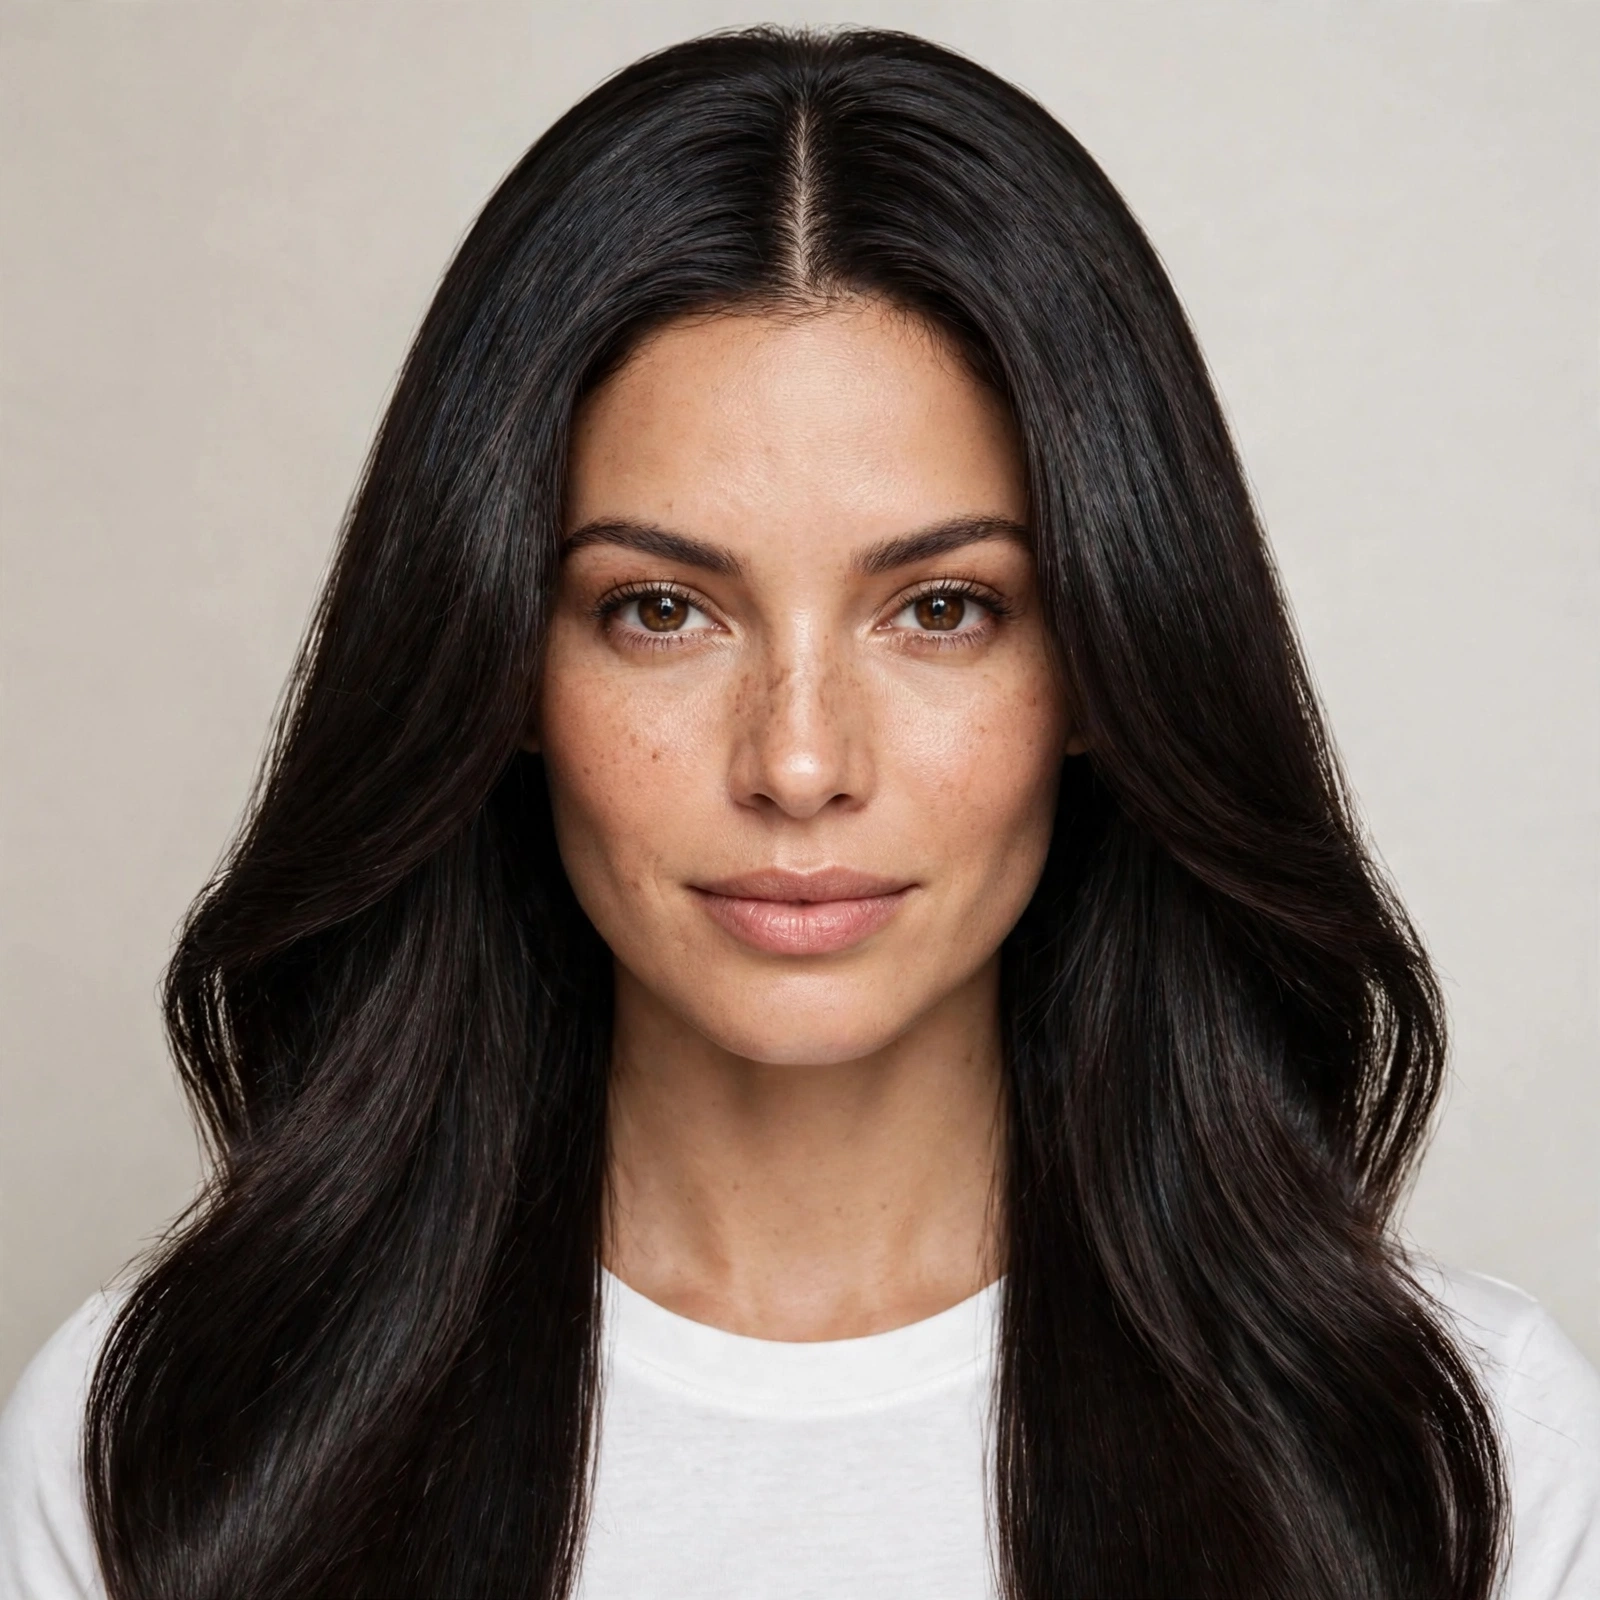
The middle-part sleek blowout is the quiet luxury version. Hair is parted dead center, dried smooth with tension, and finished so the lengths fall in a glossy curtain on both sides of the face. The volume here is controlled rather than big: lift at the roots, smoothness through the lengths, ends that turn under in a clean, even line. It is the blowout for women who want to look expensive rather than glamorous, and in 2026 the distinction matters. This is the version you wear to the office, to parent-teacher meetings, to anywhere you want polish without drama.
The challenge with a middle part is symmetry. Any unevenness in drying shows immediately, because the eye compares both sides. Work in mirror-image sections: dry the left front section, then the right front section, using the same brush size and the same number of passes. A paddle brush finish helps here. After the round-brush work, run a paddle brush through the lengths with the dryer on low to knock out any remaining texture. A pea-sized amount of smoothing serum on the ends, not the roots, gives that liquid finish. This blowout is also the most forgiving grow-out option on the list. When the volume settles on day three, it still looks like neat, clean hair, which is more than most big blowouts can say.
7. The Curly Bouncy Blowout
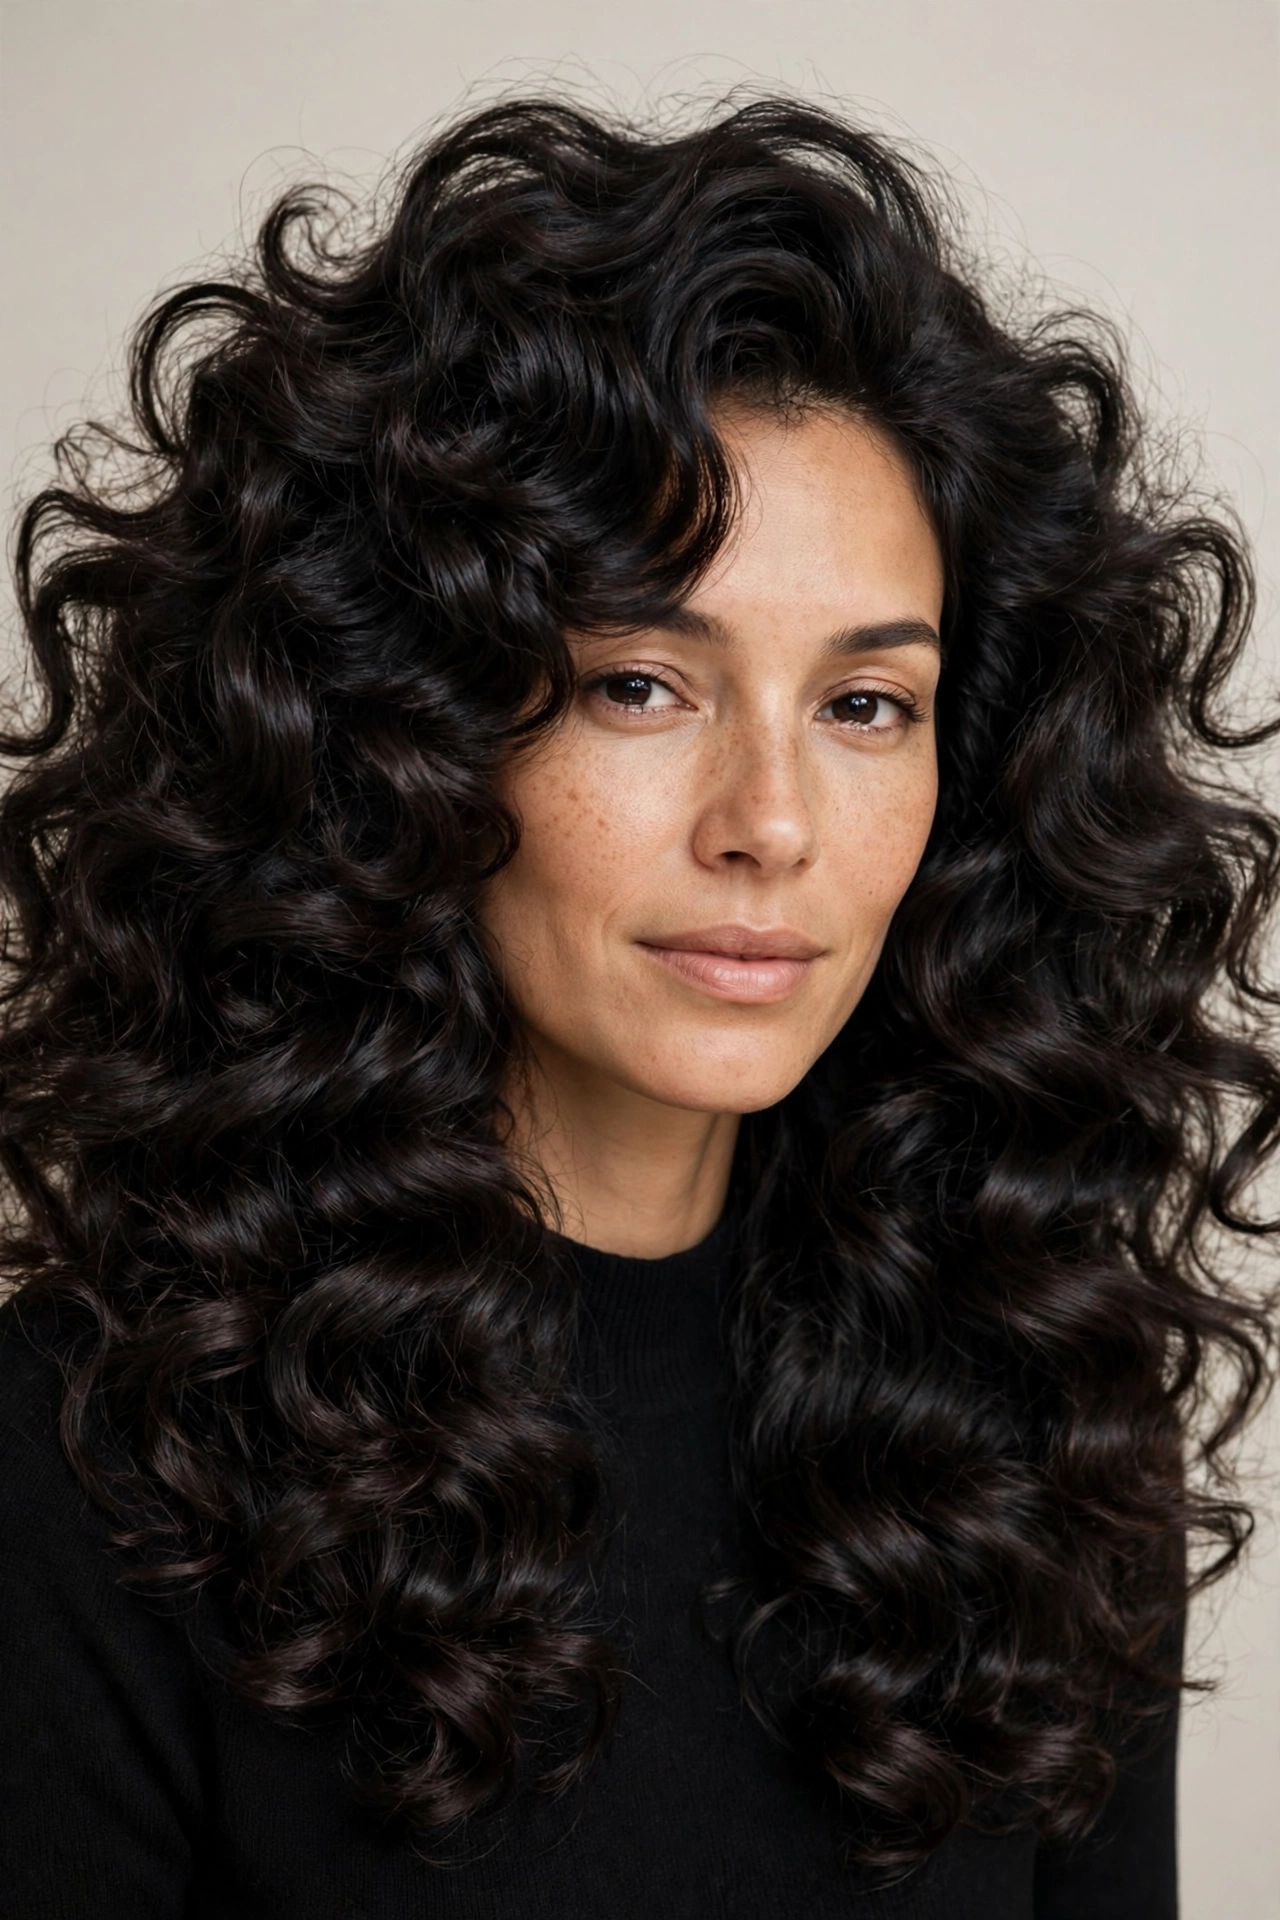
Curly-haired women sometimes assume blowouts are not for them. They are wrong, and the curly bouncy blowout is the correction. Instead of fighting curl into straightness, this version stretches and smooths natural curl into big, soft, defined volume. The hair is dried in sections with a round brush or a blow dryer with a concentrator nozzle, each section pulled taut to elongate the curl pattern without removing it entirely. The result keeps the curl but upgrades it: more even, more polished, more deliberately shaped. It is the difference between wash-and-go curls and red-carpet curls.
Technique matters enormously here. Work on hair that is about eighty percent dry before you start tension-drying, because soaking-wet curly hair takes forever and the prolonged heat exposure causes more damage than the styling is worth. A good leave-in conditioner plus a heat protectant is non-negotiable. Dry each section with tension, meaning the brush pulls the hair straight as the heat passes over it, and do not go back over a finished section. Re-drying finished curly sections creates frizz faster than anything else in hairstyling. Our low-maintenance short curly hairstyles for women guide covers cuts that pair well with this approach. Expect this blowout to take longer than straight-hair versions, a full hour for medium density, but the results last. Stretched curl holds its shape for four to five days.
8. The Wavy Blowout
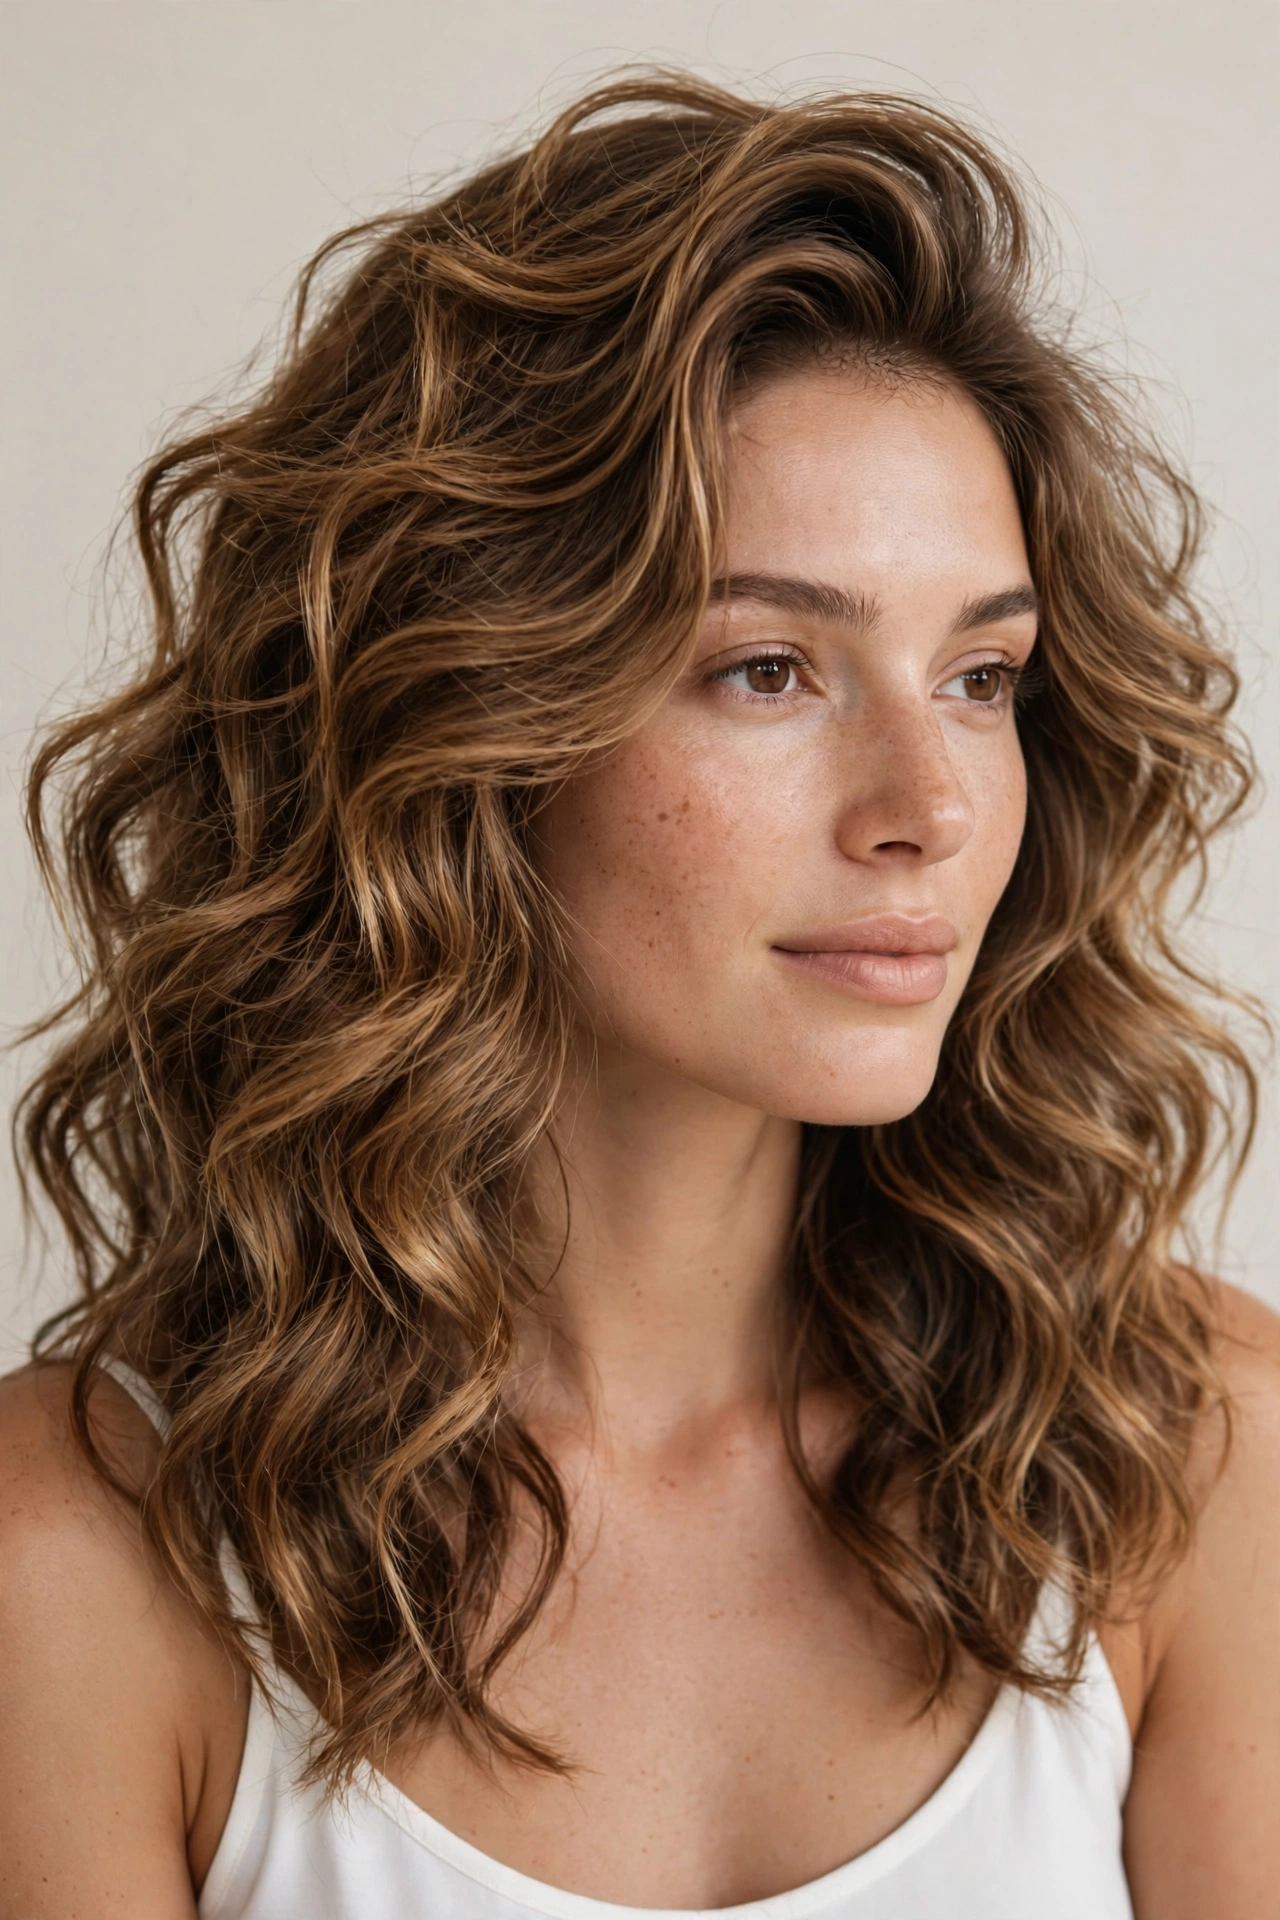
The wavy blowout sits halfway between a classic blowout and beach waves, and it is the most wearable version on this list for everyday life. The roots get the standard lift treatment, but instead of curling the ends under, each section is dried with a slight bend, alternating the direction section by section. The result is loose, touchable wave with body at the crown. It reads as effortlessly styled, which is the whole point. Nobody looks at this blowout and thinks “salon appointment.” They think “great hair,” which is better.
This is also the easiest blowout to do at home, because perfection is the enemy. Slightly uneven sections just look like natural wave variation. The method: rough-dry to eighty percent, then take two-inch sections, wrap each around a large round brush, dry, and release without obsessing over the finish. Alternate wrapping away from the face and toward the face for the most natural pattern. Finish with a texturizing spray instead of hairspray, scrunching it in with your hands. Total time once you have practiced: twenty minutes. It will not last as long as a polished salon blowout, two days is realistic, but the refresh is trivial. Sleep on it, shake it out, add dry shampoo, done.
9. The Short-Hair Blowout
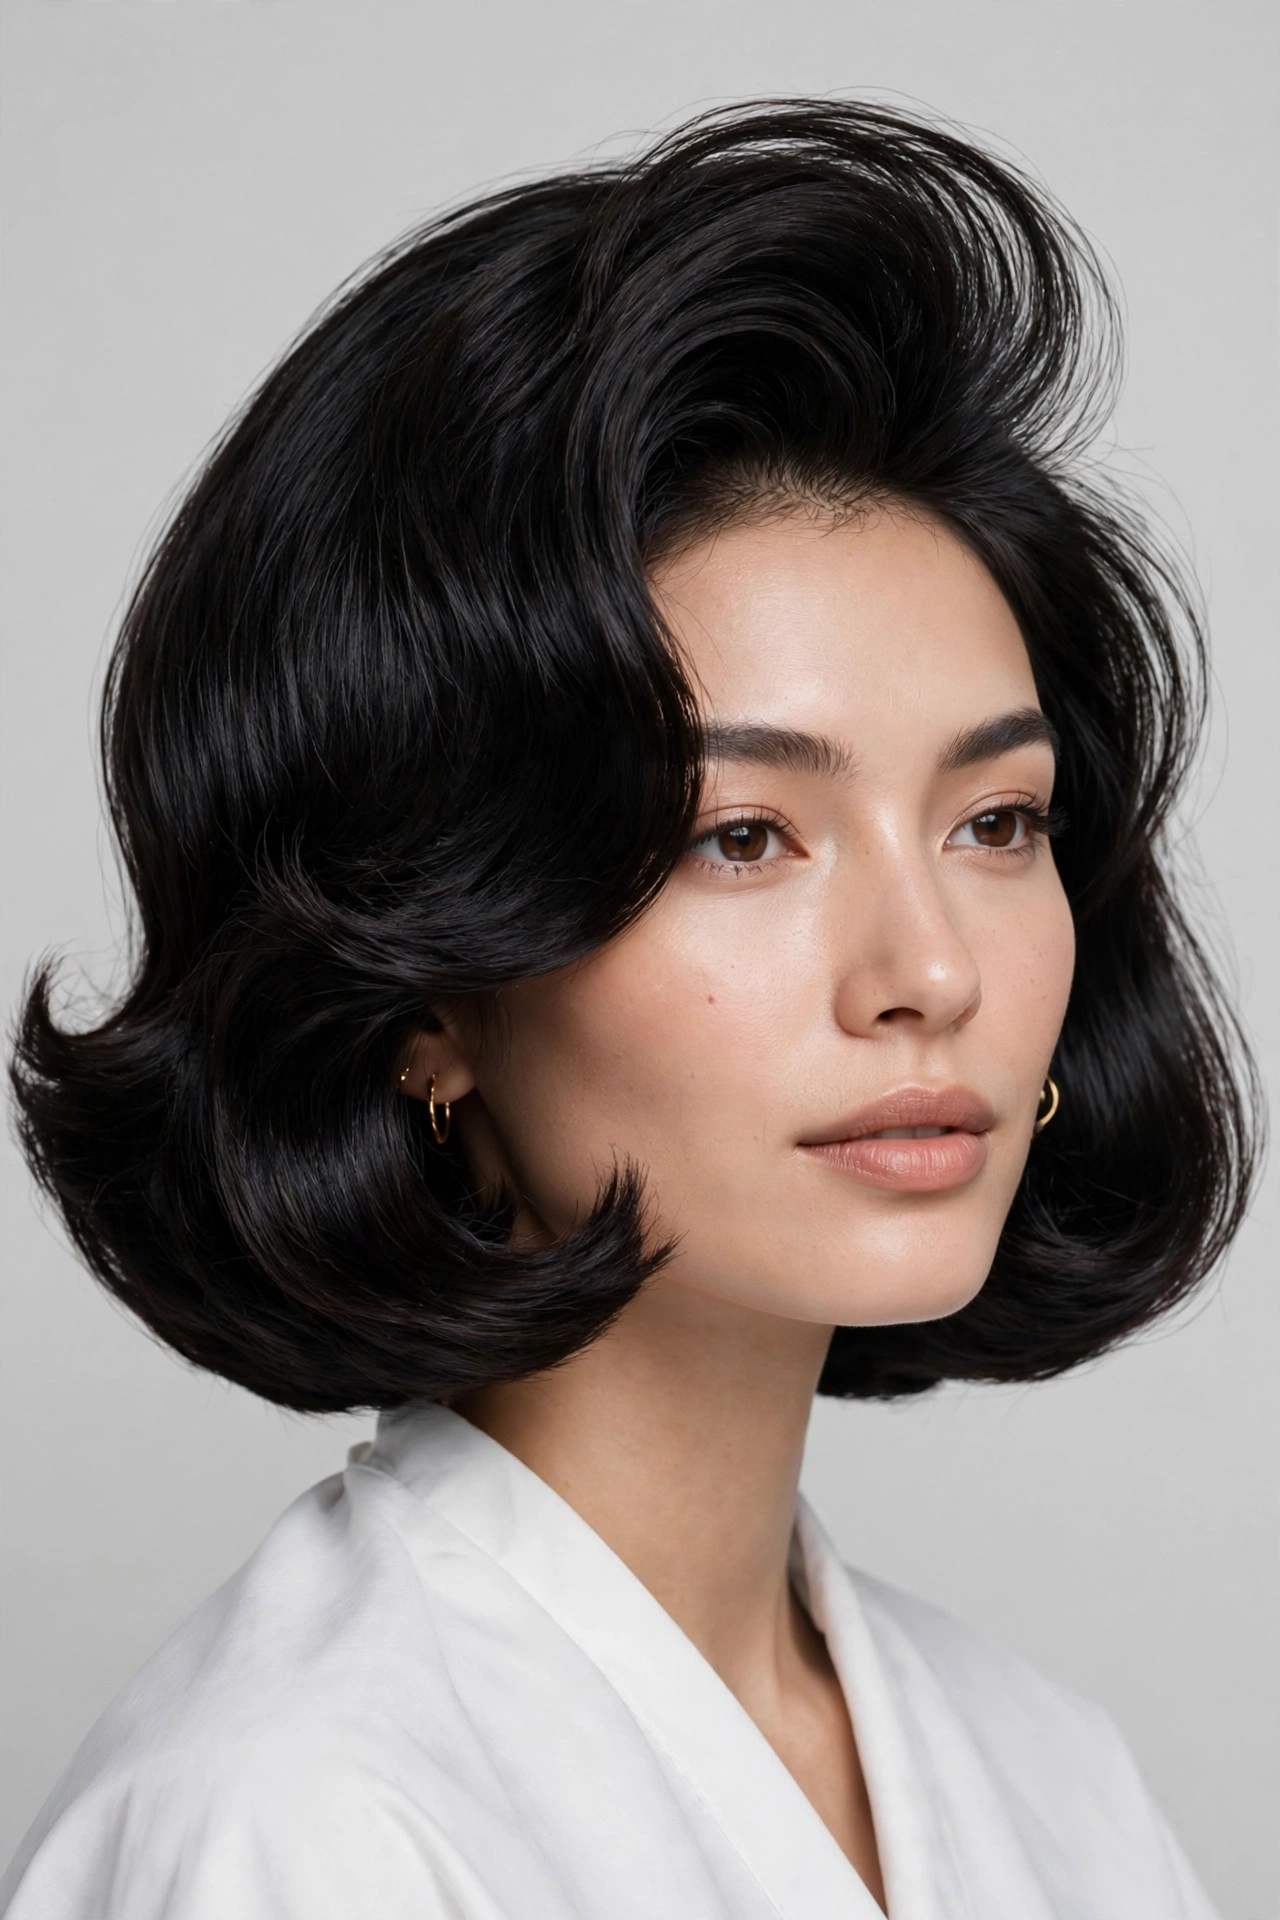
Short hair gets overlooked in blowout conversations, which is a shame, because a bob-length blowout might be the chicest version of all. The short-hair blowout works on bobs and lobs: the roots are lifted for volume at the crown, the lengths are smoothed, and the ends are flicked under in that crisp, swung shape that makes bobs look expensive. On chin-length hair the whole thing takes fifteen minutes, which makes it the fastest blowout on this list by a wide margin. If you have been growing out a pixie or you are bob-curious, know that this style is waiting on the other side.
The tool that changes everything for short blowouts is brush size. A large round brush on short hair just pushes it around without gripping it. You want a small to medium round brush, roughly one to one-and-a-half inches in diameter, which can actually wrap short sections and create tension. Dry the crown sections upward and back for lift, then work the sides with the brush rolling under. The nape is the tricky spot. Tilt your head forward and dry the underneath sections first, lifting up, or they will lie flat against your neck all day. Our short hairstyles for women 2026 collection has bob cuts that were practically designed for this treatment. A short blowout holds extremely well, often three to four days, because there is less weight pulling the volume down.
10. The Long-Layer Blowout
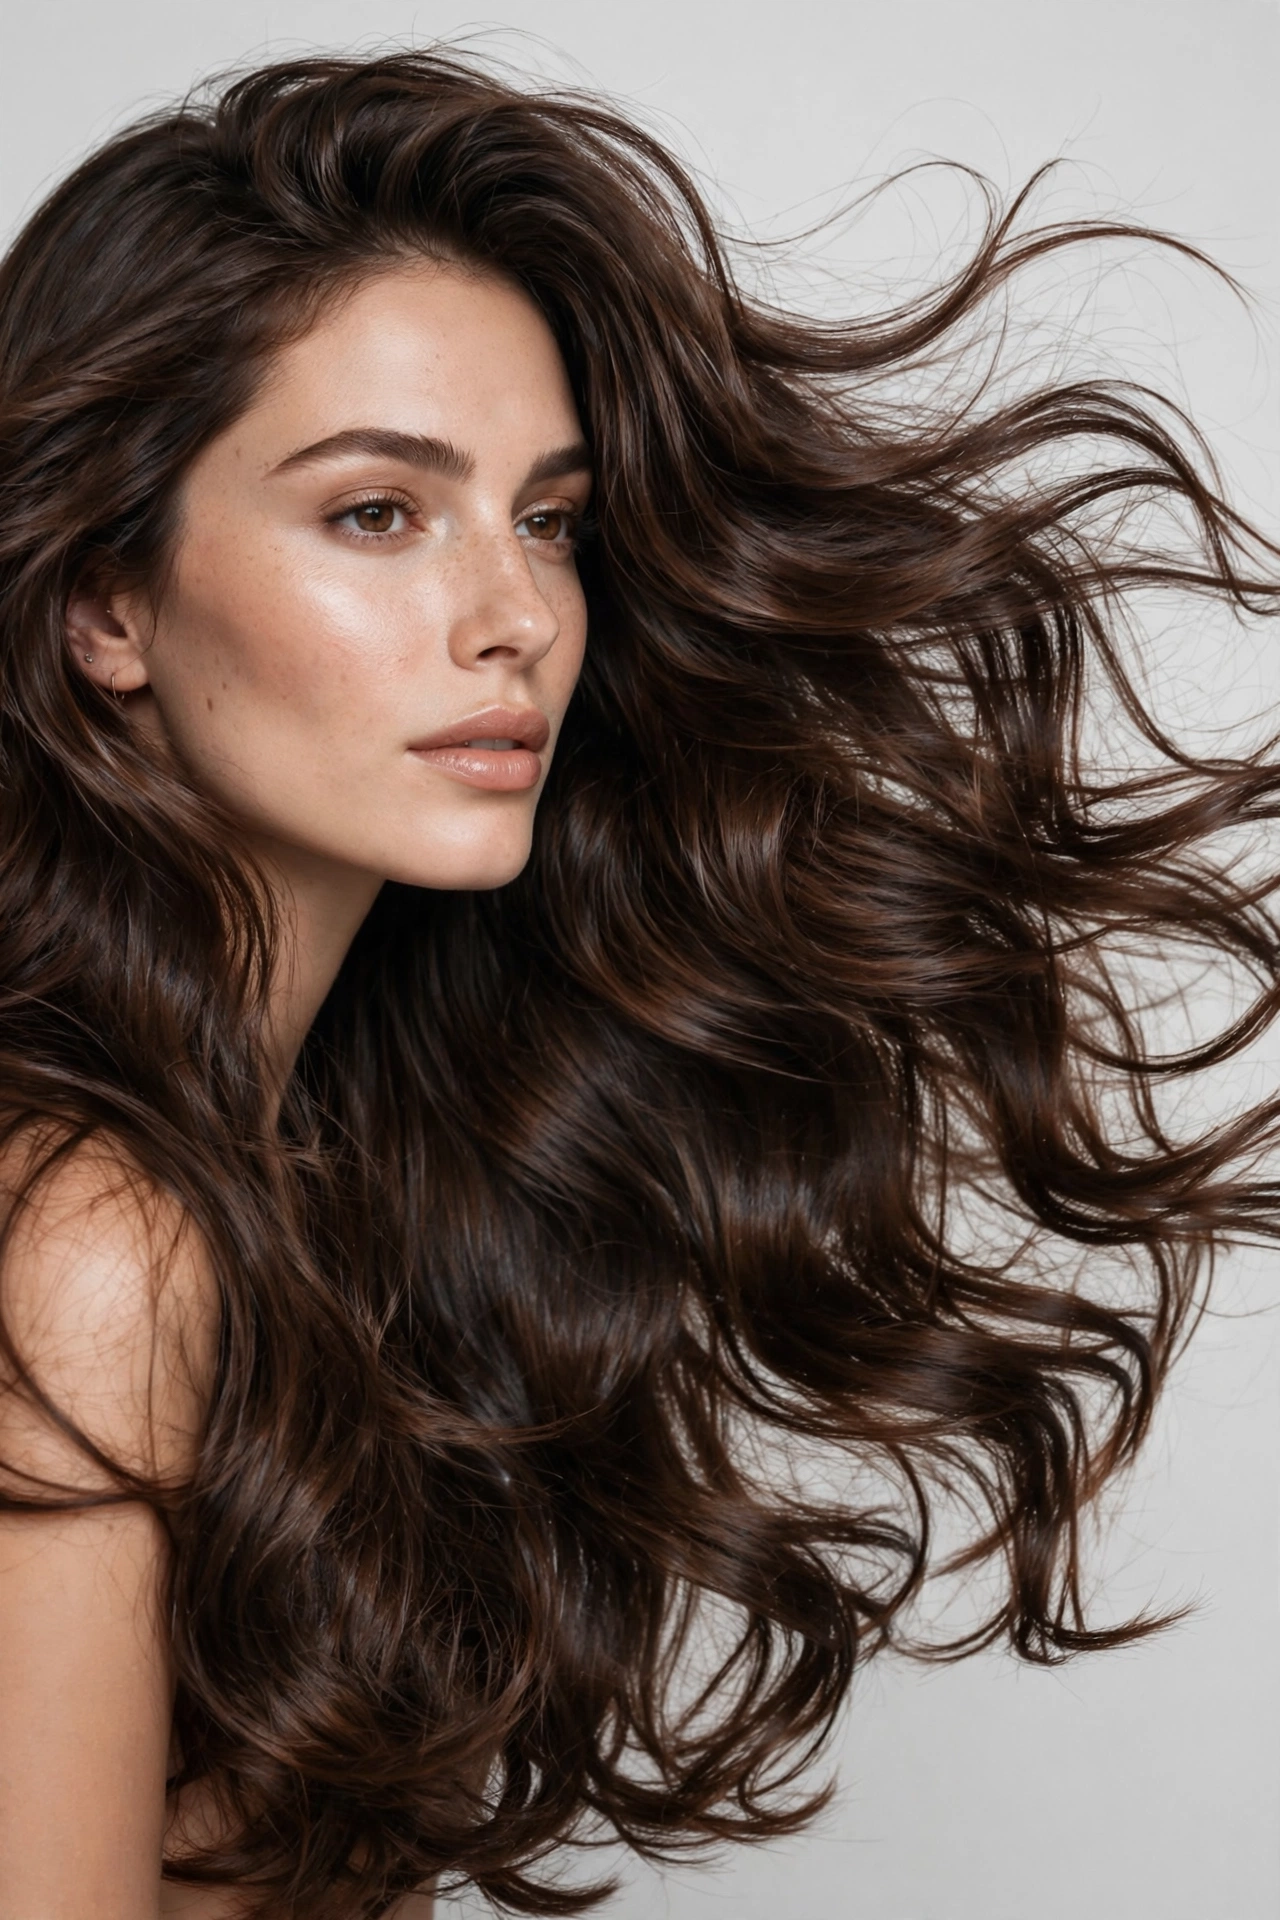
Long hair is the natural home of the blowout, and the long-layer version is the full bombshell. We are talking hair past the bra strap, dried in six to eight sections, each one lifted, smoothed, and curled, building volume that reads from across the room. This is the blowout of music videos and perfume ads. It is also the most physically demanding, because drying very long hair in sections takes a full hour and your arms will know about it. There is no shame in booking this one professionally. Even stylists admit long blowouts are a workout.
The make-or-break detail for long blowouts is drying in small enough sections. Long hair tempts you to take big sections to save time, and big sections are exactly why home attempts fail. The outside of a thick section dries while the inside stays damp, and damp insides collapse the whole thing within hours. Keep sections to one inch, two at most, and do not move on until each section is completely dry and cool. Test by touching the underside of the section against your wrist. If you feel any warmth or dampness, keep going. For length inspiration, the long haircut ideas for women guide covers cuts with the layering this blowout needs. Done properly, a long blowout lasts three to four days and looks better on day two than day one, once the volume settles into something touchable.
11. The Face-Framing Blowout
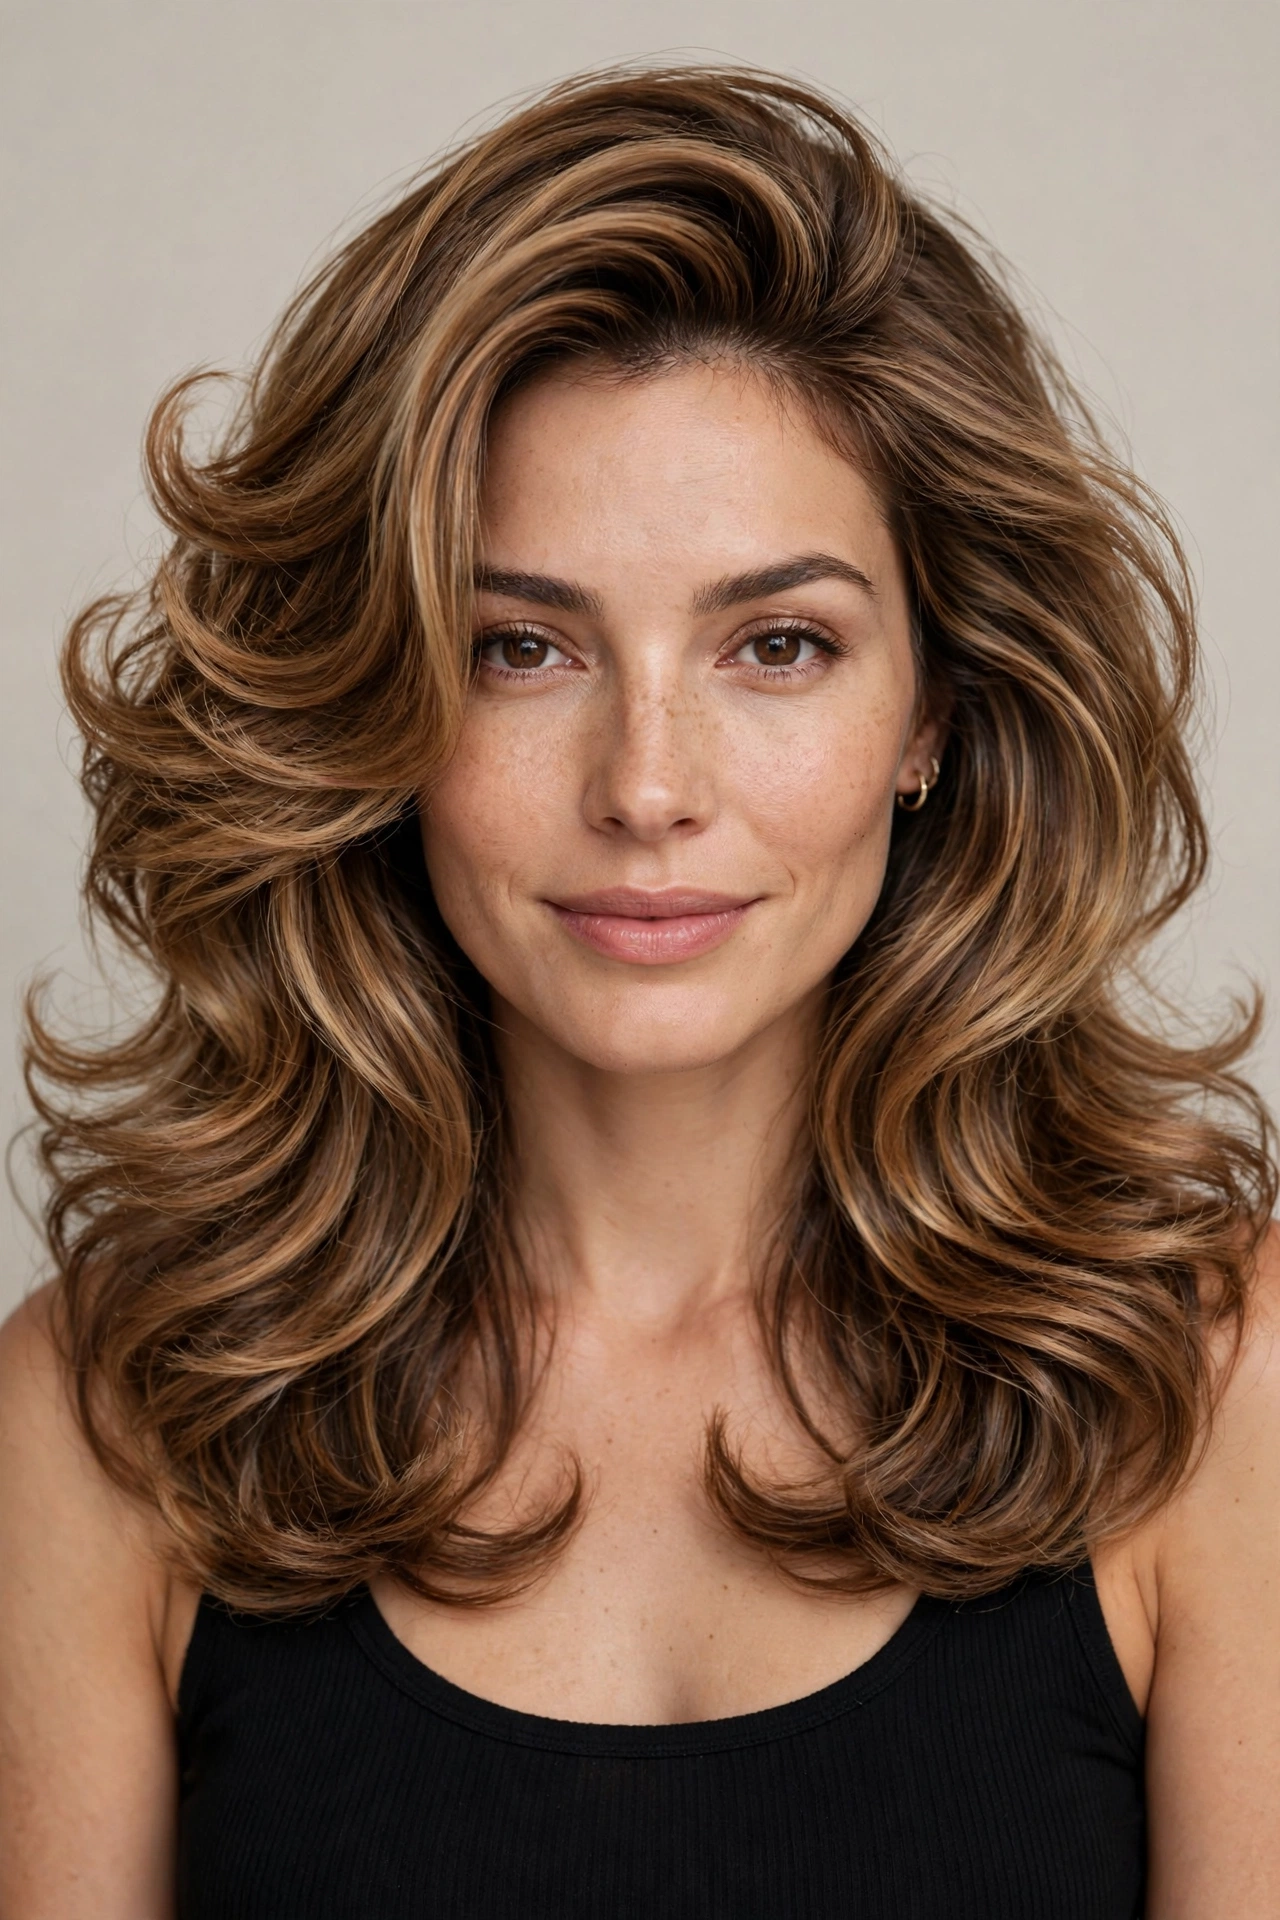
The face-framing blowout is built around the two front sections and treats everything else as supporting cast. Those front pieces, whether they are grown-out bangs, short layers, or just the natural front of long hair, get dried with a medium round brush, curved to sweep back and away from the face, creating a soft frame that draws attention to the eyes and cheekbones. The rest of the hair gets a standard smooth blowout. The effect is subtle from far away and striking up close, which makes it the most photogenic blowout on this list. It is the one your hair looks like in the photos where strangers ask what salon you go to.
This style lives or dies on the direction of the front sections, and the rule is simple: everything curves away from the face. Place the brush under the front section at the root, roll it outward as you dry, and let the ends flick back past the cheek. If your front pieces are long enough, velcro rollers are the cheat code. Roll the two front sections back and away, leave them for fifteen minutes, release, and finger-comb. The frame will hold all day with minimal product. Women with round faces should keep the frame pieces longer, hitting below the chin, because short frame pieces widen the face. Women with long faces can go shorter, with pieces hitting at the cheekbone to add width. Small geometry, big difference.
12. The Voluminous Root-Lift Blowout
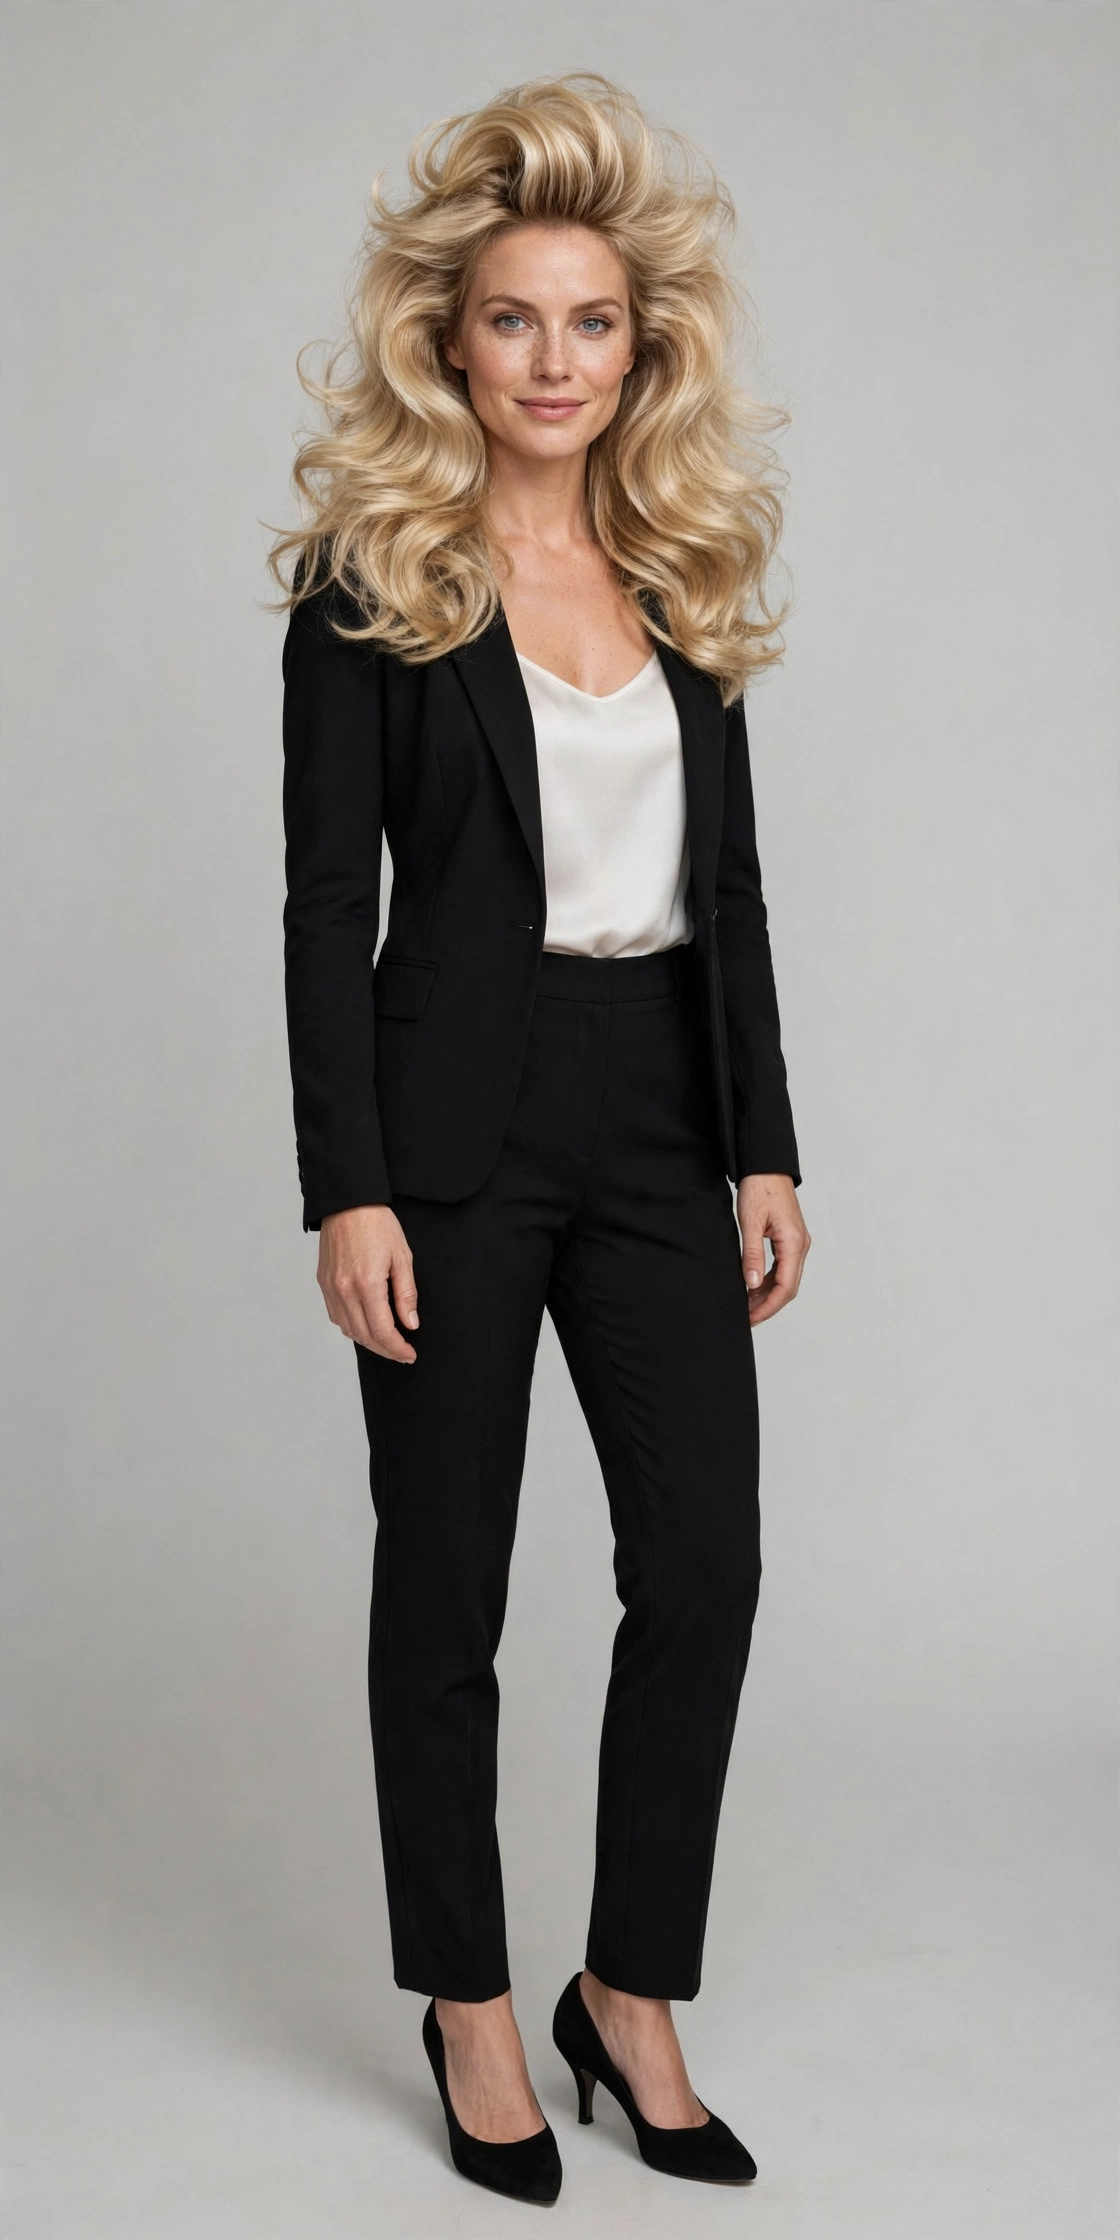
Some hair does not need help with the ends. It needs help at the roots. The voluminous root-lift blowout is engineered for fine, flat hair that collapses at the crown no matter what you do to the lengths. The entire technique focuses upward: roots are dried first, with the head flipped upside down for the initial rough-dry, then each crown section is over-directed, pulled straight up from the head, and dried with tension at the base. Root-lift spray or volumizing powder goes on before drying, not after. The lengths get a light pass just to smooth them. The result is height where it counts.
The product order matters more here than in any other blowout. Mousse or root-lift spray on damp roots, then dry, then a light dusting of volumizing powder at the crown once dry, worked in with fingertips. Powder at the roots is the fine-hair secret weapon. It creates grip between strands so they hold each other up instead of sliding flat. Do not use oils or heavy serums anywhere near the crown on this blowout. They will undo an hour of work in minutes. Keep silicones to the bottom third of the hair only. And here is the counterintuitive part: do not brush this blowout too much after styling. Every brush stroke at the roots settles the lift. Finger-style the crown, brush only the lengths. With the right products, root-lift blowouts on fine hair last two full days, which for fine hair is a genuine achievement.
13. The Soft Curls Blowout
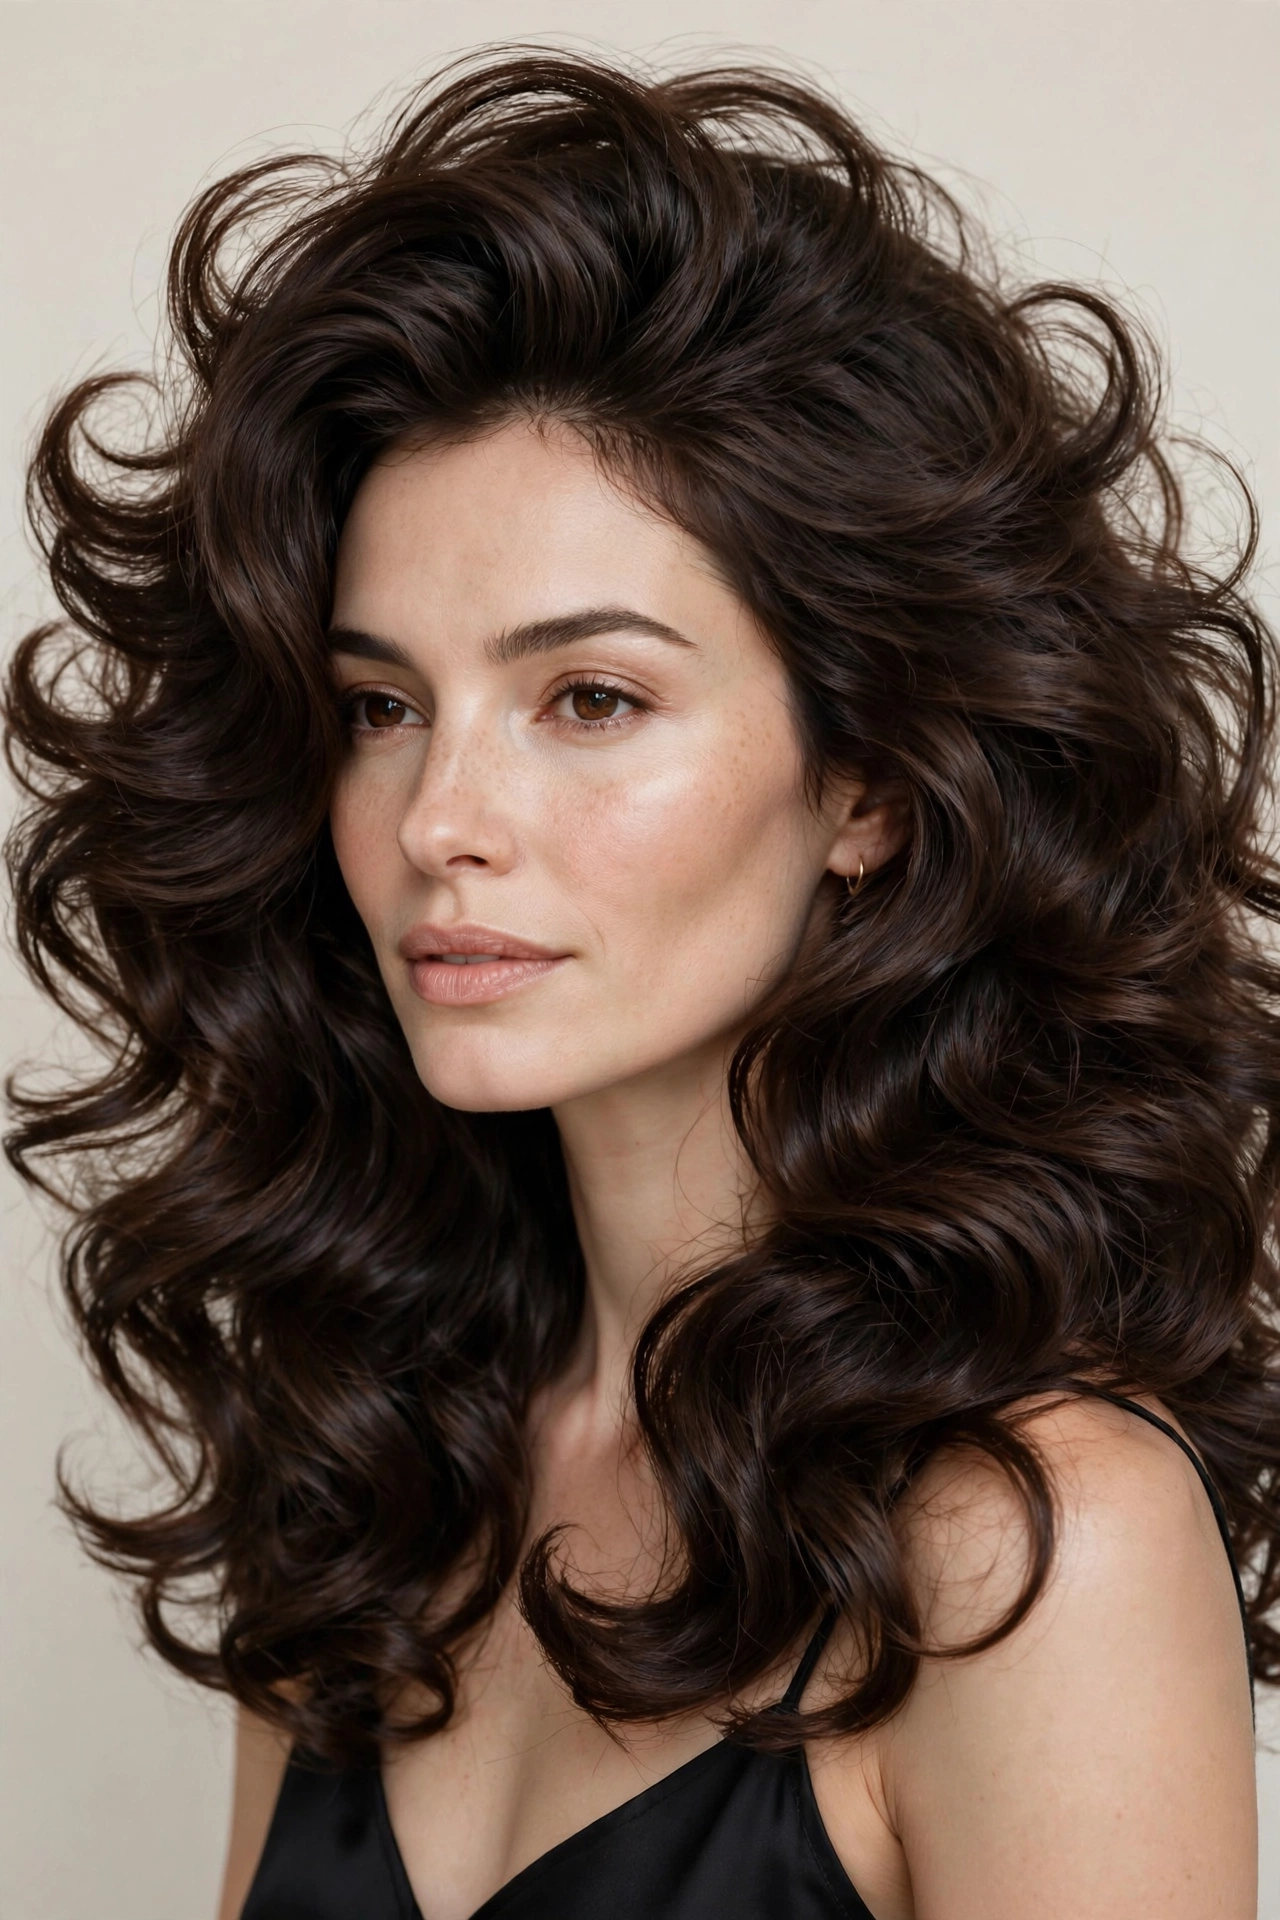
The soft curls blowout takes the classic technique one step further at the ends. After the standard round-brush drying, each section gets wrapped around a large-barrel curling iron, held for a few seconds, and released to cool. The curls are then brushed through with a paddle brush, which breaks them into soft, flowing waves rather than defined ringlets. The finished look has the polish of a blowout with the romance of curls. It is the most occasion-ready version on the list, the one you choose when the event matters and the photos will last.
The critical step is the cooling. Curls that are brushed out while still warm fall flat within the hour. Curls that cool completely before brushing hold for days. After ironing each section, either pin it up to cool or just leave it alone and move to the next section. Do not touch. Once everything is stone cold, brush through gently. One pass with the paddle brush, not five. The size of the iron determines the mood: a one-and-a-quarter-inch barrel gives polished waves, a one-and-a-half-inch barrel gives loose glamour. Anything smaller reads as curls rather than a blowout, which is a different style entirely. Finish with a flexible-hold hairspray, misted from arm’s length. You want movement, not a helmet. This blowout photographs beautifully and holds through an entire evening, which is exactly what it is for.
14. The Bouncy Blowout with Bangs
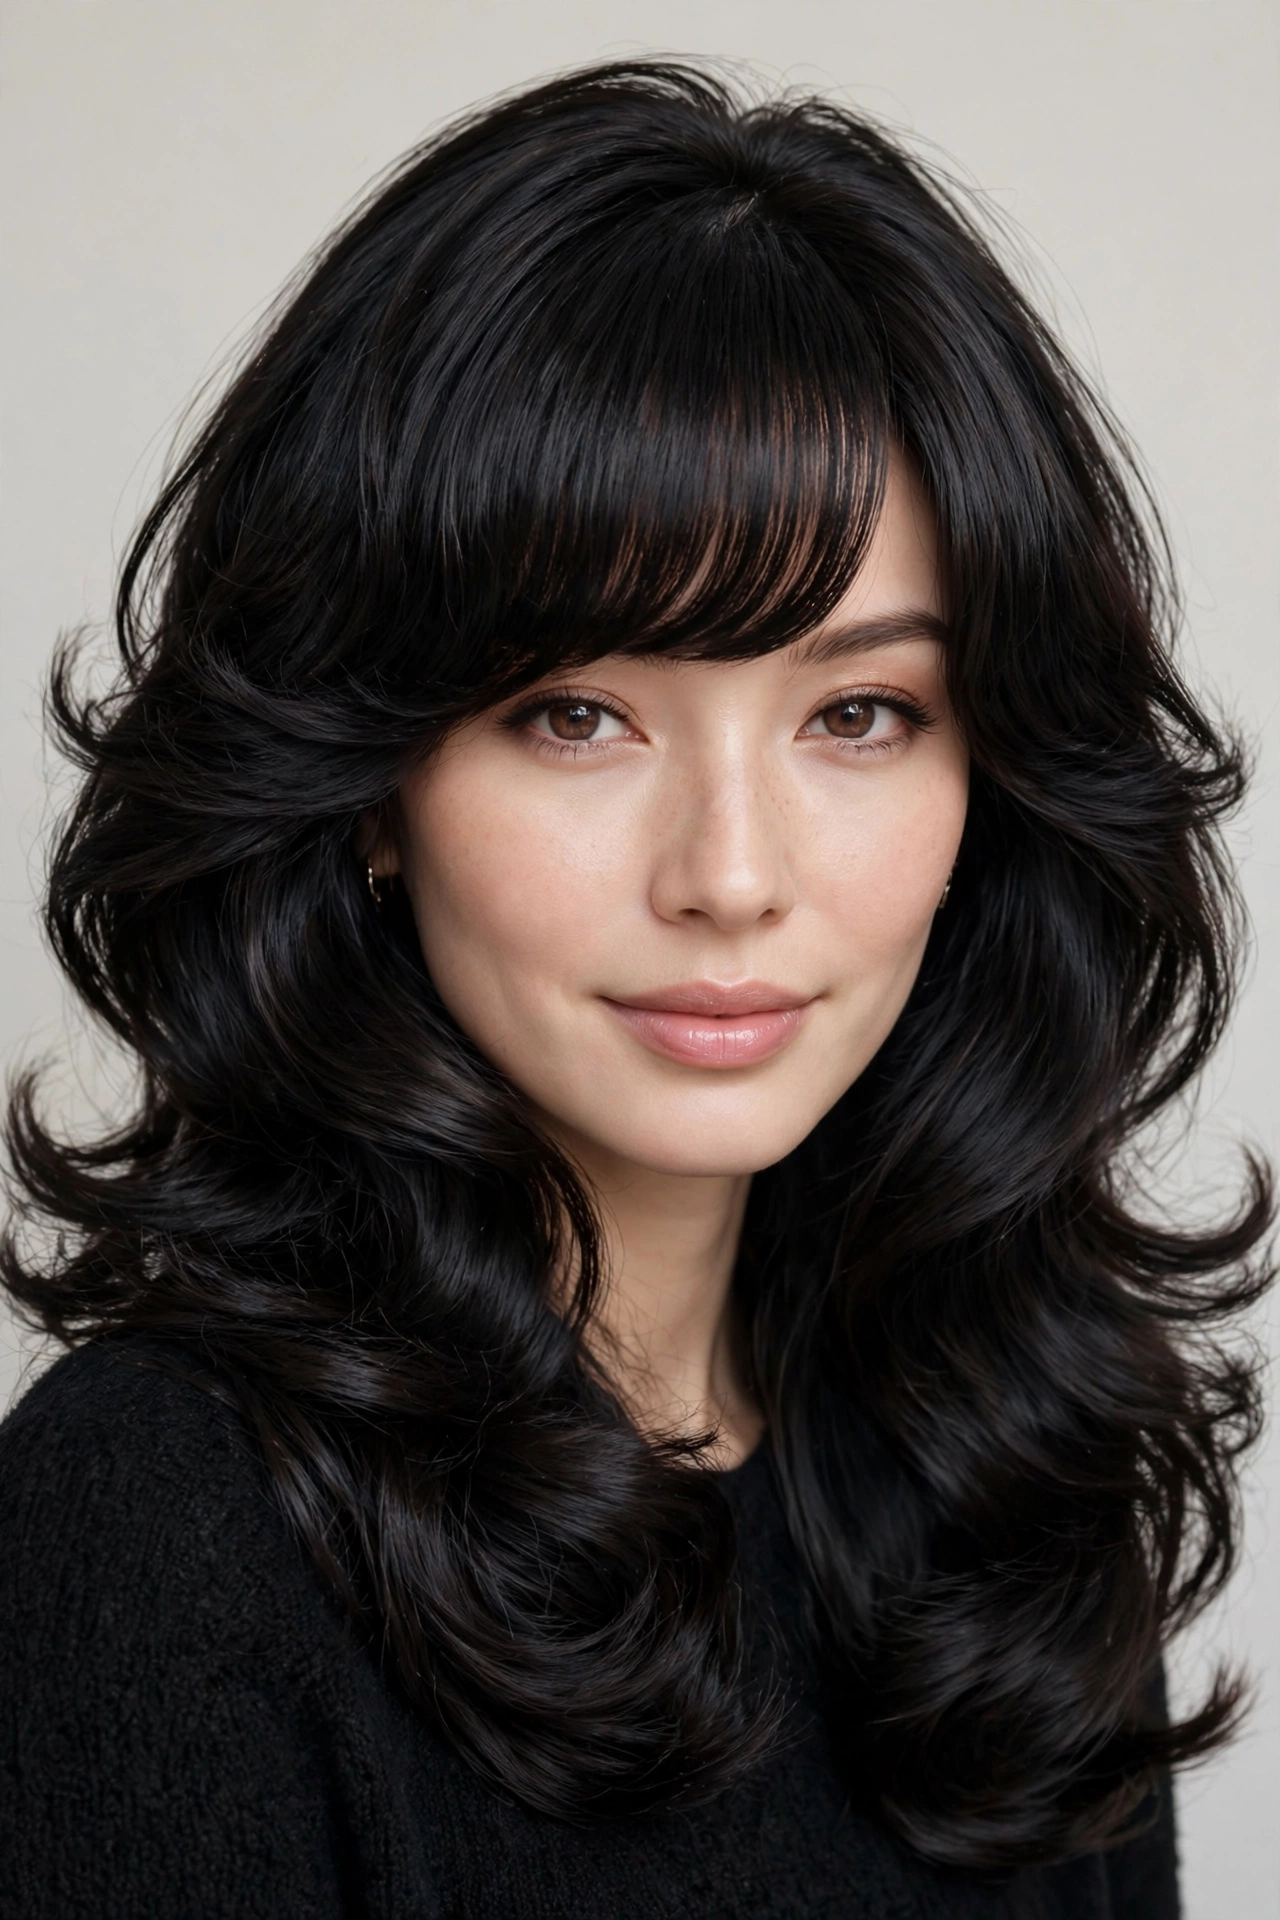
Bangs and blowouts have a complicated relationship, and the bouncy blowout with bangs is the peace treaty. Full or curtain bangs get dried separately from the rest of the hair, with a small round brush or even just a paddle brush and the dryer nozzle pointed down, and the key is drying them first, while they are at their wettest. Bangs dry faster than the rest of the hair because there is less of them, and if you leave them for last they will have already air-dried into whatever shape they felt like, which is never the shape you wanted. Dry the bangs in the first three minutes, then move on to the rest.
For full straight-across bangs, the technique is to dry them with the brush rolling under slightly, creating a soft curve rather than a flat sheet. For curtain bangs, part them in the middle and dry each side outward, as described in the curtain-fringe blowout above. The most common mistake is using too much product on bangs. They need almost nothing. A tiny amount of heat protectant, and that is it. Mousse or root spray on bangs makes them piecey and separated by midday. If your bangs fall flat while the rest of the blowout holds, the fix is usually washing just the bangs in the sink on day two and re-drying them in two minutes. It feels excessive the first time. By the third time it is just part of the routine.
15. The Overnight-Roller Blowout Look
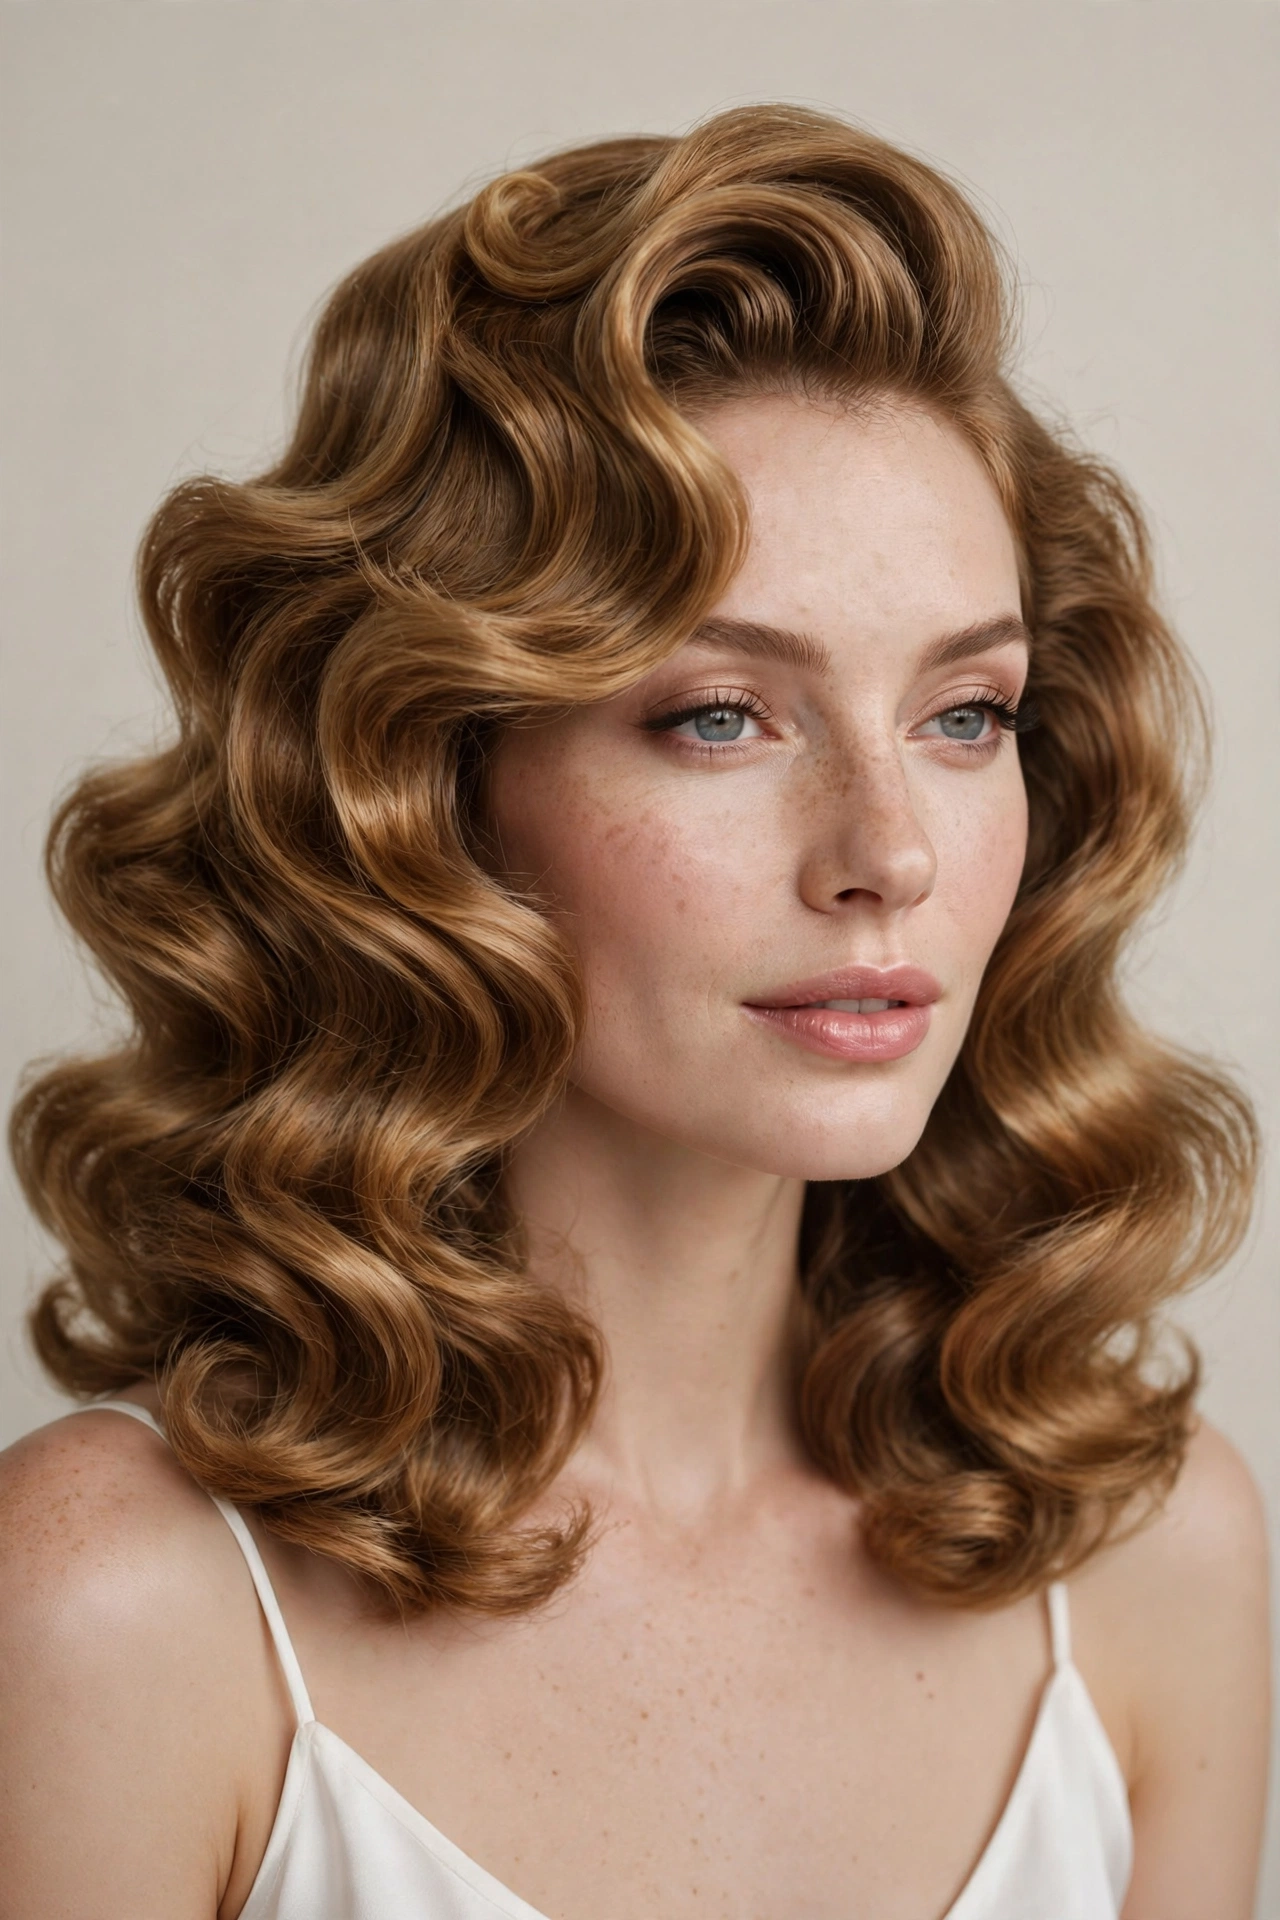
Here is a secret the heatless-hair community figured out years ago: you can get ninety percent of a blowout without a round brush at all. The overnight-roller blowout look starts with damp hair, a little mousse, and large velcro rollers or satin-covered foam rollers put in before bed. Sleep on them, or at least leave them for a few hours, then release in the morning and shake out. The result has genuine root lift and soft bend through the lengths. It will not have the glassy smoothness of a proper round-brush blowout, but it has something better for daily life: it took five minutes of active effort.
Roller choice determines the result. Large rollers, two inches or more in diameter, give smooth volume. Smaller rollers give curl. For the blowout look, go large, and place the crown rollers rolling back and away from the face. Damp, not wet, is the rule. Soaking hair in rollers overnight does not dry fully and you wake up with damp roots and regret. Rough-dry to about seventy percent first, then roll. Satin or silk-covered rollers are worth the small investment if your hair frizzes easily, because velcro can rough up the cuticle on fine hair. In the morning, release from the bottom up, flip your head upside down, shake, and finish with a light hairspray. Total morning effort: under ten minutes. This is the blowout for women who will not do heat styling daily but still want the look.
16. The Second-Day Revived Blowout
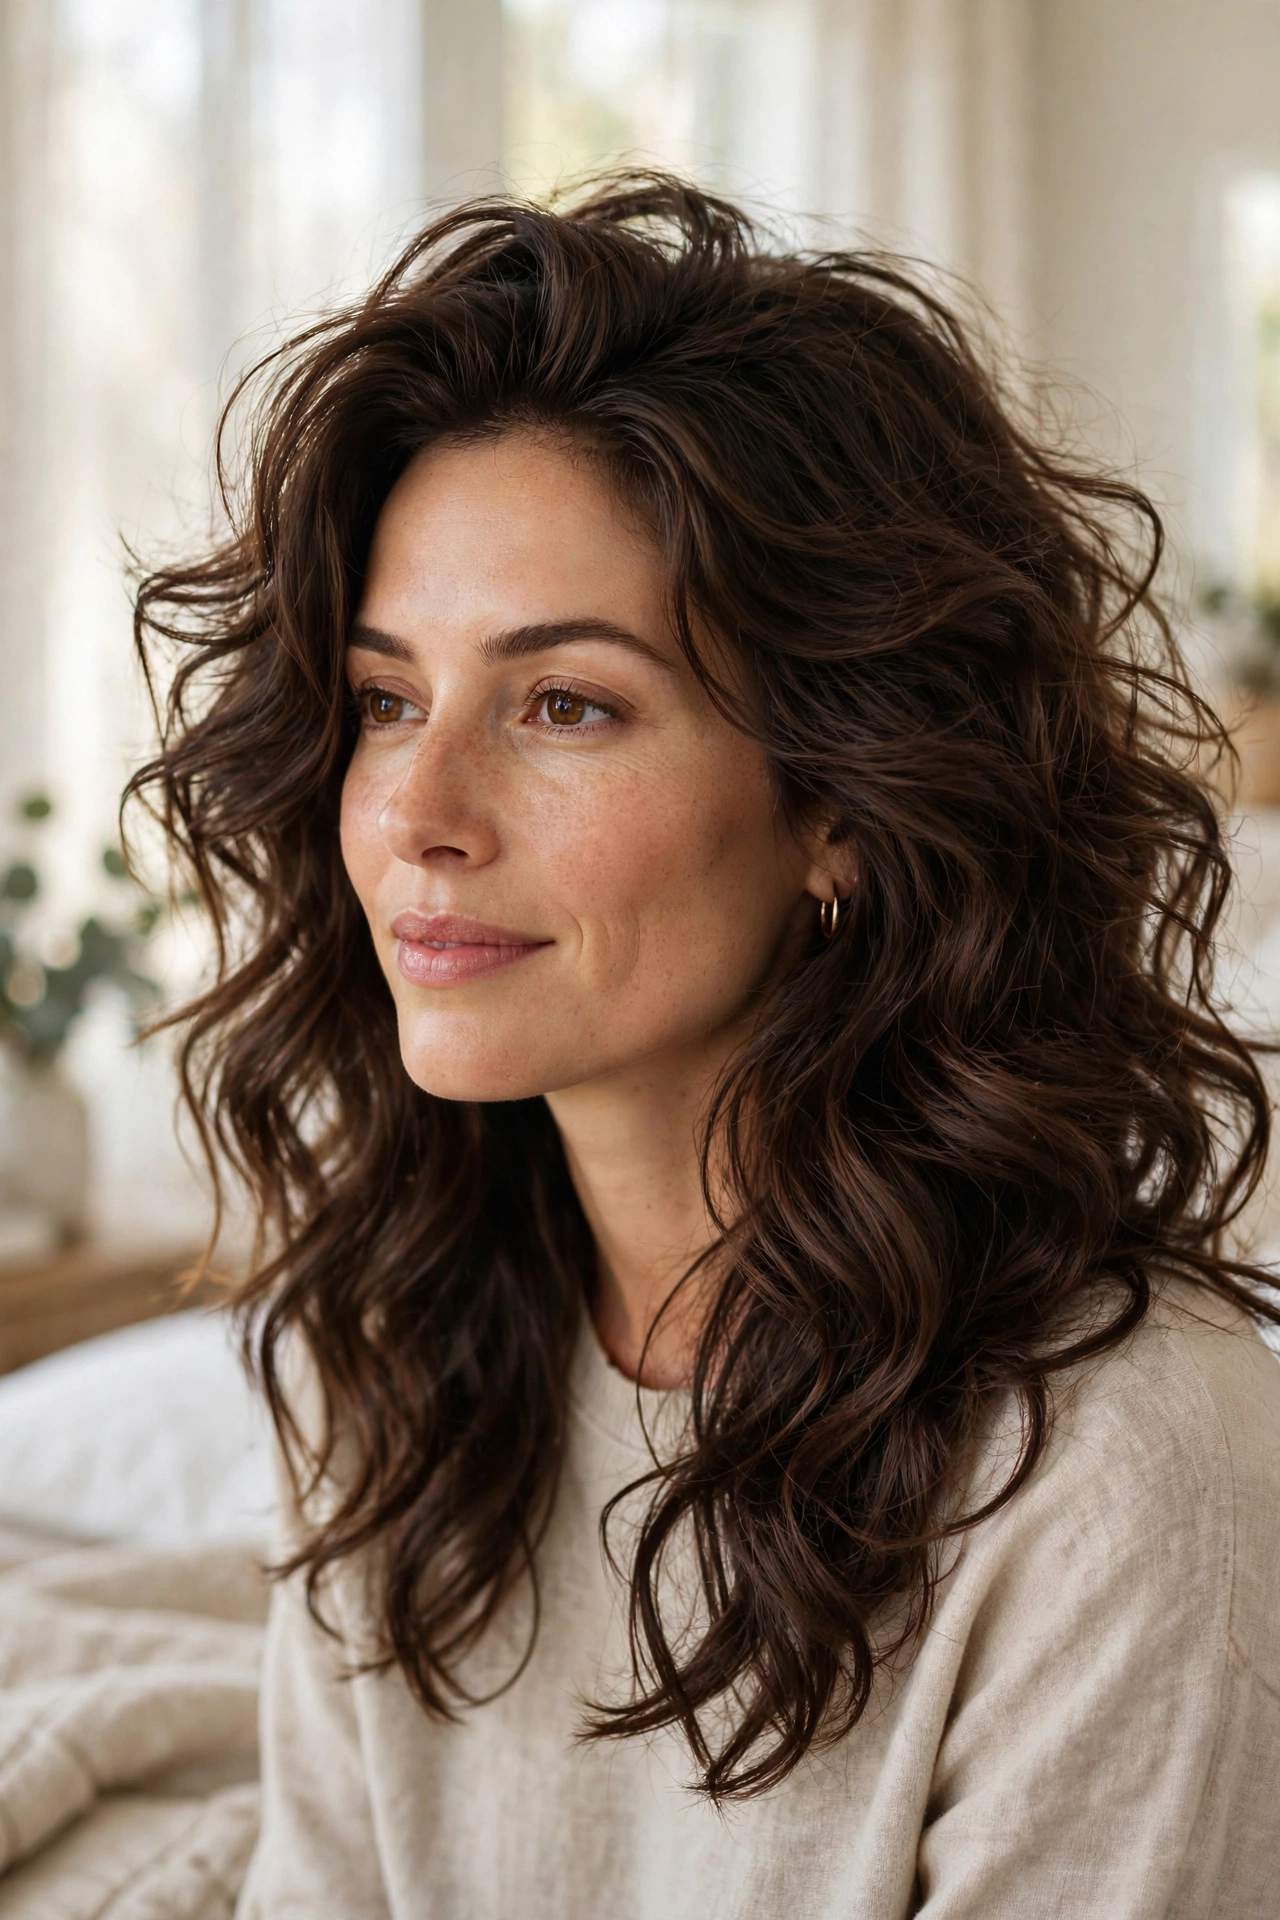
The second-day revived blowout is not a style you create from scratch. It is the art of bringing yesterday’s blowout back to life, and honestly it deserves its place on this list because it is the version most women will actually wear most often. Nobody does a full blowout every day. The realistic routine is one proper blowout, then two or three days of revivals. The technique: dry shampoo at the roots, massaged in with fingertips and left for two minutes before brushing through. Then re-curl just the front sections and the crown with a large iron or a quick round-brush pass. The back and lengths usually survive fine on their own.
Sleeping is what makes or breaks the revival. Hair crushed flat against a cotton pillowcase for eight hours needs more rescue than hair protected overnight. The loose topknot, sometimes called the pineapple, keeps the crown lifted while you sleep. A silk or satin pillowcase reduces friction so the lengths stay smooth. In the morning, take the hair down, shake it out upside down, and assess. If the roots are flat, that is what the dry shampoo is for. If the ends have gone straight, re-curl the bottom two inches of the front sections only. Nobody sees the back of your head in a video call. Spend your five minutes where it counts. A revived blowout on day two often looks better than the original, because the volume has settled into something natural and touchable.
17. The Brunette Shine Blowout
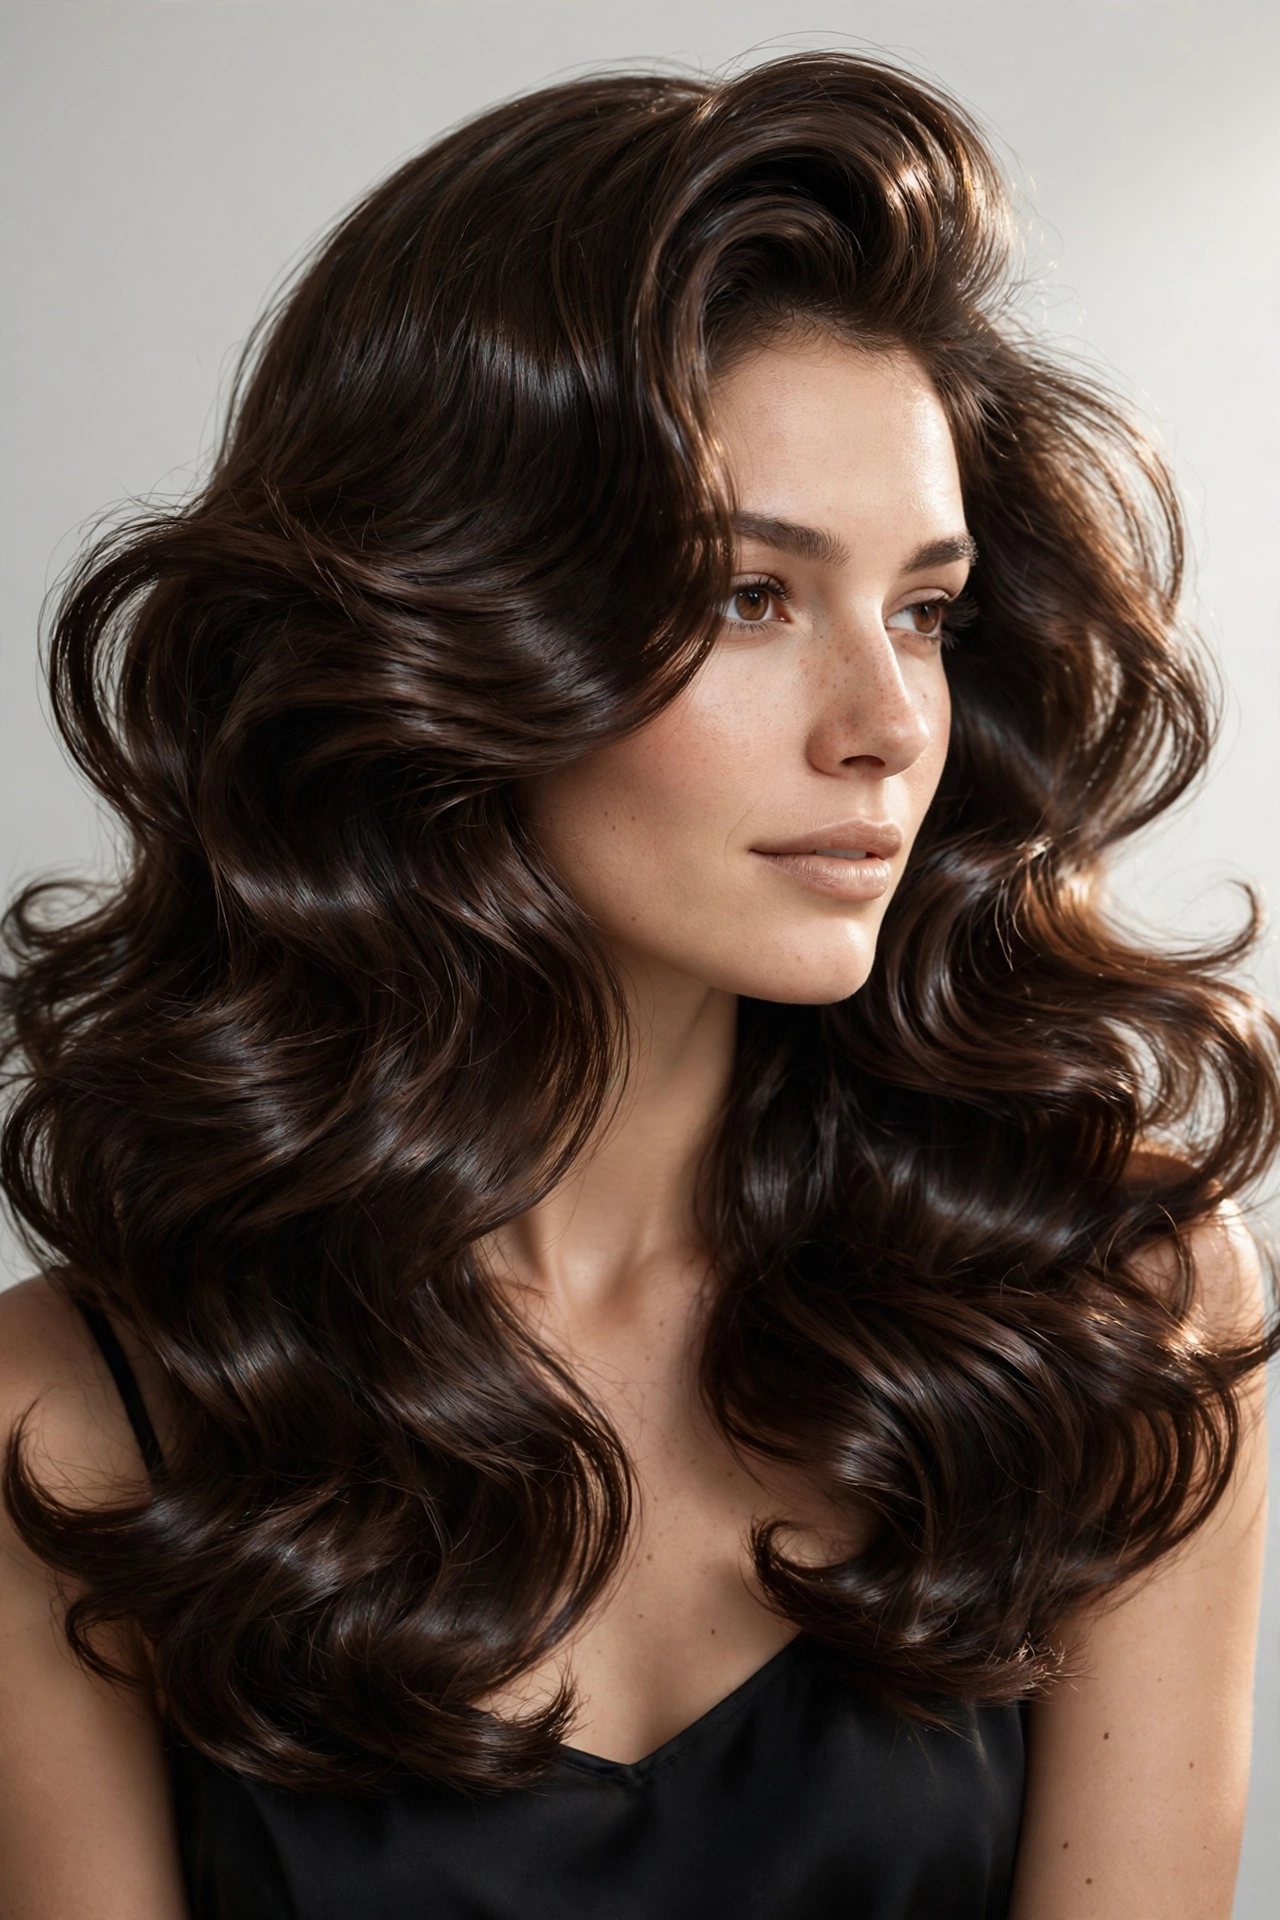
Dark hair and blowouts are a special combination, because shine shows more dramatically on brunette hair than on any other color. The brunette shine blowout leans into that. The technique is standard, but the finishing is everything: a glossing serum worked through the lengths, a cool shot on every section to seal the cuticle, and sometimes a clear gloss treatment at the salon beforehand for hair that has gone dull. The result is that liquid, mirror-like brunette that makes people ask what color you use. The answer is usually just health and technique.
Brunettes have one specific enemy: product buildup, which shows as dullness faster on dark hair than on blonde. If your blowouts have lost their shine over time, clarify. A clarifying shampoo once every two weeks strips the residue that regular shampoo leaves behind, and the difference in shine is immediate. For color-treated brunettes, a color-depositing gloss between salon visits keeps the richness that makes this blowout striking. Our balayage ideas guide covers dimensional color that takes a blowout particularly well, though this style is at its most dramatic on rich, solid brunette. Heat protectant is non-negotiable for shine work. Damaged cuticles do not reflect light, no matter how much serum you apply.
18. The Blonde Bombshell Blowout
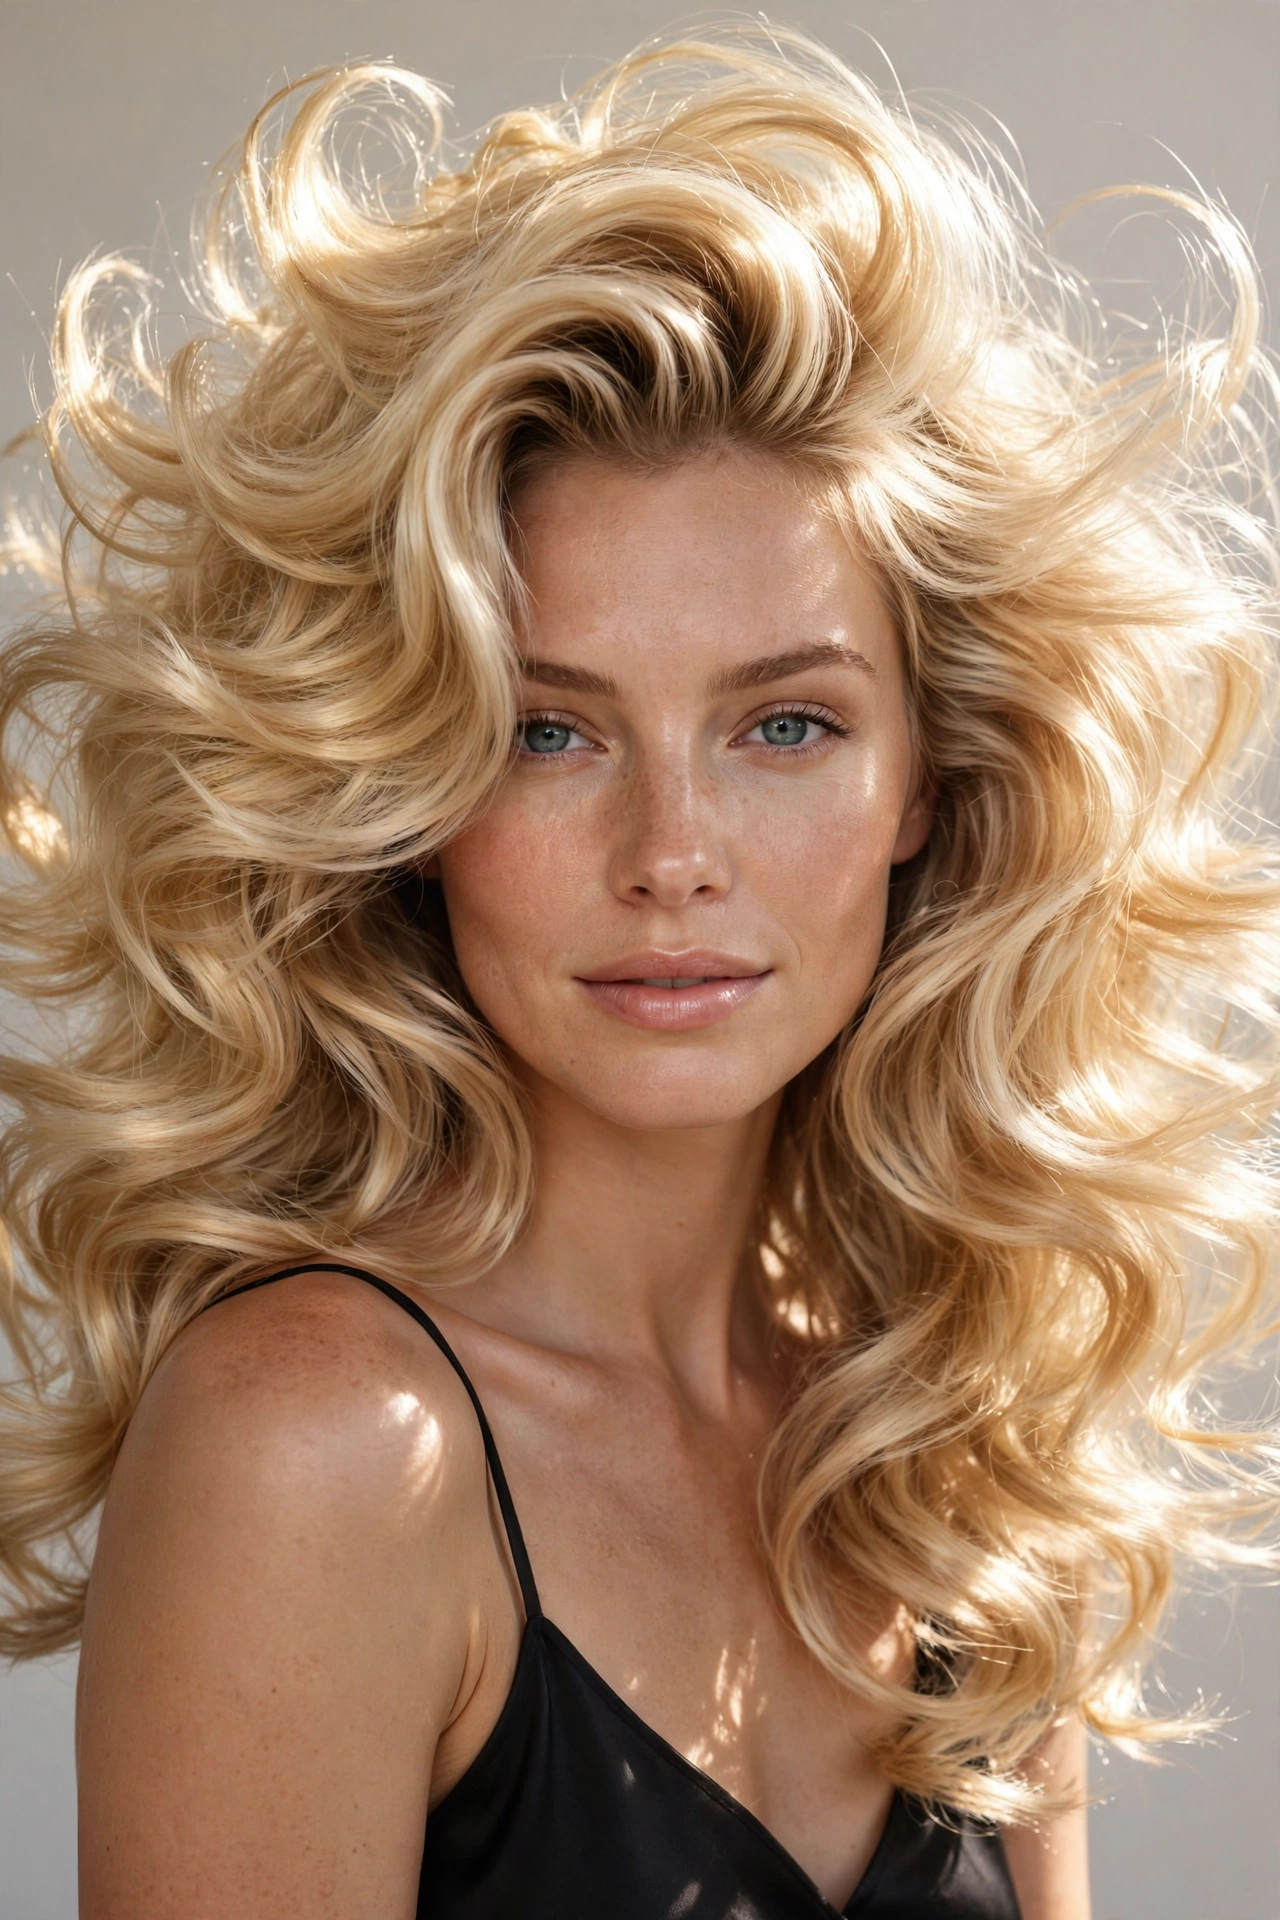
Blonde hair takes a blowout differently than dark hair. It shows volume more and shine less, which means the blonde bombshell blowout is all about size and movement rather than mirror gloss. Big sections, maximum root lift, ends curled and brushed out into soft waves. The color does half the work: blonde catches light at every angle, so the movement reads even from across the room. This is the most high-impact blowout on this list for fine to medium blonde hair, because the color amplifies every bit of volume the technique creates.
Blonde hair has specific needs that affect the blowout. Bleached or highlighted hair is more porous, which means it dries faster but also frizzes faster. A good heat protectant is essential, and the dryer temperature should stay at medium rather than high. High heat on porous blonde creates frizz that no amount of serum will fix. Purple shampoo users should know that it can leave hair slightly dry, so follow it with a proper conditioner and consider doing the blowout on hair washed with regular shampoo instead. The night before a big event, a deep conditioning mask makes a visible difference in how blonde hair takes a blowout. It is the single highest-return prep step for this style.
19. The Red-Carpet Blowout
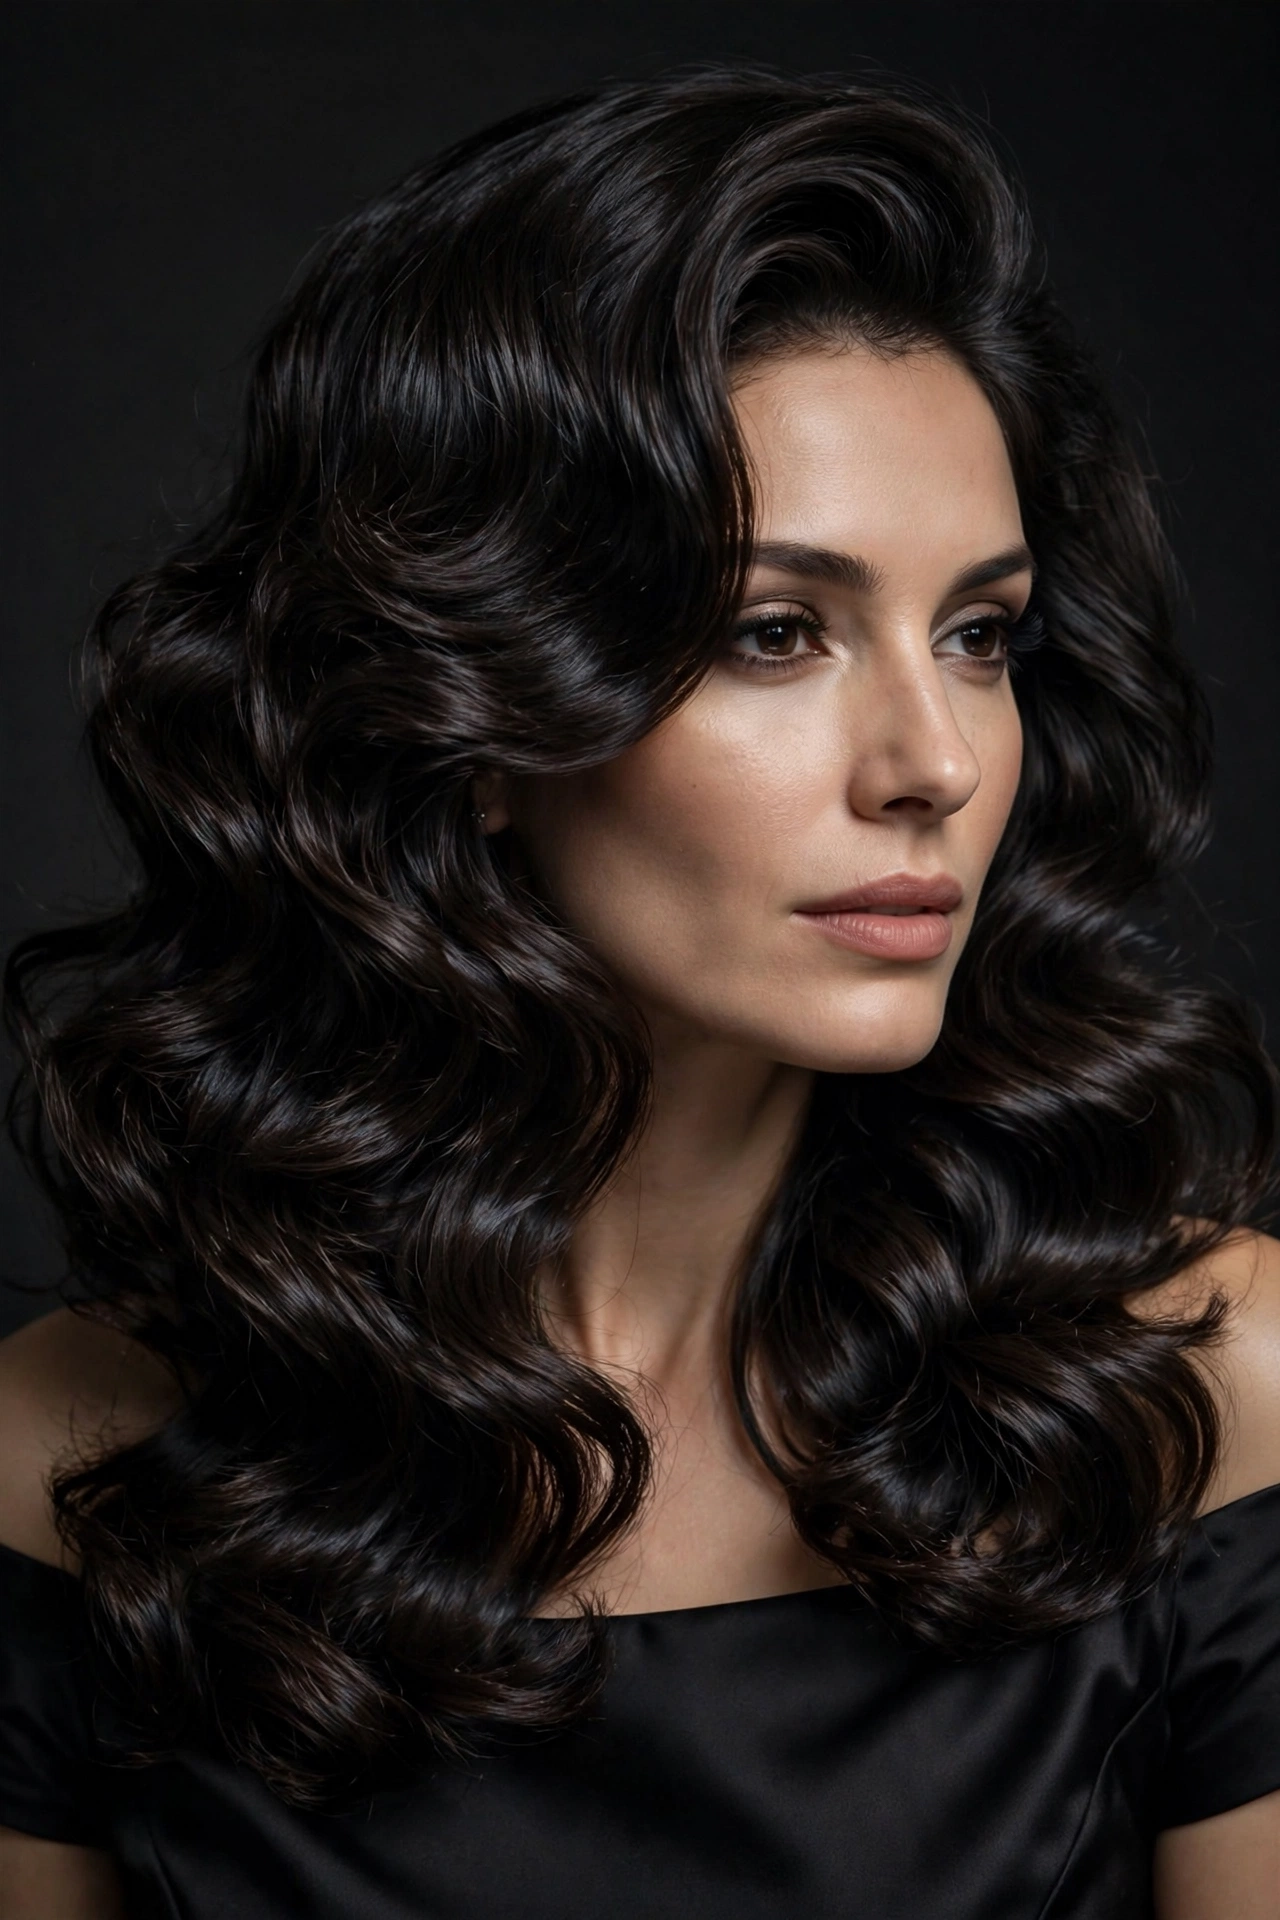
The red-carpet blowout is the special-occasion version: more polished, more structured, and built to last through an entire evening of photos. The differences from the classic are in the details. Sections are smaller and dried with more tension for extra smoothness. Hot rollers or a curling iron set every section after drying, because a red-carpet blowout needs to survive hours under lights and camera flashes. The part is deliberate and clean. Every flyaway is smoothed. This is not the blowout you do before running errands. It is the one you do when it matters.
Longevity engineering is the whole game here. Pin each curled section up to cool completely, which takes at least fifteen minutes. Brush out gently, then set with a firm-hold hairspray, applied in light layers rather than one heavy blast. Carry the travel-size hairspray and a few bobby pins in your bag. At some point in the evening, usually around hour four, the front pieces will need attention. Duck into a restroom, re-curl one front section, smooth the part, and you are restored. This blowout also benefits from starting with day-old hair rather than freshly washed hair, because slightly lived-in hair holds style better. Wash the night before, not the morning of. Your stylist will thank you, and so will your photos.
20. The Low-Maintenance Air-Dried Blowout
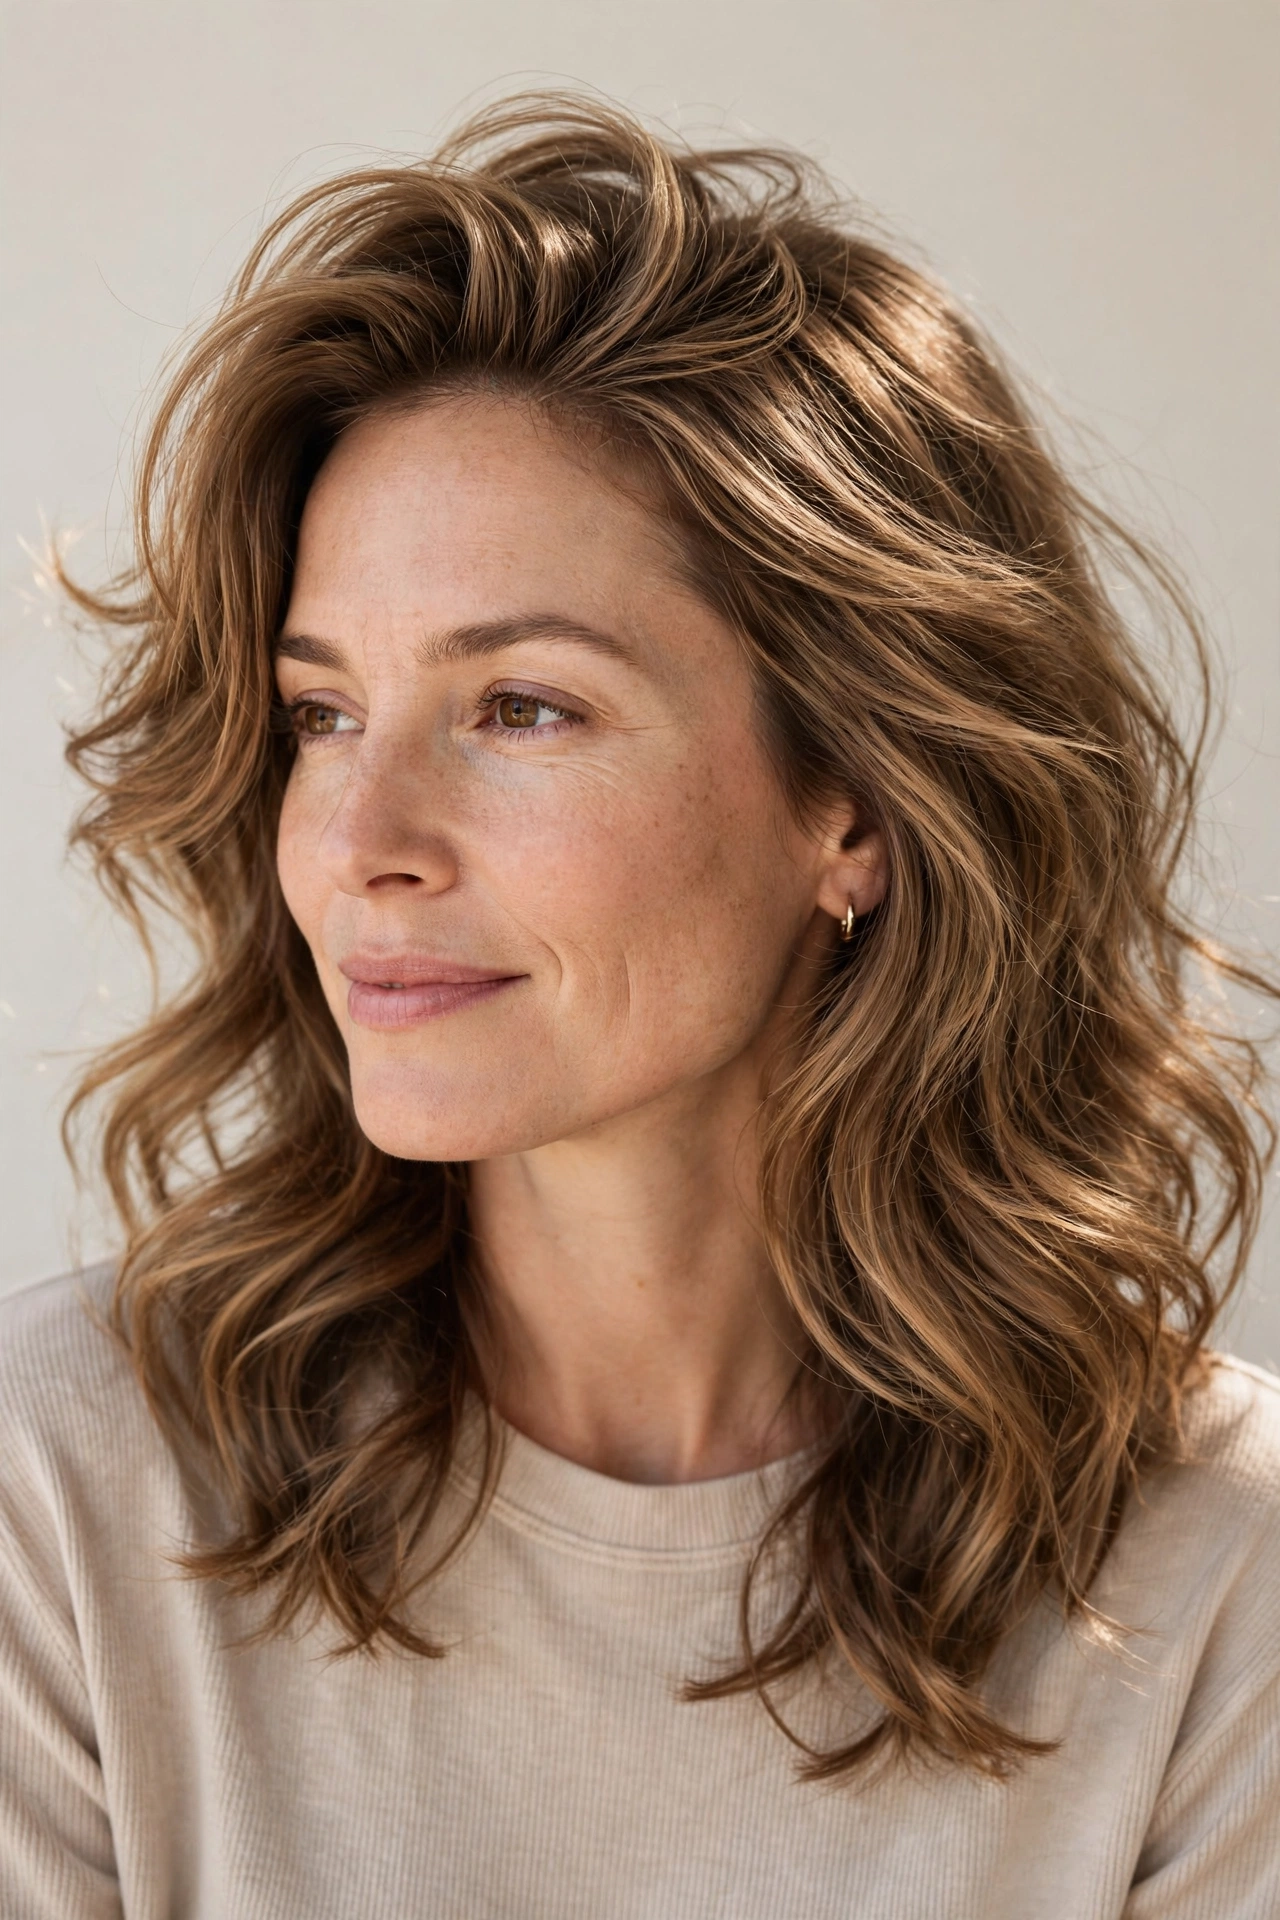
The last style on the list is for everyone who read this far and thought: this all sounds lovely, but I am not doing any of it. The low-maintenance air-dried blowout gets you surprisingly close to the real thing with almost no heat styling. Wash, apply a volumizing mousse and a curl cream, twist the hair into two loose buns or a few big braids while damp, and let it air dry completely. Release, shake out, and finish with a texturizing spray. The result has root lift from the buns, soft bend from the twists, and a lived-in texture that reads as an intentional style. It is not a salon blowout. It does not pretend to be. But from three feet away, nobody can tell.
The non-negotiable part is drying completely before releasing. Damp hair released from buns goes limp within an hour. Fully dry hair holds the shape all day. If you are short on time, rough-dry the roots with a dryer for five minutes before putting the hair up. That one step doubles the longevity. This method works best on wavy to curly hair, which has natural texture to enhance, but straight-haired women can get a softer version with tighter twists and a bit more product. For wash-day routines that support this approach, our wash-and-go mid-length haircuts guide is worth reading. The air-dried blowout will not win any gloss competitions, but it wins the only competition that matters on a busy Tuesday: great hair, ten minutes of effort.
How to Ask Your Stylist for a Bouncy Blowout

Walking into a salon and saying “blowout” gets you a blowout, but it might not get you the blowout you pictured. Stylists interpret the word differently, so specificity is your friend. Bring reference photos, at least three, showing the exact volume, part, and finish you want. Photos beat words every time. Then use the vocabulary: “maximum root lift,” “ends curled under,” “brushed-out softness,” or “polished and smooth.” Tell your stylist your hair type honestly, including the parts you hate. “My crown goes flat by noon” is useful information. “My hair is fine” is not, because fine means different things to different people.
Ask questions before the dryer starts. How should I maintain this at home? What products did you use, and in what order? How long should this last on my hair type? A good stylist will answer all of it without being asked twice, but asking signals that you want to learn, and most stylists light up when a client wants to learn. Also discuss the cut. A blowout can only do so much with hair that is cut against it. If you want big bouncy blowouts regularly, ask whether your current cut supports that, or whether long layers would help. Sometimes the appointment you need is a cut, not a blow-dry. Finally, book the blowout lesson. Many salons offer a styling lesson as a service, where the stylist does one side and talks you through doing the other. It costs less than three failed home attempts in wasted product and frustration.
How to Style a Bouncy Blowout at Home
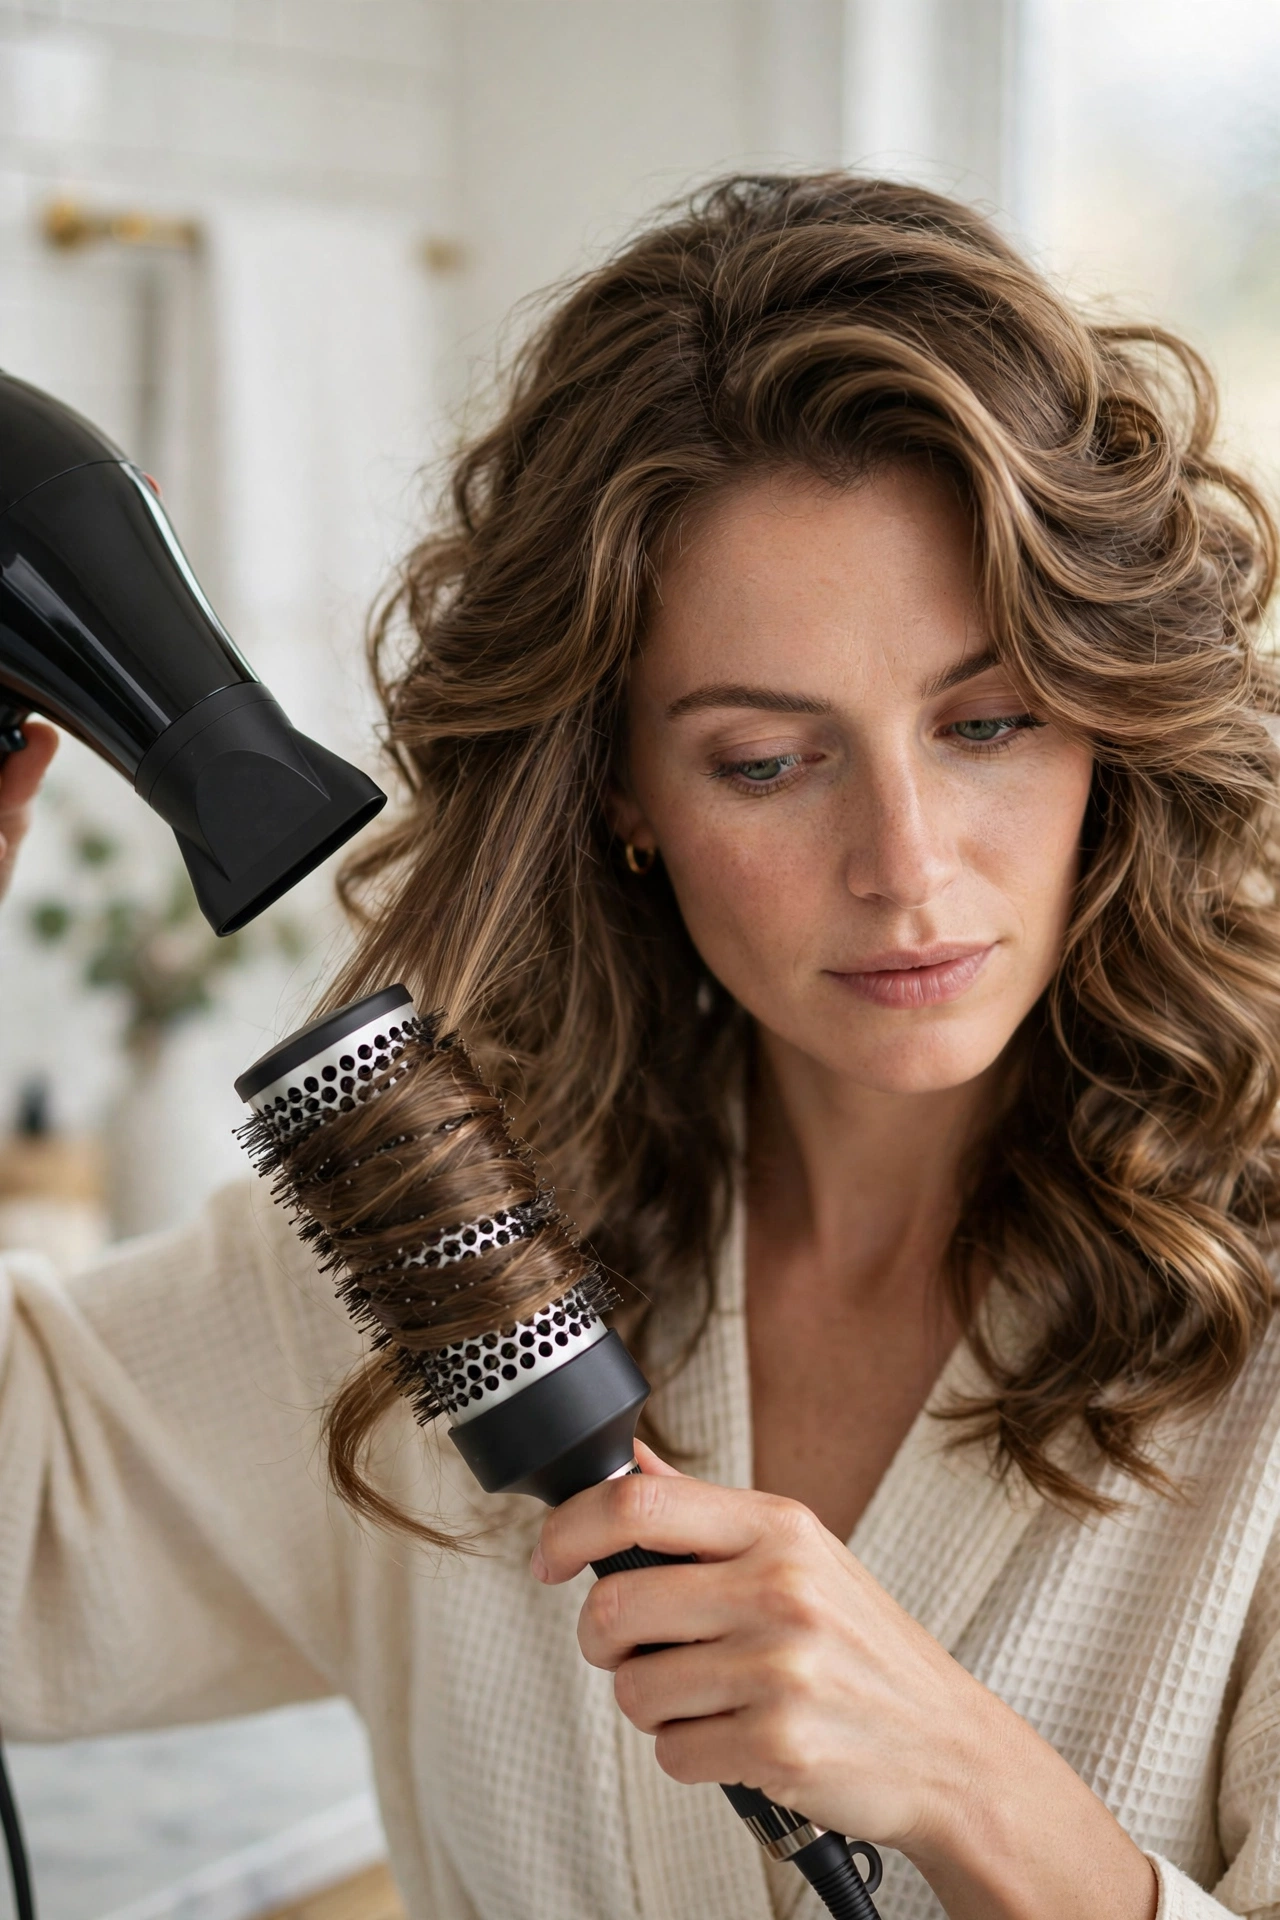
The home blowout has a reputation for being impossible, and the reputation is about half deserved. The back of your head is genuinely hard to do well. But the front, the crown, and the face-framing pieces, which is what everyone actually sees, are entirely learnable. Here is the method that works. Start with towel-dried hair, about seventy percent dry. Apply heat protectant everywhere and volumizing mousse or root spray at the roots. Rough-dry upside down until the hair is eighty percent dry. This builds the foundation volume that makes everything else easier. Then section: clip the top half up, work the bottom half in two-inch sections with a large round brush, drying each section with tension and a cool shot at the end.
The round brush technique is the part that takes practice. Place the brush under the section at the roots, pull it taut, and follow it with the dryer nozzle pointed down the hair shaft, not into it. Roll the brush through to the ends, and at the very end, roll it back up slightly to create the curl-under, then hit the cool shot while the hair is still wrapped. Release. Do not touch it until you have finished every section. Touching warm sections pulls the shape out. Once everything is done and cool, flip your head upside down, shake gently, and finish with a light hairspray. Total time for a first-timer: forty-five minutes. After ten practices: twenty-five. The learning curve is real but it plateaus fast. For a detailed professional walkthrough of the products and steps, Glam’s bouncy blowout guide is a solid reference that covers the full routine.
Best Face Shapes and Hair Types for the Bouncy Blowout
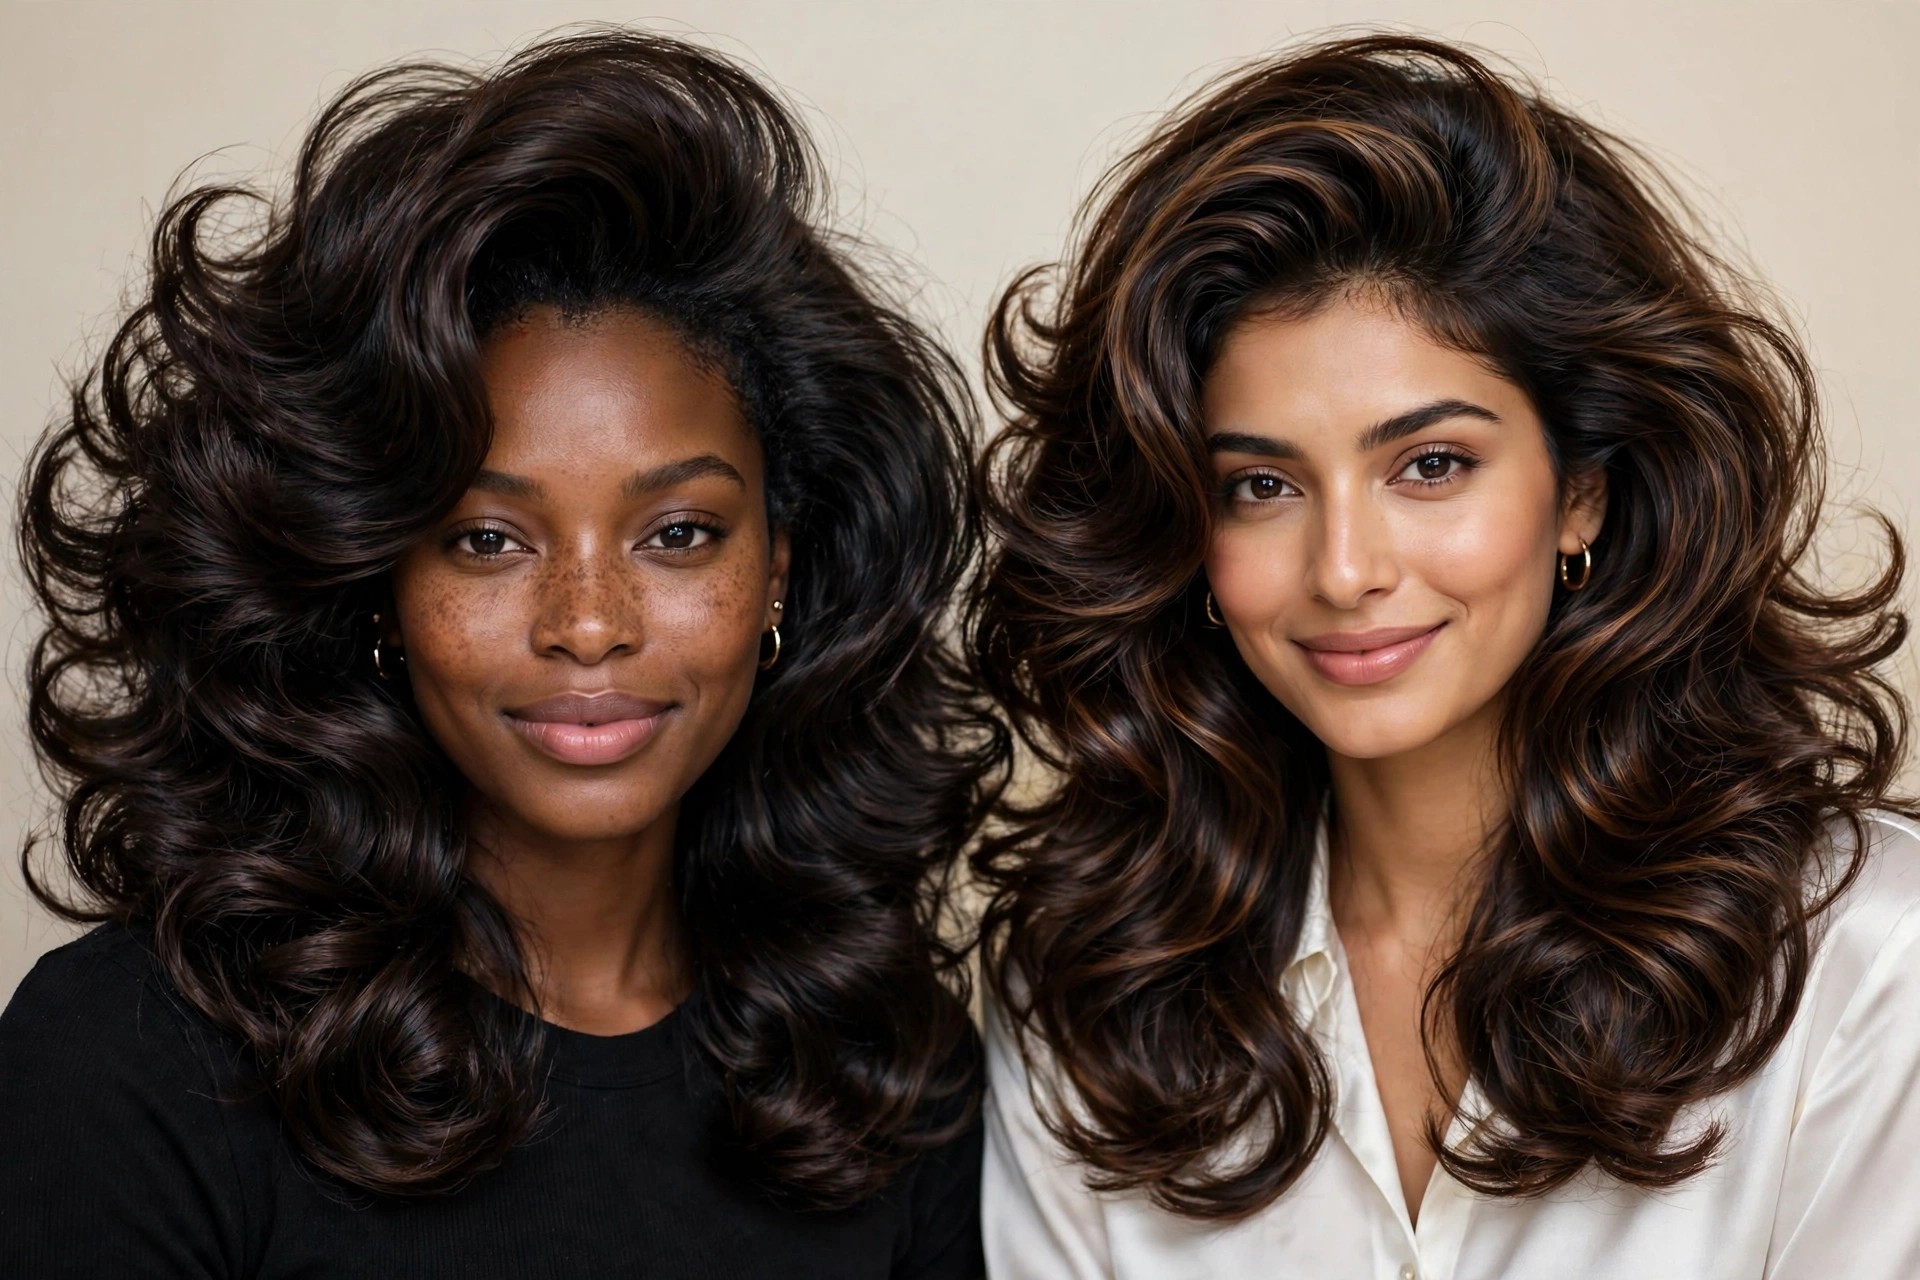
The good news first: some version of a blowout works for every face shape and almost every hair type. The bad news: the wrong version for your features can emphasize exactly what you wanted to minimize. Round faces do best with height at the crown and length through the sides, which elongates. Avoid width at the cheeks. Long faces want the opposite: volume at the sides, face-framing pieces hitting at the cheekbone, and less height on top. Oval faces can wear nearly anything, which is both a blessing and a decision problem. Heart-shaped faces benefit from volume at the jawline to balance a narrower chin. Square faces soften with curved, face-framing pieces and a side part.
Hair type matters as much as face shape. Fine hair needs root-focused techniques and lightweight products, and should avoid heavy serums that pull volume down. Medium hair is the easiest blowout hair and can wear every style on this list. Thick hair needs smaller sections and more drying time, but holds a blowout the longest, often four to five days. Curly hair should be stretched with tension rather than fought straight, as covered in the curly version above. Very short hair, above the chin, can still get root lift and a flicked finish, but the full bombshell effect needs at least bob length. Damaged or over-processed hair should keep heat at medium, always use protectant, and consider whether a blowout is the right choice versus a restorative cut. Honesty about your hair type is what separates a great blowout from a disappointing one.
Bouncy Blowout Maintenance: Making It Last
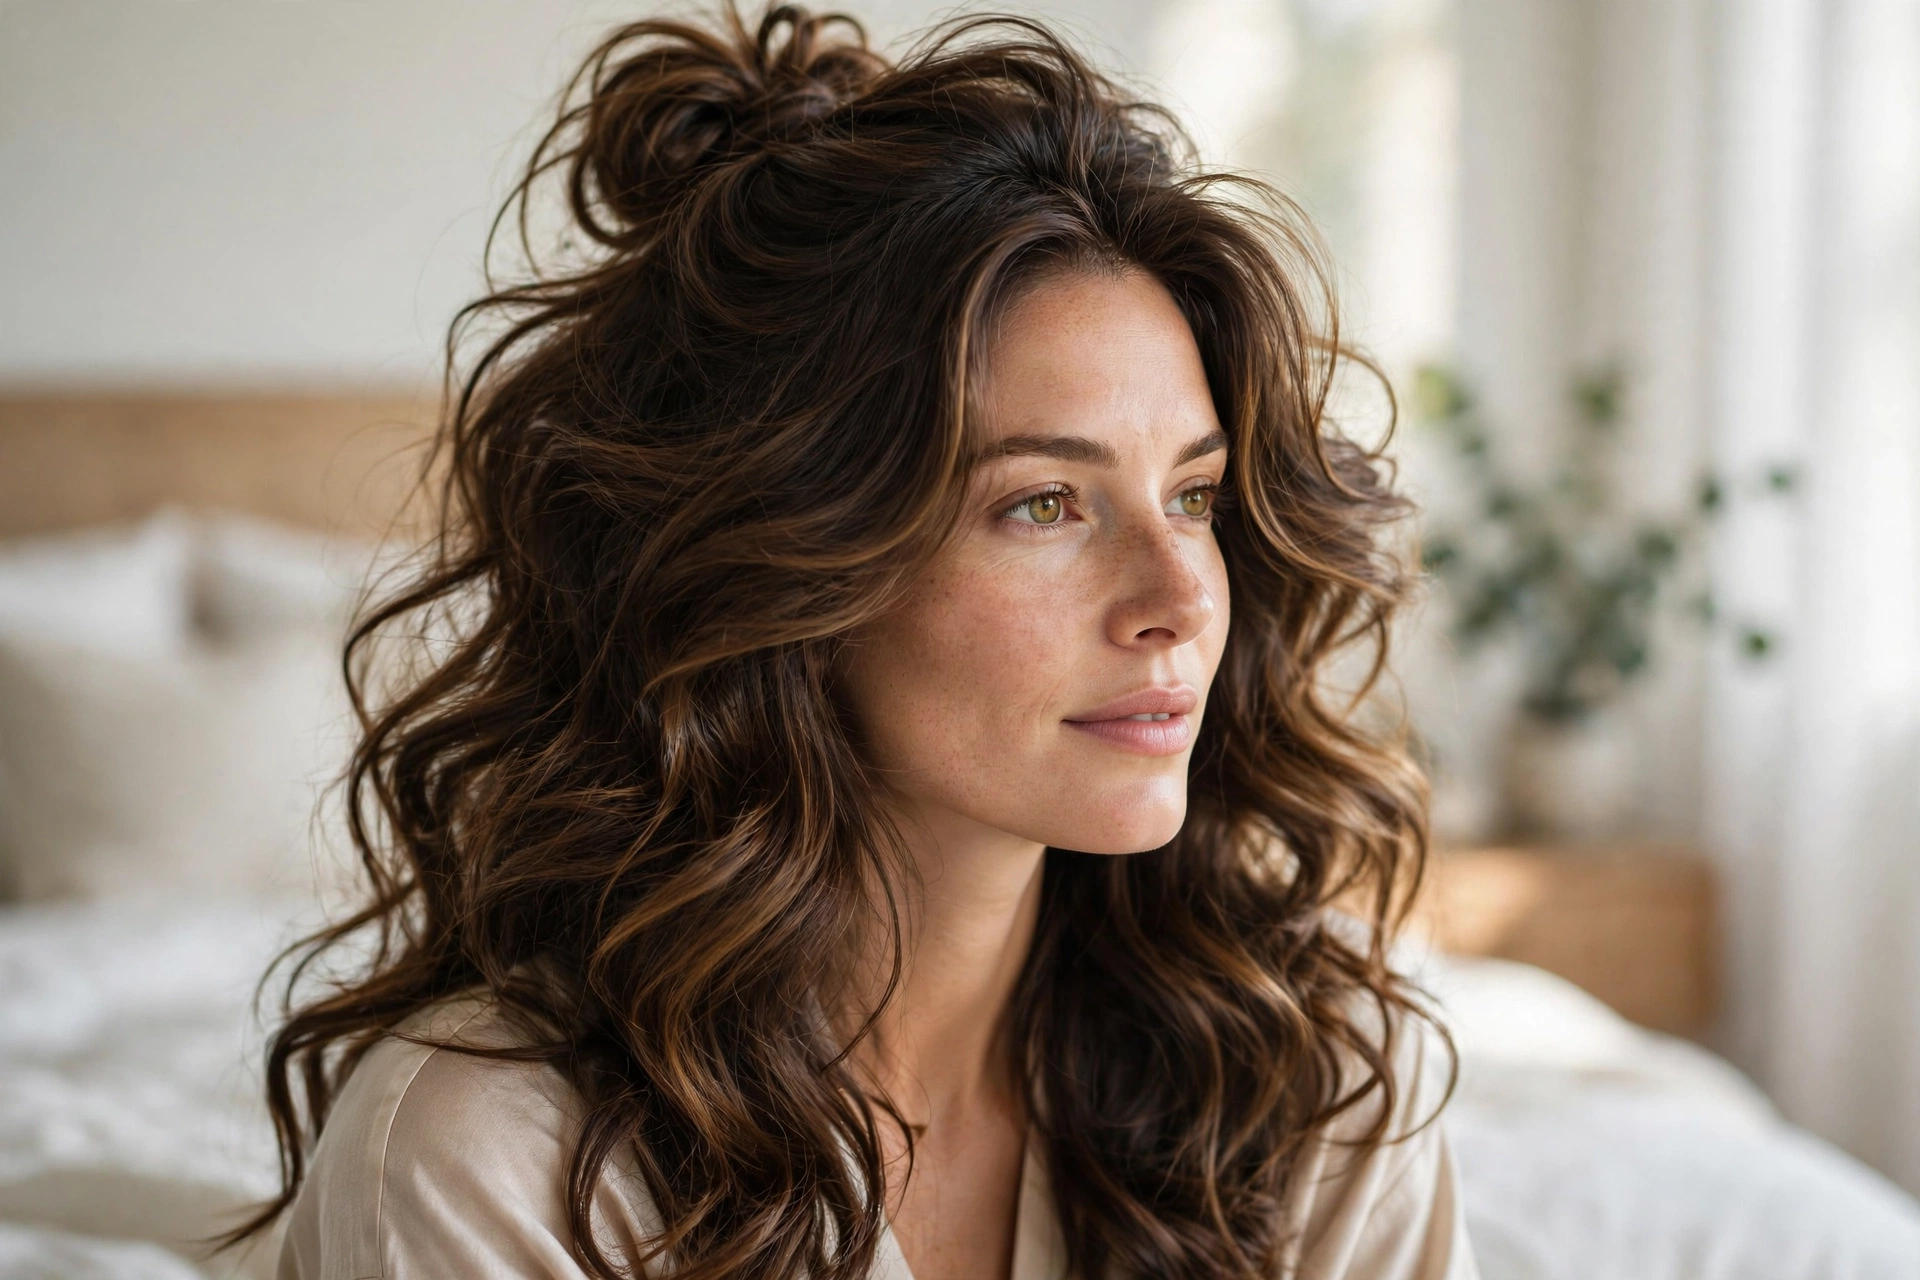
A blowout is an investment of time, and maintenance is how you protect it. The fundamentals: sleep with your hair in a loose topknot or wrapped in a silk scarf, on a silk or satin pillowcase. Cotton creates friction, friction creates frizz, frizz kills blowouts. In the morning, dry shampoo at the roots before you need it, not after the oil has already won. Massage it in, wait two minutes, brush through. Refresh the front sections with a quick pass of the round brush or iron if they have lost their shape. The back usually survives on its own.
What not to do matters as much. Do not brush a blowout aggressively. A paddle brush through the lengths is fine; vigorous brushing at the roots settles everything. Do not pile on product day after day. Each day’s refresh should use less product than the last, because buildup weighs hair down progressively. Do not get it wet, obviously, but also watch out for steam. Long hot showers with your hair down will relax the style faster than anything except actual washing. Put it up before you step in. And know when to let go. A blowout has a natural lifespan of two to four days depending on hair type. Pushing it to day five usually means wearing a ponytail anyway, so plan your wash day accordingly. Most blowout devotees settle into a twice-weekly rhythm: full style Sunday, refresh through Wednesday, wash Thursday, rest or restyle Friday.
Bouncy Blowout FAQs
How long does a bouncy blowout last?
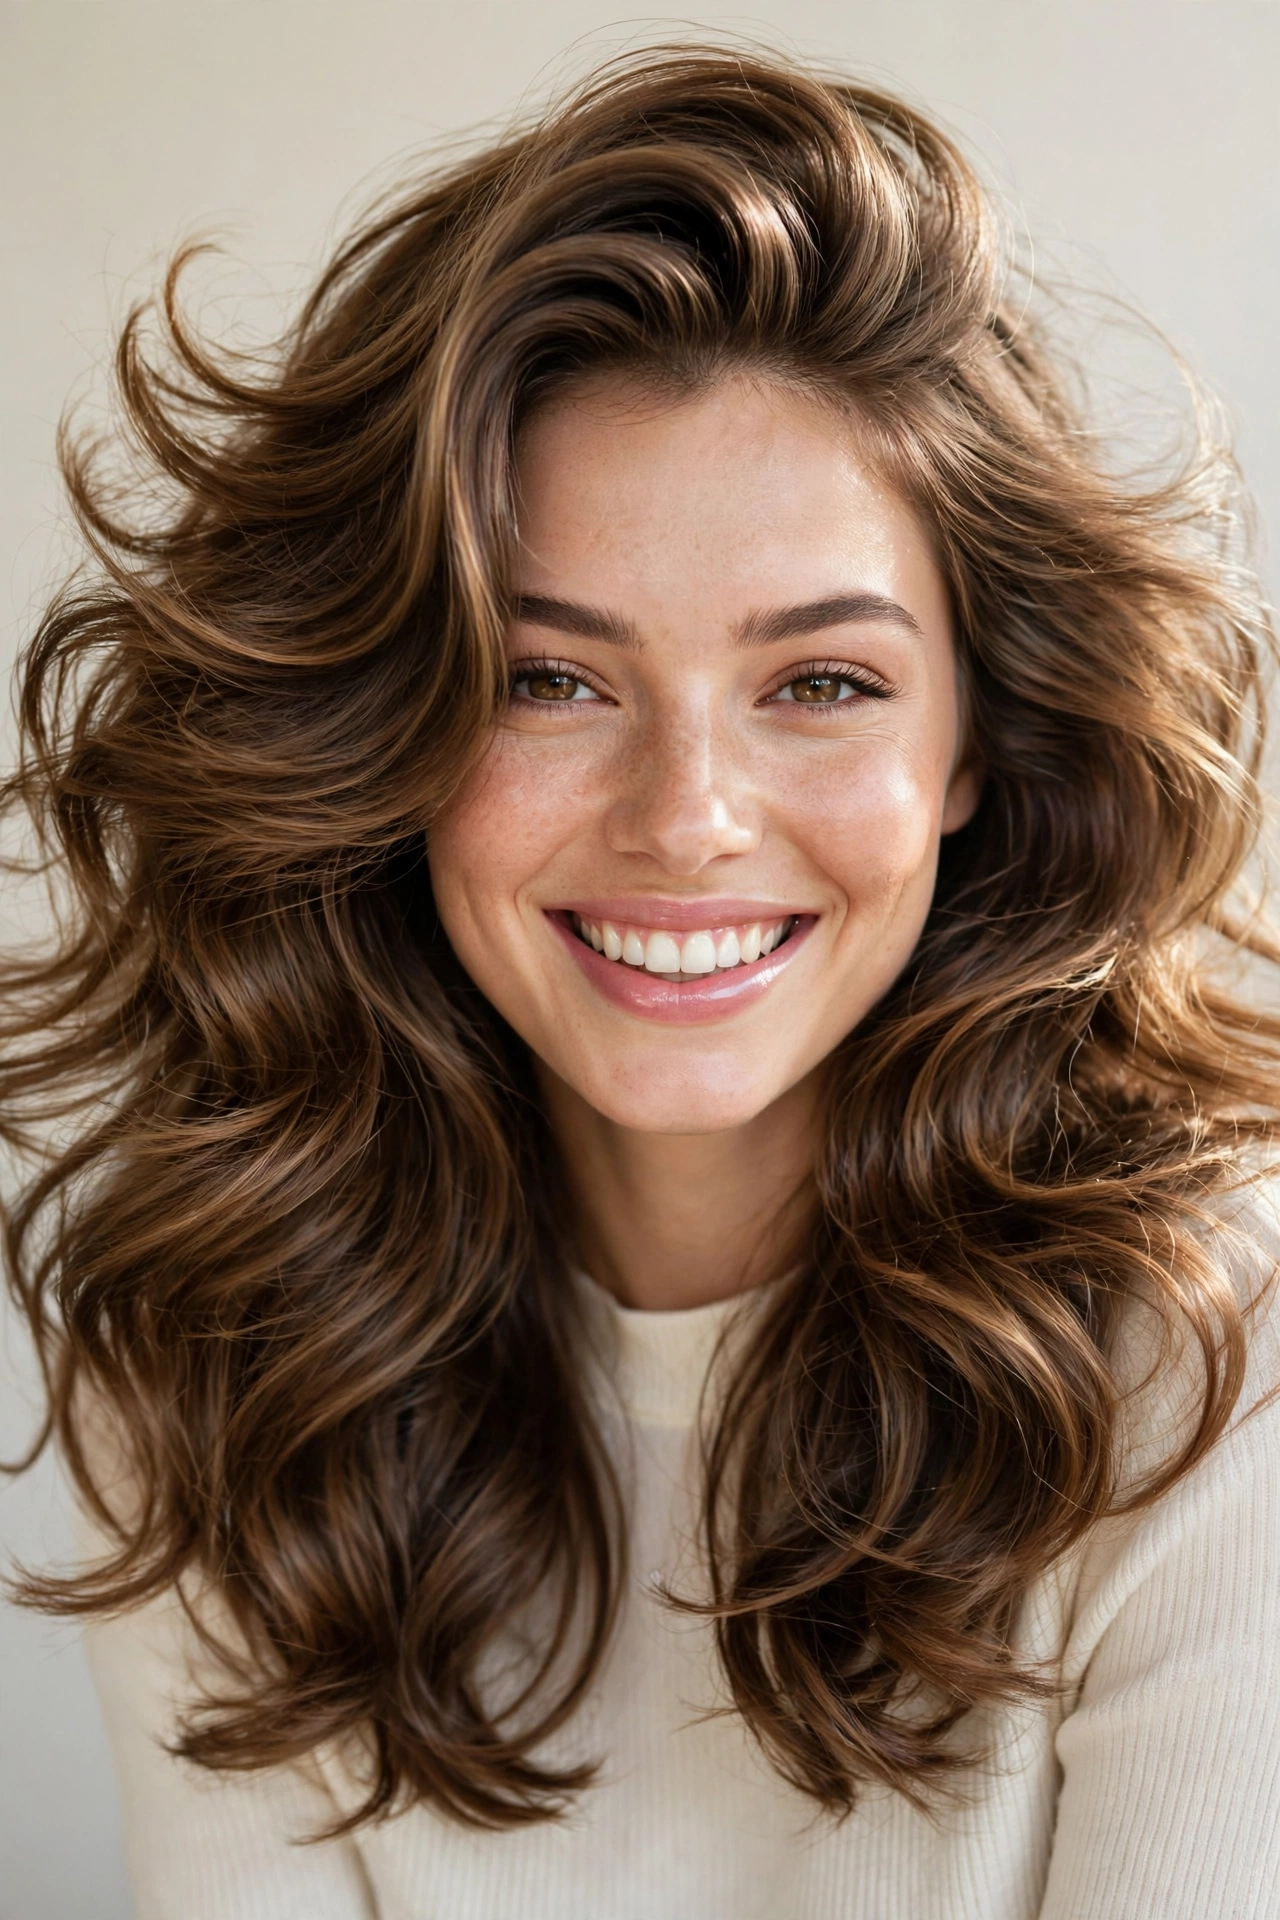
On most hair types, a proper blowout lasts two to four days. Fine hair is at the shorter end, around two days, because oil travels faster down fine strands and weighs the roots down. Thick and coarse hair often reaches four or five days. The biggest variables are how oily your scalp is, how you sleep, and whether you refresh the roots with dry shampoo. Sleeping in a loose topknot on a silk pillowcase can add a full extra day. Humidity is the other major factor. In humid weather, even a perfect blowout may only last a day or two, because moisture in the air relaxes the style. Anti-humidity finishing sprays help, but they cannot defeat a truly muggy day.
Can I get a bouncy blowout on short hair?
Yes, absolutely, and short blowouts are some of the chicest on this list. Bob-length hair takes a blowout beautifully: root lift at the crown, smoothed lengths, ends flicked under. The main adjustment is brush size. Use a small to medium round brush, one to one-and-a-half inches, instead of the large brushes used on long hair. The whole process takes about fifteen minutes on short hair, which makes it the most practical daily blowout of all. Above chin length it gets harder to create the curled-under finish, but root volume is still very achievable. If you are growing out a pixie, the in-between stages actually blow out well because the layers create natural movement.
Will a blowout damage my hair?
Any heat styling carries some risk, but a weekly blowout done properly is less damaging than daily flat-ironing, because you are applying heat once instead of five times. The protective rules are simple: always use a heat protectant, keep the dryer moving rather than parking it on one section, use medium heat instead of maximum, and keep the nozzle pointed down the hair shaft. The most damaging blowout habit is going over the same section repeatedly. Get it right in one or two passes and move on. If your hair is already compromised from bleach or chemical treatments, talk to your stylist honestly. Sometimes the right answer is a restorative trim and a break from heat, not another blowout.
What products do I actually need for a home blowout?
The honest minimum is four things: a heat protectant, a volumizing mousse or root-lift spray, a round brush in the right size for your hair length, and a blow dryer with a nozzle attachment and a cool-shot button. Everything else is optimization. Dry shampoo extends the style to day two and three. A light-hold hairspray sets the finish. A smoothing serum tames the ends. Volumizing powder at the roots is the secret weapon for fine hair. You do not need the expensive versions of any of this to start. A mid-range dryer with a proper nozzle outperforms an expensive dryer used without one. Buy the technique first, upgrade the tools later.
Why does my blowout fall flat within hours?
The usual suspects, in order of likelihood: sections were too thick, so the insides never fully dried; no root lift because the roots were dried flat instead of over-directed; too much conditioner or heavy product at the roots; touching and brushing the hair while it was still warm; or hair that was not clean enough to start with. Product buildup and natural oil are the silent killers. If your blowouts used to last and now they do not, clarify your hair and check whether your products have gotten heavier over time. The other common cause is simply expecting too much from fine hair without root-support products. Fine hair needs mousse, root spray, or volumizing powder. It is not optional. It is structural.
Final Thoughts
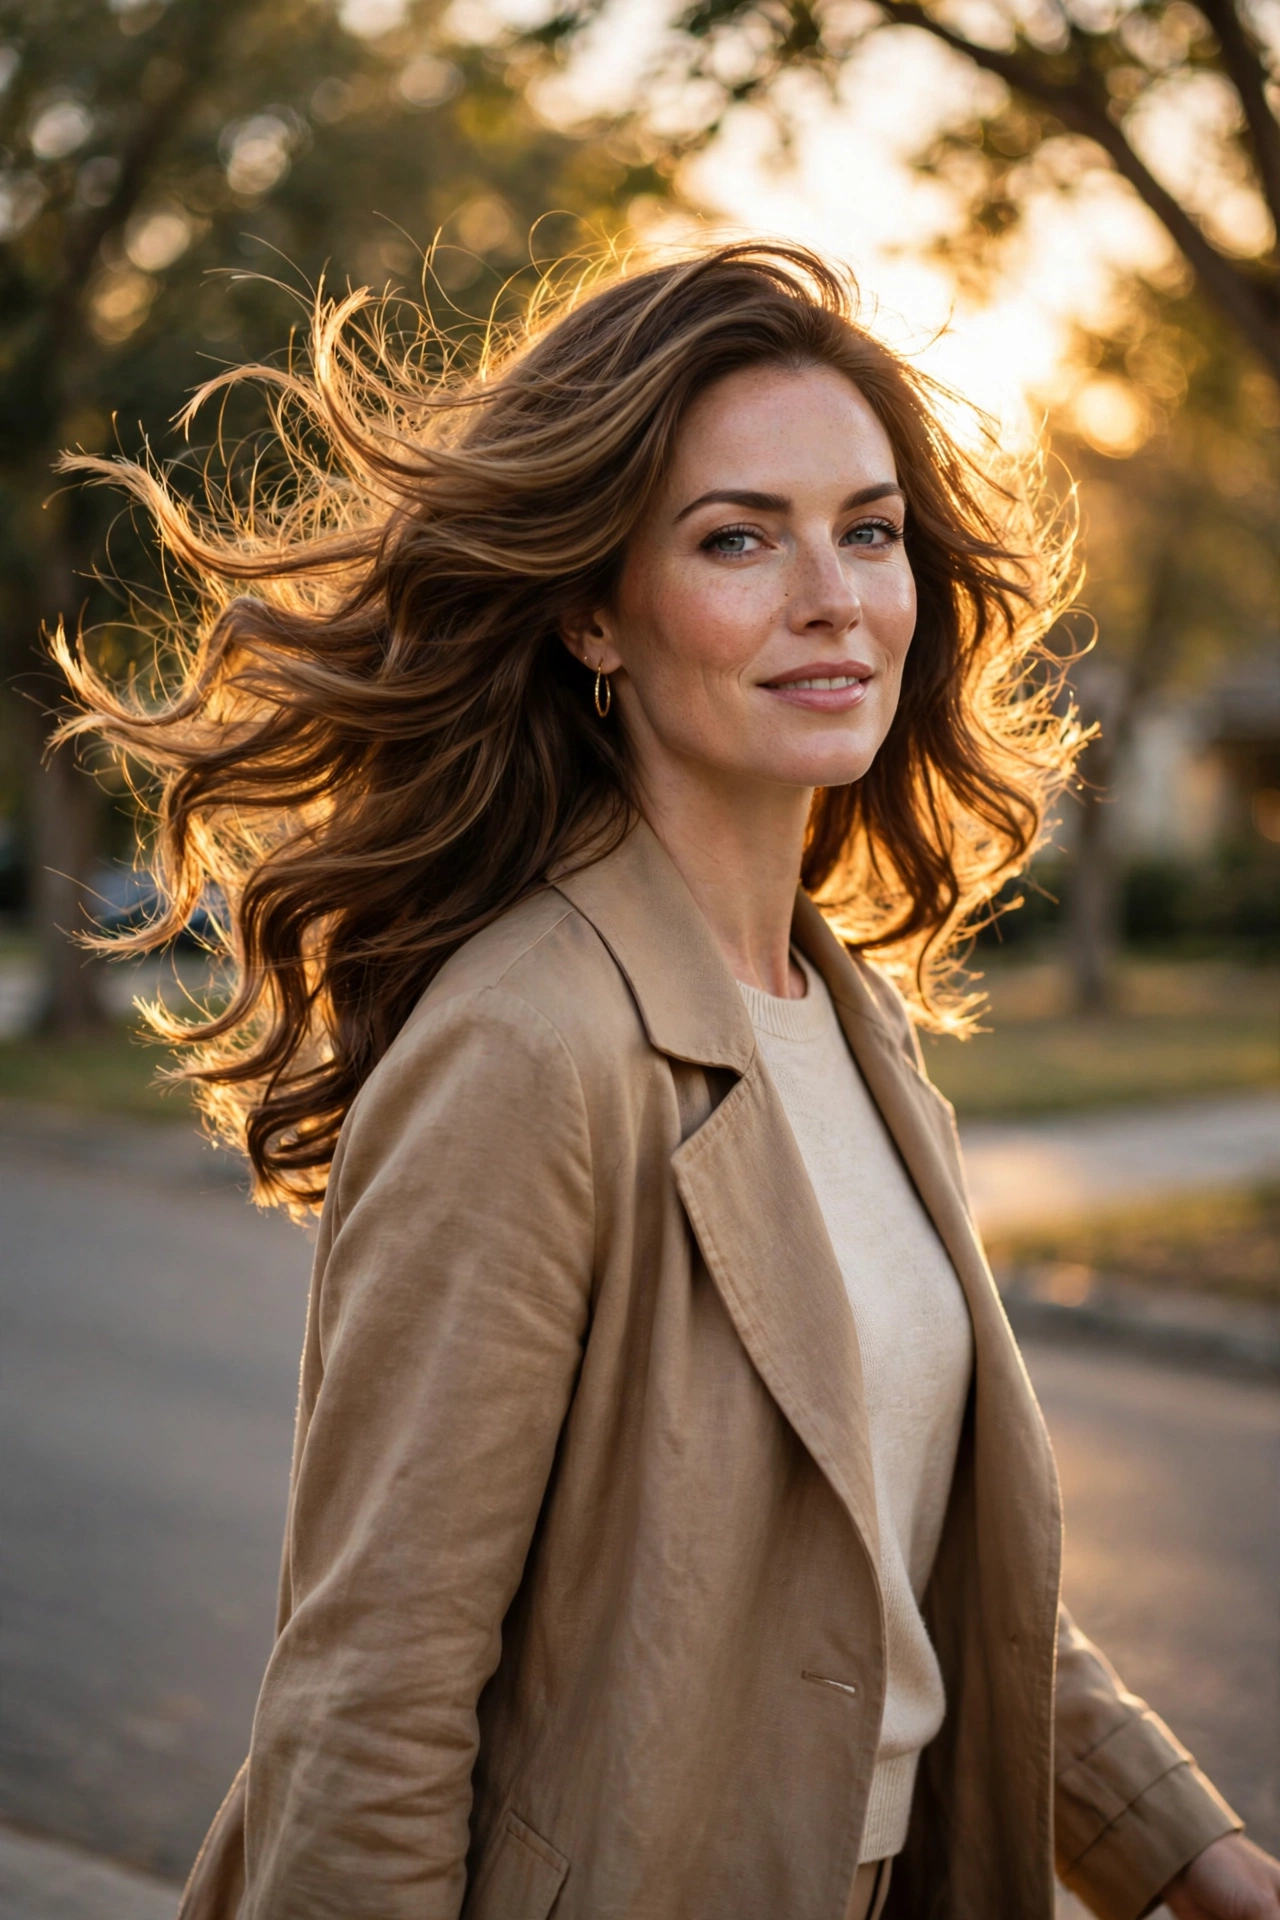
The bouncy blowout endures because it delivers something no other hairstyle does quite as well: transformation with an expiration date you control. It is not a commitment like a cut or a color. It is a week-long upgrade you can repeat whenever you want, scaled up for the occasions that matter and scaled down for the Tuesdays that do not. In 2026, with the ’90s revival in full swing and salon technique more accessible than ever, there has never been a better time to learn it.
Start where you are. If you have never done more than rough-dry, try the overnight-roller version first and see how the volume feels. If you are ready to invest, book one professional blowout and treat it as a lesson, not just a service. Pick one style from the twenty above that matches your hair type and your life, practice it three times, and judge it on the third attempt, not the first. The first attempt is always humbling. The third is usually when it clicks. And when it clicks, you will understand why women have been booking this appointment, in one form or another, for decades. Some things are popular because they are trendy. The blowout is popular because it works.
Conclusion
Nothing says 2026 glamour like a bouncy blowout — voluminous, glossy, full of movement. This salon staple flatters nearly every face shape, lifting fine hair and taming thick hair into soft, touchable waves. It’s the go-to for events, date nights, or anytime you want main-character hair.
Recreate it at home with a round brush, a blow dryer with a nozzle, and a volumizing mousse at the roots. Velcro rollers set while you do your makeup add extra bounce that lasts all day. In 2026, the bouncy blowout remains undefeated as the fastest route to polished, camera-ready confidence.