Messy Bun Hairstyles 2026: 16 Effortless Updos That Look Intentional
Messy Bun Hairstyles 2026: The Art of Looking Perfectly Undone
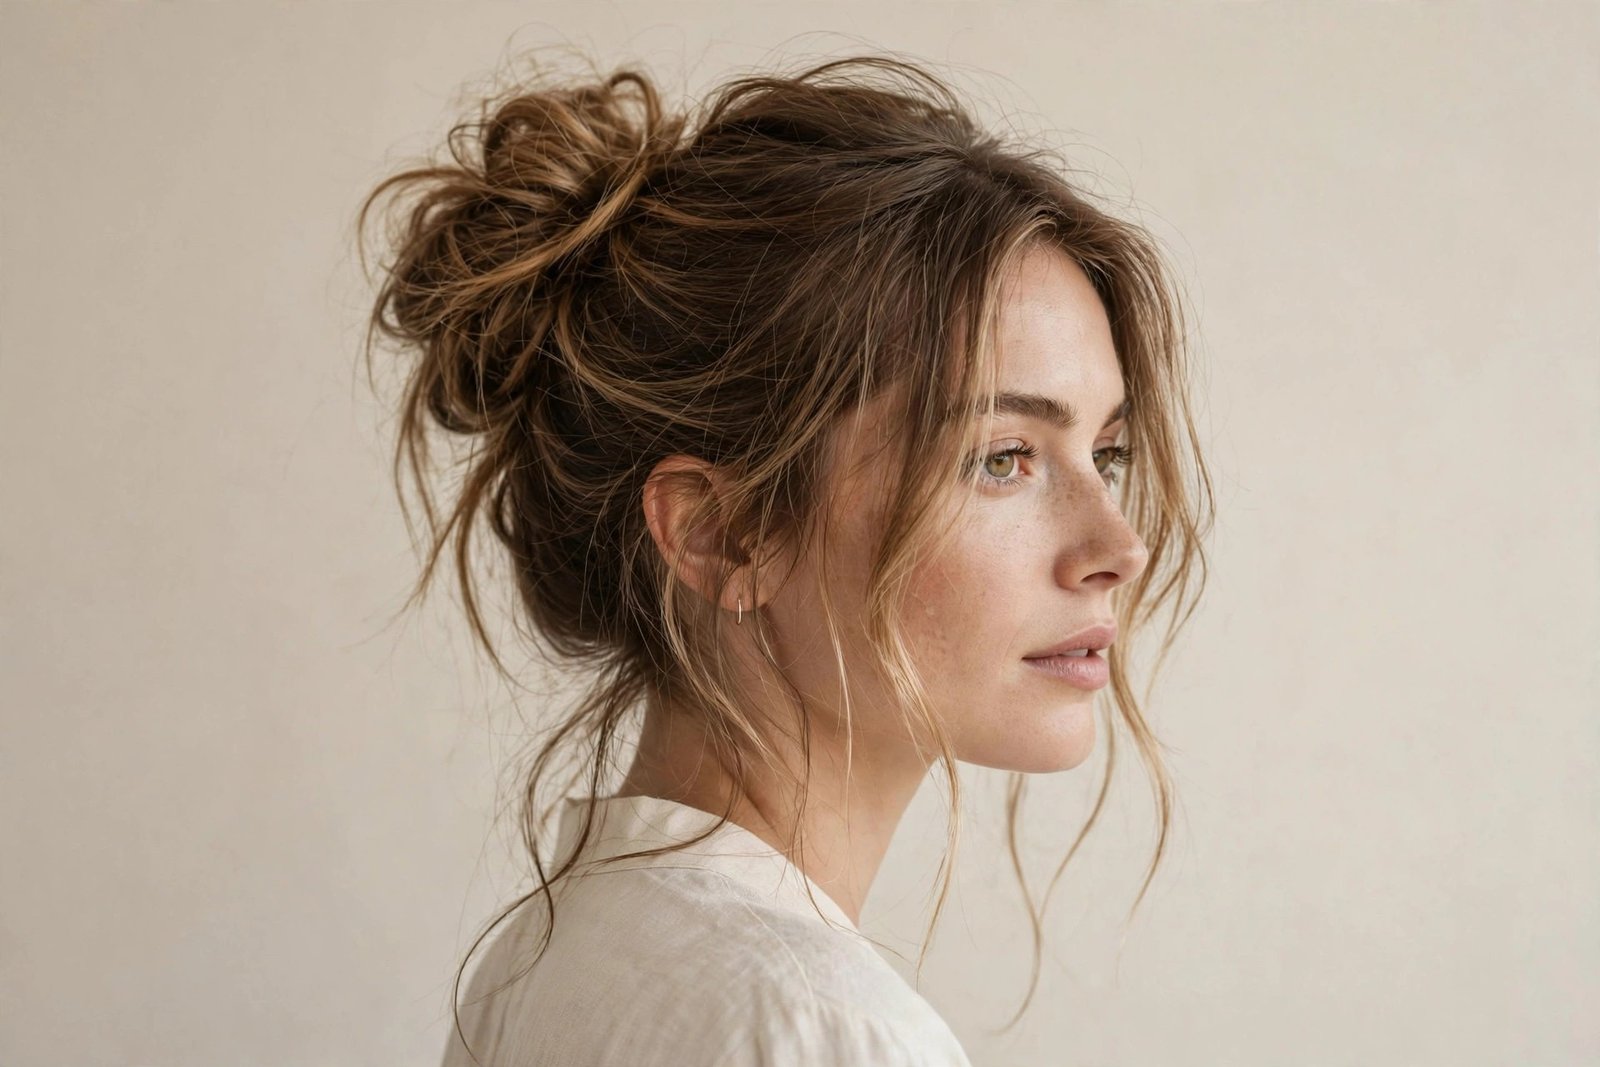
Here’s a confession most stylists won’t make in front of clients: the messy bun is the hardest “easy” hairstyle in the book. It looks like you twisted your hair up in thirty seconds flat, but the buns that actually get compliments — the ones that look relaxed instead of ragged, romantic instead of rushed — follow a quiet set of rules that nobody taught you. This guide teaches you those rules. Inside: 16 messy bun hairstyles for 2026, the exact techniques that separate intentional from accidental, styling scripts for every hair type, and honest answers to the questions women actually ask about this style.
Some styles arrive with fanfare and leave just as fast. The messy bun did the opposite. It showed up a decade ago as a lazy-day shortcut and simply refused to leave, because it solved a problem no other updo could: how to look put-together when you have neither the time nor the patience for put-together. In 2026 it’s evolved past its gym-hair roots into something far more interesting. The new messy bun is softer, more deliberate, and more versatile than the original — it shows up at weddings, in boardrooms, on red carpets, and yes, still in the gym. What changed is the technique. Today’s best messy buns are built, not thrown. The messiness is curated: volume placed where it flatters, looseness left where it softens, and structure hidden underneath where it holds everything in place for twelve hours.
And here’s the part that surprises most women: almost every hair type can wear a messy bun, but almost every hair type wears it slightly differently. Fine hair needs grip-building tricks and backcombing to fake fullness. Thick hair needs the weight distributed so the bun doesn’t slide down your neck by lunch. Curly hair gets a gorgeous natural texture for free but fights shrinkage and frizz. Short hair needs extensions’ worth of cleverness to make a convincing bun at all. The sixteen looks below are organized so you can find yours fast — each one tells you who it suits, exactly how to build it, what products earn their keep, and the honest downside nobody mentions in the thirty-second tutorials.
Table of Contents
- Messy Bun Hairstyles 2026: The Art of Looking Perfectly Undone
- 16 Messy Bun Hairstyles for 2026
- Styling Routine, Products & Maintenance
- Frequently Asked Questions
- Conclusion
What Counts as a “Messy Bun” in 2026 — and What Doesn’t
Let’s draw the line clearly, because the internet calls everything with a twist a messy bun and half of those aren’t. A real messy bun has three qualities: softness, texture, and controlled imperfection. The silhouette should look organic — strands escaping, the bun itself slightly irregular, the hairline soft rather than scraped. What it should never look like is neglected. There’s a mile of difference between “I styled this to look effortless” and “I haven’t brushed my hair since Tuesday,” and other people can tell, even if they can’t articulate how. The difference lives in the details: a little volume at the crown, intentional face-framing pieces, a bun with shape rather than a formless lump, and ends that are tucked or artfully loose — never broken, frizzy, or sticking out at wrong angles.
The 2026 version adds a fourth quality: polish at the edges. You’ll notice every style below either softens the hairline with pulled-out pieces or slicks it with intention — the half-measures are gone. The old 2016-era messy bun was often just a ballerina bun with the willpower removed. Today’s is closer to a chignon that went on vacation. It still photographs beautifully from the front, but it also holds up from the side and back, which matters now that everyone’s a photographer. If you take one idea from this guide, take this: the mess is the garnish, not the foundation. Build a solid bun first, then mess it up on purpose. Do it the other way around and you get a headache and a hairstyle that falls apart by 10 a.m.
Who Suits the Messy Bun — and Which Version Suits You
The short answer: nearly everyone, but the placement and texture decide whether it flatters you. A high messy bun adds height and drama, which is wonderful on round faces and petite frames — it lengthens the whole silhouette. A low, nape-sitting messy bun does the opposite: it softens strong jawlines, balances long faces, and reads more elegant than casual, which is why it’s the wedding-guest favorite. If you have a long neck, a mid-height bun is your sweet spot — high enough to show off the neck, low enough not to stretch the proportions. Women with fine or thin hair should know that the messy bun is secretly one of the best styles for them: the backcombing and texturizing the style requires can make fine hair look twice as thick, as long as you don’t skip the prep.
There are a couple of honest caveats. If your hair is above shoulder length, most bun styles need help — either a donut form, extensions, or a style specifically designed for short hair (number 15’s side-swept version is built for you). Very heavy, thick hair can wear a messy bun beautifully, but it needs more pins and a stronger elastic than the tutorials admit; a bun that weighs half a kilo will migrate south by midday if you build it on a flimsy foundation. And if you’re between haircuts with lots of short layers, expect more escaping pieces than the pictures show — that’s actually fine, since escaping pieces are the aesthetic, but you’ll want extra bobby pins and a light-hold spray to keep the escapees looking deliberate rather than rebellious.
The Five-Minute Foundation: Your Messy Bun Base Technique
Every one of the sixteen styles below starts from the same foundation, so learn it once and the rest get easy. Step one: never start with freshly washed hair. Clean hair is slippery hair — it refuses to grip pins and slides out of elastics. Day-old or even two-day-old hair is ideal. If you’ve just washed, fake the grit: blast dry shampoo through the roots and lengths, or work a pea-sized amount of texturizing paste through the mid-lengths. Your hair should feel slightly tacky to the touch. That’s grip, and grip is everything.
Step two: flip your head upside down and gather the hair where you want the bun to sit — high crown for drama, mid-head for everyday, nape for elegance. Don’t brush it smooth; use your fingers. The slight unevenness this creates is the seed of the “messy” texture. Secure with a strong elastic (not the thin drugstore kind that snaps — invest in thick fabric-covered elastics; your hair will thank you). Step three: twist the ponytail loosely — two or three turns, no more — and wrap it around the base. Don’t pull it tight. Tuck the ends under or let a few poke out deliberately, and pin where the bun meets the head with bobby pins pushed in a crisscross pattern. Step four, the magic: pancake the bun. Gently tug small sections outward with your fingertips — top, sides, bottom — until the bun looks fuller and more organic. This single step is what separates a sad little knot from a bun that gets compliments. Finally, pull two thin pieces out around your face, mist everything with a flexible-hold hairspray, and walk away. The whole thing takes five minutes once you’ve done it three times.
16 Messy Bun Hairstyles for 2026
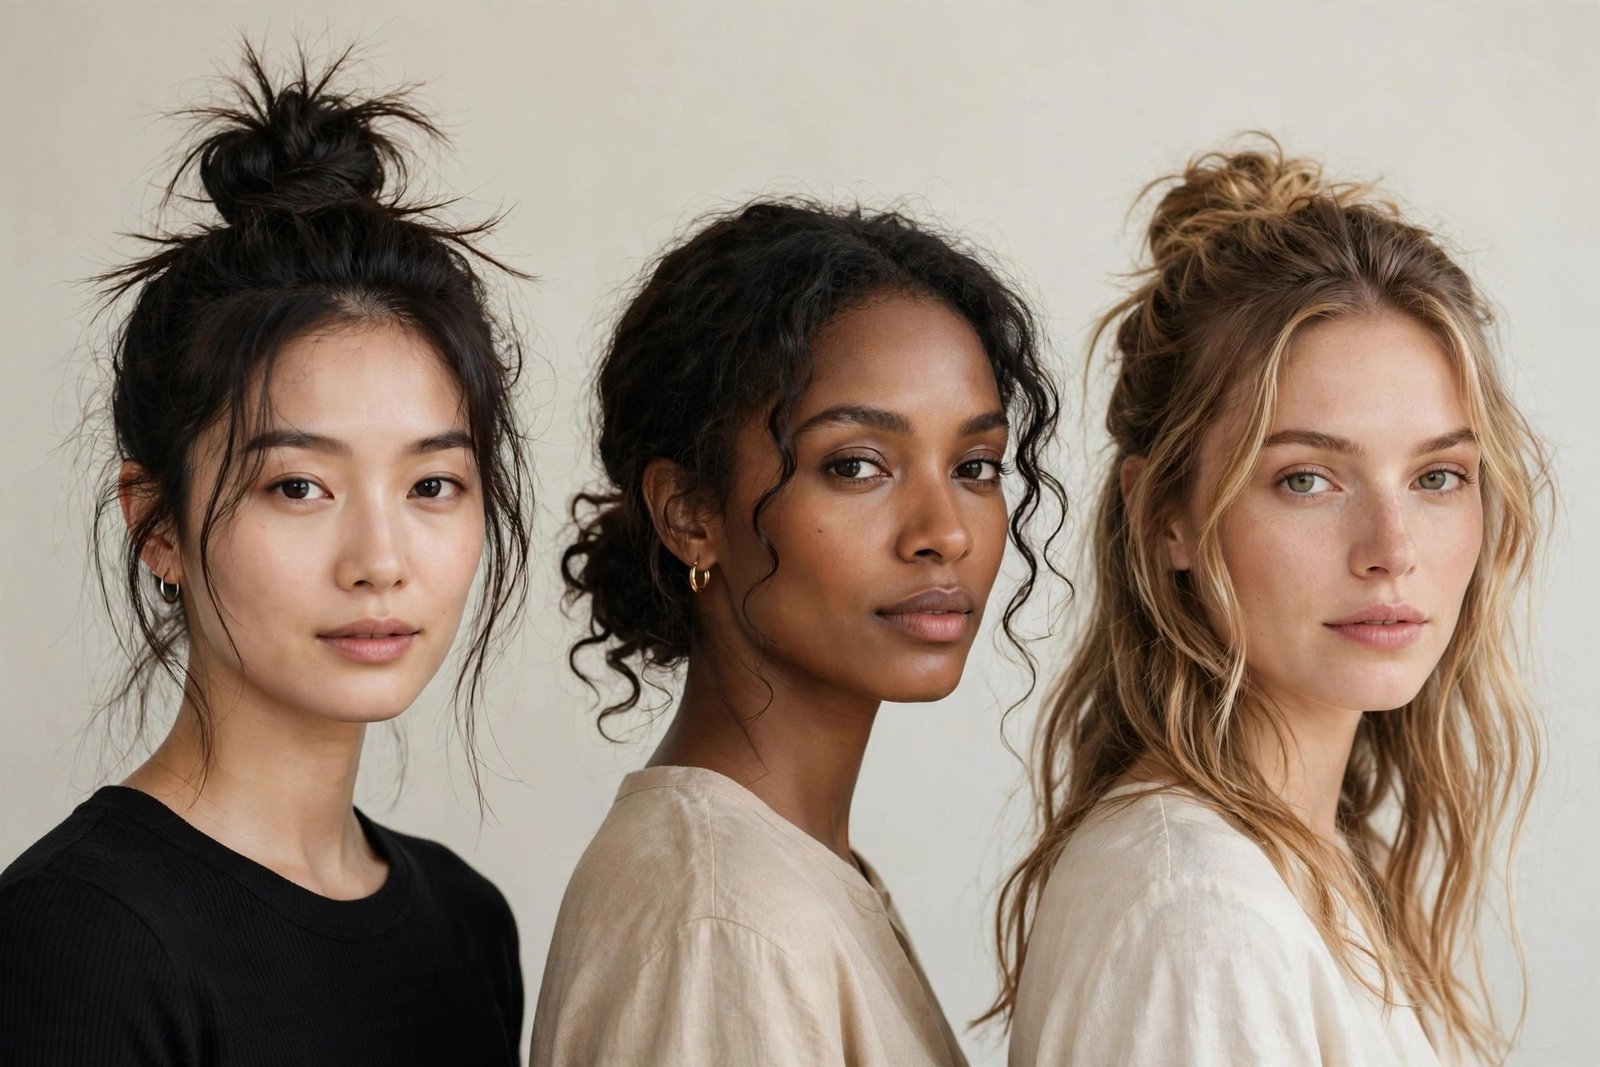
Below are the sixteen messy bun looks defining 2026 — from the five-minute everyday classic to red-carpet-worthy variations. Each one includes who it flatters most, the exact build, and the honest tradeoff. Start with your hair type, not your mood: the right technique for your texture matters more than the prettiest picture.
1. The Classic Low Messy Bun
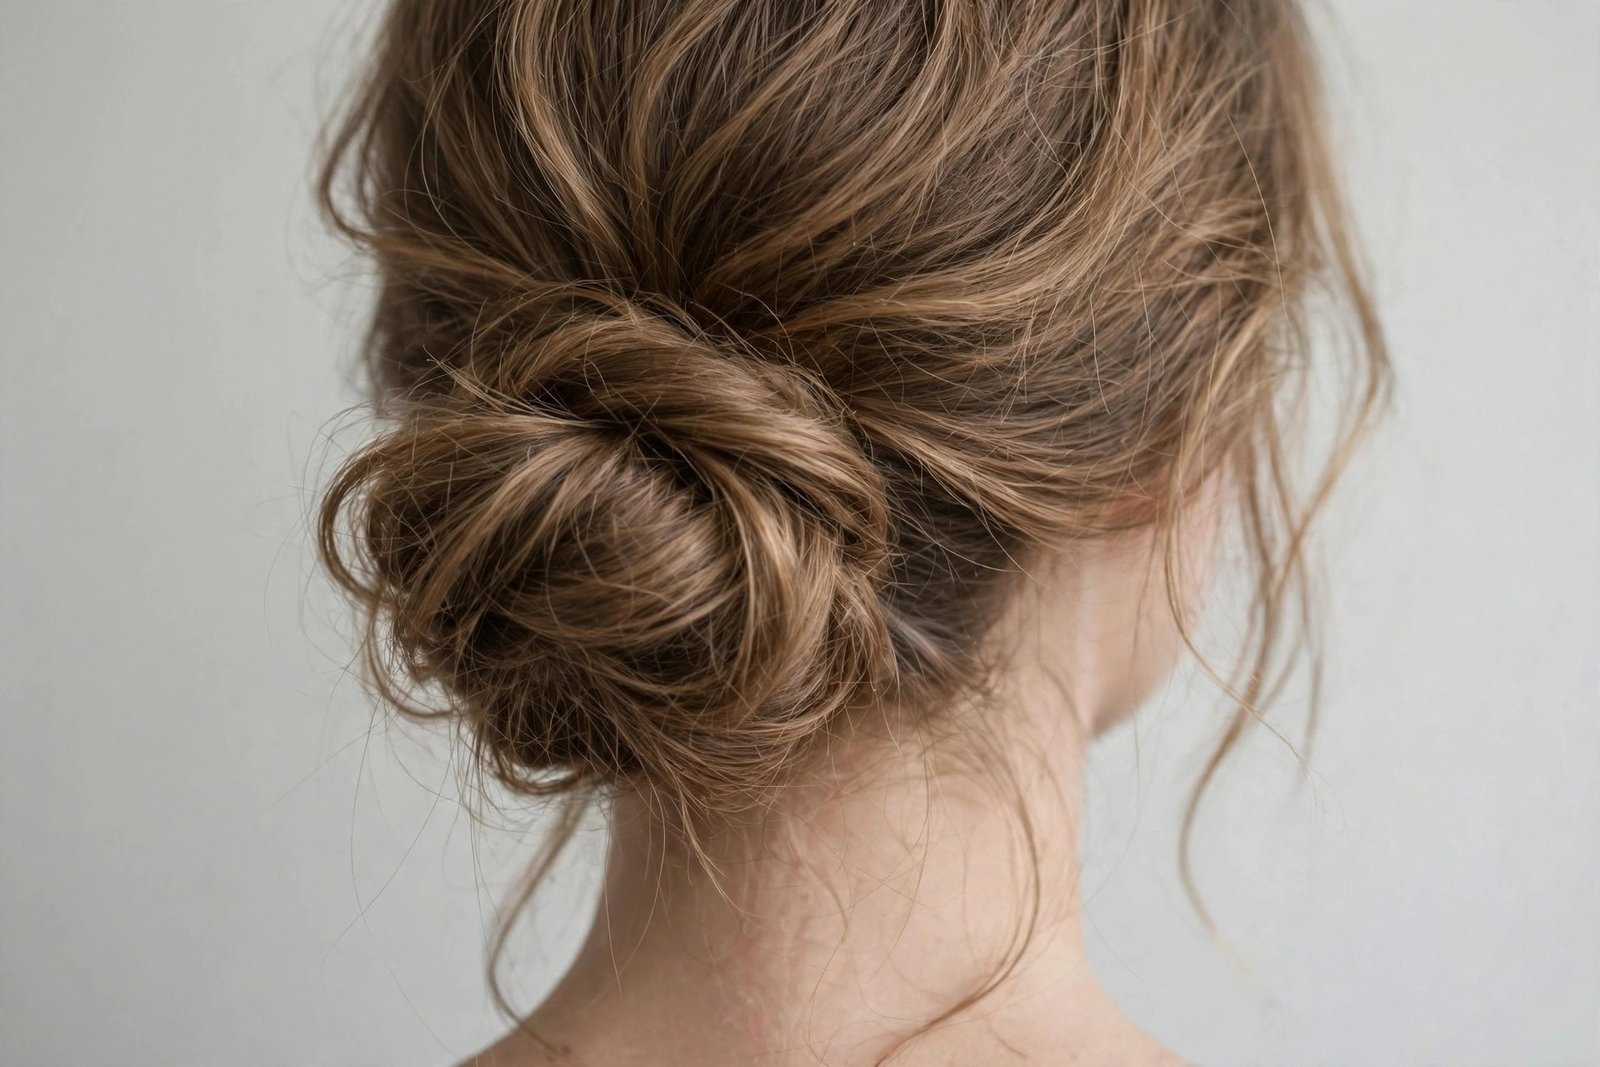
This is the one that started it all and still the one worth mastering first: a relaxed bun sitting at the nape of the neck, soft through the crown, with a few face-framing wisps doing the romantic heavy lifting. It suits almost every face shape, but it genuinely shines on women with long or oval faces, because the low placement doesn’t add height where you don’t need it, and the softness around the hairline balances length beautifully. It’s also the most forgiving bun for beginners — gravity works with you instead of against you, and a low bun that loosens slightly during the day just looks more relaxed, not ruined.
Build it from the foundation technique with one adjustment: gather the hair at the nape instead of higher, and before securing the elastic, backcomb the crown lightly — three or four strokes with a teasing comb at the roots, no more. This is the step most people skip and then wonder why their low bun looks flat and severe. The slight lift at the crown is what makes it read “effortless chic” instead of “librarian having a bad day.” Twist the ponytail, wrap it loosely, and pin in a U-shape rather than a tight coil — you want the bun to look like it settled there naturally. Pancake generously; low buns can take more pulling without looking overdone.
For staying power, the nape is a sweaty, mobile zone — your neck moves all day and the hairline there gets damp. Use a strong-hold elastic at the base and anchor the bun with at least four bobby pins pushed upward into the base (pins hold better when they grip scalp hair, not just bun hair). A light mist of flexible hairspray finishes it; skip heavy sprays that make the nape crunchy. The honest downside: on very thick hair, a low bun can feel heavy against the neck in warm weather, and on very fine hair it can disappear from the front view entirely — if yours vanishes, pull the pancaking wider and add a little more crown volume so the style reads from every angle.
2. The High Top Knot Messy Bun
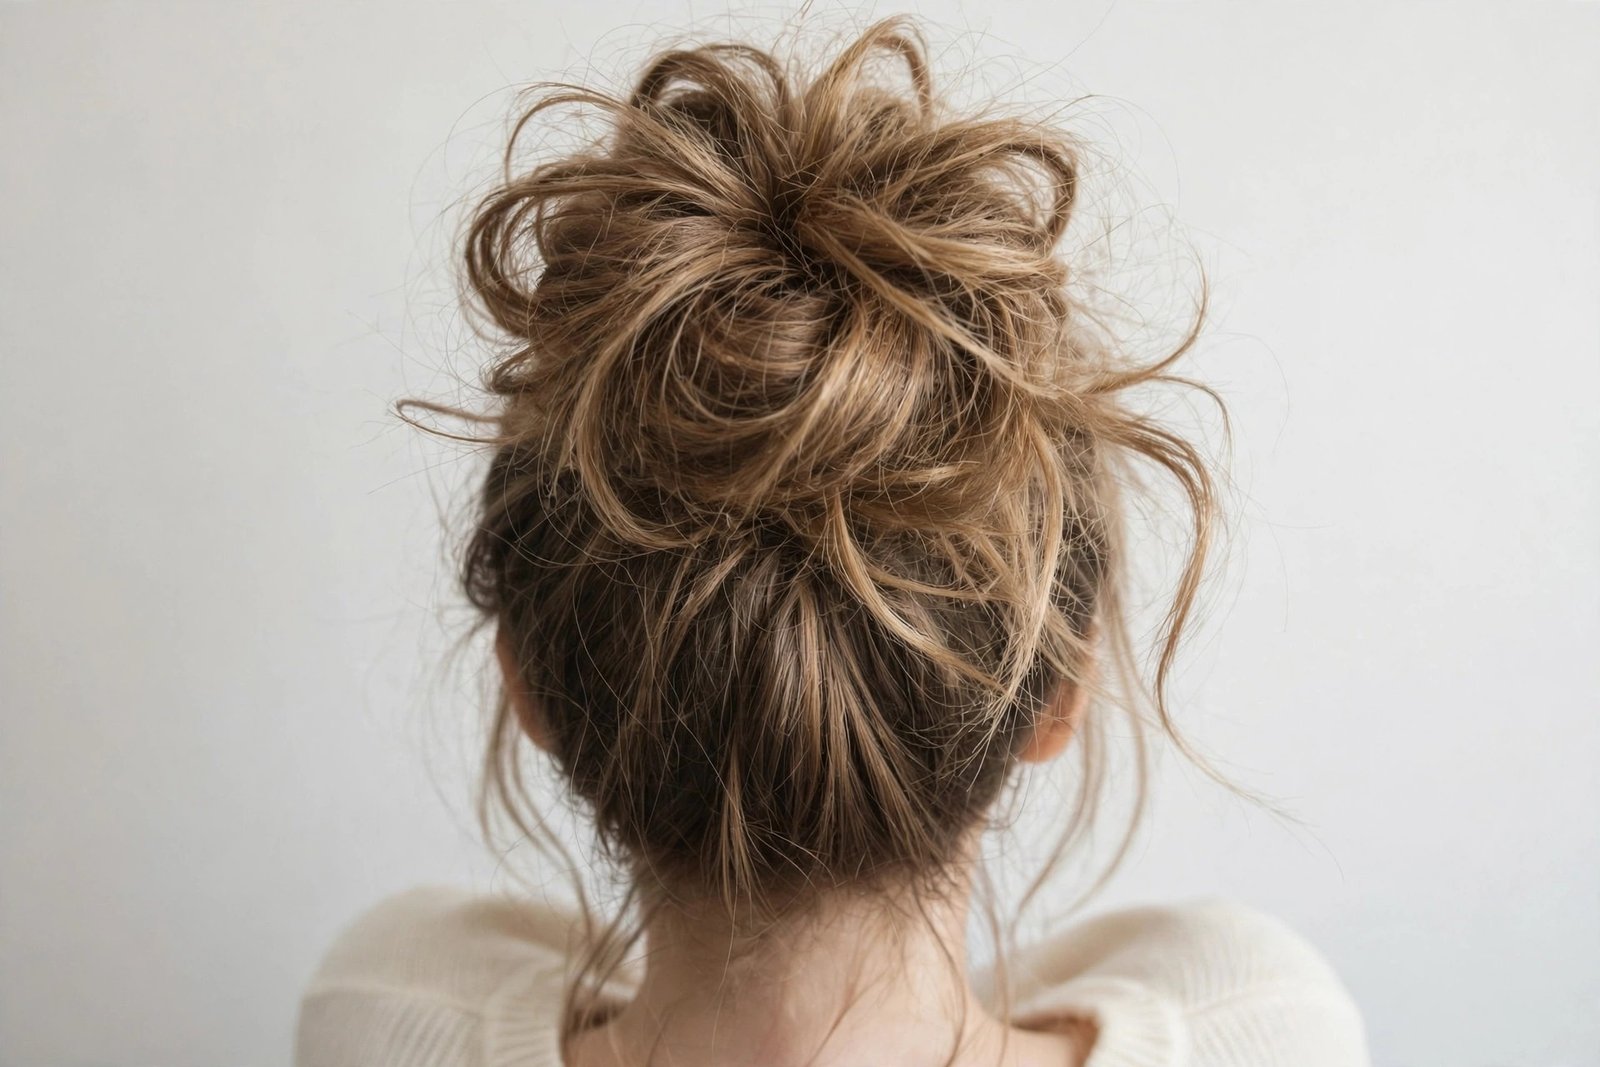
The high messy bun is the drama queen of the family — perched on the crown, full of volume, visible from across the room. It’s the bun you wear when you want height, confidence, and a silhouette that says you meant it. Petite women love it because the vertical lift elongates the whole frame; round faces benefit for the same reason — height on top balances width through the cheeks. It also happens to be the best messy bun for showing off earrings and a bare neckline, which is why it dominates summer wedding season and every rooftop party from June to September.
The build starts with the flip: bend forward, gather everything to the very top of the crown — slightly forward of where you’d expect, because buns migrate backward during the day and starting forward keeps it centered by evening. Backcomb the ponytail itself this time, not just the crown: hold the tail up and tease from mid-lengths down to ends. This creates the airy fullness that makes a high bun look expensive rather than scrawny. Twist loosely, wrap, pin. Here’s the trick the tutorials skip: anchor pins should go in horizontally, sliding along the scalp under the bun, not stabbed vertically down into it. Horizontal pins lock against the head and hold twice as long.
High buns live or die on balance. If your hair is thick, the bun’s weight can cause a genuine headache by afternoon — distribute it by making the base of the wrap wide rather than tall, and position the bun slightly back from the hairline so the weight pulls backward instead of forward onto your forehead. Fine-haired women get the opposite problem: the bun looks small and sad. The fix is a mesh donut form matched to your hair color — wrap your teased hair around it instead of coiling hair alone, and nobody will ever know. Pancake aggressively. The honest downside: this is the least comfortable messy bun for all-day wear, and sleeping in one is out of the question. It’s a statement style, not a lifestyle.
3. The Half-Up Messy Bun
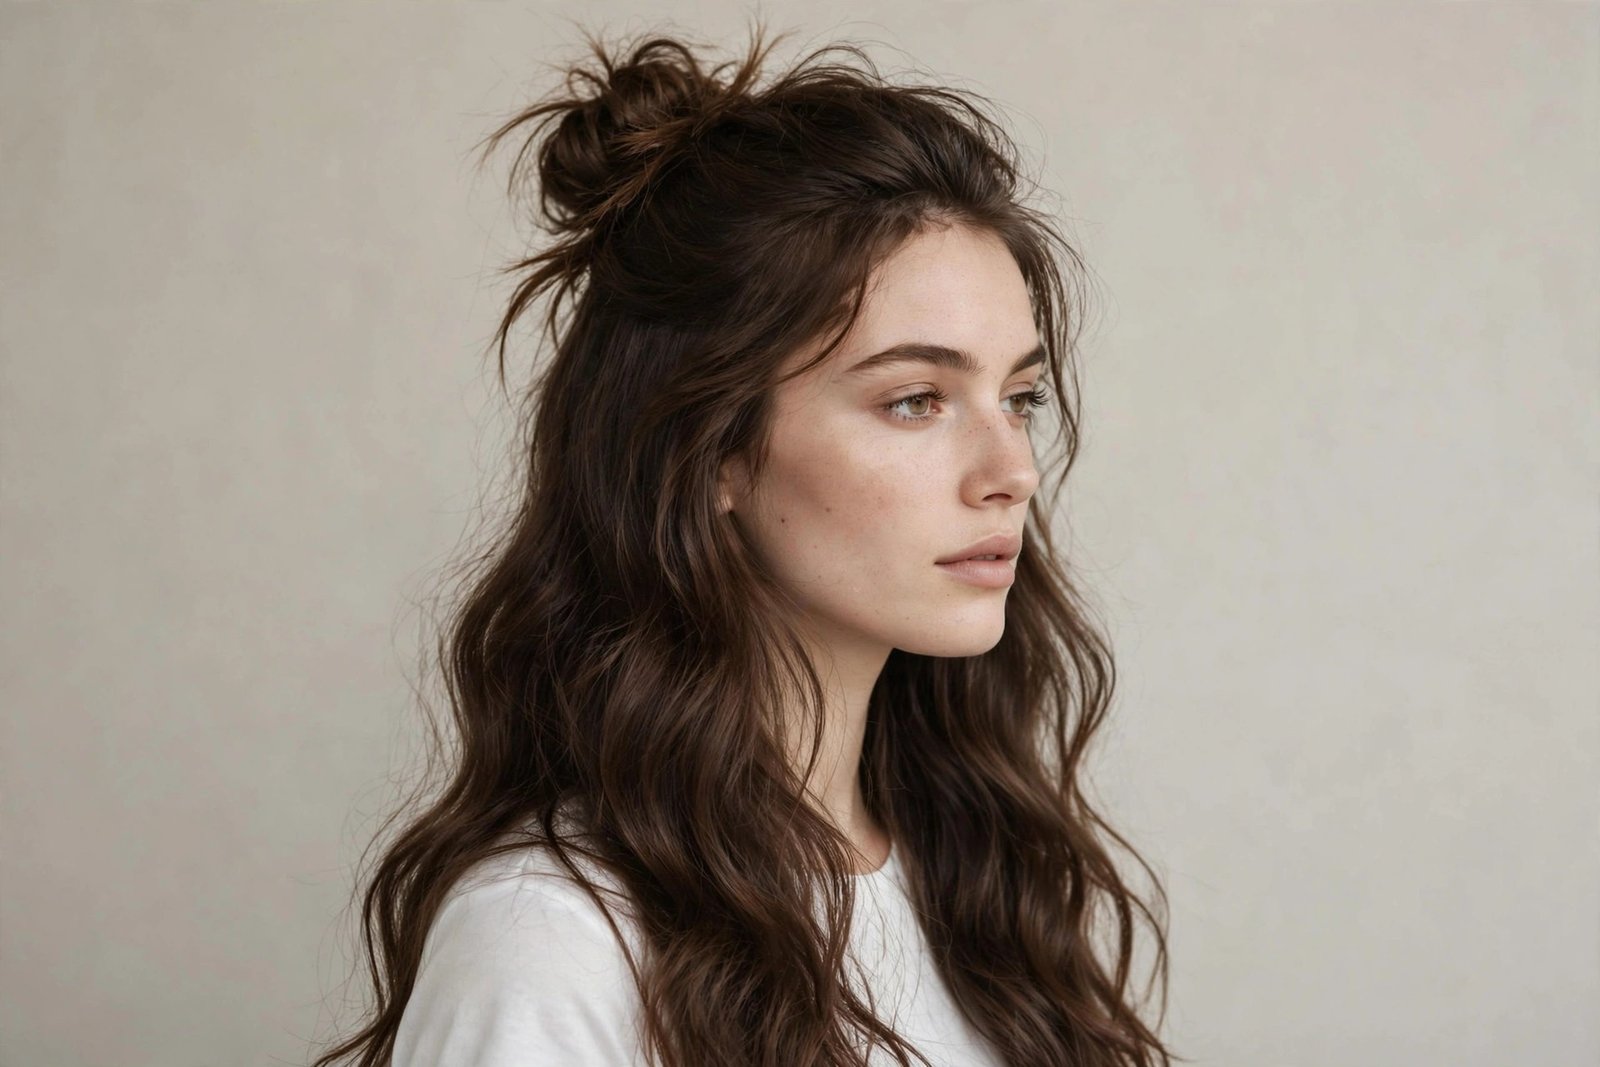
Half-up, half-down is the commitment-phobe’s dream: you get the fun of an updo with the softness of wearing your hair down. The messy version takes the top half into a loose bun and leaves the rest flowing, and in 2026 it’s the single most-worn messy bun among women under thirty — it photographs beautifully, works for literally every occasion, and takes about ninety seconds once you know it. It flatters nearly everyone, but it’s especially kind to women with long faces (the down hair adds width at the sides) and to anyone growing out bangs, since the top section sweeps awkward lengths right into the bun.
Section from temple to temple, gathering the top third of your hair — err on the side of taking more rather than less; a skimpy top section makes a sad little nub. Here’s where most people go wrong: they pull the section straight back flat against the head. Don’t. Lift it slightly as you gather, leaving a soft cushion of volume at the crown, and let the parting stay a little messy — a zigzag part or no visible part at all. Twist the section into a mini bun, secure with a small elastic, pin, and pancake. Then — and this matters — rough up the down hair too. A perfectly sleek curtain of hair under a messy bun looks disconnected. Run texturizing spray through the lengths and scrunch, so the two halves feel like one style.
The down hair is both the beauty and the burden of this style. In humidity it frizzes independently of the bun; in wind it tangles. Keep a travel-size smoothing cream for the lengths and accept that this style looks its best for about six hours — after that it transitions into “lived-in,” which is honestly still cute. The honest downside: on very thick hair, the weight of the down section can drag the little bun loose, so anchor it with two crossed bobby pins at the base and don’t make the bun too small. And if your hair is fine, the down section can look thin next to the bun — add loose waves with a curling iron first for fullness that lasts.
4. The Messy Bun with Face-Framing Pieces
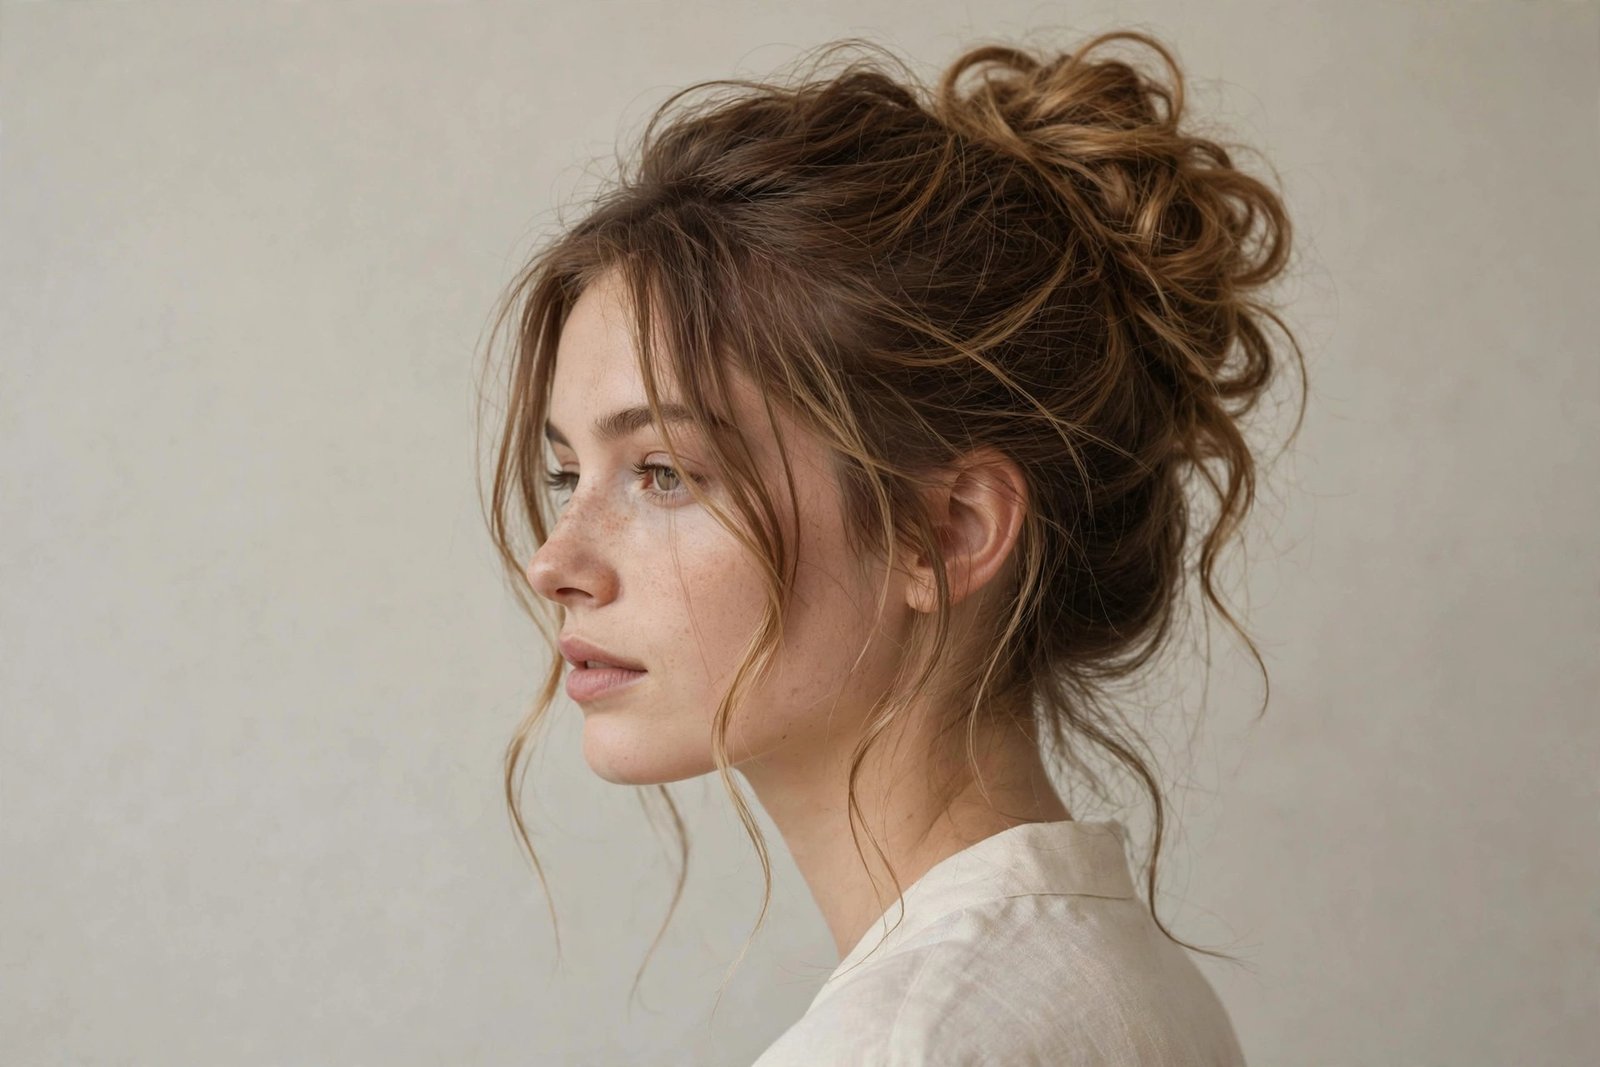
Technically this is a finishing technique rather than a standalone style, but it deserves its own entry because face-framing pieces are the single biggest difference between a messy bun that looks good and one that looks great. Those two soft strands falling around the face do an absurd amount of work: they soften a strong jaw, slim a round face, hide a high forehead, and add the romantic imperfection that makes the whole style read as intentional. In 2026 the trend is toward longer, thinner pieces — collarbone-grazing tendrils rather than the short 2016 wisps — often with a slight wave to them.
The technique: after your bun is built and pancaked, pull out two sections from the front hairline, each about the width of your pinky finger, starting from just above the temples. Here’s the part people mess up — pull from behind the hairline, not the hairline itself. Reach about an inch back into the hair and slide the section forward; this keeps the pieces anchored so they don’t fall out completely, and it avoids that harsh scraped look at the temples. If the pieces are stick-straight, they’ll look stringy — wrap them loosely around a curling iron for five seconds or braid them damp in the morning for a natural wave. A tiny amount of texturizing cream on the ends keeps them piecey instead of fluffy.
Placement is everything and it’s personal. Hold the pieces up against your face in the mirror and experiment: pieces that start higher slim the cheeks; pieces that fall longer and straighter elongate a round face; pieces with a bend at cheekbone level soften angular features. Take a photo from the front — the camera sees proportion more honestly than the mirror. The honest downside: face-framing pieces are the first thing to misbehave in wind, humidity, or after you take off a mask or scarf. They’re high-maintenance relative to the rest of the style. Keep a mini hairspray in your bag, or accept that re-tucking them behind your ears midday is part of the look’s charm — honestly, it is.
5. The Low Chignon-Inspired Messy Bun
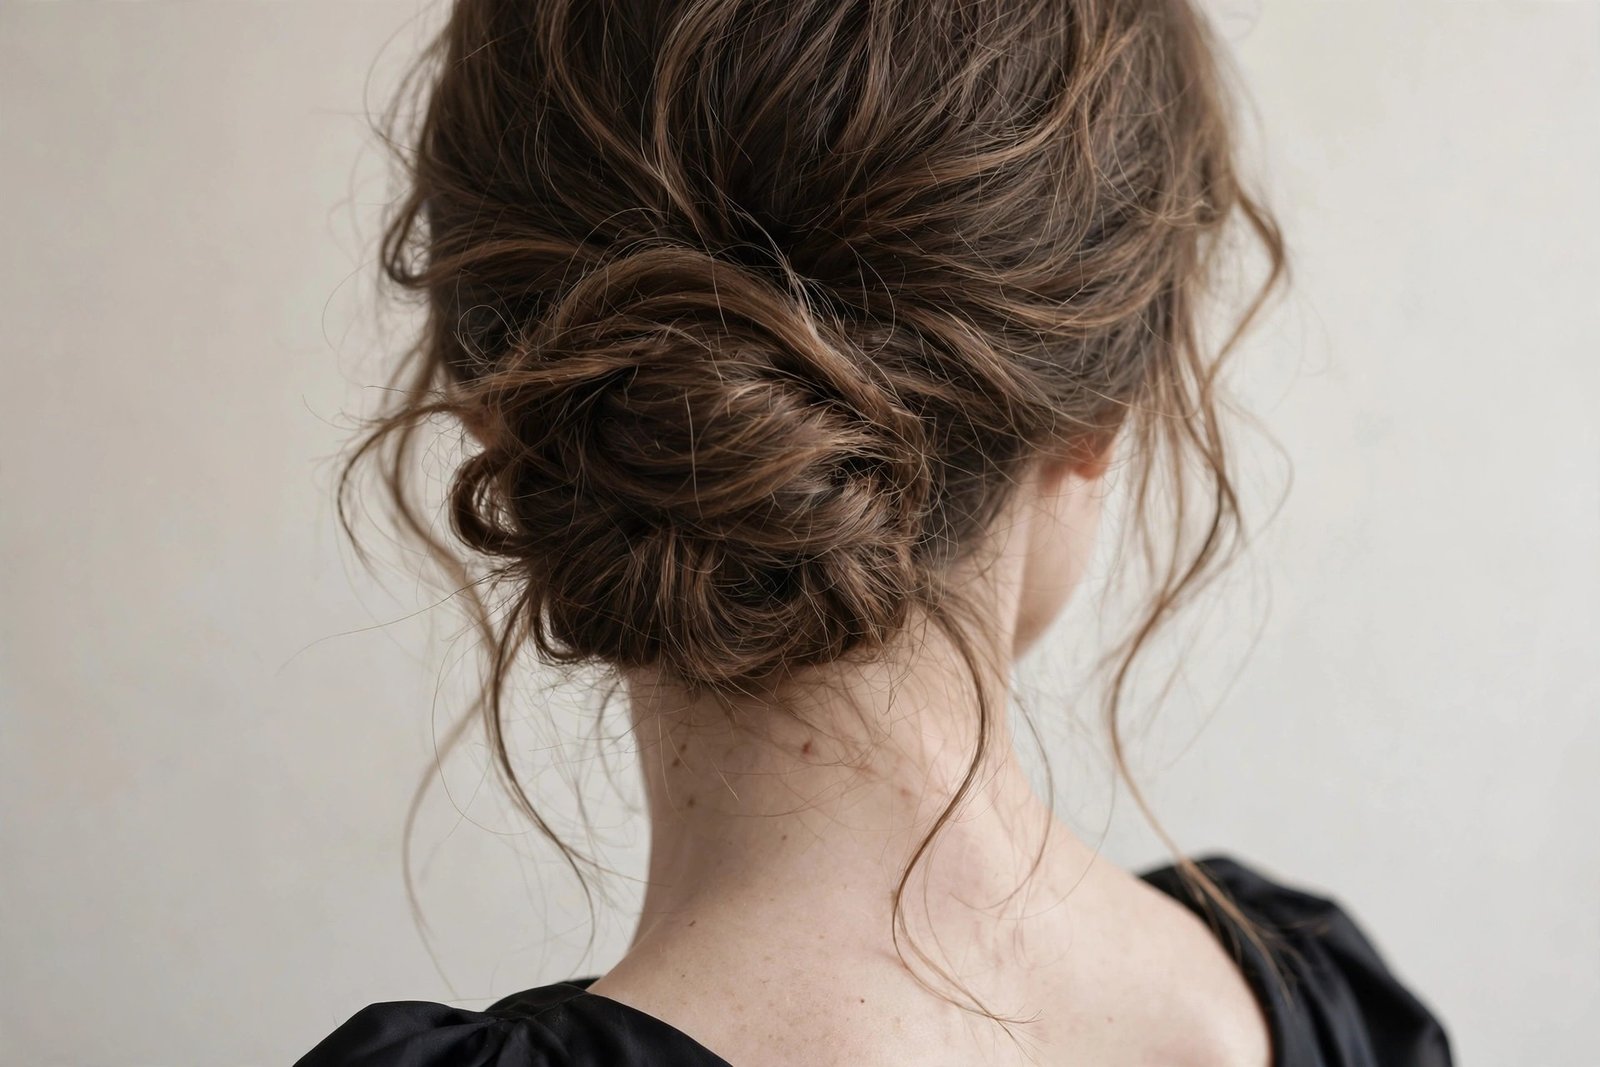
This is the messy bun that goes to weddings and gets mistaken for a professional updo — the low, soft chignon with its structured-but-loose knot sitting just above the nape. It borrows the chignon’s DNA (the tucked, rolled shape) and loosens every rule: the roll is imperfect, pieces escape, the finish is matte rather than lacquered. Bridesmaids, wedding guests, and anyone attending a formal event without wanting to look overdone — this is your bun. It photographs like a dream from the back, which is exactly the angle everyone sees at a ceremony.
The build differs from the classic low bun in one key way: instead of twisting and wrapping, you roll. Gather into a low ponytail, then roll the tail upward toward the base, tucking as you go, like rolling a sleeping bag. Pin the roll in place with pins pushed upward from underneath — this hides the pins completely and gives that seamless chignon look. Then do the messy work: gently pull at the roll’s edges to loosen it, tug the crown for softness, and release longer face-framing pieces than you would for daytime. The contrast between the structured roll and the softened edges is the whole aesthetic. A pearl or gold hairpin slid into one side takes it from pretty to formal in two seconds — keep one in your clutch.
Longevity matters at events, so build this one to last eight-plus hours. The enemy is the roll loosening and sliding; prevent it by making the initial ponytail elastic genuinely tight (this is the one messy bun where the base should be secure — the looseness comes later, from pancaking, not from a loose foundation). Mist with a medium-hold spray before pancaking, not after — spray-first gives the hair memory so the loosened shape holds. The honest downside: this is the least “messy” of the messy buns, so if you’re after true bedhead energy, pick another. And on very layered hair, the roll can sprout ends everywhere — smooth the layers with a light cream before rolling, and keep extra pins handy for escapees.
6. The Braided Messy Bun
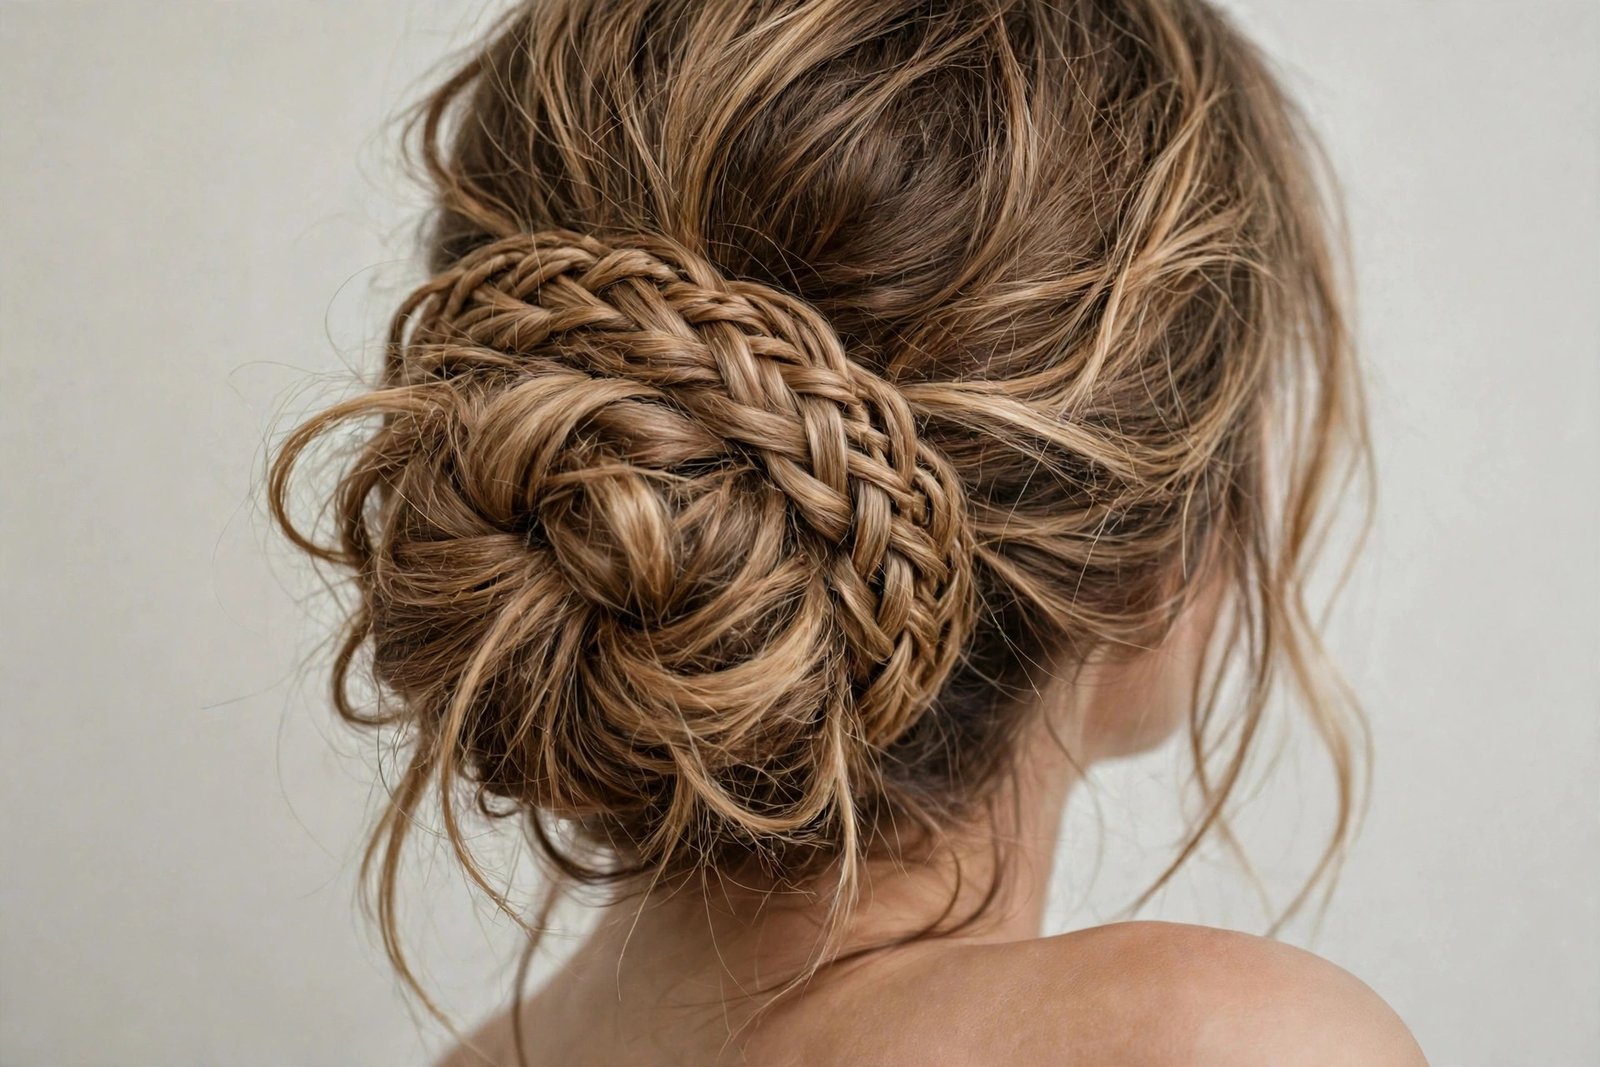
Adding a braid to a messy bun is like adding jewelry to an outfit — the base is simple, the detail makes it special. The braided messy bun weaves one or more loose braids into or around the bun, giving you texture, visual interest, and — the practical bonus nobody talks about — genuine extra hold, because braided sections grip pins far better than smooth hair. It’s the bohemian favorite, the festival staple, and a brilliant choice for second- or third-day hair when the texture is already working in your favor. If you love the braided bun family generally, this is its most relaxed member.
The simplest version: before gathering your hair, braid a section from one temple back toward where the bun will sit — a loose three-strand or fishtail, pancaked wide for that soft boho width. Then gather everything (braid included) into your bun as normal. The braid drapes into the bun’s base and peeks out around the edges. The fancier version braids the ponytail itself before wrapping: braid the tail loosely, pancake the braid until it’s fat and textured, then coil it into the bun. This creates a bun with visible woven texture all the way around — stunning, and it holds like iron because the braid’s ridges give pins something to bite.
Braid choice changes the whole mood. A pancaked Dutch braid reads bold and festival-ready; a loose fishtail reads delicate and romantic; two small braids framing the face before joining the bun reads youthful and sweet. Match the braid’s tightness to the occasion — tighter braids last longer but look less “messy,” so for the true aesthetic keep everything on the loose side and pull the braid apart after pinning. The honest downside: braids add real time — five to ten extra minutes — and they add bulk, so on very thick hair the combination can get heavy. Also, braiding your own hair at the back of your head requires practice; do a trial run on a lazy Sunday before attempting it for an event.
7. The Bubble Messy Bun
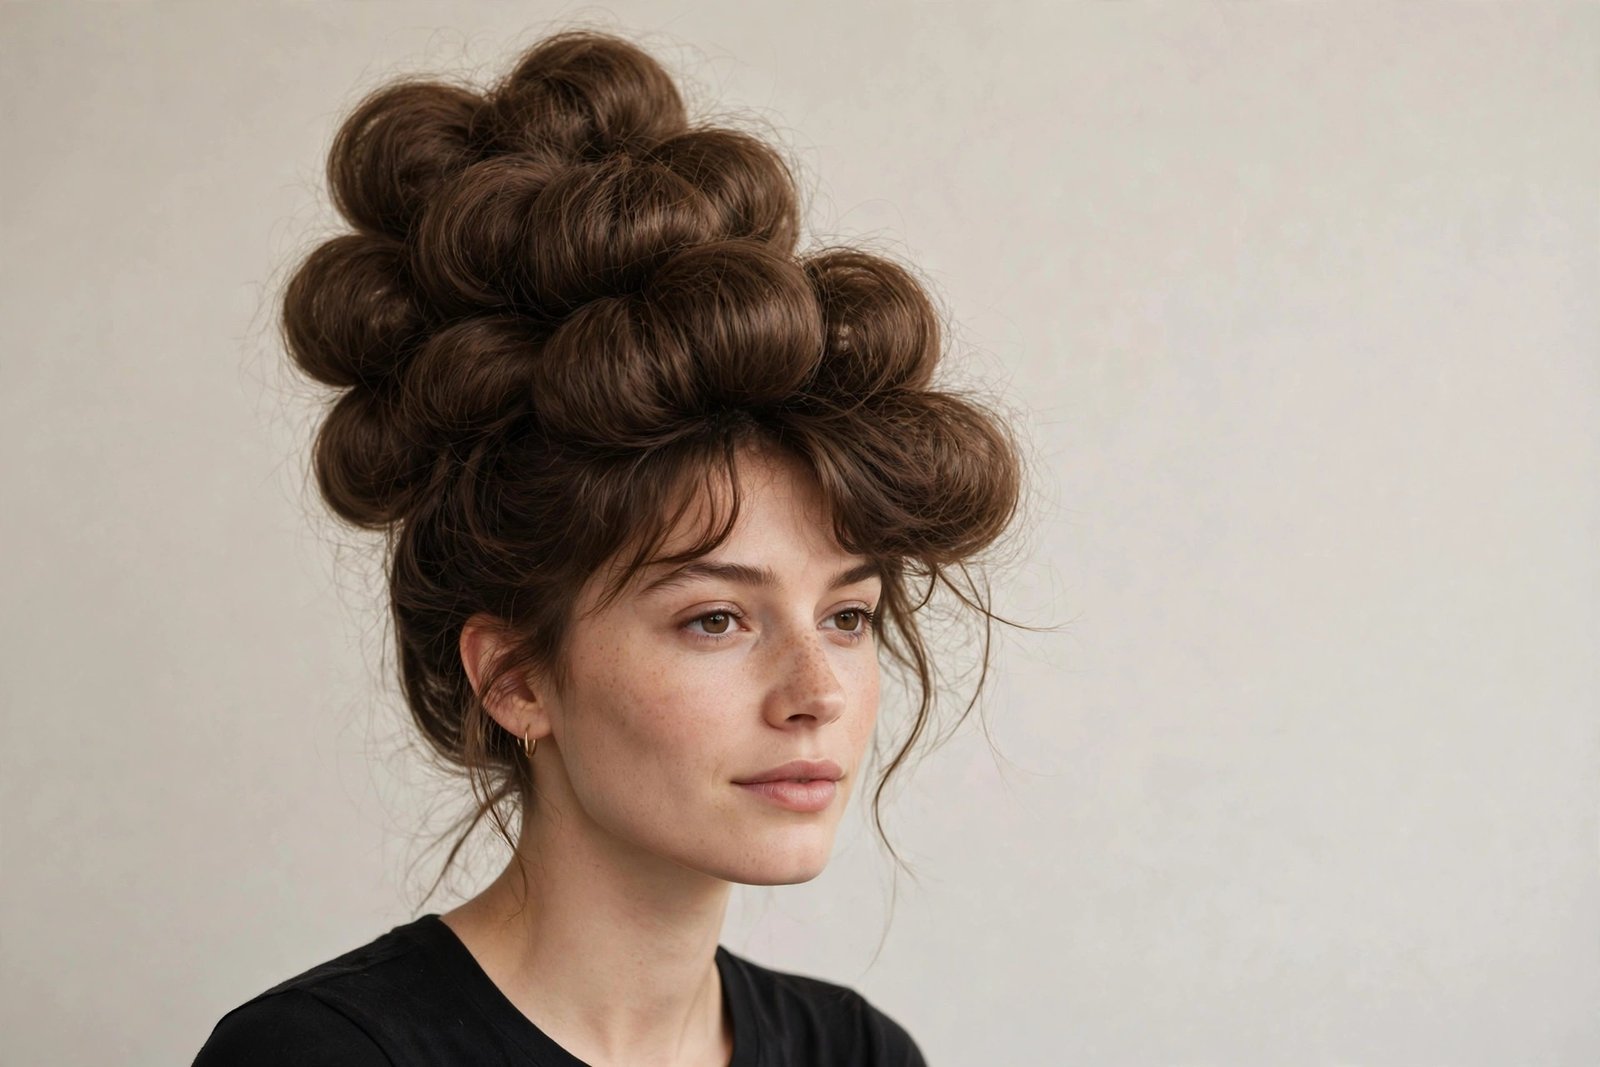
The bubble bun takes the bubble braid technique and applies it to updo territory: instead of one smooth bun, you create a series of rounded, pillowy sections stacked or clustered together, each gently pulled wide for maximum volume. The result is playful, voluminous, and incredibly photogenic — it’s having a genuine moment in 2026 among women who want their updo to have personality. It suits long, thick hair best (you need length to make multiple bubbles), and it’s a lifesaver for fine hair too, because the bubble technique manufactures fullness out of almost nothing.
Here’s the build: make a ponytail where you want the bun, then place small clear elastics down the length of the tail every two inches. Gently pull each section between elastics outward — up, down, and sideways — until it puffs into a round bubble. Now coil the bubbled tail into a bun shape and pin. The bubbles stack into each other creating a wonderfully irregular, cloud-like bun with tons of dimension. For a wilder version, make two ponytails side by side, bubble both, and pin them together into one glorious oversized messy bun. Pancake each bubble individually for the fullest effect — this is a style where more is more.
Clear elastics are non-negotiable here; colored ones will show through the pulled-apart sections. And use more elastics than you think — sections longer than two inches bubble into ovals rather than rounds. The honest downside: this is the most elastic-heavy style on the list, and removing a dozen tiny elastics at night tests anyone’s patience (a seam ripper or elastic cutter helps, though your fingers work fine). It’s also unapologetically bold — this is not the bun for a conservative office or a solemn occasion. But for parties, festivals, date nights, and days when your hair needs to match your mood? Unbeatable.
8. Double Messy Buns (Space Buns)
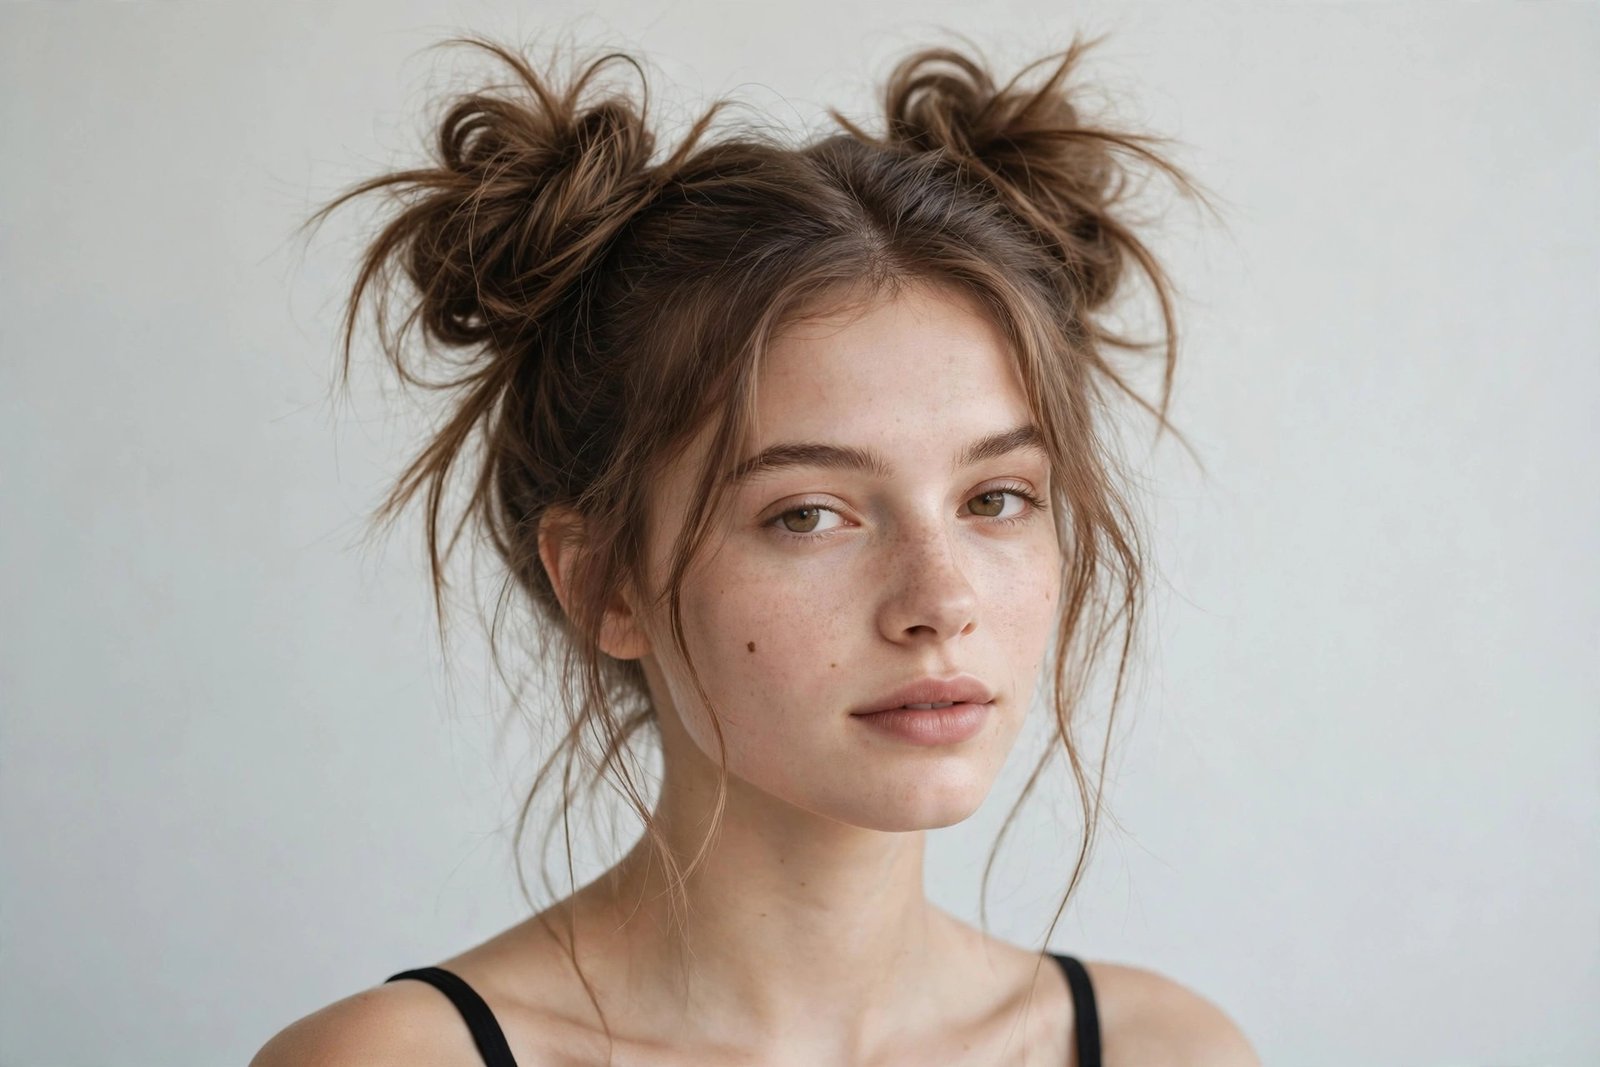
Double messy buns — space buns, as the internet named them — split the hair into two high buns, one over each side of the crown. They’re playful, youthful, and far more versatile than their festival reputation suggests: worn sleek they read edgy-cool, worn messy they read fun and approachable, and worn half-up (buns on top, hair down below) they’re genuinely wearable well past your twenties. They flatter round and heart-shaped faces particularly well, since the height and width at the crown balance fuller cheeks and narrower chins.
Part the hair down the middle — a clean center part actually works here, since symmetry is the point — and make two high ponytails, positioned slightly forward and outward. Here’s the key detail: make the two ponytails mirror images. Stand in front of the mirror and check from the front, not just by feel; uneven space buns look accidental in the wrong way. Build each bun with the standard twist-wrap-pancake, keeping them roughly the same size. For the half-up version, section the top half first (ear to ear), split that in two, and leave the bottom half down with some texture through it.
Sizing is a style choice with real consequences. Small, tight space buns read cute and minimal; big pancaked ones read bold and statement. Match the size to your features — very large buns can overwhelm a petite face, while tiny buns disappear on a larger frame. The honest downside: symmetry is genuinely hard to achieve on yourself, especially at the back of your head — recruit a mirror or a friend for important occasions. And double buns double the pin count and the potential for headaches; if you’re sensitive to tension, keep them loose and low rather than high and tight. They also collect compliments from strangers, which is either a perk or a problem depending on your personality.
9. The Messy Bun with Curtain Bangs
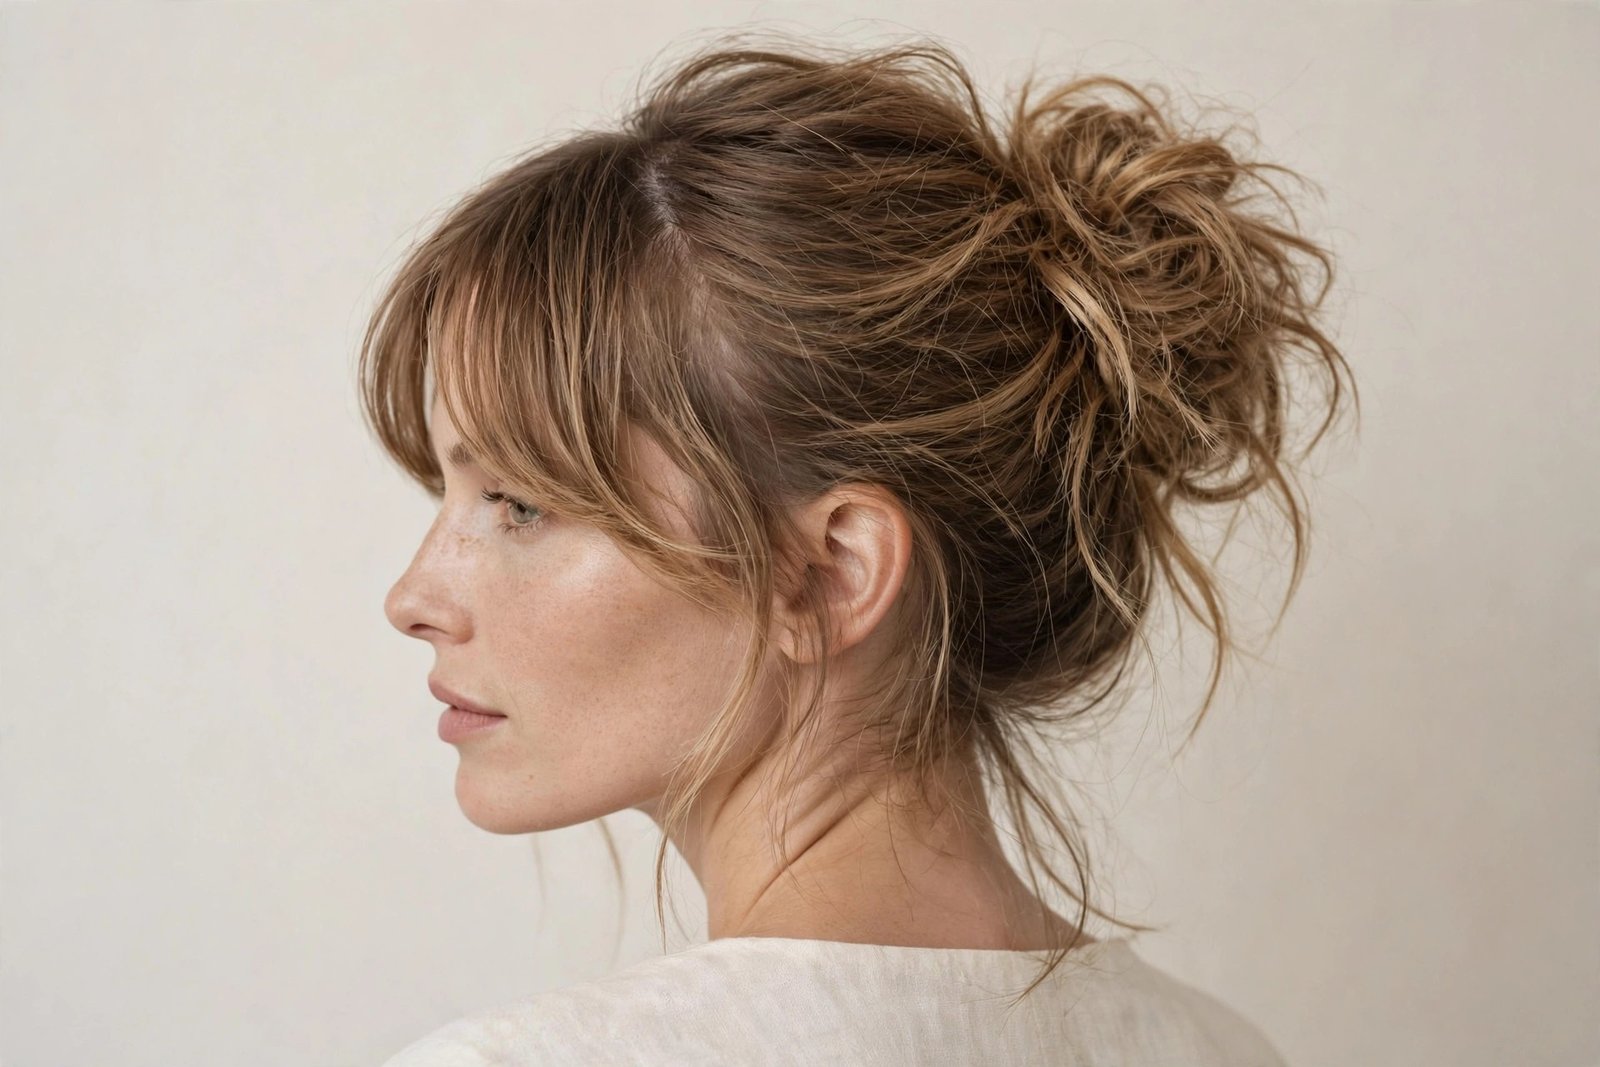
Some pairings are just meant to be, and the messy bun with curtain bangs is one of them. The bangs do what face-framing pieces do but better — they’re cut to fall exactly where they flatter, parting softly in the middle and blending into the hair pulled back. The combination is everywhere in 2026 because it solves the messy bun’s one aesthetic risk: a bare forehead can make an updo look severe, but curtain bangs keep it soft and feminine no matter how casual the bun gets. It suits round, square, and heart-shaped faces beautifully — the bangs’ diagonal lines break up width and add angles exactly where they’re flattering.
Styling the bangs is the whole job here. Blow-dry them with a round brush, sweeping each side away from the center part — this trains them to fall in that perfect curtain drape instead of hanging straight down like a wall. A tiny flat-iron bend at the ends (outward flick, not inward curl) gives them movement. Then build your bun — high, low, or mid, all work — and let the bangs do their thing untouched. The contrast between the undone bun and the deliberately styled bangs is what makes this look expensive. If your bangs are growing out, this style is your best friend: pin the awkward lengths into the bun’s base and let the longer pieces fall as curtains.
The honest downside: curtain bangs need trimming every four to six weeks to keep their shape, and they misbehave in humidity like nothing else — keep a mini straightener or some smoothing cream handy on damp days. They also get greasy faster than the rest of your hair since they sit on your forehead; a quick puff of dry shampoo on the bangs alone each morning keeps them fresh without a full wash. But if you already have the bangs, this is the easiest high-impact messy bun there is — the haircut does half the styling for you.
10. The Sleek-Root Messy Bun
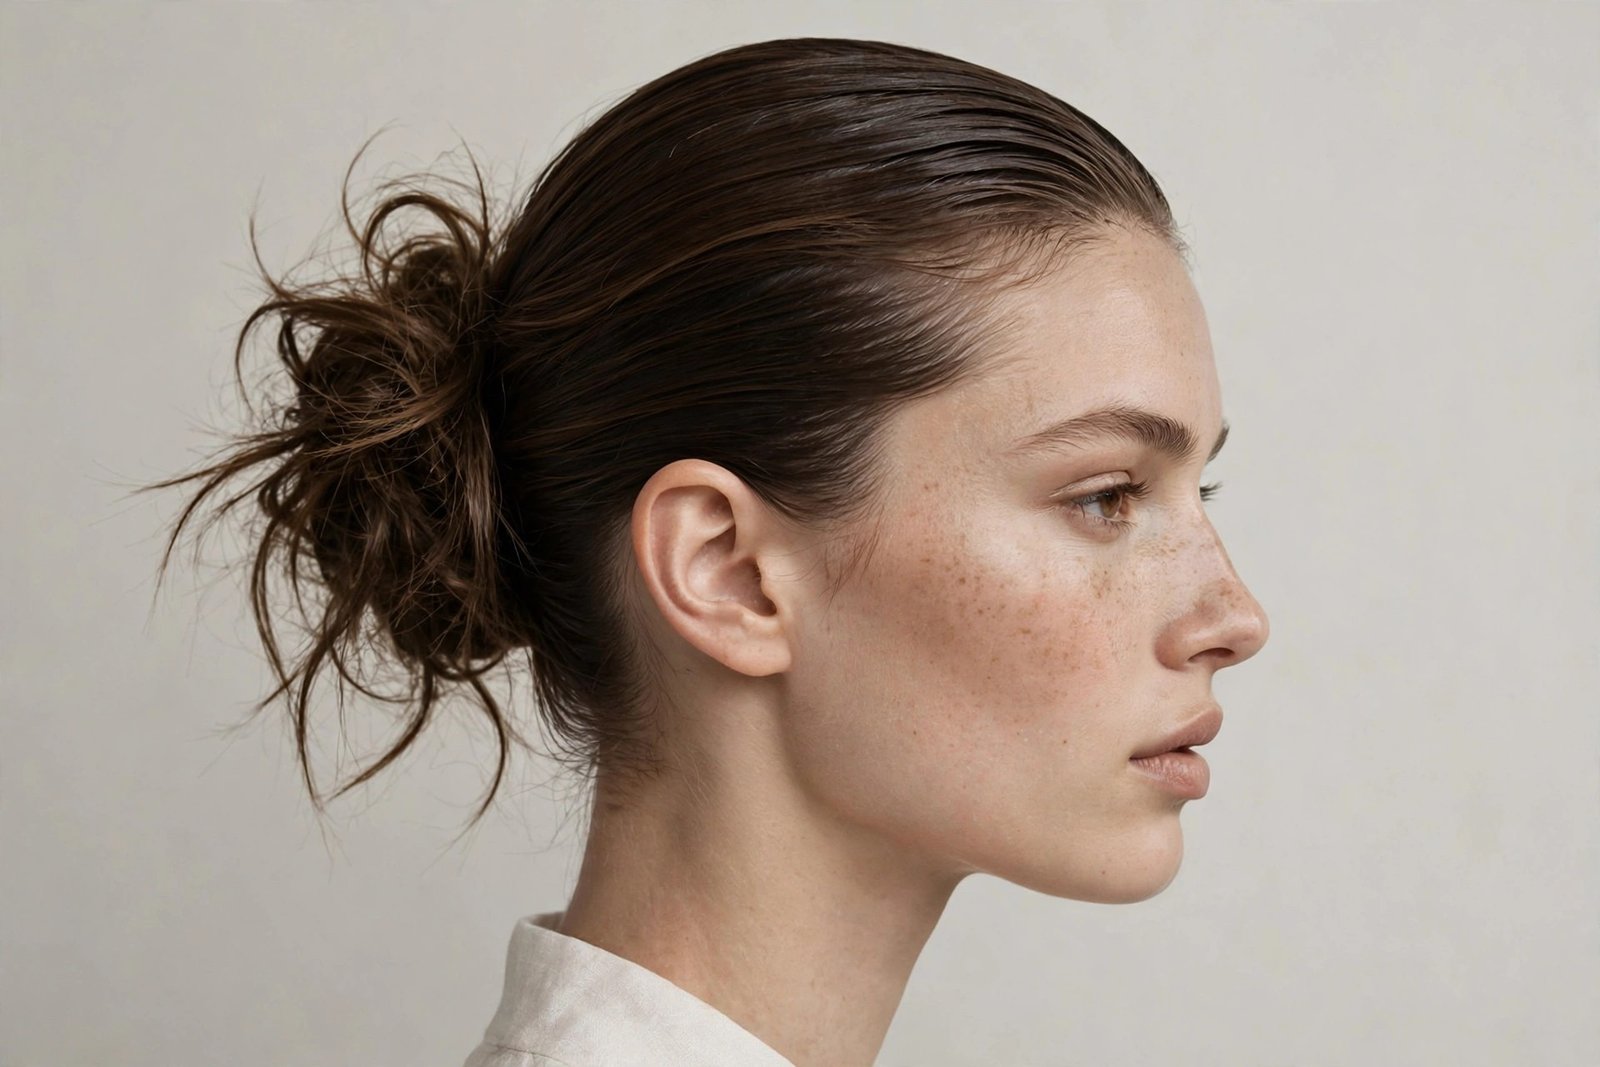
Here’s the 2026 plot twist nobody saw coming: the coolest messy buns right now pair polished, almost sleek roots with a deliberately undone bun. It’s a study in contrast — the hairline and crown are smooth and controlled, sometimes with a deep side part or a slicked-back finish, while the bun itself is all texture and looseness. The effect is editorial and modern, the kind of style that looks incredible in photos and reads intentional from every angle. It suits women who love the messy bun’s ease but want it to look deliberate enough for work, events, or any room where “I woke up like this” isn’t the message.
The technique inverts the usual approach. Instead of finger-combing, brush the hair smooth from hairline to bun placement — use a boar-bristle brush and a light smoothing cream or gel at the roots for that glassy finish. Secure the ponytail, then build the bun messy as usual: loose twist, generous pancaking, pieces pulled out around the bun itself (just not at the hairline). The roots stay sleek; the bun stays wild. A deep side part adds drama; a center part with the hair pulled straight back reads minimal and chic. Finish the roots with a shine spray — matte roots plus matte bun looks unfinished, but glossy roots against a matte textured bun is the contrast that makes it work.
This style is genuinely more durable than the standard messy bun, because sleek roots don’t frizz and the smooth base gives pins a stable foundation. It’s also the best messy bun for fine hair that won’t hold texture at the roots — you’re not asking it to. The honest downside: it takes longer (the smoothing step adds five minutes), and it needs product at the roots, which means more frequent washing. On very curly or coily hair, achieving sleek roots requires heat or tension styling first — doable, but it turns a five-minute style into a fifteen-minute one. Worth it for the photos, though. This bun photographs better than any other on the list.
11. The Messy Bun for Curly Hair
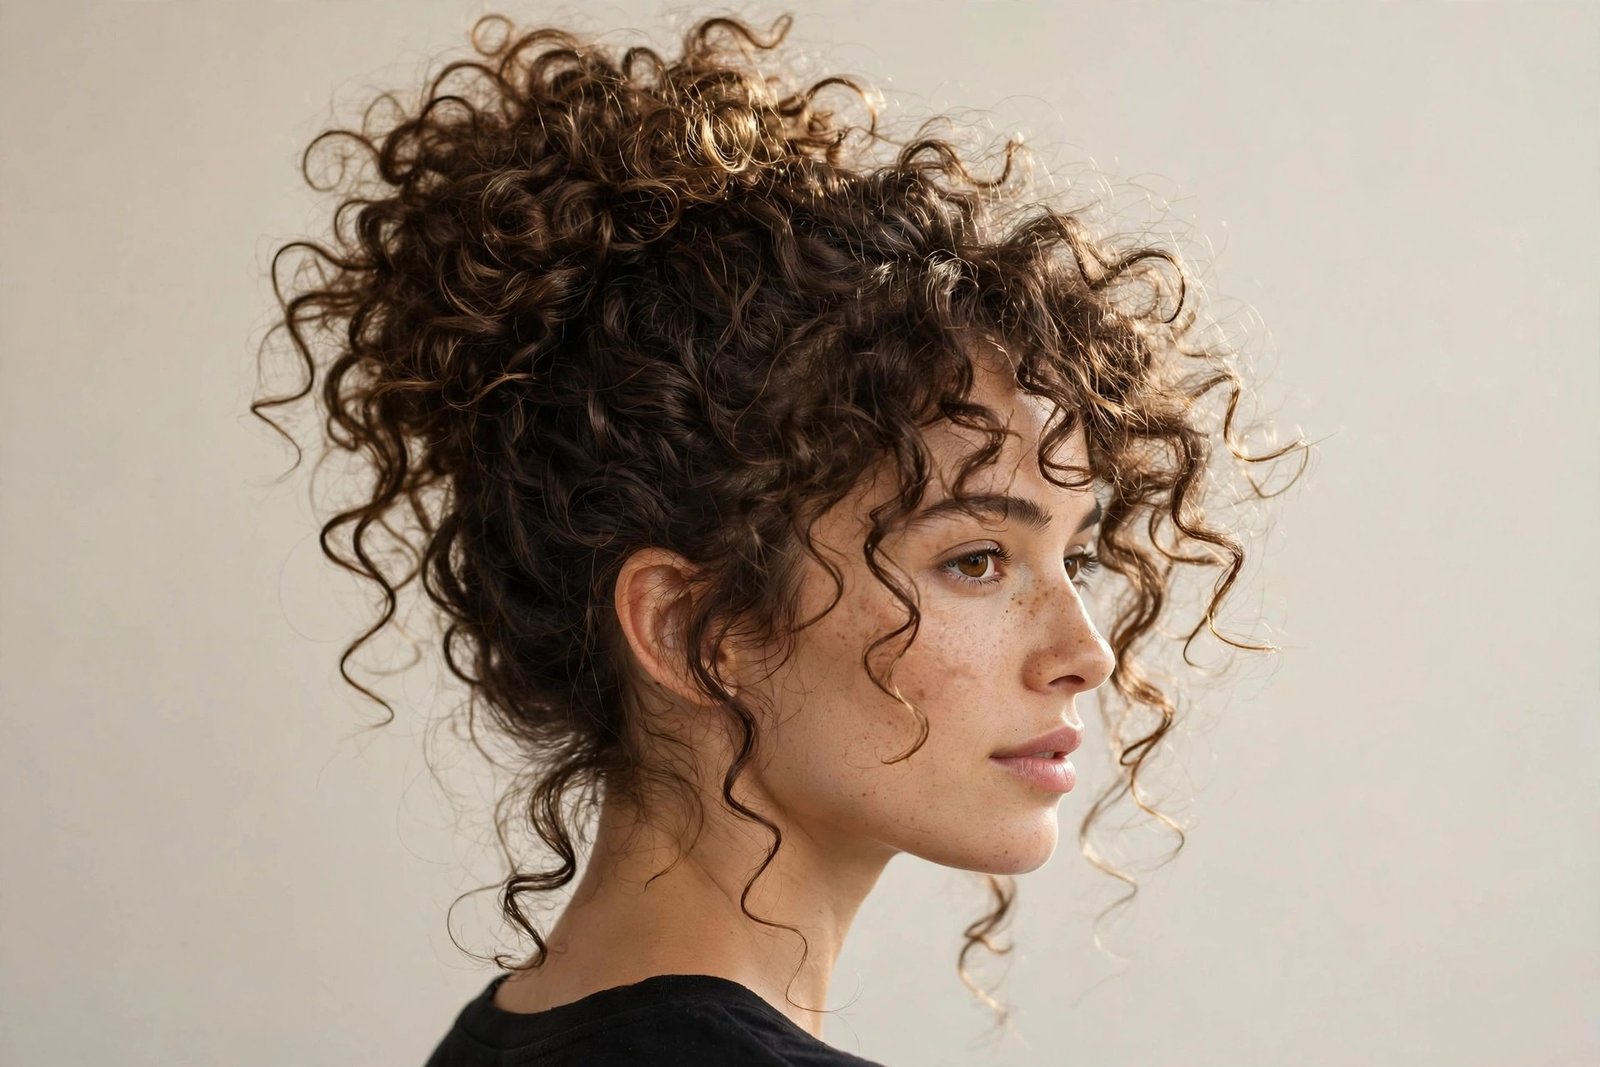
Curly-haired women, this is your unfair advantage: your natural texture IS the messy bun aesthetic. Where straight-haired women spend ten minutes creating texture with teasing and product, your curls arrive pre-textured, pre-voluminous, and pre-beautiful. A messy bun on curly hair has a richness and dimension that no amount of backcombing can fake — each curl catches light differently, the bun looks full without effort, and the escaping pieces are actual curls, not sad straight wisps. If you’ve been straightening your hair to make buns “work,” stop. Your curls are the main event.
The technique is gentler than the standard build. Don’t brush — ever. Finger-comb only, and gather the hair loosely to avoid stretching out the curl pattern. A pineapple-style high gather (all hair loosely pulled to the very top) preserves curl definition best; for a lower bun, gather with your head tilted rather than flipped to avoid flattening the crown curls. Twist minimally — one loose turn — and let the curls do the shaping. Pin where needed, but you’ll need fewer pins than straight hair because curls interlock and grip each other naturally. Refresh the escaping curls with a tiny bit of water and curl cream scrunched in, and they’ll spring back to life instead of frizzing.
The challenges are specific to curls: shrinkage means your bun looks smaller than your hair actually is (embrace it — a compact, dense curly bun is gorgeous), and day-three curls can frizz at the crown where you’ve handled them. A silk scrunchie instead of a regular elastic prevents breakage and that dented-ponytail line. The honest downside: curly buns don’t pancake the way straight buns do — pulling at curls breaks them apart into frizz rather than widening the bun — so build the fullness by gathering loosely rather than tugging afterward. And if your curl pattern is very tight, the bun can look more compact than the airy pictures; that’s not a flaw, it’s just a different (equally beautiful) aesthetic.
12. The Wedding-Guest Messy Bun
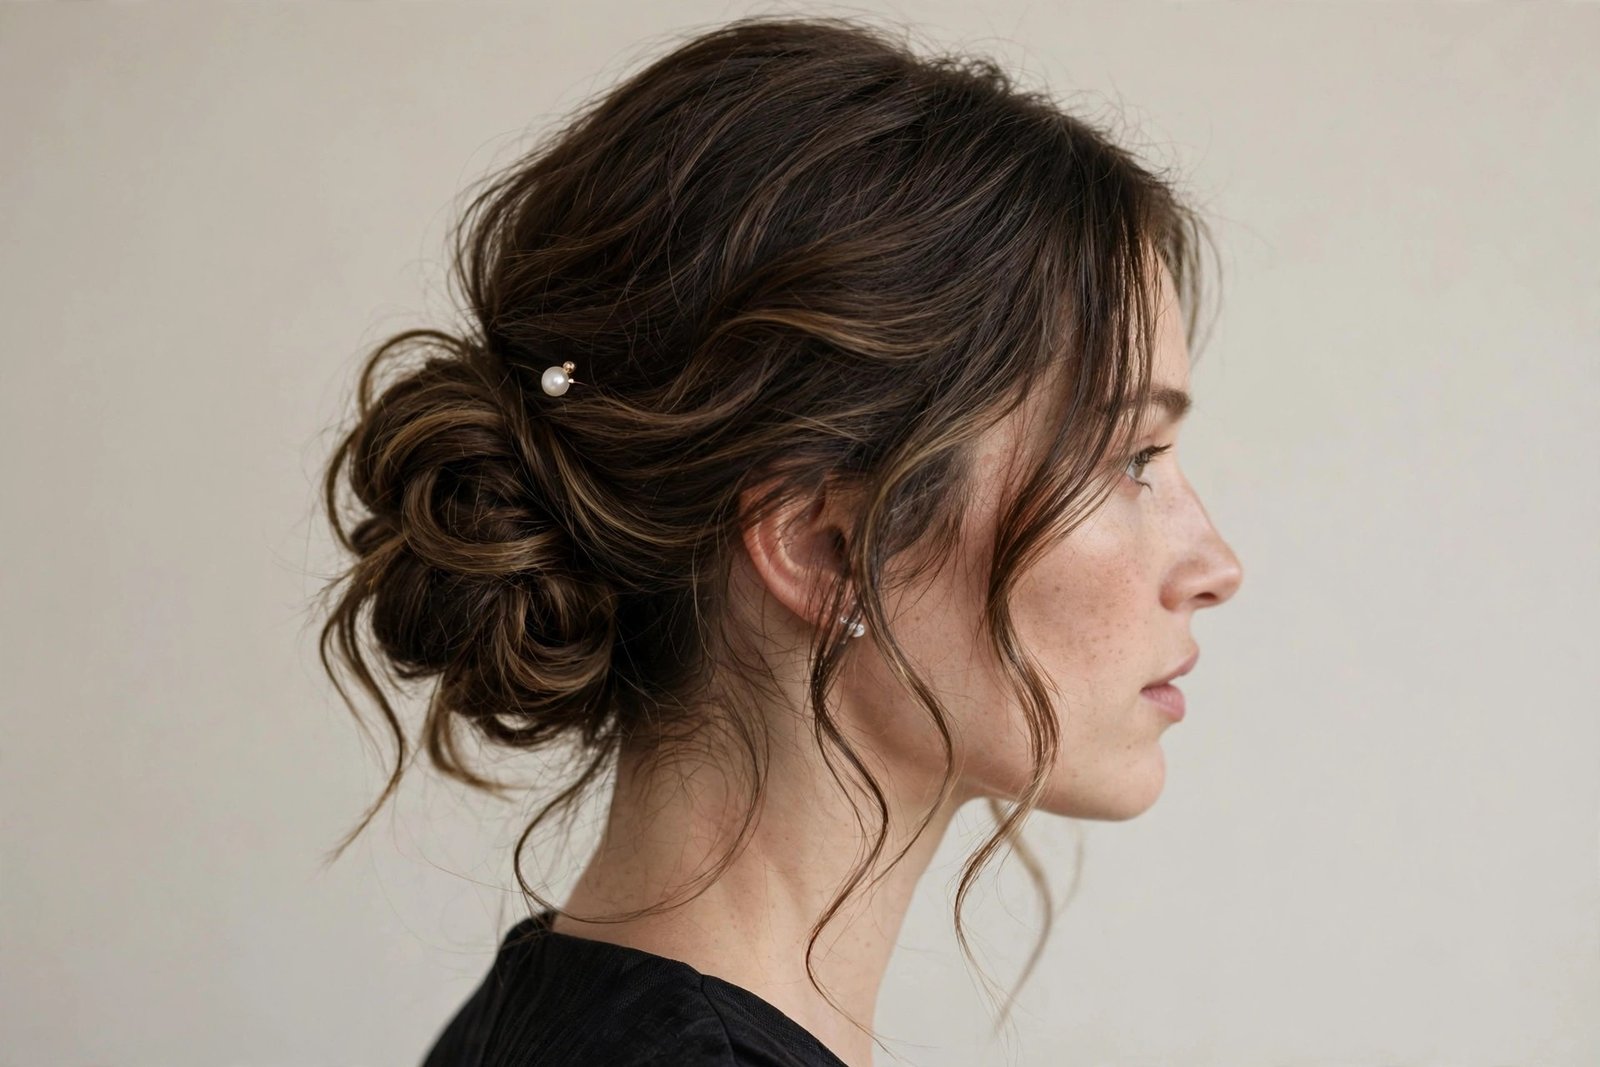
There’s a specific dress code for wedding-guest hair: look beautiful, don’t upstage the bride, survive eight hours of ceremony-to-dancefloor, and photograph well from behind (because that’s the view during the vows). The wedding-guest messy bun threads this needle perfectly — romantic and polished enough for formal photos, relaxed enough not to look like you’re competing, and comfortable enough to last the whole event. Think soft low or mid placement, generous face-framing pieces, and one delicate accessory: a pearl pin, a gold cuff, or a few baby’s breath tucked in. Understated is the assignment.
Build on the low chignon-inspired base (style 5’s rolling technique), but soften everything one degree further: more pancaking, longer escaping pieces, a slightly looser crown. Prep the hair the night before with loose braids or a heatless curl method — second-day waves give the bun a romantic texture that fresh styling can’t match. The accessory placement matters: one statement pin at the side where the bun meets the head, or three small pearl pins scattered asymmetrically. Symmetry in accessories reads bridal; asymmetry reads guest. That’s the line. And coordinate with your outfit’s neckline — an off-shoulder dress begs for an updo that shows the shoulders, which is exactly what this does.
Durability is non-negotiable at weddings, so this is a pins-and-spray situation: crossed bobby pins at every anchor point, a medium-hold spray before pancaking and a light mist after, and — the pro move — a tiny bottle of hairspray in your clutch for the dancefloor hour. The honest downside: you’ll spend longer on this than any other messy bun here (twenty minutes minimum), and there’s real pressure to get it right since the photos last forever. Do a full trial run a week before, photograph it from all angles, and note what loosened first so you can reinforce those spots on the day. Future you, dancing at midnight with hair still intact, will be grateful.
13. The Gym-to-Street Messy Bun
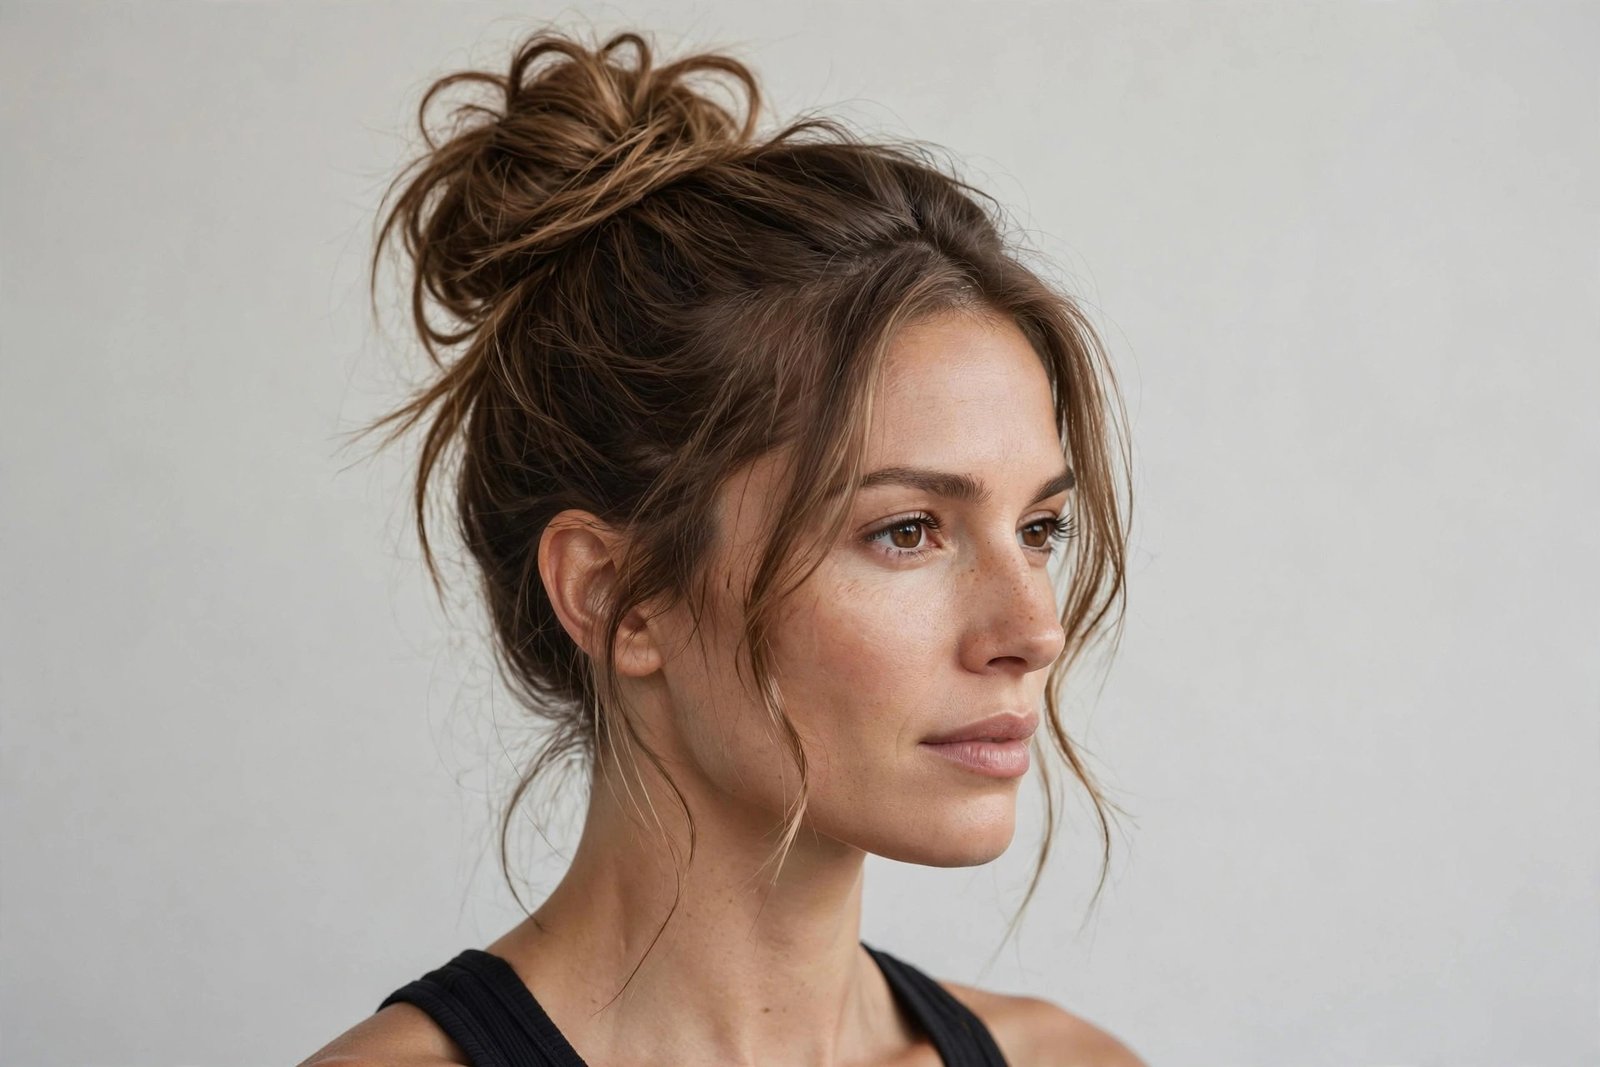
The gym bun has one job: stay put through burpees, survive the sweat, and still look decent enough for the coffee run after. The gym-to-street messy bun is engineered for exactly that — high placement to keep hair off your neck, a genuinely secure foundation (this is not the time for wishful pinning), and enough intentional texture that it reads as a style choice rather than survival mode. High and tight-ish is the formula, but “tight” refers to the base, not the bun — the bun itself can still be pancaked and pretty.
Security first: use a double elastic — one at the base of the ponytail, and a second wrapped around the finished bun’s base for insurance. Braid the ponytail before wrapping it (a quick three-strand takes twenty seconds) because braided hair doesn’t loosen during movement the way twisted hair does. Pin generously — six to eight pins, pushed in different directions so they lock against each other. A light mist of strong-hold spray is worth it here; this is athletics, not aesthetics-first styling. Position the bun high on the crown where it won’t bounce against your neck or get caught under a backpack strap.
The street part of gym-to-street is the pancaking and the face-framing pieces — do those after the workout, not before. Walk into the gym with the secure version, then spend sixty seconds in the locker room loosening the bun, pulling out two soft pieces, and shaking out the crown. It transforms from pure function to intentional style. The honest downside: no bun survives a truly intense workout looking pristine — accept the evolution. And if you have very long, heavy hair, even the double-elastic method has limits; for marathon sessions, a braided base with the bun pinned over it holds better than any twist. Keep a spare elastic on your wrist like every experienced gym-goer does.
14. The Accessorized Messy Bun
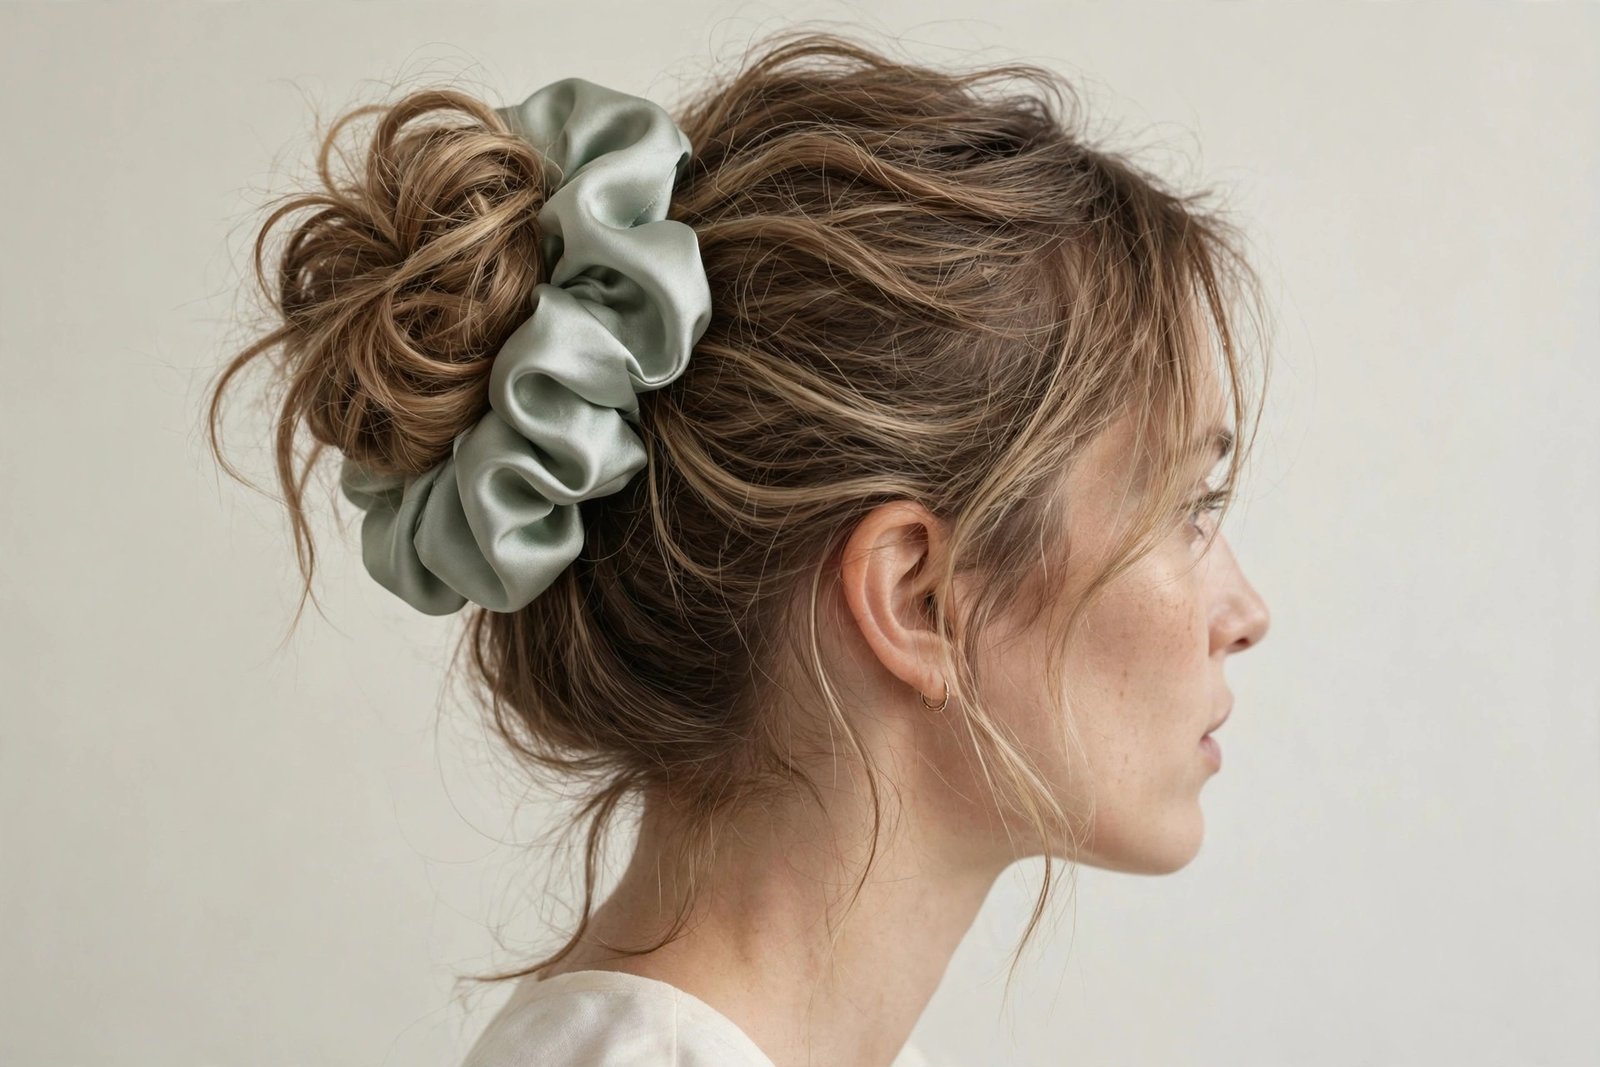
Accessories are the cheat code of the messy bun world: a silk scrunchie, a claw clip, a patterned headband, or a few gold pins can take a basic bun from “I tried” to “I’m styled” in literally five seconds. In 2026 the accessory game is strong — oversized scrunchies in silk and velvet, minimalist gold cuffs, tortoiseshell claw clips, and silk scarves tied around the bun’s base are all over street style. The beauty of this approach is its honesty: the bun underneath can be the simplest version you know, because the accessory carries the visual interest.
The scrunchie method is the easiest upgrade in hairstyling: build your normal messy bun, then wrap a beautiful scrunchie around its base instead of hiding the elastic. Silk or satin scrunchies are gentler on hair and look luxurious; velvet reads cozy and autumnal; a bold print adds personality to a plain outfit. The claw-clip variation is having its own renaissance: twist the hair up loosely, clip it at the base of where the bun sits, and let the ends fan out over the clip — it’s the 90s revival done right, and it holds better than pins for thick hair. A silk scarf tied in a bow around the bun works for everything from brunch to beach weddings.
One rule keeps accessories chic instead of cluttered: one statement at a time. A scrunchie plus a headband plus pins is a craft project, not a hairstyle. Pick your hero piece and let the bun be the supporting act. Match metals to your jewelry (gold pins with gold earrings), and consider scale — a tiny bun with an oversized scrunchie looks unbalanced, while a big pancaked bun can carry a bold accessory easily. The honest downside: good accessories cost real money (a real silk scrunchie isn’t cheap), and cheap ones look cheap — the elastic shows, the fabric pills, the clip snaps. Buy fewer, better pieces. Your hair touches them every day; they should be the nice ones.
15. The Side-Swept Messy Bun
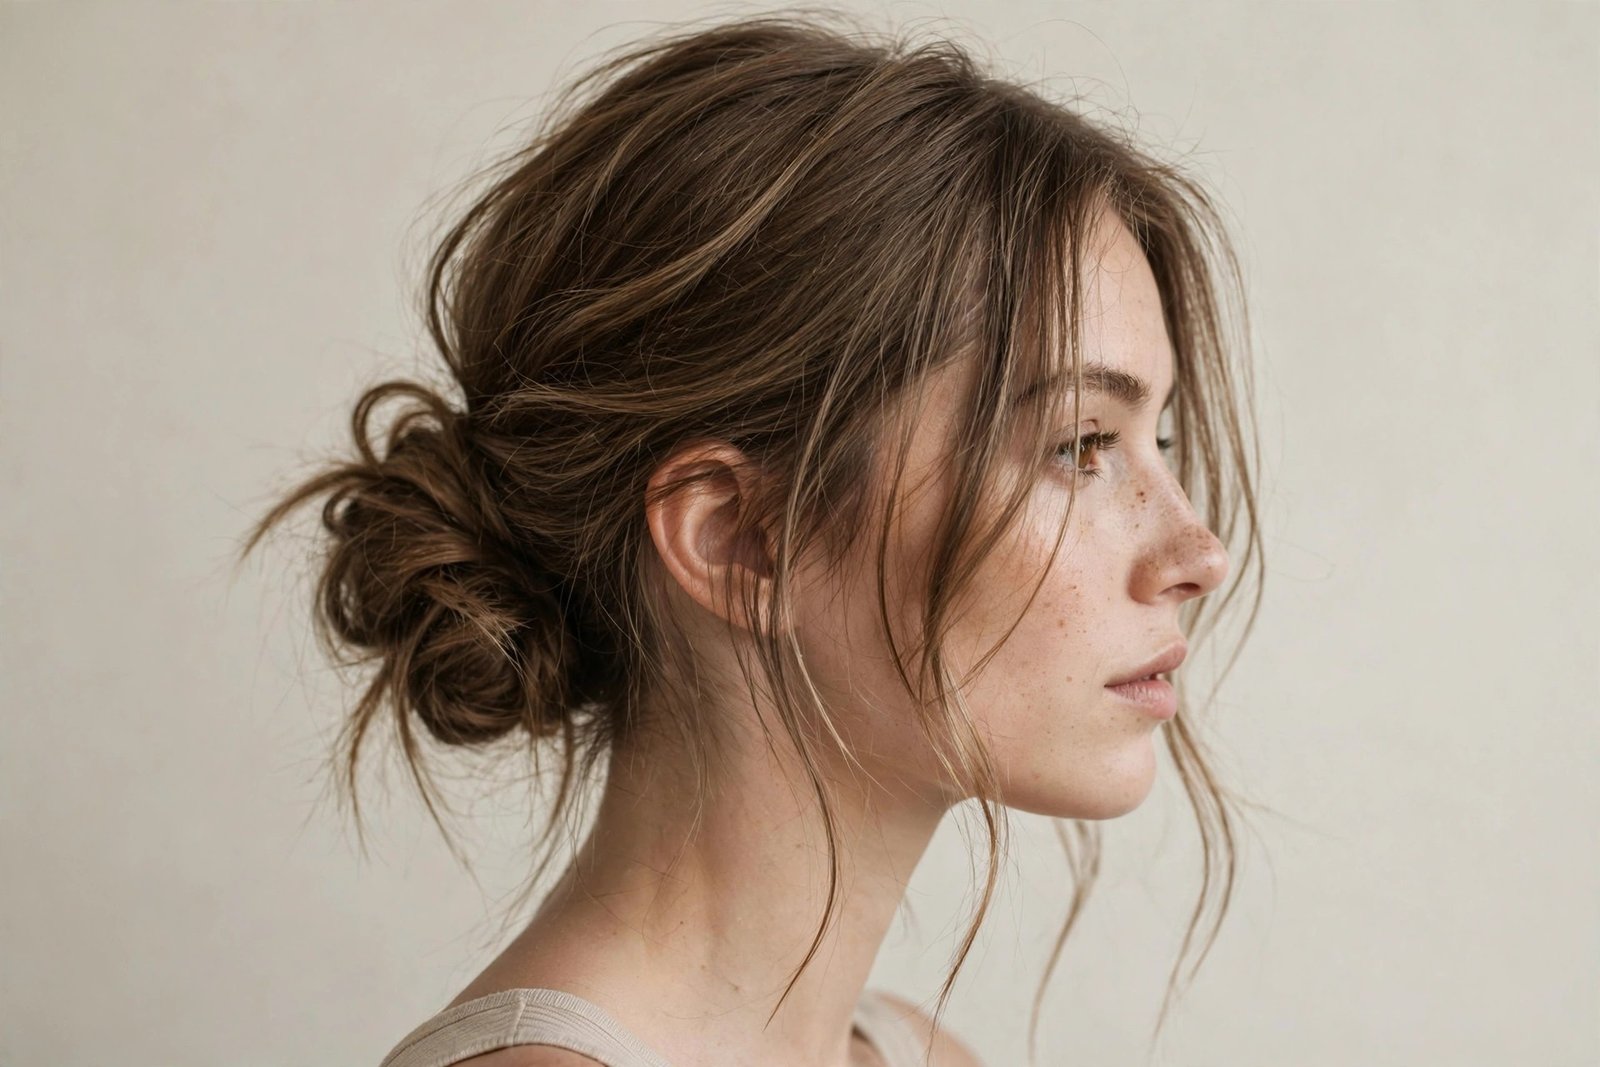
Asymmetry is inherently interesting to the human eye, which is why the side-swept messy bun — gathered low behind one ear instead of centered — looks so striking with so little effort. It’s romantic, a little vintage, and wonderfully flattering: the diagonal line of the style draws the eye across the face, which slims and elongates, and the exposed opposite side shows off your neck and earrings beautifully. This is also the secret-weapon bun for shorter hair — a side placement needs less length than a centered bun because you’re working with the hair’s natural fall instead of fighting it.
Part the hair deeply on one side, sweep everything toward the opposite side, and gather low behind the ear. The deep part is doing real work here — it creates the asymmetry that makes the style — so make it deliberate, not accidental. Twist and wrap as usual, but pin the bun slightly tilted, following the angle of the sweep. Pull face-framing pieces on the exposed side (the side away from the bun) for balance; leaving that side bare can look lopsided rather than artful. A few pins along the sweep’s path keep the hair from migrating back to center during the day — this style wants to drift, so anchor it.
This bun is a fantastic choice for women with fine or short hair: the side gather uses gravity cleverly, and even a small bun looks intentional when it’s placed asymmetrically. It’s also lovely for one-shoulder outfits and any occasion where you want softness with personality. The honest downside: it’s the least stable of the low buns — the off-center weight distribution means it loosens faster than a centered bun, especially on silky hair. Check it in the mirror after a few hours and re-pin as needed. And sleeping in it is a disaster; the asymmetry becomes chaos overnight. This is a daytime and evening style only.
16. The Voluminous Textured Messy Bun
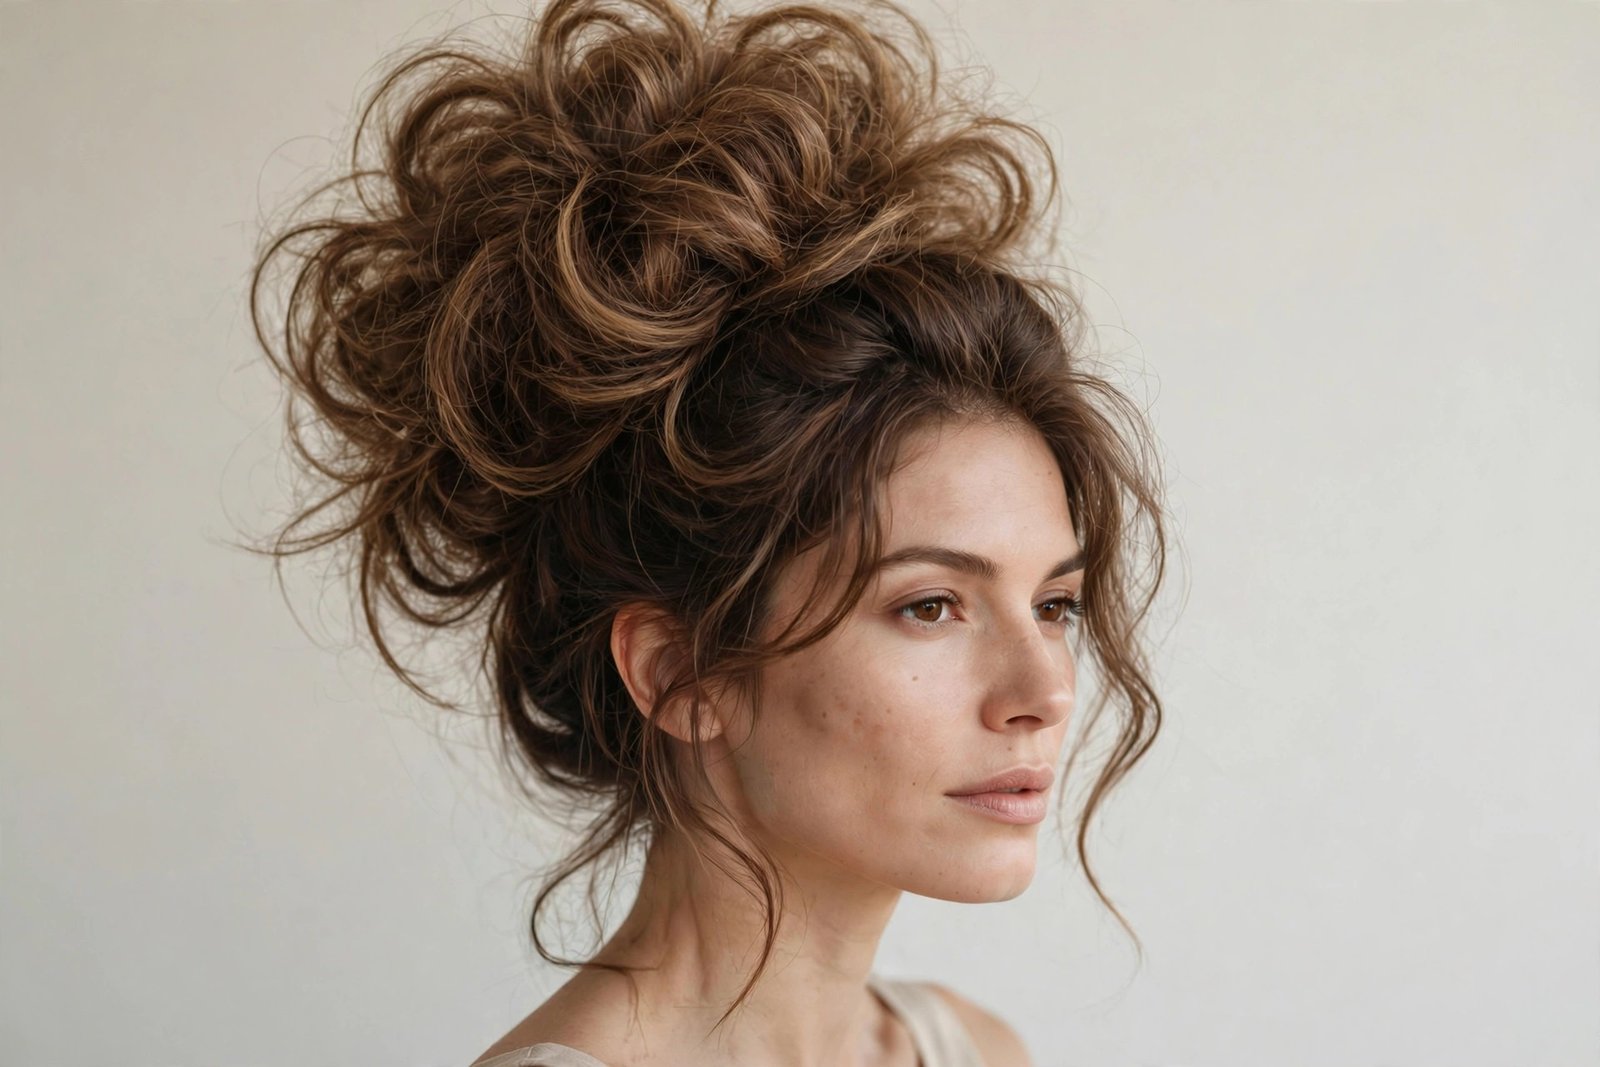
We end with the showstopper: the voluminous textured messy bun, built for maximum fullness, drama, and presence. This is the bun for evenings out, photoshoots, and days when subtle isn’t on the menu. It combines every volume trick in the book — backcombing, texturizing product, pancaking, sometimes a donut form underneath — into one glorious, cloud-like updo. On fine hair it’s transformative (the style that finally makes thin hair look thick); on thick hair it’s majestic. It suits oval, long, and heart-shaped faces best, since the volume at the crown balances length and softens foreheads.
The build is the foundation technique with the volume turned to eleven. Start with dry shampoo at the roots even on clean hair — you need grip everywhere. Backcomb the crown thoroughly (six to eight strokes per section, three sections), then backcomb the ponytail itself from roots to ends. If your hair is fine, this is where the donut form earns its place: a mesh form matched to your hair color, wrapped in your teased hair, creates a bun twice the size your hair could make alone. Wrap loosely — a tight wrap compresses all that beautiful airiness right back out — and pancake with abandon, pulling the bun wider and taller than feels reasonable. It will settle slightly; start bigger than your target.
Finish with a flexible-hold spray (not maximum hold — you want the bun to move slightly, which reads as softness rather than helmet), and pull out generous face-framing pieces plus a few wisps at the nape. The honest downside: this is the highest-maintenance messy bun to create (fifteen to twenty minutes) and the most product-heavy, which means your hair will need a proper wash after. It’s also too much for conservative settings — this bun has opinions, and it shares them loudly. But when the occasion calls for drama? Nothing on this list delivers like the full-volume textured bun. Go big, then go home and take the victory photo.
Styling Routine, Products & Maintenance
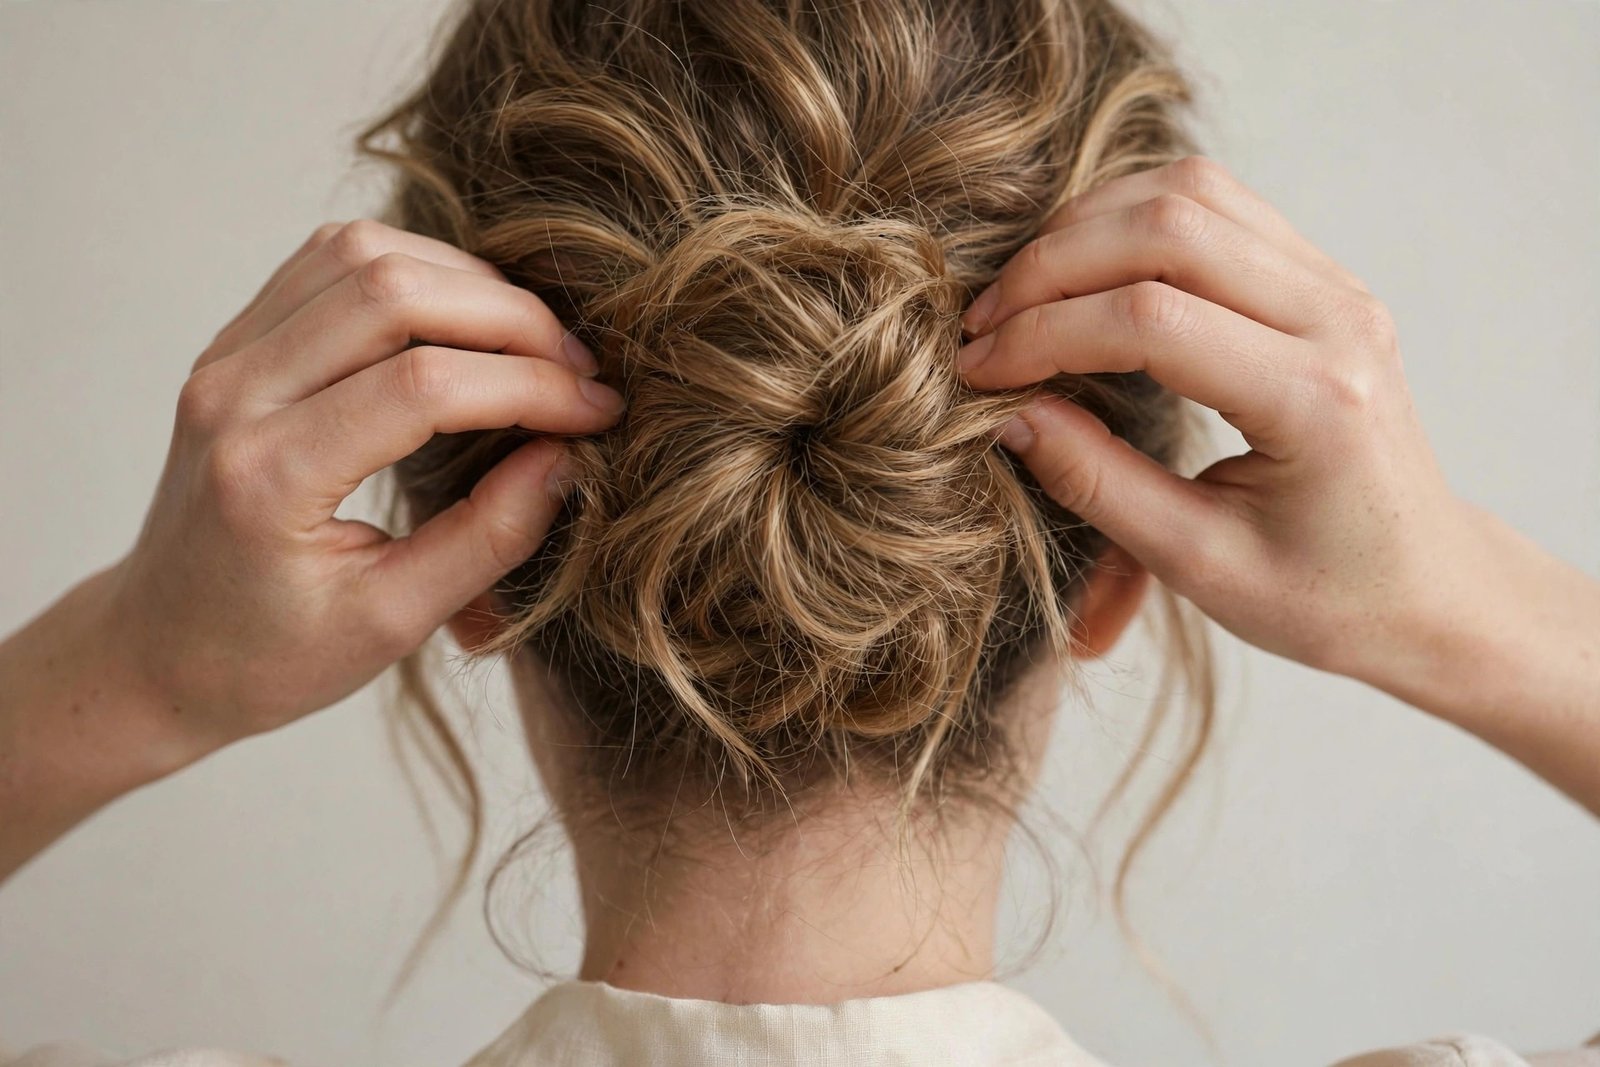
A messy bun is only as good as its routine. The styles above give you the shapes; this section gives you the system — the products worth buying, the techniques that make any bun last, and the hair-health habits that keep daily updos from damaging your hair. Get this right and every messy bun you build from now on gets easier.
The Product Kit That Actually Matters
You don’t need a drawer full of products — you need five that earn their place. First, a dry shampoo (or texturizing powder): this is the single most important messy bun product, because grip is everything and dry shampoo manufactures grip on demand. Apply it at the roots before styling, not just to absorb oil but to create the tacky texture pins cling to. Second, a texturizing spray with sea salt or a matte polymer base — misted through the lengths, it gives hair that piecey, separated quality that reads as “effortlessly undone” rather than “brushed smooth.” Third, a flexible-hold hairspray: the word flexible matters. Helmet-hold sprays make messy buns look crunchy and dated; flexible formulas let the style move naturally while keeping pins and pieces where you put them.
Fourth, quality elastics and pins — and I mean quality. Thick fabric-covered elastics that don’t snap or crease, and bobby pins with a strong spring (cheap pins splay open after two uses and hold nothing). Buy them in your hair color so they disappear. Fifth, a pea-sized amount of texturizing cream or paste for the finishing details: rubbed between your palms and smoothed over escaping pieces, it defines them into intentional tendrils instead of frizz. That’s the whole kit. Everything else — shine sprays, root lifters, heat protectants — is situational. If you’re building your kit from scratch, start with dry shampoo and good pins; those two alone will improve your buns more than any styling tutorial.
A note on what to skip: heavy oils and serums before styling are the enemy of the messy bun — they make hair slippery, which is the exact opposite of what you want. Save oils for the ends after the bun is built, or for your nighttime routine. And silicone-heavy smoothing products, while wonderful for sleek styles, fight the matte texture the messy aesthetic needs. If your hair is naturally very silky, you may need to rough it up more aggressively — a light backcomb at the roots plus texturizing powder is usually enough to convert even the slipperiest hair into bun-ready material.
Making It Last: The All-Day Hold System
A messy bun that looks great at 8 a.m. and tragic by 2 p.m. is a failed bun, so let’s talk longevity. The foundation of all-day hold is laid before the bun exists: hair with grip (day-old, or faked with dry shampoo), a strong elastic at the base, and — the step everyone skips — a light mist of hairspray on the ponytail before you twist it. Spraying the tail gives every strand a little tackiness, so the wrap grips itself instead of sliding. It’s a thirty-second step that doubles your bun’s lifespan.
Pin technique matters more than pin quantity. Push each bobby pin into the bun’s base at an angle, catching scalp hair underneath — pins that only grip bun hair slide out; pins anchored to the head stay. Cross two pins in an X at each anchor point for a lock that survives wind, workouts, and enthusiastic hugging. For heavy hair, distribute the pins around the full circumference of the base rather than clustering them underneath; think of it as building a scaffold, not stabbing a cushion. And here’s a trick from backstage at fashion week: spin pins (those little corkscrew pins) hold buns better than bobby pins with a fraction of the count — two spin pins can replace six bobby pins on medium hair.
Finally, respect the enemy: moisture. Rain, humidity, sweat, and even a steamy kitchen soften hold and encourage frizz. On high-humidity days, choose styles with more pins and structure (the braided or chignon-inspired buns) over the loosest versions, and carry a travel hairspray. An anti-humidity finishing spray over the whole style creates a light shield — it won’t waterproof your hair, but it buys you hours. And know when to reinforce: a quick mirror check and two extra pins at lunch is normal maintenance, not failure. Even the best-built messy bun is a living style; it evolves during the day, and a little evolution is part of the charm.
Second-Day Hair: Your Secret Weapon
Here’s the truth the shampoo commercials don’t want you to know: second-day hair makes better messy buns than freshly washed hair. The natural oils at your roots create exactly the grip and pliability the style needs; the slight lived-in texture at the lengths pancakes more beautifully; and the whole thing holds longer with fewer pins. Women who wash daily often struggle with messy buns for this exact reason — they’re starting from the hardest possible material. If you’re a daily washer who loves buns, consider switching to every-other-day washing; your buns will thank you, and honestly, your hair health will too.
To maximize second-day hair, prep it the night before: a loose braid or a high pineapple ponytail while you sleep creates soft waves and root lift that translate directly into bun volume the next morning. In the morning, refresh the roots with dry shampoo (applied the night before works even better — it absorbs oil while you sleep), and you’re starting from ideal material. Third-day hair works too, though by then most hair types need dry shampoo at the roots and a little extra texturizing through the lengths. The halo braid fans already know this principle — braided styles also prefer day-old hair — and the messy bun is no different.
If you’ve just washed and need a bun now, fake the grit convincingly: blow-dry with a texturizing spray worked through damp hair, or — the fastest method — flip your head upside down and blast the roots with dry shampoo, then massage it in thoroughly. What you’re after is hair that feels slightly rough and matte between your fingers, not silky. It feels wrong if you’re used to that fresh-wash silkiness, but trust the process: grippy hair builds buns that last, silky hair builds buns that slide. This single adjustment — styling on textured rather than clean hair — is the difference between fighting your bun all day and forgetting it’s there.
Taking It Down Without the Damage
Daily updos can damage hair — but only if you’re careless about the details. The damage doesn’t come from the bun; it comes from the elastic snapping hair, the pins scratching the cuticle, and the same tension in the same spot every day. All three are preventable. First, never use rubber bands or thin elastics with metal clasps — they break hair, full stop. Silk scrunchies, spiral telephone-cord ties, or thick fabric elastics distribute pressure and slide out without pulling. Second, remove pins by sliding them out along the direction they went in, never yanking; and open bobby pins slightly as you remove them instead of dragging them through hair.
Third — and this is the big one — vary your bun placement. Wearing a tight high bun in the exact same spot every day creates traction stress that can thin the hairline over time (traction alopecia is real, and it’s the unglamorous side of daily updos that hair science has documented for decades). Alternate high, low, and side placements through the week; keep the tension moderate rather than scalp-tight; and give your hair full-down days regularly. If you notice baby hairs breaking around your hairline or soreness at the bun’s base, that’s your hair asking for looser styles and more rest days — listen to it.
The nighttime routine matters too. Never sleep in a day bun — the eight hours of friction and pressure are far harder on hair than the daytime wear. Take it down gently, finger-comb, and either leave it loose or put it in a loose top pineapple with a silk scrunchie for sleep. A silk or satin pillowcase reduces friction further and genuinely cuts down on morning frizz. These habits take an extra two minutes and they compound: women who treat takedown as carefully as styling can wear buns daily for years with healthy, unbroken hair. The messy bun should be a joy, not a slow-motion haircut.
Troubleshooting: When Your Bun Won’t Cooperate
Every woman has a bun nemesis — the specific failure that happens to her and nobody else seems to mention. Let’s run through the classics. “My bun slides down by noon.” Your base elastic is too weak or your hair too silky. Upgrade to a thick elastic, add dry shampoo for grip, and anchor with spin pins instead of bobby pins. “My bun looks tiny and sad.” You’re not pancaking enough, or your hair is fine and needs a donut form. Tease the ponytail before wrapping and pull the finished bun wider than feels natural — it settles. “Pieces keep falling out and looking messy-bad, not messy-good.” You’re pulling pieces from the hairline instead of from behind it; reach an inch back for anchored pieces, and define them with a dab of texturizing cream.
“The back looks flat while the front looks fine.” You’re not backcombing the crown, or you’re building the bun too tight. Loosen the wrap, tug the crown upward with your fingertips, and check the back view with a hand mirror — the back is the view everyone else gets, so style for it. “It gives me a headache.” The bun is too tight, too high, too heavy, or all three. Loosen the base elastic by a finger’s width, move the placement slightly lower or to the side, and distribute weight with a wider wrap. If headaches persist with any updo, see the tension advice above — and consider that some days are simply down-hair days. “It looks great in the mirror but weird in photos.” The camera flattens dimension, so buns need about twenty percent more volume and texture than looks right in the mirror. Pancake more aggressively than your instincts suggest; the photos will thank you. For more on pairing buns with fringe styles, our guide to wispy bangs covers the softest combinations, and Byrdie’s styling archives are a solid second opinion on technique.
Frequently Asked Questions
The questions below come up constantly — in salon chairs, in comment sections, in group chats at midnight before weddings. Here are the honest answers, no fluff.
How long does a messy bun actually take to style?
The everyday versions (styles 1–4) take five minutes once you’ve practiced three or four times — the first attempt always takes fifteen because you’re learning the pancaking and pinning by feel. The detailed versions (braided, bubble, chignon-inspired) take ten to twenty minutes depending on complexity. The wedding-guest and voluminous versions are twenty-minute styles, minimum. Anyone promising a “thirty-second messy bun” is selling you the gym version, which is fine for what it is, but it’s not the polished looks in this guide. Budget real time, practice on low-stakes days, and you’ll get fast quickly — muscle memory is real with updos.
Can I do a messy bun with short hair?
Yes, with adjustments. Above-the-shoulder hair won’t make a full centered bun, but the side-swept version (style 15) works beautifully on bobs and lobs because the asymmetric gather needs less length. A small donut form matched to your hair color can manufacture a convincing bun from surprisingly short hair — wrap what you have around the form and pin the ends underneath. Half-up messy buns also work on shorter lengths since only the top section goes up. What doesn’t work: the big voluminous styles, which genuinely need length. If your hair is chin-length or shorter, focus on styles 3, 8 (half-up version), and 15, and consider clip-in extensions for special occasions — a single weft adds the length a bun needs in two minutes.
Why does my messy bun look messy-bad instead of messy-good?
Nine times out of ten, it’s one of three things. First, you skipped the prep — clean, silky hair without grip makes buns that slide and sprout random frizz instead of intentional texture. Add dry shampoo and try again. Second, you didn’t pancake — an un-pancaked bun is just a tight knot, and tight knots read as “gave up” rather than “styled.” Pull it wider. Third, your escaping pieces are escaping from the wrong places — pieces pulled from the hairline look accidental; pieces pulled from behind the hairline with defined ends look deliberate. Fix those three and most “bad messy” becomes “good messy” instantly. The remaining ten percent is usually a bun placed at an unflattering height for your face — experiment with high, mid, and low to find yours.
How do I keep my messy bun from falling out?
Layer your security: strong elastic at the base, hairspray on the ponytail before twisting, pins anchored to scalp hair (not just bun hair) in crisscross X patterns, and a flexible-hold spray to finish. For heavy or silky hair, upgrade to spin pins — two of them hold better than six bobby pins. Braiding the ponytail before wrapping adds serious structural integrity for active days. And be honest about the style’s limits: the loosest, most romantic buns are three-to-four-hour styles by design. If you need twelve-hour hold, choose a more structured version (braided, chignon-inspired, or sleek-root) rather than fighting physics with the airiest style on the list.
Is it bad to wear a messy bun every day?
The bun itself isn’t the problem — the repetition is. Wearing the same tight bun in the same spot daily creates traction stress that can thin your hairline over time. The fix is variety and moderation: alternate placements (high, low, side), keep tension moderate rather than scalp-tight, use gentle elastics (silk scrunchies or spiral ties, never rubber bands), take the bun down gently at night, and give your hair full-down days. Done this way, daily buns are perfectly fine for healthy hair. Warning signs to respect: soreness at the base, broken baby hairs around the hairline, or a widening part — all signals to loosen up and rest the hair.
What face shape suits a messy bun best?
All of them — but the placement should match the face. Round faces benefit from high buns (height elongates) with face-framing pieces or curtain bangs to add angles. Long or oval faces suit low and mid buns that don’t add extra height, with softness around the hairline to balance length. Square faces are softened by the bun’s texture plus wispy pieces around the jawline. Heart-shaped faces look wonderful with mid-height buns and volume at the sides. The universal rule: the messier and softer the bun, the more forgiving it is — soft texture flatters every face shape, which is exactly why this style is so universally loved.
Can a messy bun work for formal events?
Absolutely — styles 5 and 12 in this guide were built for exactly that. The key adjustments that take a messy bun formal: choose a low or mid placement (reads more elegant than high), keep the roll or wrap slightly more structured underneath the looseness, add longer face-framing pieces, and finish with one refined accessory — a pearl pin, a gold cuff, or fresh flowers. The “messy” at a formal event should read as romantic softness, not bedhead: controlled imperfection, every escapee intentional. Done right, it’s more modern and memorable than a stiff traditional updo, and you’ll be comfortable all night — which, at hour six of a wedding, matters more than anyone admits.
Conclusion
The messy bun endures because it understands something fundamental about how women actually live: most days don’t come with an hour for hair, but every day comes with eyes on you. It’s the rare style that respects both truths at once — fast enough for real mornings, beautiful enough for real life. And now you know what separates the buns that get compliments from the ones that get side-eye: grip before styling, a solid foundation before the mess, pancaking as a non-negotiable step, and pieces pulled with intention rather than hope.
Start with the classic low bun and wear it for a week until the technique lives in your hands. Then branch out — try the half-up on a casual day, the sleek-root when you want edge, the chignon-inspired when something matters. Your hair type isn’t a limitation here; it’s just a set of instructions, and this guide gave you the ones for yours. The messy bun isn’t about looking undone. It’s about looking like the most interesting version of done — and that’s a skill worth having in 2026 and every year after.